ZBrushCentral

Male to beast Transformation

EDIT: New characters on page 2 and 3…

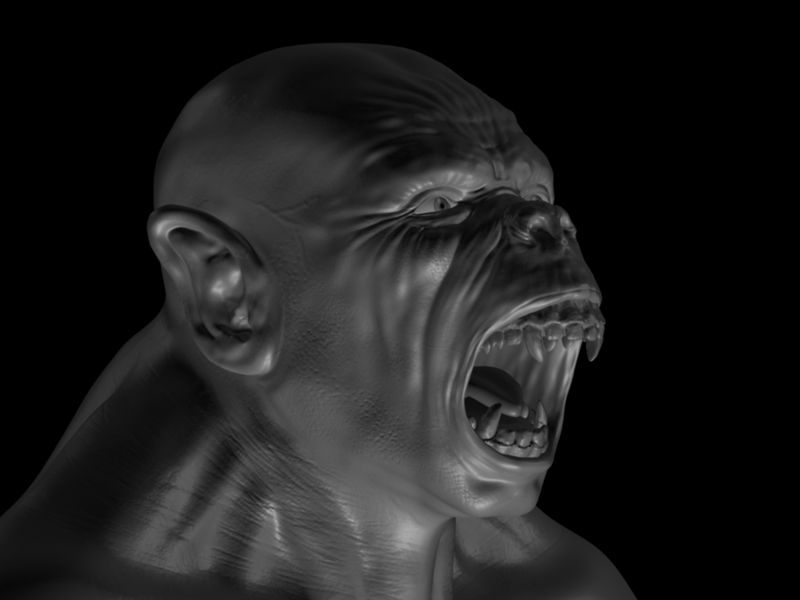
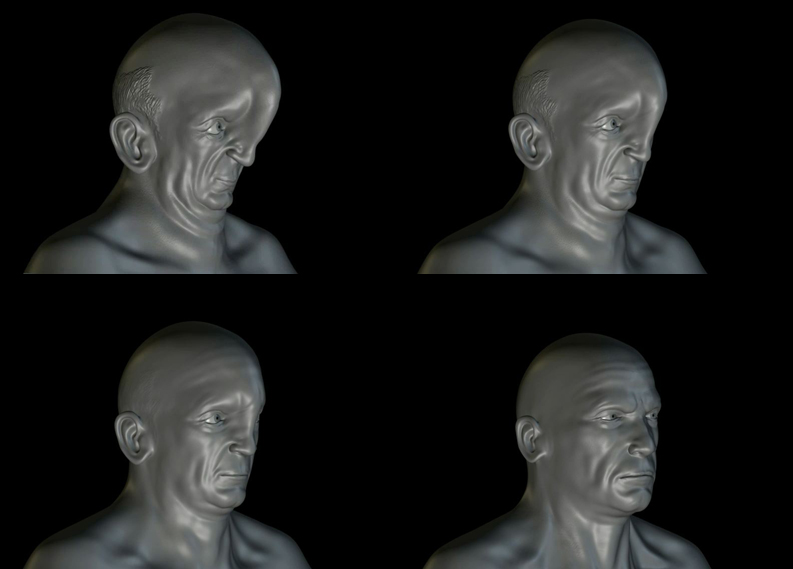
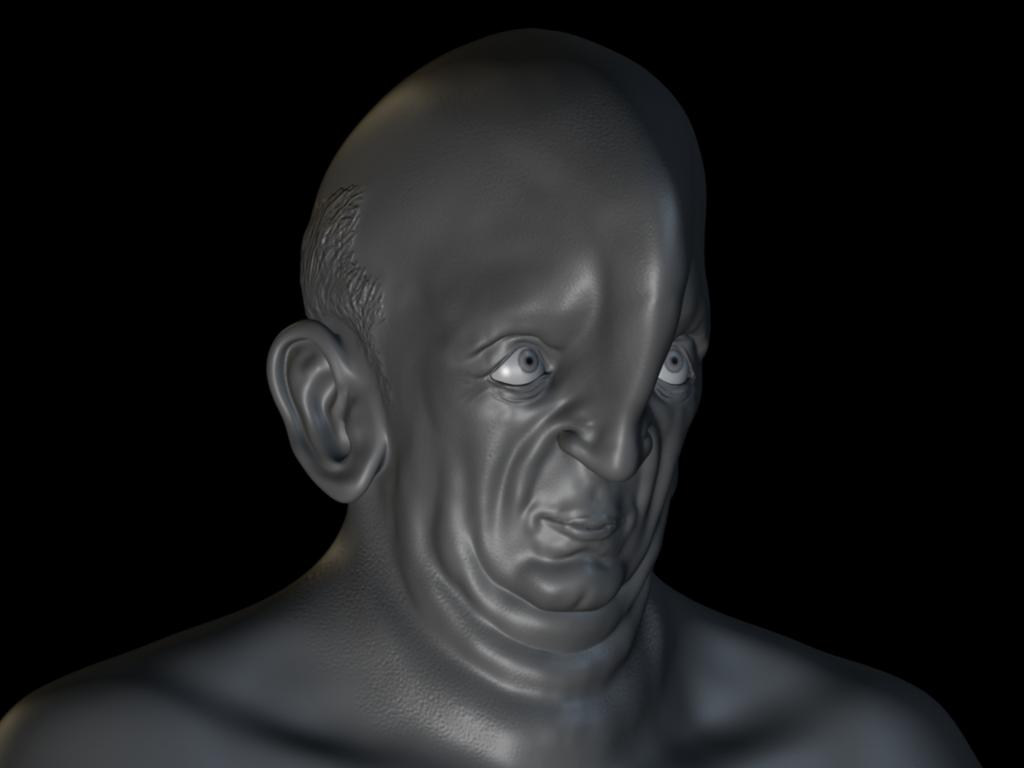
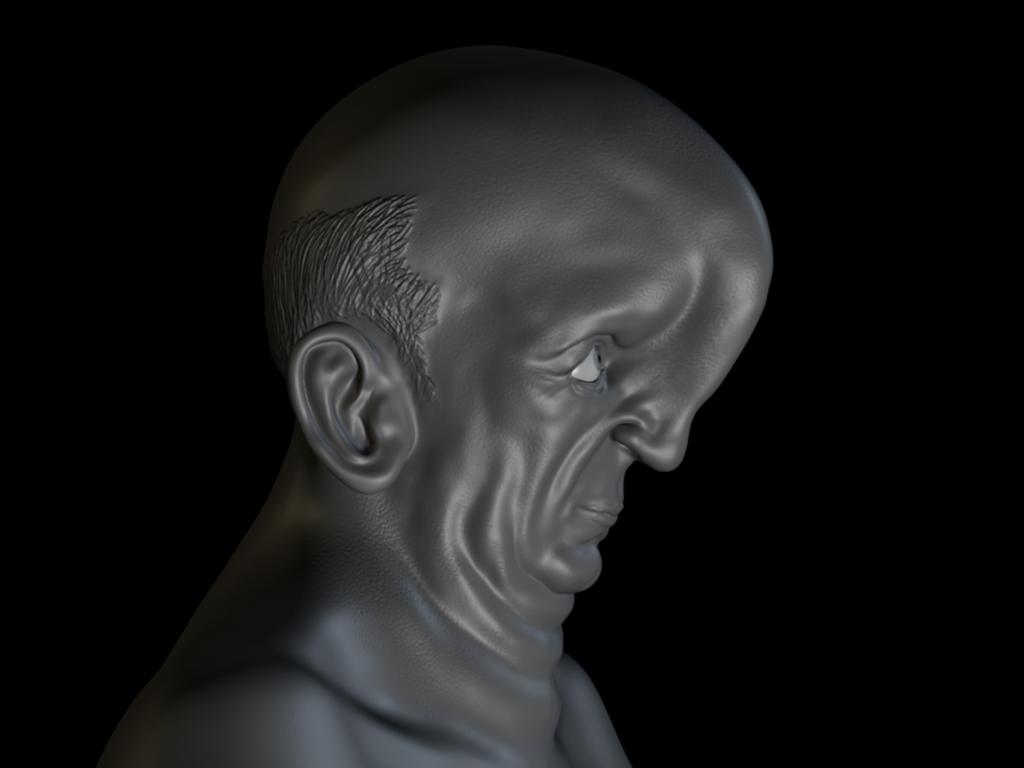
Heres a project i’ve been playing around with lately. Still not completely, so im very open to critiques.

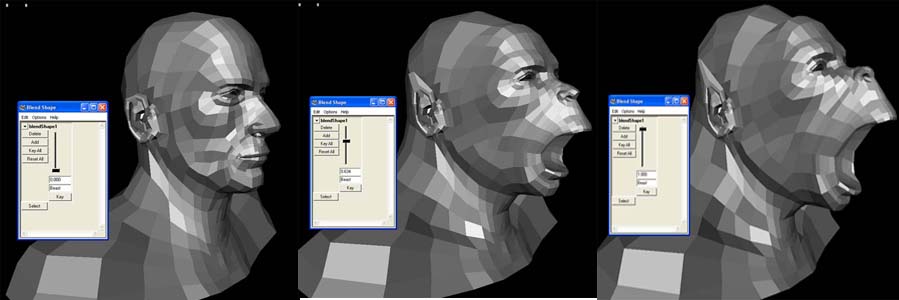
First the animation (file is 2mb’s, right click/save as)
http://www.ericprovan.com/pictures/transform.mov

processtransform.jpg

Attachments

newsave1.jpg

Beasttransform.jpg

Just watched the animation. Really cool transformation! Looks quite convincing. :smiley: :+1:

that’s really impressive. i’ve been playing with the idea of doing something like that with one of my characters as well. is this entire morph from one mesh, or did you somehow use multiple meshes?

as for critique, i think the area that still needs work on the beast stage is the eyes. they haven’t changed at all, and the effect is that the beast looks very intimidating in the rest of the face, but his eyes look kind of startled.

One of the most astounding morphs i’ve ever seen in cg was a little boy that morph into a pig. The model were created in nurbs, many years ago.

Thanks for the feedback fellas!
I dont think ive seen the pig transformation you mentioned, but im a big fan of Sebcesoir and Taron’s work.
I’ll be posting an update some time tonight or tomorrow morning. Ive worked on the bump map for the male, aswell as a more appealing animation. Im also going to play around with the beast eyes.
Anyway, thanks a lot for the replys. =)

Heres a new video update. This one is about 15 seconds long and has a little more life to it. Also updated both the bumps.
The file is about 8mb.
Right click/save as…
http://www.ericprovan.com/pictures/transformupdate.mov

I’ll post some pics tonight.
Enjoy =)

Very nice work. I am planning to do something similar for on of my courses.
How many morph target did you use? are both models from the same base mesh?

I am still a student seeking more knowledge. Please be kind enough to explain your process and workflow

Thanks,
Takroony

So, I doodled a unique head the other day and thought it would be another neat thing to see blended into the project.
Nothing is complete, so feel free to crit =)
Also, i’ll post a short tutorial once I have some free time (crunch time at work). Its pretty basic though. Im just using maya blendshapes and animating bumps. Anyway, heres the new addition. I’ll also be doing an animation for all 3 heads to blend in and out.

lastscan13.jpg

Attachments

stylizedtransform.jpg

nosetest1.jpg

nosetest3.jpg

Heres a quick animation of all three characters blending in and out.
The file is about 4mb’s.
Right click/Save as…
ANIMATION

Enjoy!

I should have some time within the next day or two to post a small tutorial on the process ive used to create these transformations. its pretty basic though. Im just using Maya Blend Shapes and Animating Bump Maps.

Feel free to ask questions. I’m very new to the game, but i’ll do my best to answer any questions. As long as they have nothing to do with math! =)

I learned most of this stuff from two books. I have no doubt that they explain it way better then I can =) "[Stop Staring](http://www.amazon.com/gp/product/0782141293/qid=1141099477/sr=2-1/ref=pd_bbs_b_2_1/002-3954074-8169651?s=books&v=glance&n=283155)" by Jason Osipa, and "[Maya Character Creation](http://www.amazon.com/gp/product/0735713448/qid=1141099512/sr=2-1/ref=pd_bbs_b_2_1/002-3954074-8169651?s=books&v=glance&n=283155)" by Chris Maraffi. The workflow I used on these is relatively simple, and therefore has some limitations in the end. But it is a fun way to see some basic blends. I like it a lot because its a good way to show that you have very flexiable (animatable) edge loops. The first thing you'll want to do is create a base mesh with nice animatable edgeloops in maya. In my case, this was the male mesh. [![wires.jpg|1024x303](upload://rEQE4bloBwJvfsgqf2VpW8Qf97U.jpeg)]![connectioneditor.jpg|320x377](upload://tSrNqx7NyYS7xT1SZRk524AEJTs.jpeg) The connection Editor will pop up. To make this work, you have to select "Out Normal" on the left side, and "Normal Camera" on the right side. Add as many bumps maps as youde like by using this method. Now you can blend the bumps in and out by animating the depth value, or setting up an SDK. <><><><><><><><><> Nothin to special, but a lot of fun. I doubt much will be taken from this tutorial, but maybe one or two tidbits in there will help someone. Feel free to ask questions. Like I said before, im no expert, but I'll do my best to explain =)

Attachments

blendbutton.jpg

blendprocess.jpg

popup.jpg

Nice Demo Reel. Is that you playing Hotel California?

What tools would you use for the next step? You have nice morphing from human to ape. How do you get the monkey to talk? What tools would you use to get the face posed to speak to a script?

I.e. “I don’t feel so good… RARR!!!”

amazing models. As far as the animation goes, I allways like how they do it in the movies. the morph is in various stages. Like when they turn into werewolves, their mouth starts to protrude, then the head cracks and gets bigger, then th ears start to grow. The morphing has staging that kinda happens all at the same time but dont look like everything happens at once…sorry if I dont make since:+1:

Hi tgraupmann =)
As far as my reel goes, thats what I graduated with from Full Sail with, last June. I look back at it now and just cringe, but it did get my foot in the door, and for that I am greatful. At the time I was teaching myself zbrush, and I cant wait to make a new reel displaying my newer work made in zbrush.
As far as animating something like this with speech; you would have to rig your base model (before creating blendshape), and then create a lot of blend shape’s for speech. Both the books I mentioned about cover this extensively.

hi sparty! thanx for the tut…im trying to do a blendshap to learn how it work but something goes wrong when i try to create the second bump map node and try to connect it to the first one…i can see the “out normal” on the first outpout node but there is no “normal camera” in the input of the second node…
also can we use normal map instead as the result is much nicer?
it could be great if you could post an actual screenshot of you shader network?
how does it knows the amount of blending it has to do between each bump maps? and can it be set up? (if you have more than two bumps?
it’s a lot of questions but it be great to have them answered :slight_smile:
thanx for any help…

Missing a quiet background music and suddenly a terrifying cry :smiley:
:+1:
Pilou
Ps Of course a nice color texturing too :laughing:

abe_Tamazir:
“i try to create the second bump map node and try to connect it to the first one…i can see the “out normal” on the first outpout node but there is no “normal camera” in the input of the second node…”

Ok, this is a pretty simple one. I had the problem. At the top of the connection editor, you see the tabs “Left Display” and “Right Display”, make sure they both have “Show Hidden” selected.

As far as blending the bump maps goes. Im just simply animating the bump map values. The best way to do it would be to set up an SDK that connects you bump value to your blend shape.

great it worked! thanx …but another problem appear…how can you animate the bump value as it’s locked by the bump texture applied to it?..
must be mising something here…might try to add a multiply node to animate it’s depth but wont be very precise?

Abe,
Ok, so I think I understand the question. I think that you may be aplying the texture to the wrong thing. You apply the bump texture to the Bump Value, not the bump depth. That way you can animate the depth.

[bumpvalue.jpg](javascript:zb_insimg(‘27892’,‘bumpvalue.jpg’,1,0))

While I imagine this tutorial is hard to read, and not much can be gained from it, I think the multiple bump trick is very cool!

great work… I lreally like the design of th nose guy
very orginal

I know this is not a Maya Forum…but here is my 2 cents on the Bump morph, you can also do with with a blend node…
funny thing I just figured out how to do it with displacment …kinda tricky though

here is the screen shot for hte bump morph
screen.jpg