The head busts in the first post are really good! it looks like you clearly know the anatomy of the face. Could you please tell me how you sculpted the guy’s shirt’s neck collar? I can do it with other software easily but I can’t figure out how to sculpt it.
Ha! I am usually the one asking all the questions here  Sorry to say the collar was not done in a special way just pushed around until it looked ok. I do know what you mean about sculpting collars, I have been trying all kinds of ways to make them look right, but with no success. So if you come across some new info let me know. Thanks for writing in.
Jon
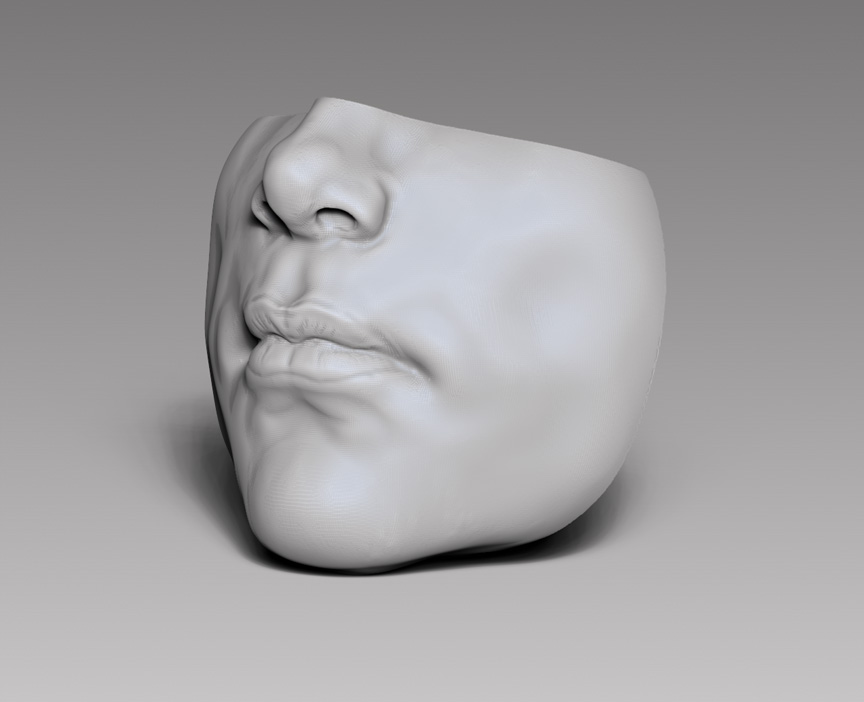
I teach an online class At The Art Department, it is live and interactive. In yesterdays class we were discussing the volumes and shapes of the mouth, and although this is not an original idea, I said to myself Ah Ha! I can show them in zbrush! So I sculpted an example and we, well I, moved things around a bit in terms of angles as well as push and pull volumes, and it seemed to work. The version I am sharing with you now was worked on after the class a bit, I am not good enough to get this far in a couple of minutes
Any way, If I get more proficient with Zbrush It could be such a great teaching tool.
Jon
ZBrush is ‘quirky’ but looks like you’re doing a great job pushing forward; I can feel your ability bursting through and giving them life even despite some little technical niggles… that’s just practice with the tool… you’re getting there and I look forward to seeing what you do with it next!
H
Pretty nice mouth.
Btw. Have you tried sculptris?
Limited possibilities, maximum easiness and still a little bit more artistic to use than dynamesh.
If you finally have your shape GoZ to zbrush, quick retopo like explained here:
http://www.zbrushcentral.com/showthread.php?173177&p=985122&viewfull=1#post985122
And go crazy with all zBrush detailling madness.
Could be sometimes an option 
Very nice work for somebody that claims to be a beginner.
In case you haven’t played with this yet, they have added outlining matcaps and a posterize feature that can approach a comic book illustration style. The basic description is here: http://docs.pixologic.com/user-guide/materials-lights-rendering/posterization/
I think Nick Zuccarello figured this stuff out first. His post on it, including several outlining matcaps and a video on the process is here: http://www.zbrushcentral.com/showthread.php?165050-Comic-ink-matcap-pack-for-download&highlight=comic+book+render
Been trying to learn how to use polypaint, make texture maps, displacement maps, work with UVs etc. Tried to use Cheetah 3D for renders (actually works well for the simple, greyscale, reference images I sometimes use for my illustration work) but decided to start the learning curve with Blender instead, so many more possibilities. Still, this render was done in Zbrush with passes, and then comped together in Photoshop.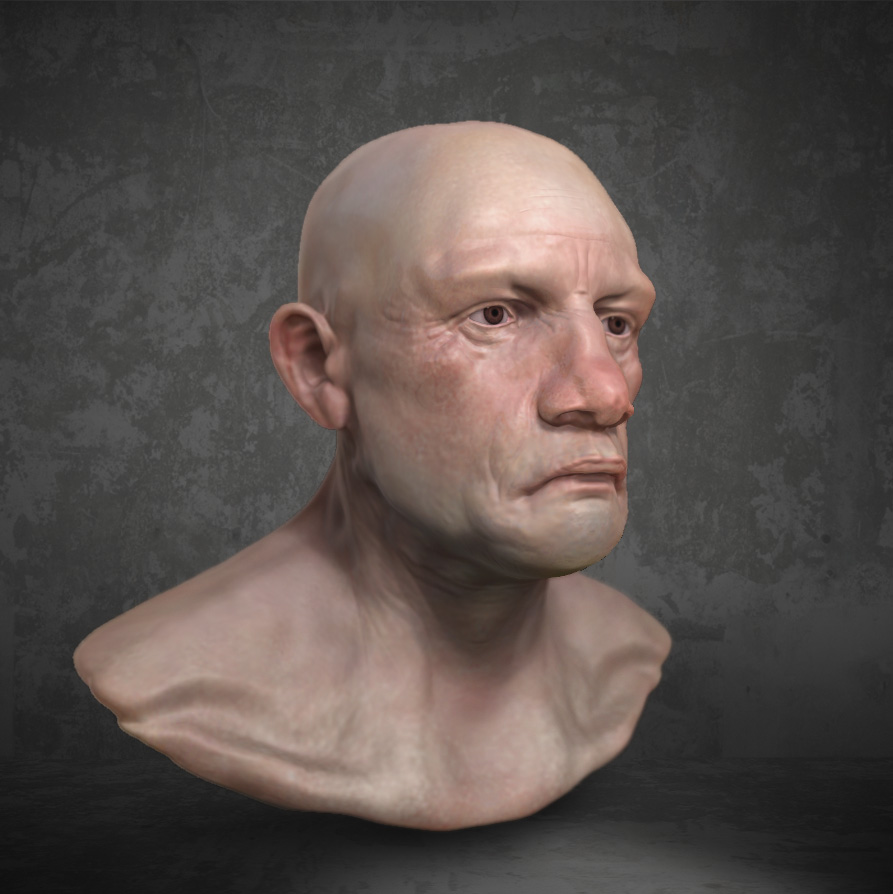
Newest trying to work with fiber Mesh.
All ZBrush, bpr render with passes, comped in Photoshop

Nice man!!! did you find it easy to use?? the fibermesh I mean. I want to get my hands on it but It makes me a little lazy to start 
Hey jmturbo,
Thanks! As for fiber mesh, well… I can’t say it is easy, but I found that if I play around with the settings with no output in mind I could relax and see the potential for other projects. Move a slider see what happens, move another, see what happens… I must be easily amused. Also, work in strategic sections, layers of fibermesh or sections like top front sides etc. It’s easier to groom (at lest for me) in sections, and easier to create the changes in scale and shape. For the Raven, I masked the area at the bottom of his neck first, made the fiber mesh then masked the next area up, made the mesh and so forth. That helped get a layered feel, and also change the scale of the feathers. As for the grooming, I have the hardest time with this part, never seem to be able to get it to do what I want, or think, it should do. Just brush and pray it looks good in the render
I have been using Zbrush more and more for reference generation in my illustration work (although I need a lot of reference to make my reference :). I have been fascinated by the artists both using 3D modeling for it’s own ends as well as those that are using it in conjunction with 2d processes. For example the amazing works by Boozy Floozie and Mytholon. My process is a bit more like using photo reference in the traditional since, but I find myself painting over them directly as well. There is a constant struggle with my affection for loose painterly style and the very real look of a rendered model. I need to learn more about rendering to see if I can get a looser feel.
I have included some of the illustrations that I have used Zbrush to help flesh out ideas and forms.
I pretty much stay in Zbrush, but use Keyshot in conjunction for the renders. I did use Blender a for a while and would like to go back to it before I forget everything, but the Keyshot bridge from brush is so fast and easy 
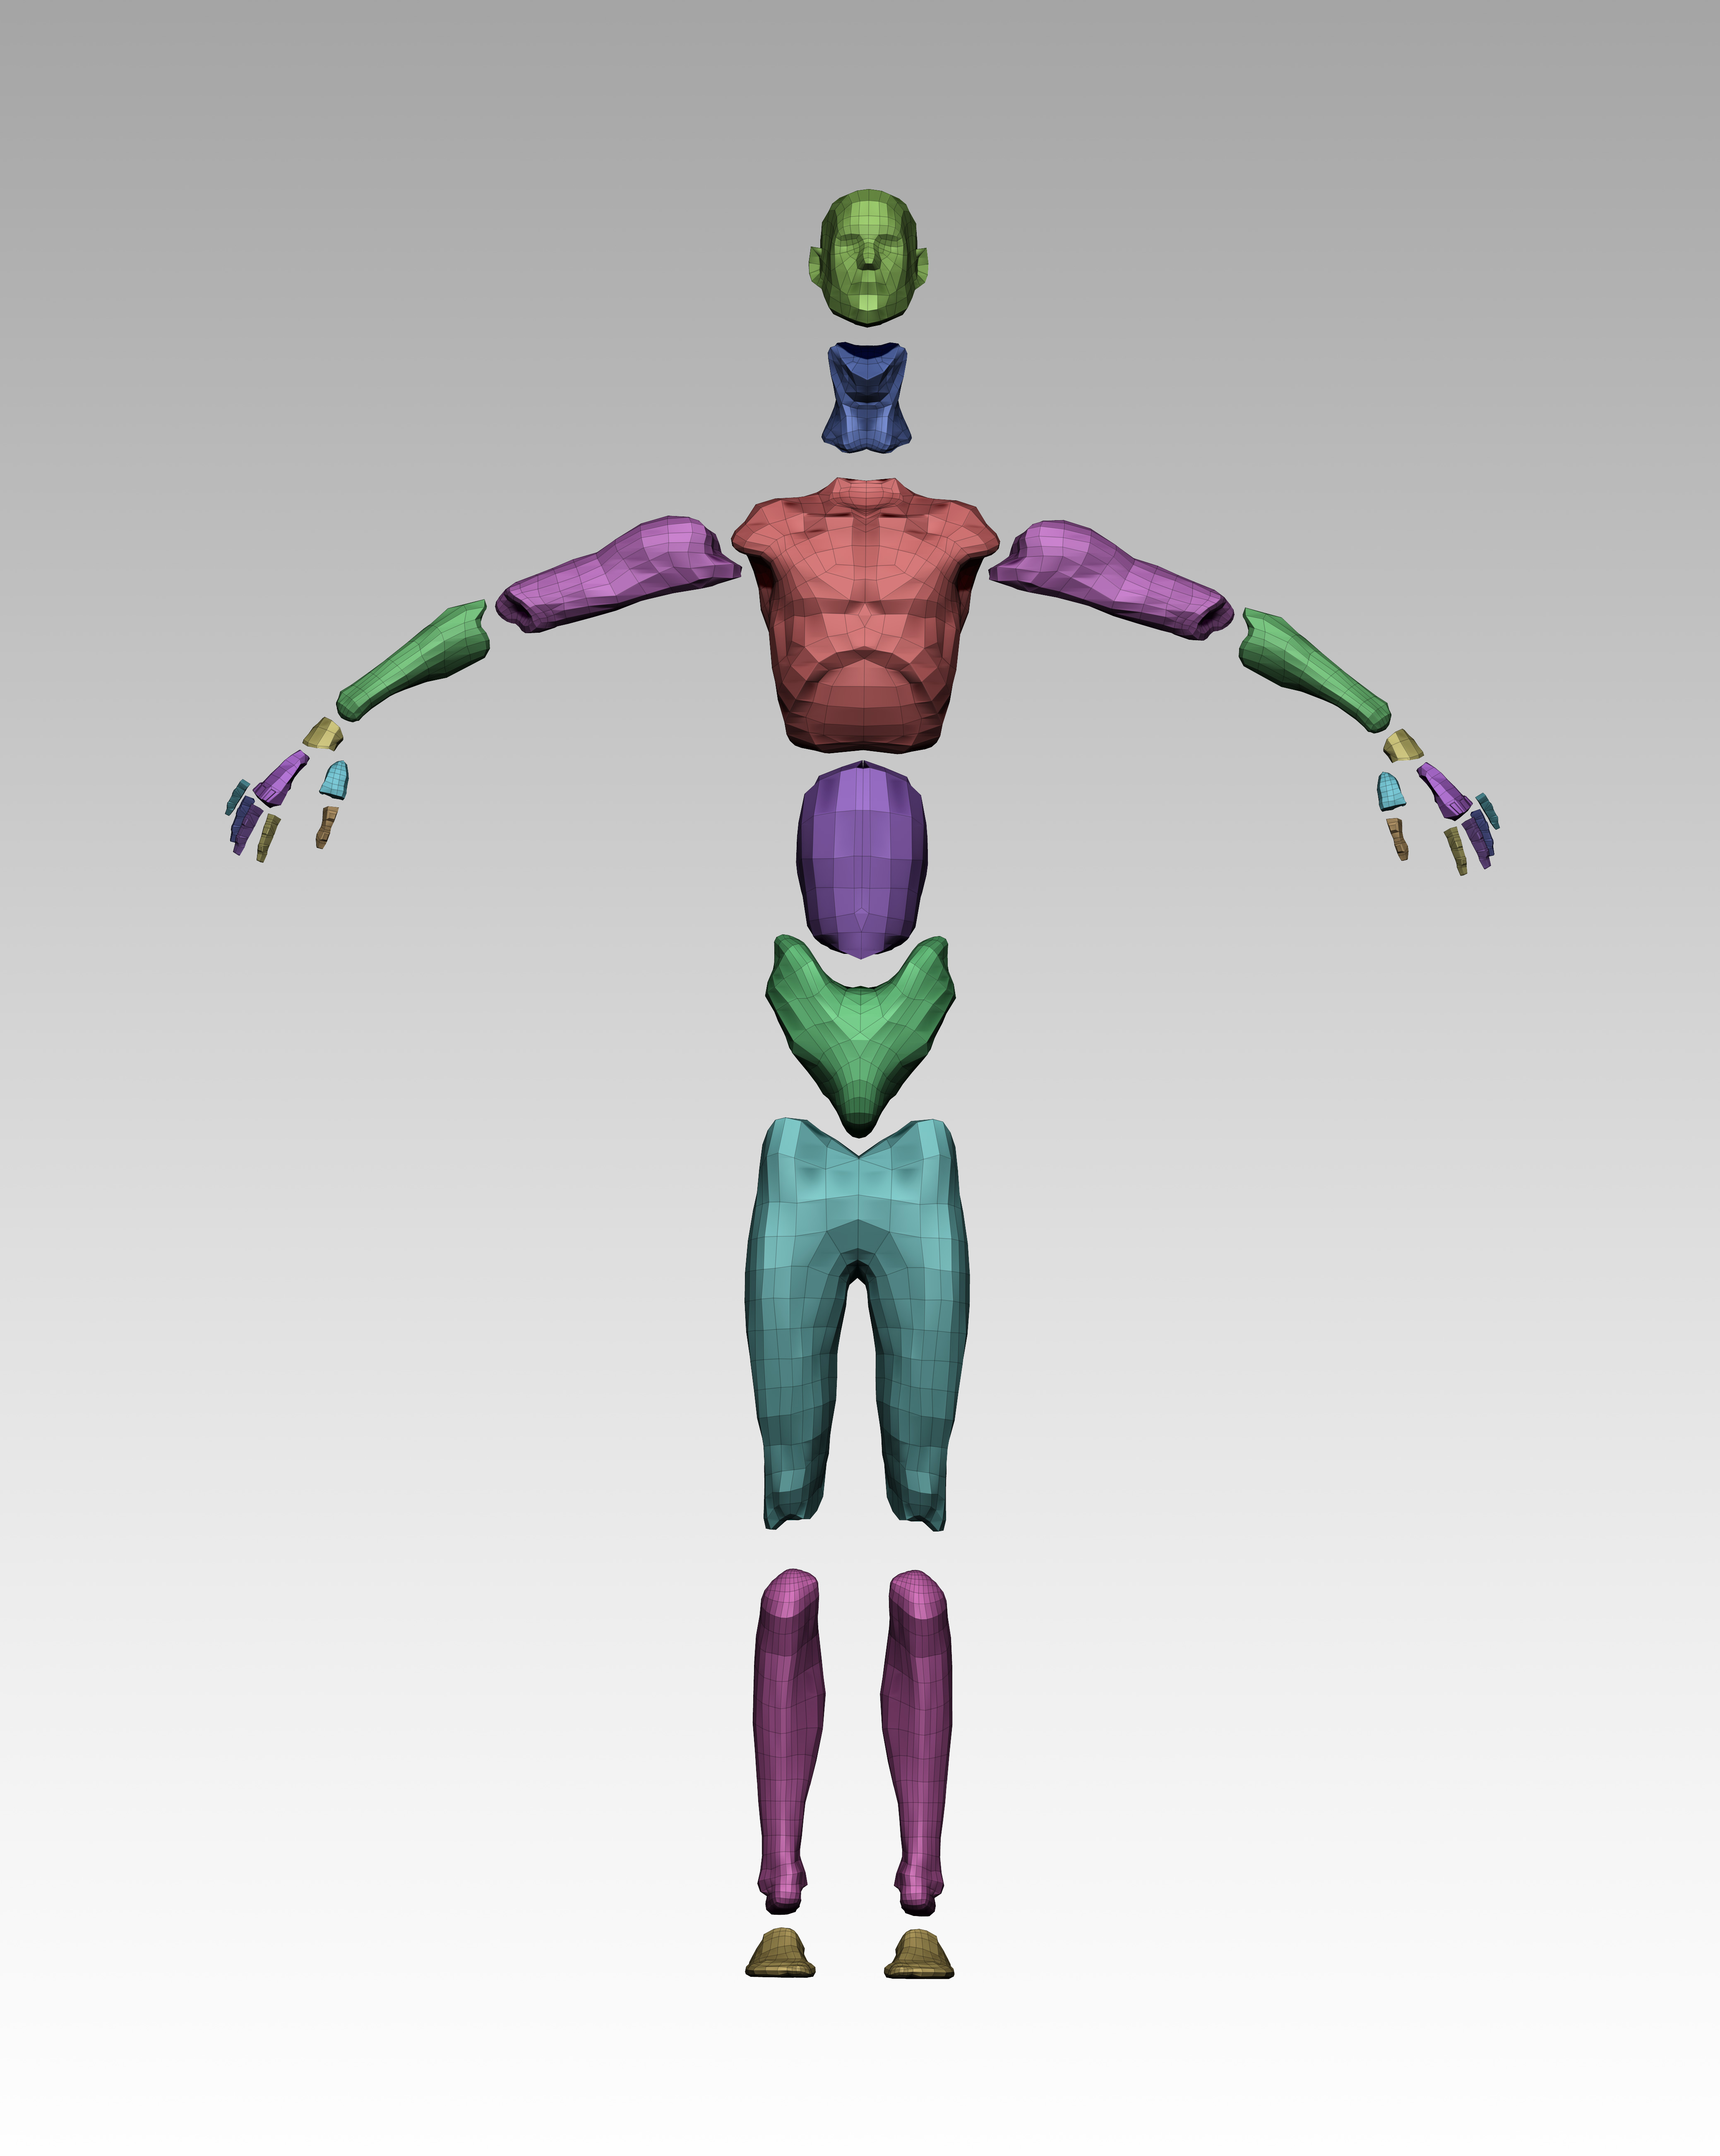
I made my own mannequin/anatomy buck to help get things rolling a bit faster. Each polygroup is contained in one Sub Tool. There is a Zsphere rig for it but I have not gotten it to work right, too much mesh distortion. Now I use the transpose tools with masking and or mask by polygroups on 100%. Each polygroup is its own mesh, so after getting the pose close, I can push and pull each poly group to achieve a better flow and weaving of the anatomy. I’m sure there are better ways but this is working for me so far.

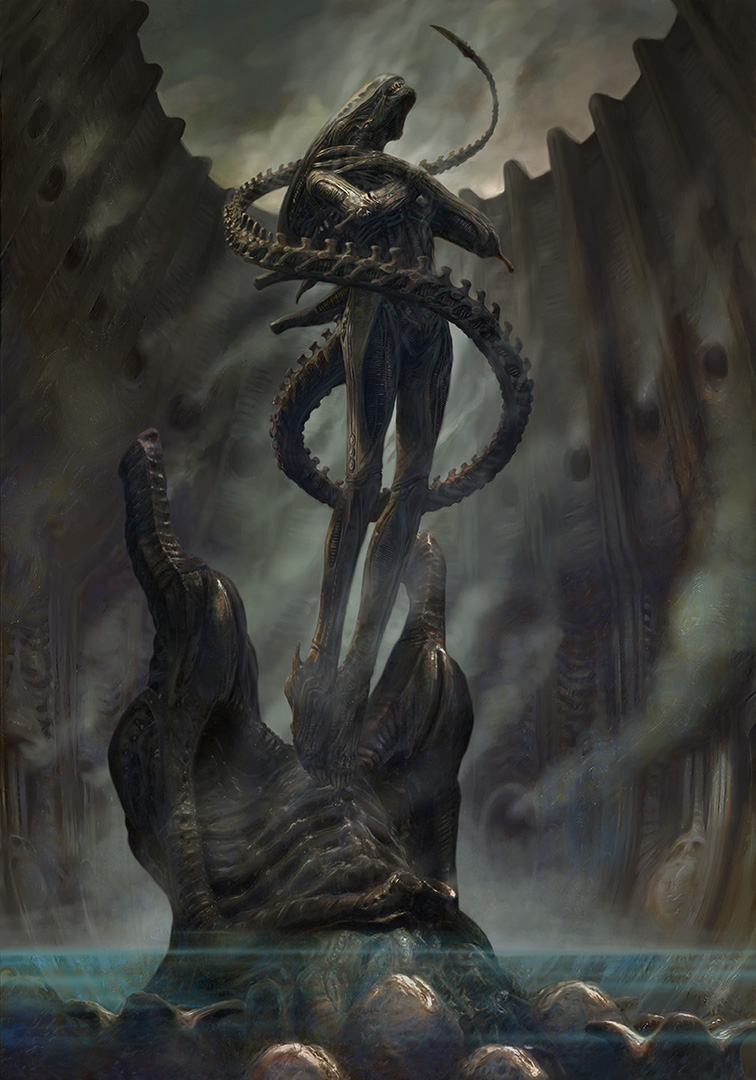
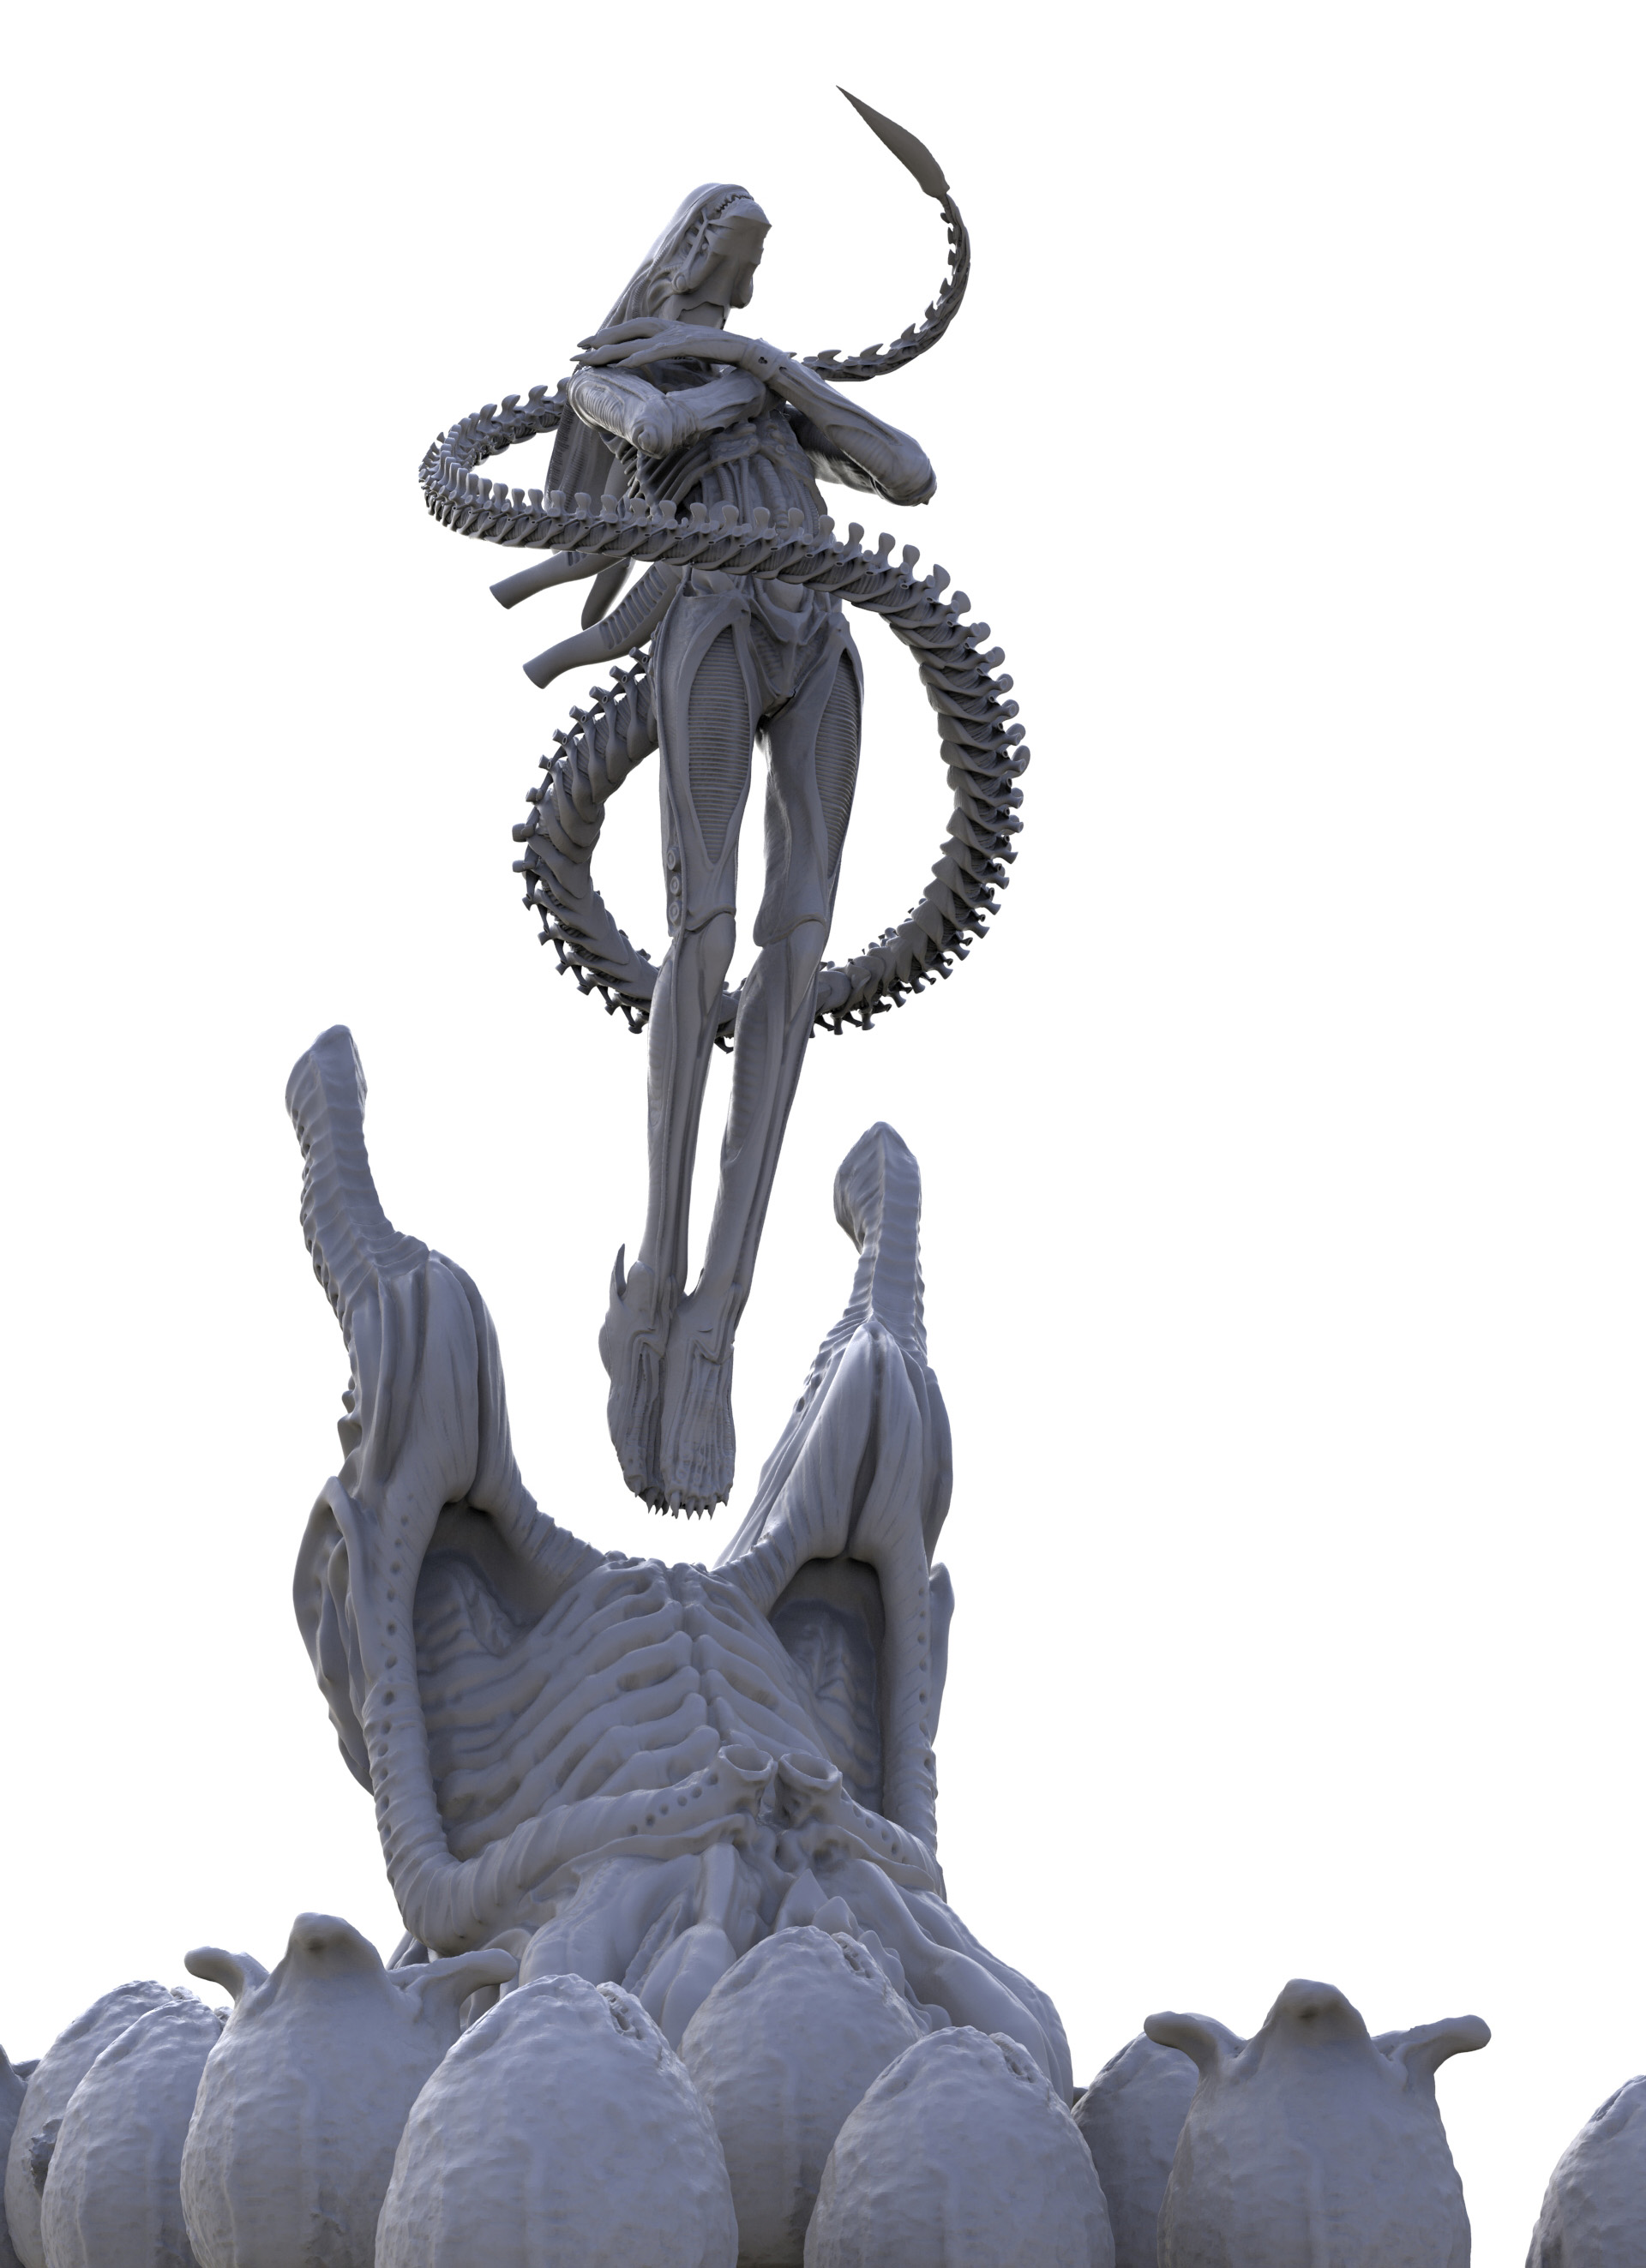
The Giger Alien was sculpted at Sideshow toys. I re-sculpted it based on their design so that I could pose, distort and light it for the illustration.
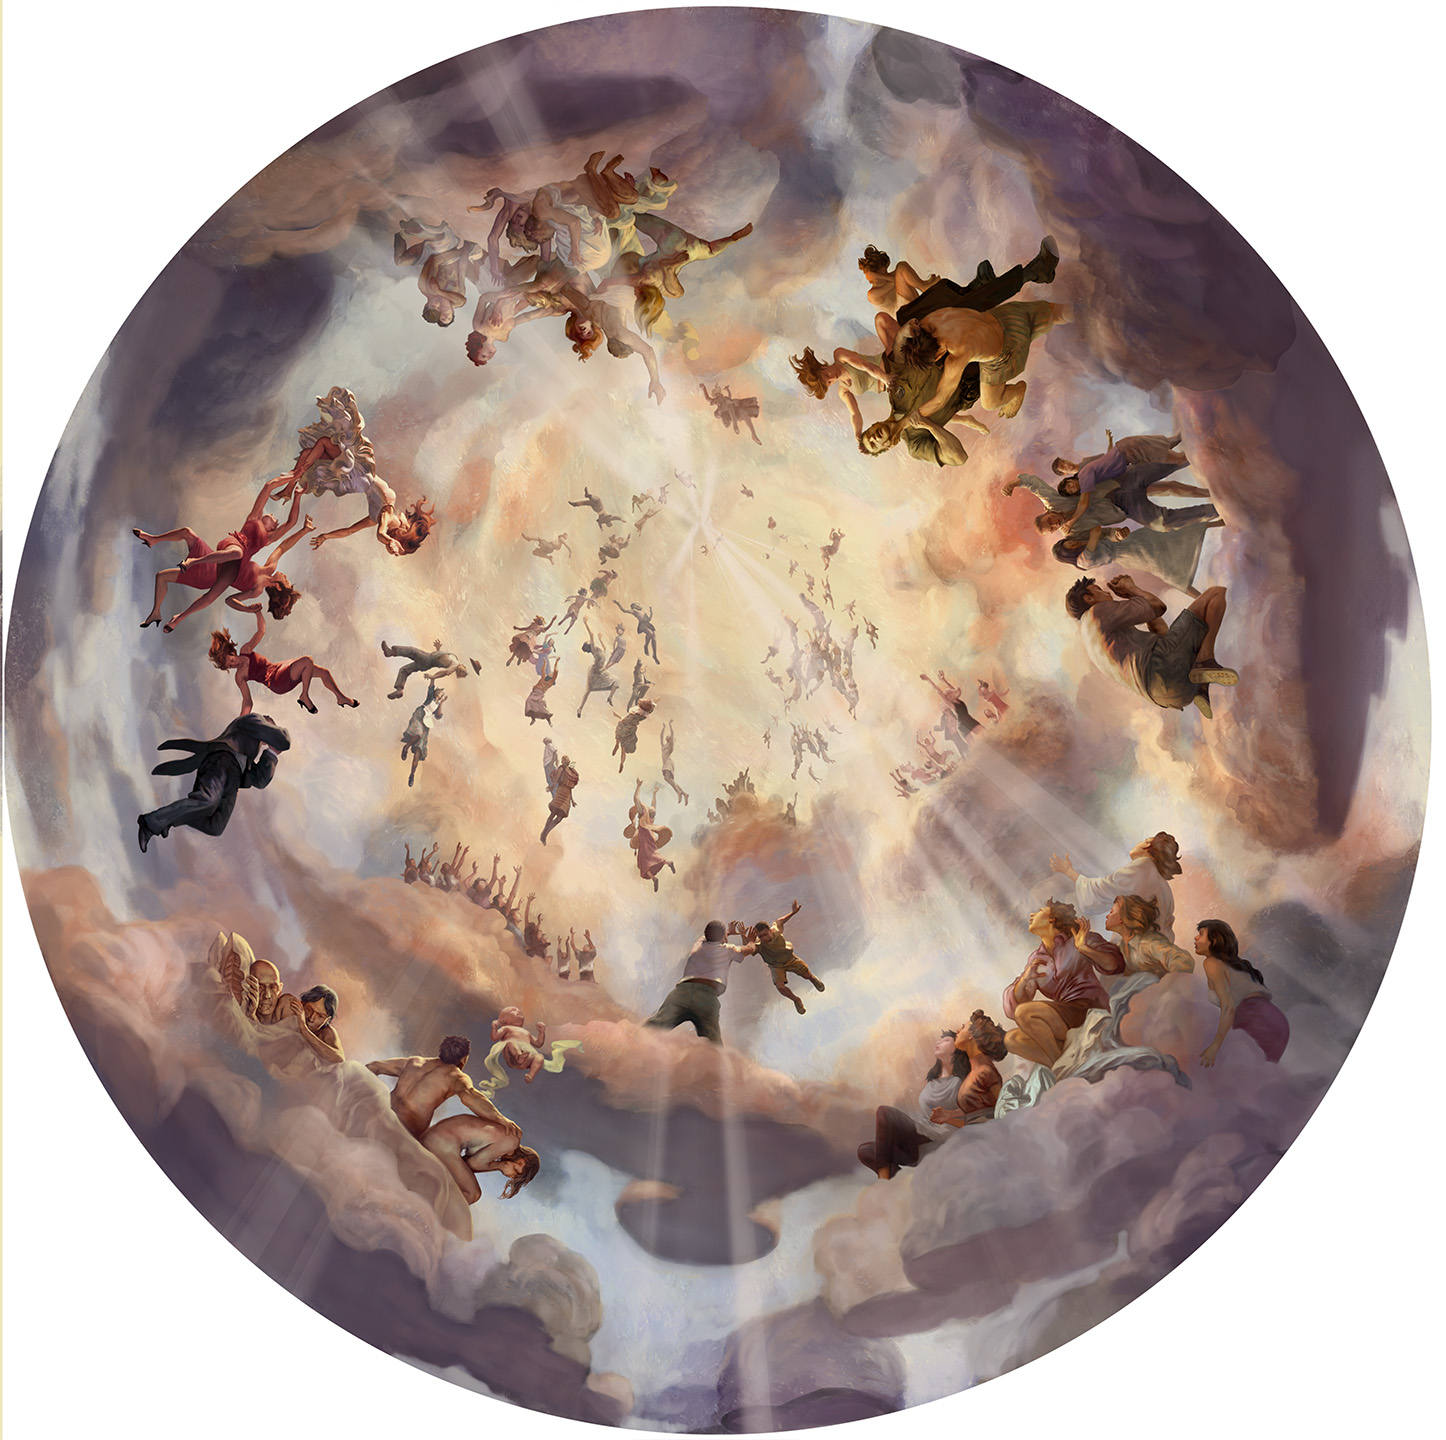
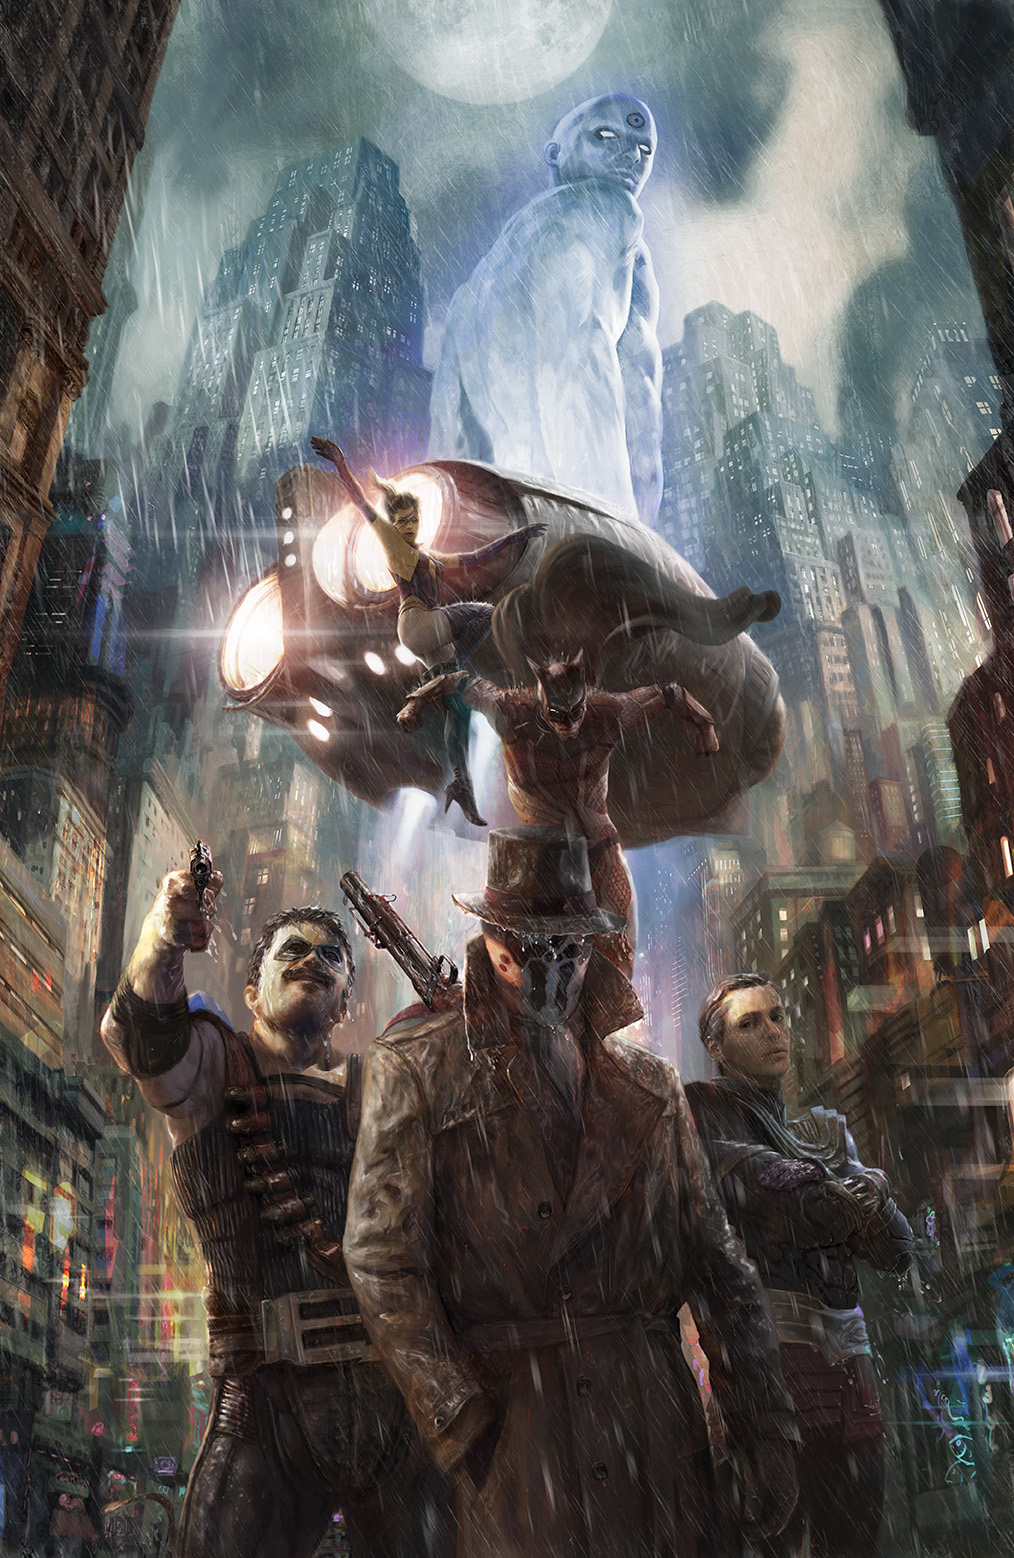
The first season opening credits for HBO’s “The Leftovers” was a massive project https://www.youtube.com/watch?v=3PTNHQND6MA. I worked with Garson Yu at YU+CO http://www.yuco.com/. I painted the mural in many layers, often each figure on its own layer so that the animators over at YU+CO could make the subtle movement effects seen in the intro. Their animation and post processing really brought the work to life!


Attachments
1 Like
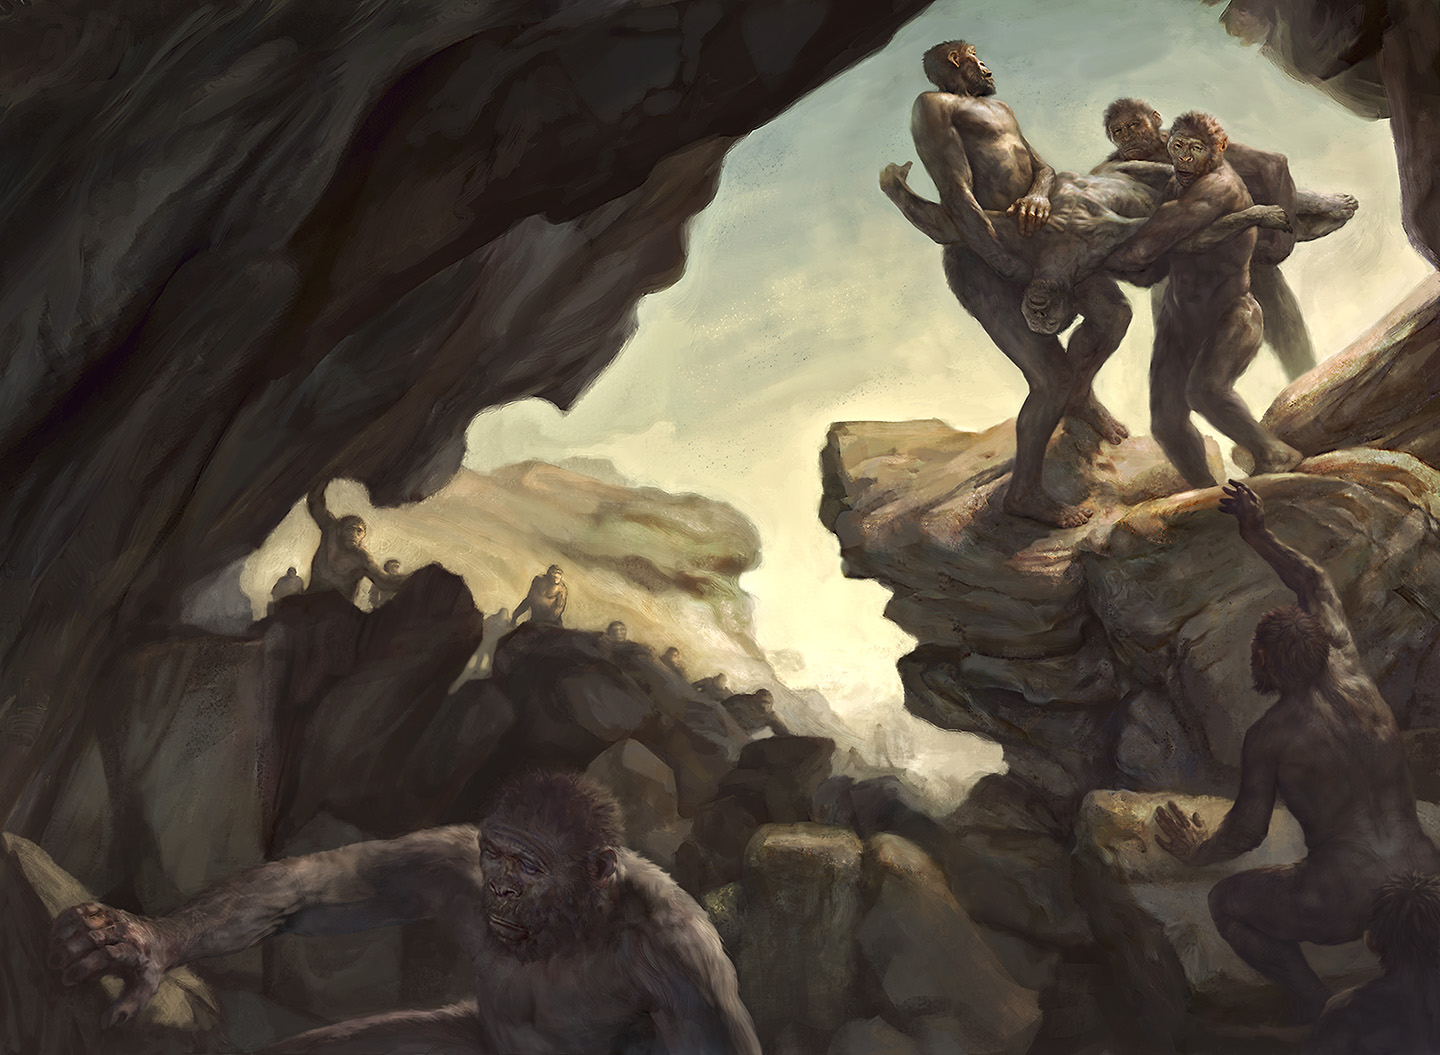
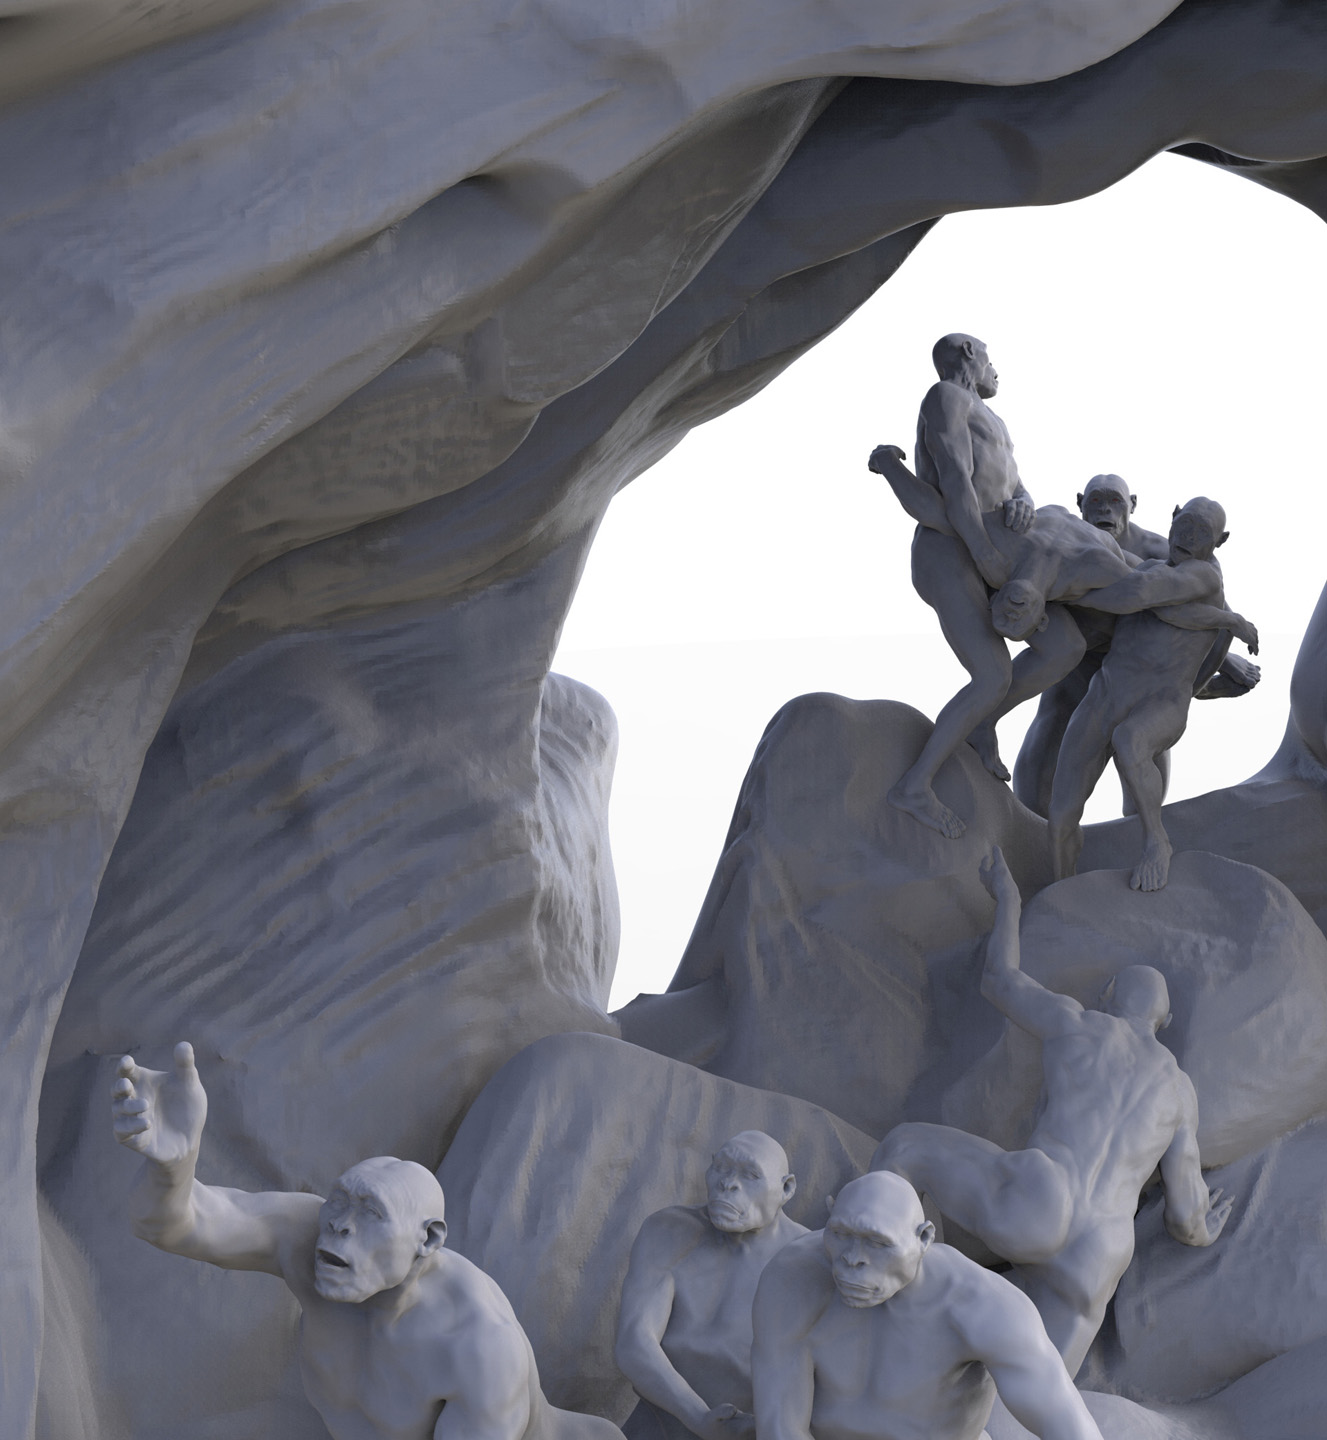
The Hominids sculpts were based on John Gurche’s interpretation of the Homo Naledi bones found recently in South Africa. The illustration was for National Geographic.
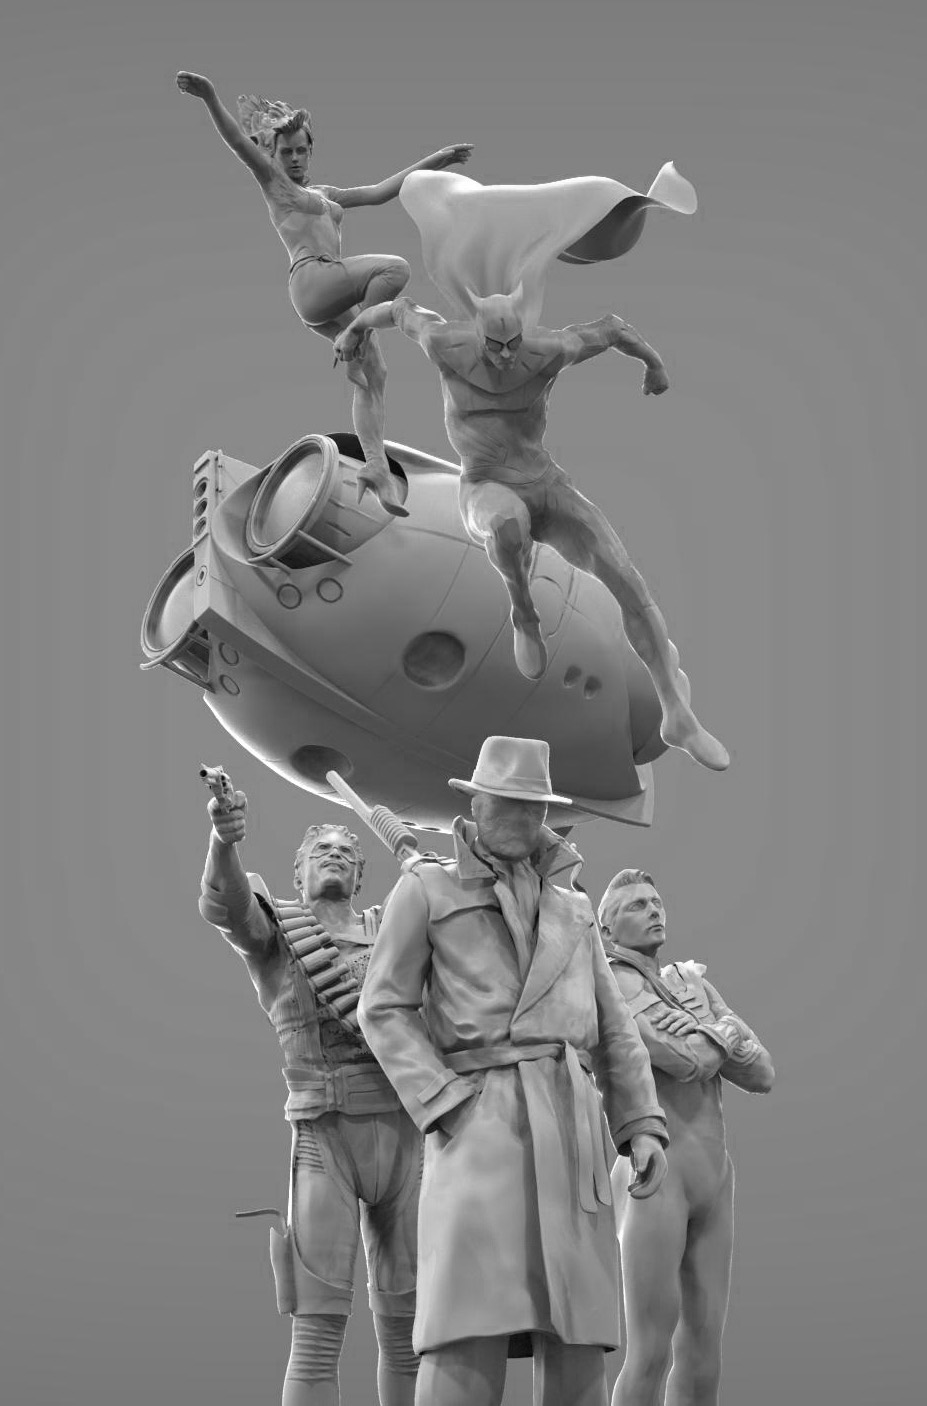
The Watchmen illustration was one of the most complex sculpts I have made so far, but It helped out tremendously with the Illustration (also for Sideshow Toys).
Attachments
1 Like


Cool stuff Jon. I can relate very much to (and appreciate seeing) your growth process. My interest in 3D has always been fueled by the ability to use it as excellent (and flexible) reference for 2D painting… so it is quite interesting for me to see the choices you are making as you sculpt.
Very nice work and thank you for sharing the process.
Beautiful work!
Great work. My favorite is the slimmed down, more meagerly proportioned Batman and Robin. So cool.
Half Life, thanks, I would like to keep up with this thread and I will check in with yours as well.
Hopefully we will both be finding new and exciting avenues/processes in meshing (pun intended) the 3d work with 2D.
I wish, oh I wish, Boozy Floozie would make an in depth tutorial. His work freaks me out, in a good way
Cherub_Rock, I am thrilled you think so! Your work has been leaving me smiling and cursing for a few years. The cursing part is
just raw amazement and and confusion at how you make such beautiful work. Thank you for checking in.
Tristanartform, I would like to show more of the process, but I admit to being a little intimidated by how well others explain
their process as well all the stuff I just don’t know. But I want to give it a try.
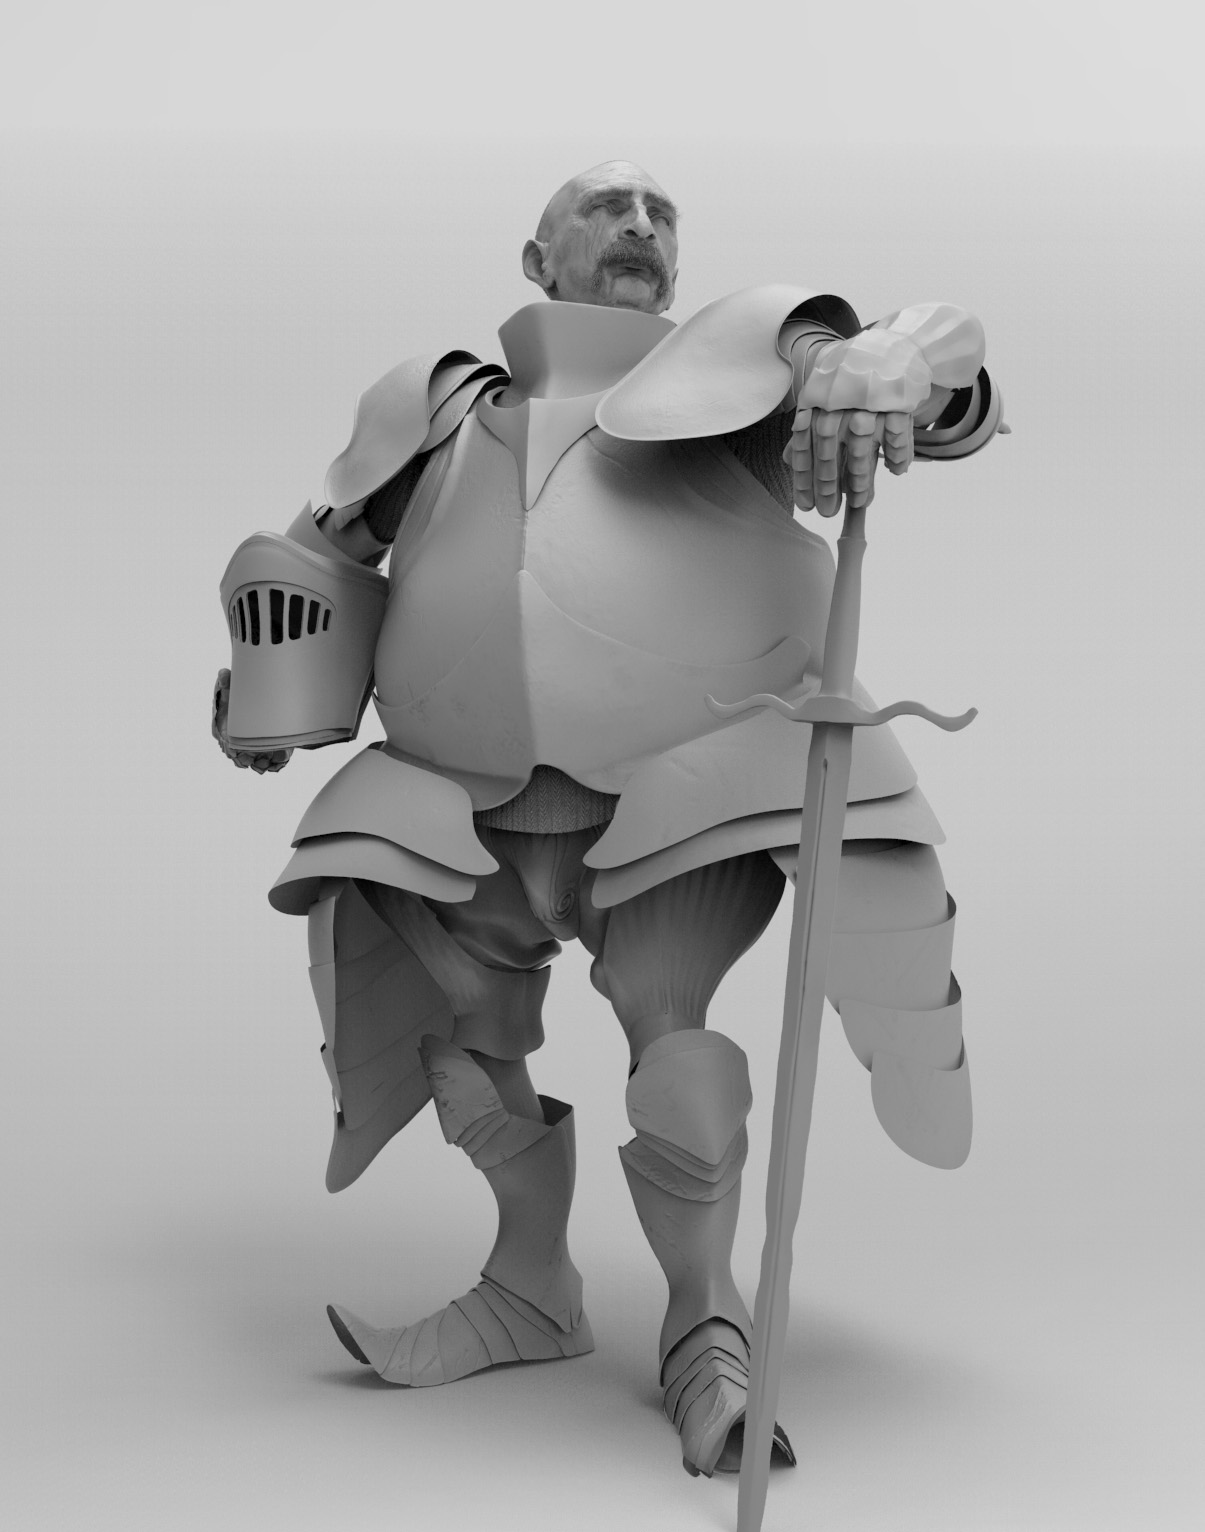
HeavyTheory, Ha! me too! I made that model to help with yet another Sideshow Collectibles project. I did have to flesh him out
for the illustration, but I wish I could have made him more lanky and… frumpy.
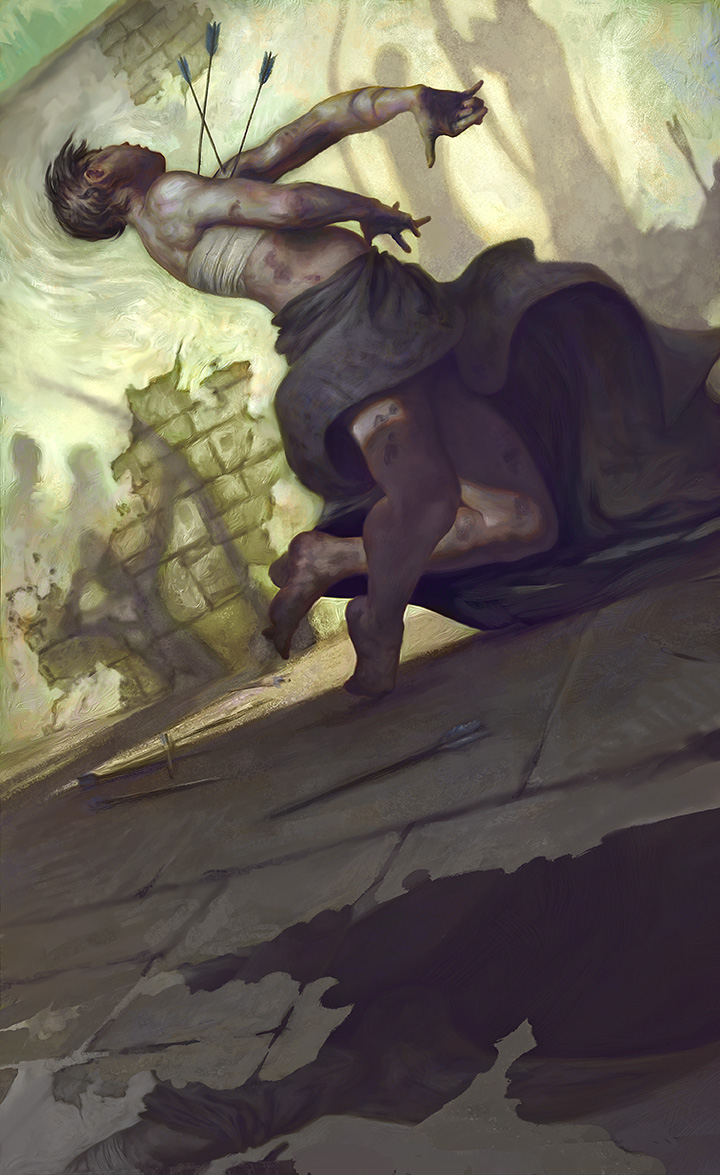
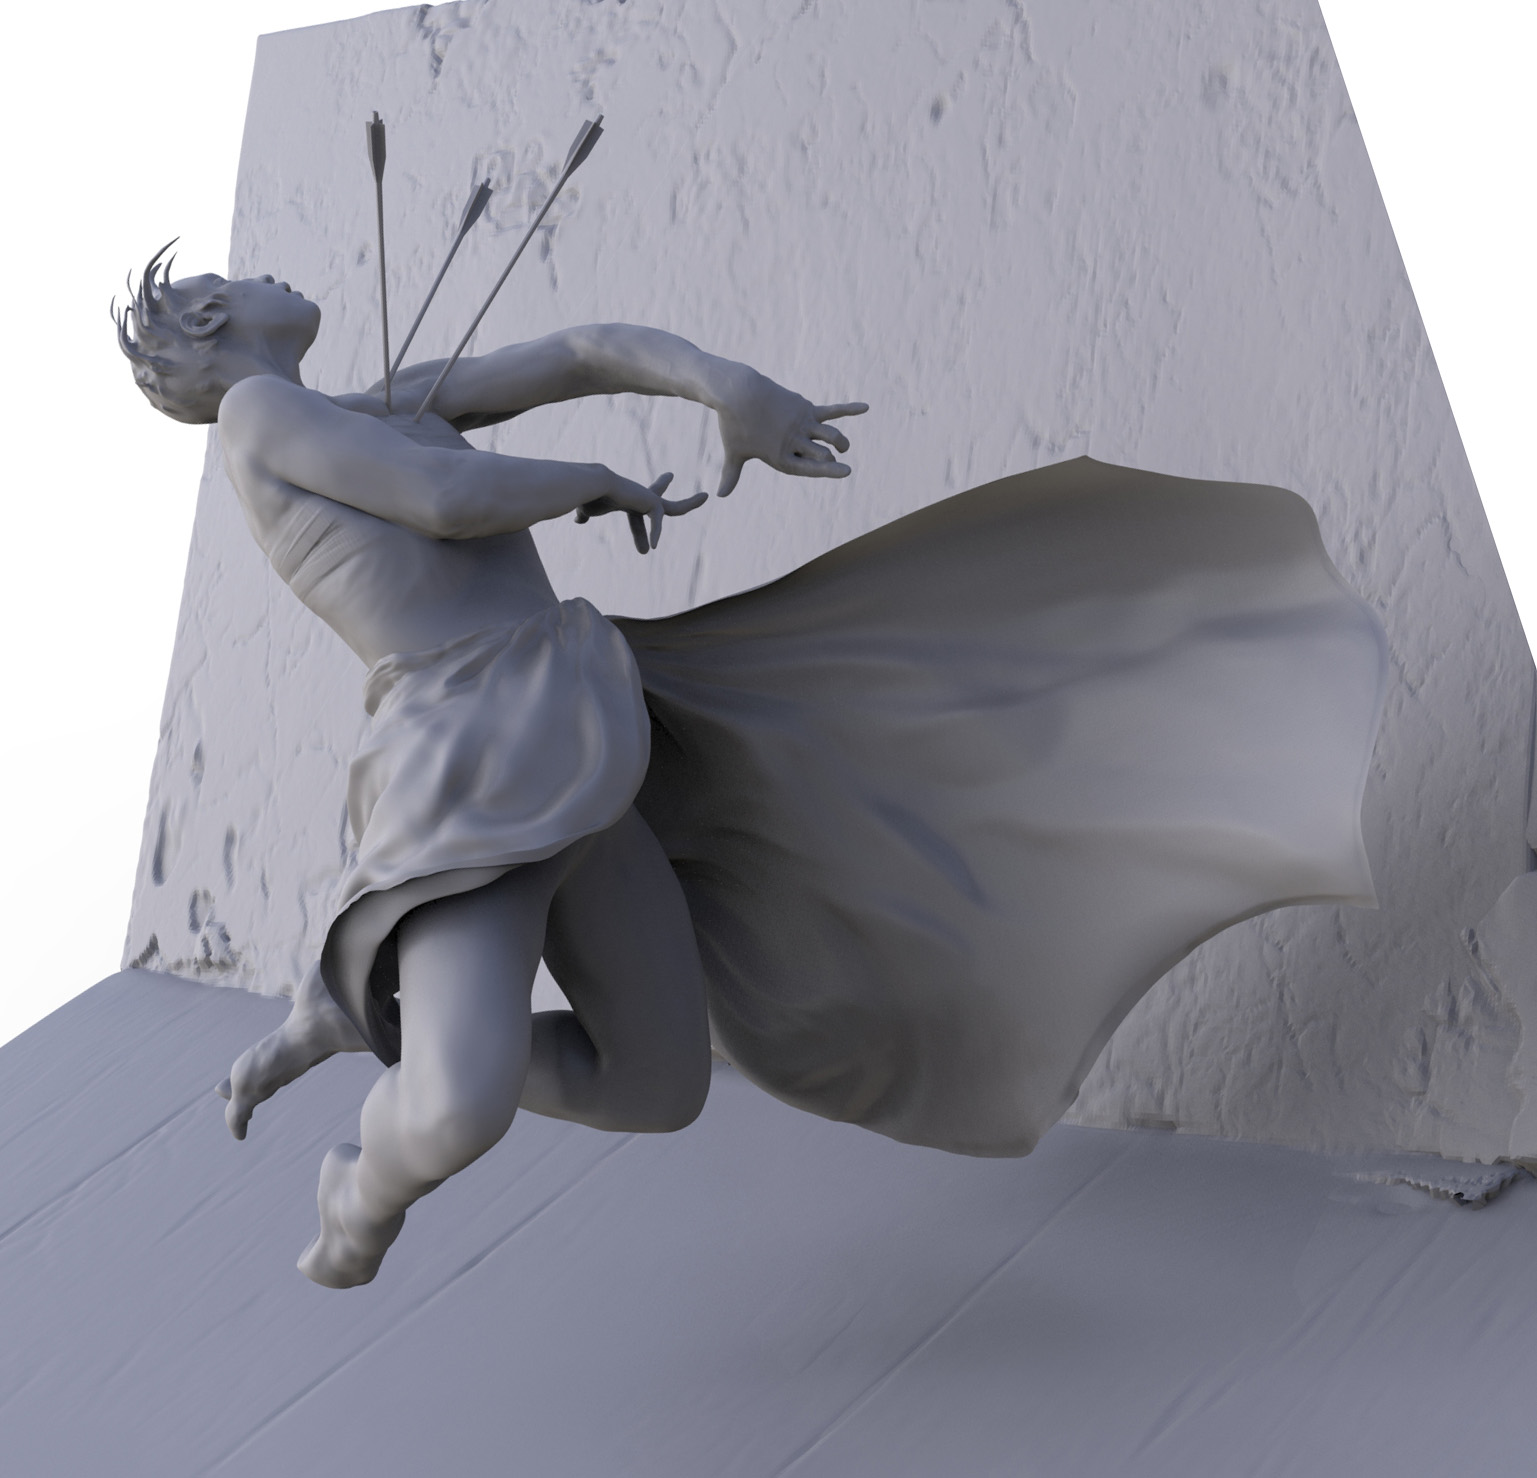
Adding in another project done for TOR.COM The paintings are digital, done mostly in photoshop with some Corel Painter to help mess things up a little. The model is all Zbrush with Keyshot render.
Attachments
A strong sense of movement and “weight” is something I see quite a bit in your work, this piece being an excellent example – it just feels so dynamic.