This will come in handy someday  Thanks
telling me to turn off alpha how do i do that
evilkoolade,
What version of ZBrush are you running? This is for 3.1.
probably the problem i’m running 3.0
You should upgrade to 3.1. Version 3.0 is no longer supported.
I try to use ZProject with ImagePlane.
But I have a problem with scal the plane to the size of the head.
I want to paint face texture and displace.
How can I scale the plane ?
I read in forum-search the transposetool only works in polymesh objects.
It dont work here.
I read in this thread something about resize canvas document, but I dont work, too.
Any Idea ?
Attachments
In the Tutorial http://www.zbrush.info/docs/index.php/Tutorial:ZProject_and_Adjusting_Photo_Reference
is the answer: Deformation Tools.
I have try this some times before - ZBrush crashes.
But now it works 
Why, I don’t know.
But now I can use it !!!
Thanks for Image Plane Plugin 
Jack,
Thanks for your comments and I’m glad you found the answer. 
One way to avoid the crash is to do this for the plane (or any new subtool) before using the Deformation sliders for the first time:
-
Select the new subtool.
-
Press Tool: Deformation: Unify
-
Press Edit: Tool: Undo to undo the unify action.
HTH,
hello marcus
is there any plan for new features or upgrades for this great tool ?
remember! , you gave us your word a few months ago
Maya_Mana,
Thanks for your comments. I’ve not forgotten! There is a new version in the pipeline - it’s just that I have been busy with other things just recently and haven’t had time to work on it. I will release a new version just as soon as I can manage it.
Cheers,
marcus thanks for an update for zb3.1
Marcus, im sure im not the first to tell mention there is a nasty big with PM.
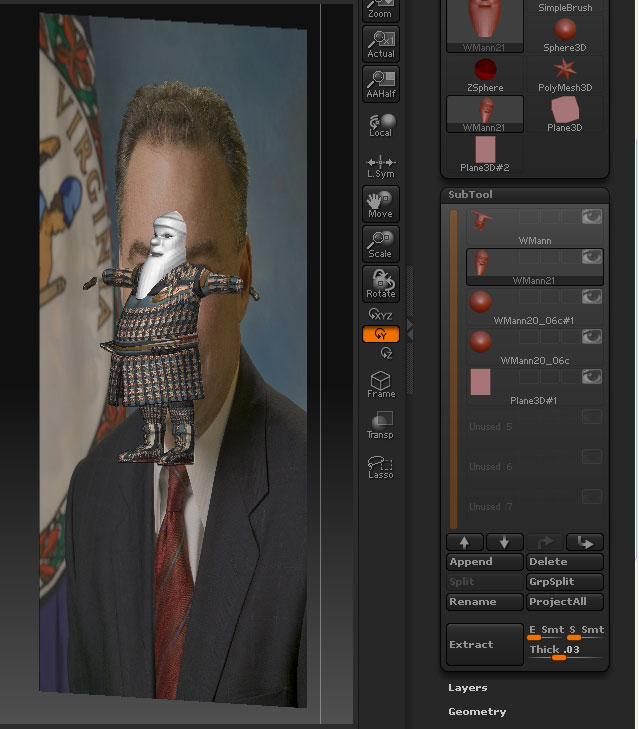
after moving around the plane3d points with the image in projection master to my desire, baking will give a SHIFTED result in some areas. usually the eye are a of a face will shift up 20pixels or so (in monitor space) for no reason. it always shifts the same way on the same model no matter how many times i restart/redo it/reposition it.
my workflow is:
load my model, turn on colorize, load the image, store position. enter projection master with color only, click load the image for it to showup on my model, play with the plane by moving points, pickup from PM. that’s it… the result is different from what i adjusted in PM. this an amazing workflow to texture but with this bug i cant use this technique, being able to move the points is crutial i dont see how you can do it without PM. is it just me/few others or is this a zbrush3.1/reference image bug?(i do have the latest version)
ideas? solution?
thanks
Gal,
I don’t remember hearing of this before and I certainly can’t reproduce the error. Can you post an image so I can get a better idea of what’s happening? Do you get the same error if you use the DemoHead?
Im having trouble getting this to work in a production workflow.
During using the imageplane texturing tutorial it is mentioned that I have to press the disable UVs button - which destroys all my UVs that I have laid out on my mesh. Importing the level1 mesh with correct UVs again, to transfer my texture for exporting makes the polypainting very blurry with random little areas of the original resolution texture intact.
How do I go about exporting a polypainted texture using my original base UVs and this technique?
FAT_CAP,
Is this the method you are using -
http://www.zbrush.info/docs/index.php/Tutorial:ZProject_and_Adjusting_Photo_Reference ?
There is a way of using this method without disabling the UVs. Basically you convert the plane to a a polymesh, divide a few times and transfer the image to it using Txr>Col (so that the plane is polypainted). As the plane is a polymesh you need to use the Move brush to reposition.
If you think this will help, I’ll run thru a step by step for you tomorrow.
As for a blurry texture, be sure to convert your polypainting to texture at the highest subdiv level.
HTH,
Hi Marcus,
Yeah - thats the method that I am using and it works great until I need to bake the polypainting to a texture. I am only getting the blurry polypainting when I import my original level 0 mesh which has the proper UVs on - I guess because the polypaint is polygon resolution dependant, and so the new level 0 mesh overwrites the sharp higher level texture with a blurry lower level 0 version.
If you could run through the step by step technique where the UVs are not disabed that would be great as it seems like this would be a much better option for us.
If you store a Morph Target before importing the OBJ with UVs you can switch after import. That should restore the model so that the polypainting is unaffected.
Alternatively, here is a run thru of the method without the need to disable UVs:
-
With the canvas clear, press the Image Plane button and load an image. The image plane will be placed on the canvas with the Move gyro showing.
-
Press the Edit button to enter Edit mode.
-
Press the Tool : Make PolyMesh3D button. Press Enter to dispell the UVTiles message if there is one. The plane will turn white as it is replaced with the polymesh.
-
Reselect the image so it is applied to the polymesh plane.
-
Divide the plane to increase the polycount. The higher the better, depending on your image size, at least the same number of polys for pixels.
-
Press Tool: Texture: Txr>Col to convert the image to polypainting.
-
Select your default material of choice, turn off Edit and clear the canvas.
-
Load your model,draw on the canvas and enter Edit mode, and press Tool:SubTool:Append. Select the polymesh plane (it will be called PM3D_Plane3D#1 or similar).
-
Select the new plane subtool and then press Tool: Deformation: Unify.
-
Use the Tool: Deformation: Size and Offset sliders to position and scale the plane.
-
Switch on the Transform: Transp button to activate subtool transparency.
-
You can now use the Move brush from the brush palette to adjust the image plane to suit your model before switching to the model subtool and transferring the image using the ZProject brush. Make sure only the model and plane subtools are visible before starting ZProject.
That should do it.
HTH,
Thanks Marcus - I’ll give it a run through at work today and let you know how it goes. Hopefully it’ll finally save me from swapping between ZBRUSH 2 and 3 for my texturing and modelling!
Hi Marcus - your first tip about using the StoreMT command to store a morph target would have worked when turning the UVS on and off in the Tools: Texture EnableUV and Disable UV commands however it appears that I was wrong about exactly which step was breaking my workflow and it seems to be that when I have to hit the COLORIZE command that the process loses UV information. Storing a morph target does not work in the case and the UV information isn’t transferred from the stored morph target.
The walkthrough you posted works great though - Im going to test it out more this afternoon and hopefully get our ZBRUSH workflow contained all within the same version of the package.
Thanks for the swift replies 
FAT_CAP,
The Morph Target doesn’t store UVs, simply the vertex positions. The point is that you can restore the vertices after importing an OBJ with UVs (in case the OBJ changes them and spoils the polypainting):
- Polypaint with UVs disabled.
- Enable UVs.
- Switch to lowest subdiv level.
- Store Morph Target.
- Import OBJ with UVs.
- Switch to Morph Target.
- At highest subdiv level Col>Txr.