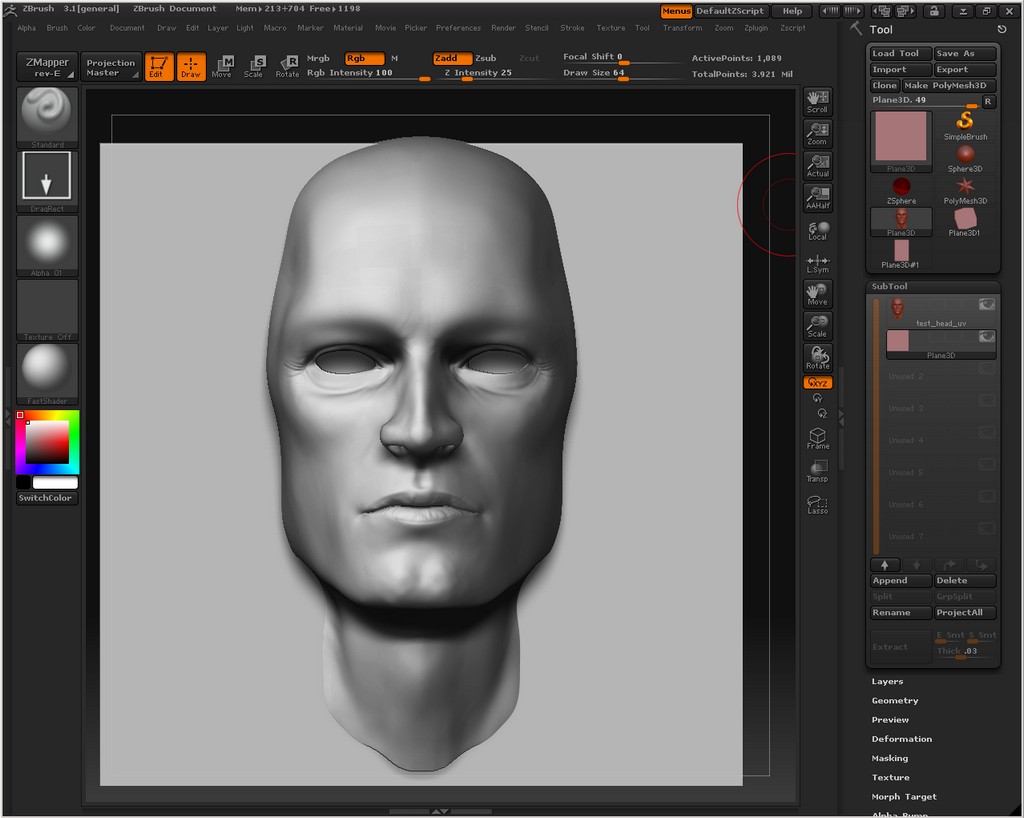
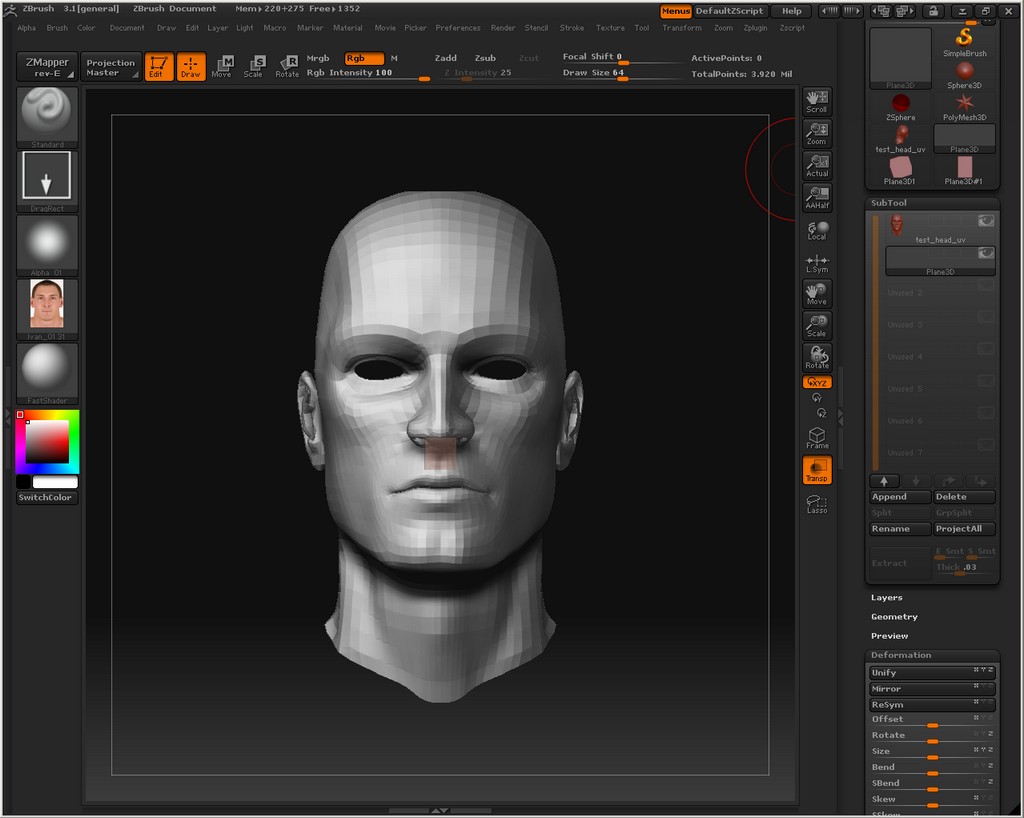
So after doing the whole process about 15 more times I noticed that in the menu above the subtool menu, that the image of my model gets replaced with a plane3D image when I go to hit the texture button to load the texture onto the image plane, even though I have the Plane3D subtool selected. Is it supposed to do that? And when I hit both subtools several times to see if it will correct itself an image of my model will appear above but it’s labeled Plane3D.
Then when I go ahead and apply the texture to the image plane and go to deformation to size it the Plane3D subtool vanishes from the menus.
I’m starting to think the Zbrush gods really hate me.
I just realized it’s my 3rd day trying to get this working right. So I installed Zbrush on another computer to see if it would do the same thing and make sure it wasn’t just my computer. It did the exact same thing.
As you can see in the image when I go to use any of the sliders in the deformation menu the image plane shrinks or disappears all together on the canvas, and if you look in the subtool menu and the menu above it it’s gone as well.
The only thing I can think of is that I’m missing a step that’s not in the tutorial and I’m too much of a newb to realize it, or, it’s only stable in the 3.0 and not the 3.1 version. I have no idea how I got it to work that first night if only for a minute.
And sorry for the multiple posts.
Attachments
Another post? Yes, another post. I have nothing better to do since I’m dead in the water until I get this working properly. I got it to work by mashing buttons. I think I got it working after deleting the image plane and creating another one…or two, or three when it would vanish after using the deform sliders. Eventually one of then stuck and I hit ctrl + N to clear the extra one in the background. I adjusted the image so it fit nicely to my model, about 30 minutes of work or so. I was ready to do some painting so I hit the Trans button…and the image on the image plane vanishes! AAAARRGGGHHH! Even though I had the model subtool selected!
I’ll go ahead and blame myself for not knowing the subtleties of Zbrush. I’m clearly not understanding something here, and will continue to plant my hairy arse here in the dark mashing buttons until something clicks in my head…since it seems I’m the only one having this problem.
Alright, here’s an update on my issue. I found out that there is another method using projection master. Avoiding the deformation sliders all together. And not as many steps either.
I was wondering if anyone else is having the same issue using the deformation controls?
Thanks again Marcus. I have a feeling I’ll be using this tool a lot now that I’ve got it working for me.
neuromancer2,
I’m sorry you’re having problems. I haven’t been able to reproduce this exact issue but I do know that some have had problems with appending the plane as a subtool. I am trying to find a way around it for the plugin update but for a workaround, see below*).
I did notice that you are selecting the wrong plane to append. The Plane3D tool is the default one, whereas the correct one will have the same proportions as your image. In your last picture it is named Plane3D#1. I don’t think this is what’s causing problems but you will find that the image will be stetched to fit if you don’t choose the right plane. (I probably need to update the tutorial on this to reflect the changes in 3.1 .)
Although the Projection Master way is a good one, the advantage of the subtool method is that you can ZProject-polypaint just those details you want.
*You may find that this method solves the problems you are having:
- Load your model and enter Edit mode.
- Press Image Plane button to load the image on to a plane. It will be placed behind the model.
- Switch off Edit mode and clear the canvas. Select the Simple Brush from the Tool palette and draw a few marks on the canvas. This is very important.
- Select your model again but DO NOT draw on the canvas. In the subtool submenu press Append and choose the Plane3D#1 or whichever from the popup.
Select the plane3D subtool in the subtool list. - Now draw your model on the canvas. Press T to enter Edit mode (also Ctrl+N to clear the canvas of the Simple Brush stroke).
- You should now be able to adjust the size of the plane using the Deformation slider and proceed with the rest of the method.
HTH,
marcus , your plugin is a magic …thanks you million times
I can’t wait any longer to see your plugin upgrade … :rolleyes:
" you gave us your word to finish it off in 1 week, perhaps it takes a little bit longer to get fixed and updated …"
Finally got around to giving this method a try, and it worked perfectly. I plan on using it tonite when I get home! Thanks Marcus!
Looks like the original method works as well. It might have been the plane that I chose, just like you said. Even though I thought I tried using both.
oops :rolleyes:
Iv Tried Using It And When I Click Load Image Under The Image Plane Heading It Says I Need Alpha Brushh 00 , Ive Tried Selecting Brush 0 Before Doing This But It Still Doesnt Wor, Whats Wriong? Please Help Because I Really Want To Use This Excellent Script
Hi MATT,
I think you need the version for 3.1:
http://209.132.96.165/zbc/attachment.php?attachmentid=65267
Make sure you remove the old version before installing.
HTH,
Great job marcus!
is there any plan for the upgrade and tutorials in near few days ( weeks !, opss shouldn’t say that ) ??
i really need this fantastic tool …
good luck
hi again
sorry but im doing this several times … and …using zproject tool makes the textures darker… but projection method seems o.k in this view…
another problem with projection master to me is , when switching to move or scale tool to adjust the position of the plane, it doesn’t let me to go back to edit mode … it says something like " … to sculpt you need a polymesh …"
got confused…
Hi Maya_Mana,
I am working on an update which will make some of the operations easier, hopefully to be released later this week or early next.
When working with textures, remember that the material you have assigned to your model can make it look darker. Choose a simple material like Fast Shader to make working easier. To check what the texture looks like without material effects you can switch on the ‘Flat Render’ in the Render palette.
When using an Image Plane in Projection Master, don’t touch the Draw mode or you will get that message. To adjust the image to better fit your model use Move mode (with Edit on). To adjust the over all size or position, switch off Edit and switch on Scale or Move, so that the Gyro appears. You can then move or scale the whole of the plane. When done, switch on Edit again and switch on Move to tweak the plane further if you wish.
thany you in advance marcus
good to hear your working on it… great
yes , that is it… i was playing with the Draw botton… now it works fine…
another question… is the projection method resolution independent…?
i mean the created poly plate reflects high res textures on it , right ( to be projected on to the model )?
you know when zooming in, it seems a little grainny , whereas the resolution of my texture is hight enough ( 3554 x 2336 ) and im afraid the full resolution is not transfered to the model… ( the tutorial for ZB2 says that it is better to crop and fill the canvase to one to one pixel trasfer )…
thank you again
dear marcus…
i just want to say thank you million times…
without your brilliant tool i couldn’t do that in one day…
{i did it with 20 projections in Zbrush and then blending them together in photoshop }
Attachments
Maya_Mana,
That’s great, I’m glad you found the plugin useful.
Im also getting the “alpha etc etc” error even with the lastest update. Does it have to be with the fact Im working on 64 bit platform¿?
The only thing that should make any difference is which version of the plugin you are using with which version of ZBrush.
If you are using the plugin version from the start of this thread with ZBrush 3.1 then you won’t get a message saying ‘can’t find Alpha 00’. It’s impossible because the code doesn’t look for that alpha.
You may have still got the previous version by mistake, in which case delete the ImagePlane3.zsc from the ZStartup\ZPlugs folder before reinstalling.
HTH,
I’m on a deadline and was wondering if anyone knew how to actually clone or sample from photographs in order to paint (clone) onto my model?
At best I’ve been able to get my image to act as a brush but it just smears around instead of sampling like it would in Photoshop. I’m new at this and any help is appreciated.