Hello all. I’m new here, but have been browsing for a few months learning how to make normals work in 3ds Max. But I’ve hit a bit of a snag. Here’s how I make the normals.
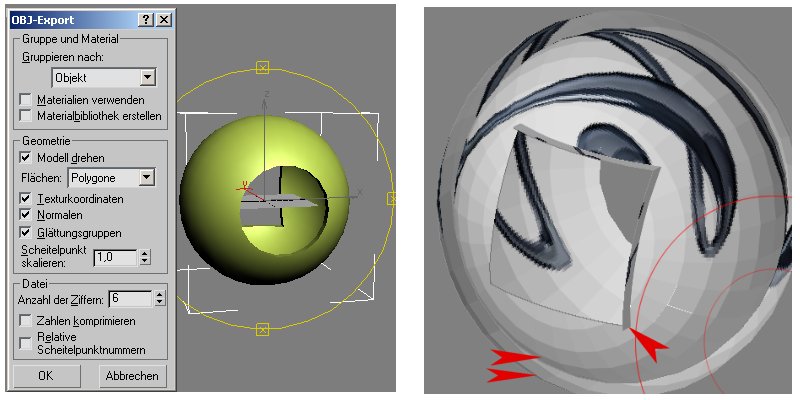
Export OBJ from max
import, subdivide, and detail in zBrush (i may or may not make a morph target depending on my goal)
goto subdividion 1, click GUV Tiles, and create normal
export tool / object and reopen in max
(i do exactly what was suggested in the first reply to this thread)
currently I am modelling a female character in Max with clothing. Her clothes are simply copies of the body mesh, cut and extruded to look like clothes. Using this method, I get perfectly fitting clothing and my Character Studio rig perfectly manipulates all of the “cloth” and her body without geometry passing through each other.
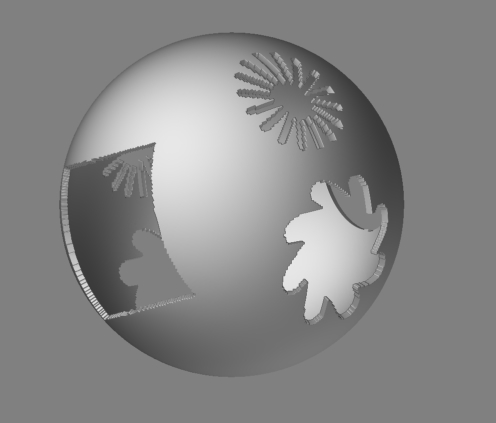
Ok, here’s my problem: when I import an object in zBrush, I make a morph target (to preserve the original geomtry) and carry on. When I import it back into max and apply the normal, it looks good. HOWEVER! The geomtry is still slightly edited (i’m guessing because zBrush doesn’t like some of my cuts?), and as a result, my character’s body and clothing geometry intersect and the integrity of my rig falls apart.
I guess what my question is is really this: is there a way to create a normal map for a 3ds max piece of mesh WITHOUT having to import an object from zBrush? Can I just make a map in zBrush and apply it to an already existing piece of geometry without having to import a similar (though very slightly modified) object from zBrush? Thanks in advance and I hope someone out there knows what the hell i’m talking about … brevity isn’t a strong suit of mine.