megacal Mouseover this image to see the difference.
I Like it. You gonna use that for a Link on your site. You might want to make some of your own to show how quick and painless it is to make one.
megacal Mouseover this image to see the difference.
I Like it. You gonna use that for a Link on your site. You might want to make some of your own to show how quick and painless it is to make one.
You might want to make some of your own to show how quick and painless it is to make one.
Workin’ on it Boss! 
I want to render some in ZBrush, BlenderCycles, Octane, C4D (AR3), Lux…I have VUE working on a scene right now.
I’ll try a KeyShot, too, while I have the trial. 
Your greeble generator is just sooooo cool! =O
Workin’ on it Boss!
I want to render some in ZBrush, BlenderCycles, Octane, C4D (AR3), Lux…I have VUE working on a scene right now.
I’ll try a KeyShot, too, while I have the trial.
Your greeble generator is just sooooo cool! =O
Cool! Cant Wait to see what you came up with
Working on a Zscript to Automate the Tiling Process, Thought Id share the Results and let you Play with them on your Models. Enjoy


P.S. No Greebles were harmed in the making of these Textures Lol.
my displacement maps are not showing when I render from zbrush to key shot bridge
Thanks for the maps!
All created in ZBrush with the Greeble generator, right?
Did you PS them any? Gotta try them asap. AND create my own. 
Can I create asymetric curves, circles, ovals, or alphas created in ZBrush to use in Greeble Pack?
Here’s something I did with the earlier version of Greeble Pack.
(basic model in Hexagon, displaced with Greeble Pack in ZBrush, rendered in VUE2014)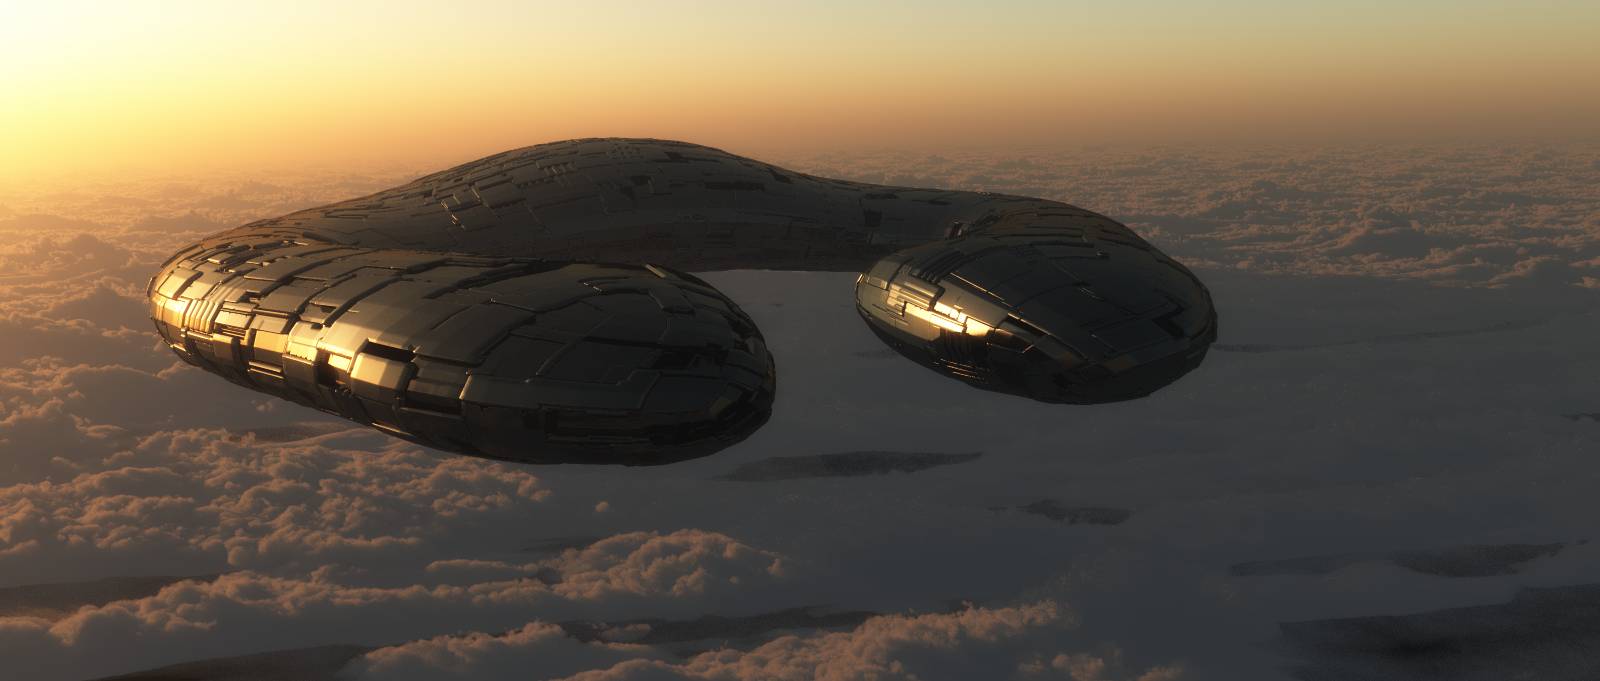
All created in ZBrush with the Greeble generator, right?
Did you PS them any? Gotta try them asap. AND create my own.
Generator created the Greebles and using the method demonstrated in this video https://www.youtube.com/watch?v=m2_C8ti8Ig8 you can make a tileable Greeble, Photoshop or any editing program is needed to remove the Border Zbrush put on the Exported image and Depth Map. Beyond that no other touch ups in Photoshop. I’m working on a Zscript to speed up the process of Tiling, but its Pretty Finicky Right Now.
Can I create asymetric curves, circles, ovals, or alphas created in ZBrush to use in Greeble Pack?
You can certainly try. I would find the Greeble I like then do one to Mesh on all the NanoMeshes you want and you can just add Insert Meshes right on top of the Greeble, then Render. Doesnt hurt to Try and see how it looks.
Here’s something I did with the earlier version of Greeble Pack.
(basic model in Hexagon, displaced with Greeble Pack in ZBrush, rendered in VUE2014)
Looking Great. Always Love the Renders out of Vue.
Thebest12 my displacement maps are not showing when I render from zbrush to key shot bridge
Displacements and Bumpmaps do not export on Bridge. You can I belive export a Surface Noise using the Displacement Map for a Alpha to Keyshot. Haven t Tried it, but Seen Joseph Drust Demonstrate it though.
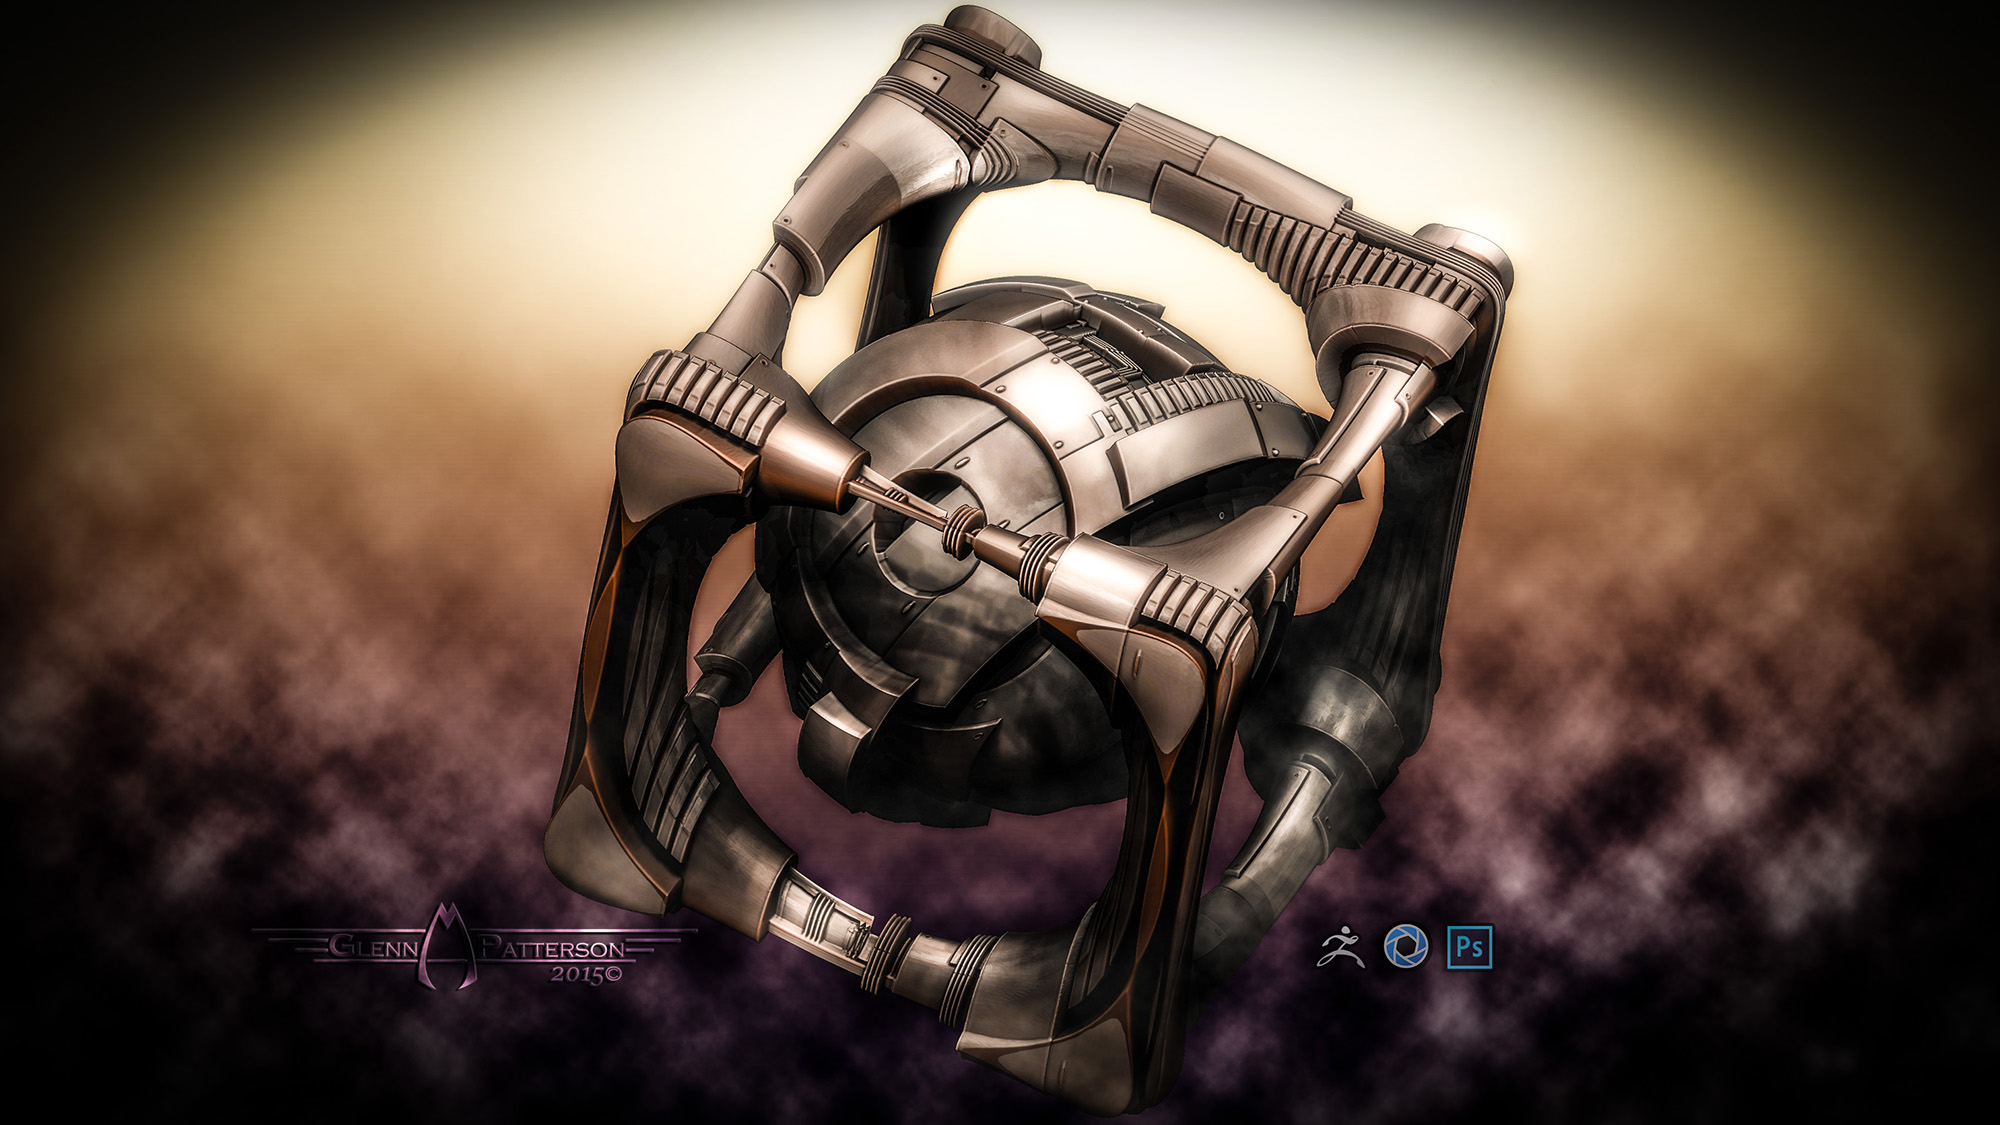
Few More Displacements for you to Play with. Enjoy


Here’s a Quick Turntable of some Simple Objects with 2 of the Displacements/Textures above. The Object when Displaced were 6 to 8 Million Poly Decimated down to 70K while Keeping the UV’s for the Texture. Enjoy 
Wow! Very nice greebling! And only 70k. :)
megacal Wow! Very nice greebling! And only 70k. :)
Thanks! That Decimation Master Blows my Mind Sometimes, Going from 6 to 8 Million Poly to 70K each Subtool, thats around 2% Decimation and holds the UV’s, there’s some kind of Magic with that Plugin.
When i apply a displacement map polyframe mode stops working for any and all models i have loaded at the time, not even just the one model i apply the map to … bug?
Just tried it and still see the Polyframe after displacing.
Does the Polyframe icon turn off and you can’t turn it back on?
- megacal
> Just tried it and still see the Polyframe after displacing.
Does the Polyframe icon turn off and you can’t turn it back on?
Pro4210 > When i apply a displacement map polyframe mode stops working for any and all models i have loaded at the time, not even just the one model i apply the map to .. bug?
Not Sure if its considered a Bug, but once you click Mode in Displacement Map as well as Apply a Displacement, Zbrush will Turn Off the Quick Edit Feature in the Transform Pallet. Just Turn it back on and you will gain all your functions back. Also a actual Bug is you can only apply a Displacement at 1 on Hrepeat 1 on Vrepeat, even if it may be given you a Preview of Multiple Reapeats, still will only apply the Displacement at 1x1. I’ll try to put a Video together today to show the ins and outs of Displacements in Z.
I see that there are still problems with Quick 3D Edit being turned OFF after displacing, in this and other threads.
Also problems with sending displacement info to Keyshot…
and problems with HRepeats and VRepeats not taken into consideration during displacement,
and SLOW renders after using the Displacement subPalette and other related problems.
I avoid ALL of these problems by NEVER using the Displacement subPalette for displacement!!
In the attached image, the displacements are real geometry ( no bumps ) and I never once used the Displacement subPalette for my displacements.
Here’s how I do it…for each subtool…
( try the ZMetal material to better visualize the effects )
And Voila!!..your object is now fully “displaced” with ALL of the repeats
Quick 3D Edit is still ON and you can send this object to KeyShot, if you so desire, with Zero
problems with displacement info.
Hope this helps.
Thanks guys. appreciate the input. I’ll give it a go.
gpm1993,
a actual Bug is you can only apply a Displacement at 1 on Hrepeat 1 on Vrepeat, even if it may be given you a Preview of Multiple Reapeats, still will only apply the Displacement at 1x1.
didn’t realize it, but see it now.
I’ll try to put a Video together today to show the ins and outs of Displacements in Z
Thank you! :)
paleo3d,
Here’s how I do it…for each subtool…
- After you have properly UVed your ( finished) low polymesh ( with as many repeats as you like )
divide, divide, divide into the millions…- Import your displacement map as a TEXTURE
- With Mrgb turned ON ( or “rgb/m” for other subtools ) click FILL OBJECT and your displacement
map will appear on you object ( or subtool ) with ALL of your repeats.- Click Masking/Color/Intensity and now your object will be proportionally masked to your
displacement map.- INFLATE at will in the Deformation subPalette
- Clear the Mask ( and color to your liking).
And Voila!!..your object is now fully “displaced” with ALL of the repeats
Quick 3D Edit is still ON and you can send this object to KeyShot, if you so desire, with Zero
problems with displacement info.
Hope this helps.
I remember you sharing this in mealea’s epic thread, “Now I’m Having Fun!” …I didn’t get it then, but
get it now!
THANKS! That’s extremely helpful. :)
BTW, I’ve learned more & done more in ZBrush just following these 2 threads. They’ve been a huge help in
getting farther up the learning curve. I’m enjoying using ZBrush now, instead of feeling intimidated
& frustrated by it.
Still lots to learn, but it’s coming much easier now. :)small_orange_diamondsmall_orange_diamond
THIS GREEBLE PACK IS AMAZING, can’t wait to use it and try 4r7
paleo3d
I see that there are still problems with Quick 3D Edit being turned OFF after displacing, in this and other threads.
Also problems with sending displacement info to Keyshot…
and problems with HRepeats and VRepeats not taken into consideration during displacement,
and SLOW renders after using the Displacement subPalette and other related problems.
I avoid ALL of these problems by NEVER using the Displacement subPalette for displacement!!
In the attached image, the displacements are real geometry ( no bumps ) and I never once used the Displacement subPalette for my displacements.
Here’s how I do it…for each subtool…
- After you have properly UVed your ( finished) low polymesh ( with as many repeats as you like )
divide, divide, divide into the millions…- Import your displacement map as a TEXTURE
- With Mrgb turned ON ( or “rgb/m” for other subtools ) click FILL OBJECT and your displacement
map will appear on you object ( or subtool ) with ALL of your repeats.- Click Masking/Color/Intensity and now your object will be proportionally masked to your
displacement map.- INFLATE at will in the Deformation subPalette
- Clear the Mask ( and color/texture to your liking).
Thanks For the Info. I’ll have a Video Shortly using your Method, Works Great! Hopefully Pixologic Fixes Displacements Once and for All in Zbrush 5.
Pro4210 Thanks guys. appreciate the input. I’ll give it a go.
Your Welcome. Thats what this Community is all about, Share Each Others Knowledge to Inspire Creativity from Everyone.
BTW, I’ve learned more & done more in ZBrush just following these 2 threads. They’ve been a huge help in
getting farther up the learning curve. I’m enjoying using ZBrush now, instead of feeling intimidated
& frustrated by it.
Still lots to learn, but it’s coming much easier now. :)
small_orange_diamond
Happy to Help. Thats how I learned, by asking People “How do You do That?” and this Community is like its Easy let me show you.
LVXIFER THIS GREEBLE PACK IS AMAZING, can’t wait to use it and try 4r7
Thank You. Zbrush Blows my Mind every Release. There’s No Way I can Imagine whats next with Zbrush 5