ZBrushCentral

Dustin Brown Sketchbook

Brian, it’s mostly just from poking at the mr Photographic Exposure Control until the image pops.

See this is the benefit of setting your units up properly. You can sort of build a little lighting stage and eyeball how far away to put your lights because you’re working with units you’re familiar with. I tried working with metrics for a while, just to challenge myself, and it had me all screwed up. Apparently I have no concept of how long a meter is. At least not when it comes to Max.

Hi Masa!

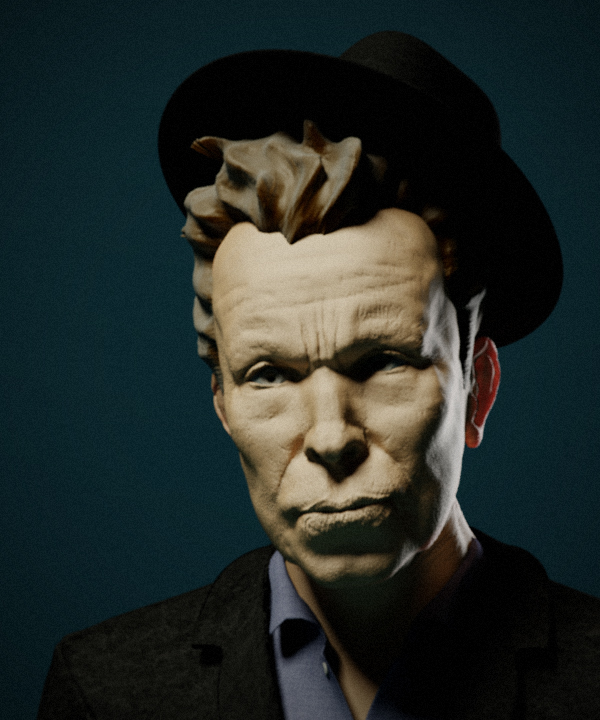
Yeah I get the Fifth Element thing all the time :slight_smile:

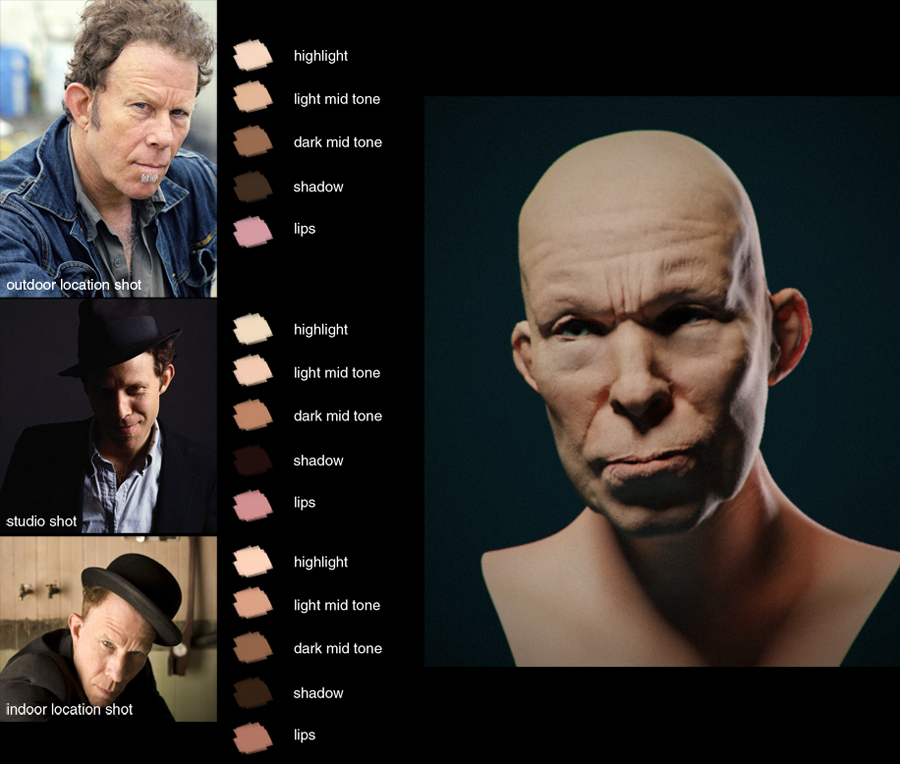
[[attach=158397]lighting.jpg[/attach]]lighting.jpg

I came here just to check out some cool art, but I got a great tip for looking at thumbnails in XP. I found a couple of the other tools useful as well. Your stuff looks great- thank you sir

Craig

Here’s the latest. I’m not entirely sold on the paint job.

[[attach=159067]parasaur_wip07.jpg[/attach]](javascript:zb_insimg(‘159067’,‘parasaur_wip07.jpg’,1,0))

[parasaur_wip07_thumb.jpg
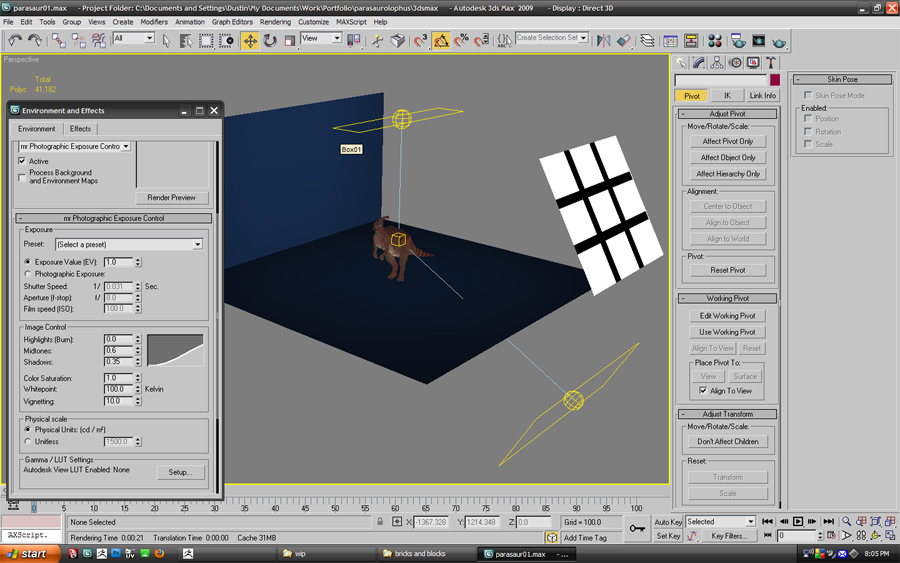
](javascript:zb_insimg(‘159068’,‘parasaur_wip07_thumb.jpg’,1,0))

Attachments

parasaur_wip07.jpg

One small crit, the material is not glossy enough. The specular highlights need to be a bit sharper, it feels too flat. Your last render is much better IMO and has a more life like feel to it.

I made a video tutorial on rendering displacement maps in 3ds Max. I’m using ZBrush 3.1 and Max 2009 in the video. It seems a bit strange making a tutorial for last year’s software, but it appears that a lot of people are going to keep using ZB 3.1 for a while, until the kinks get worked out of the new version. Hopefully someone finds the video helpful.

Click the thumbnail below.

videoThumb.jpg

Great, Thanks for the video, I been looking for a good tut like this.:+1:

Dustin…thanks …you just led a max virgin by the hand into the whole world of maps etc.

I would love to see a tutorial where a polypainted zbrush odel could do the same journey towards render in max but with puv tiles from zbrush. Is that possible?.

Personally, Pete, I’ve never used the auto UV features in ZBrush, simply because I have the means to do them myself, and I like having the option of editing my textures in Photoshop if I want to. Plus Headus makes it kind of a fun process :slight_smile: I hit up your website and I really like your natural history sculptures. The humping gnomes and the humping flies were my favorite.

Thank you Dustin! I will try this out when I get home today. I think my error was in the export options. Thanks for the walk through, it is very well done and informative.

Dustin is notorious for leading noobs by the hand :wink:

Thanks again Dustin, im sure it will be useful to many. :+1:

Thanks Dustin…I just caved and downloaded the trial headus app…and Im having a go at UV’s. Fingers crossed.

peter

I’ve put some more time into the rock, and made some other tweaks here and there.

[[attach=159266]parasaur_wip08.jpg[/attach]](javascript:zb_insimg(‘159266’,‘parasaur_wip08.jpg’,1,0))
[parasaur_wip08_thumb.jpg
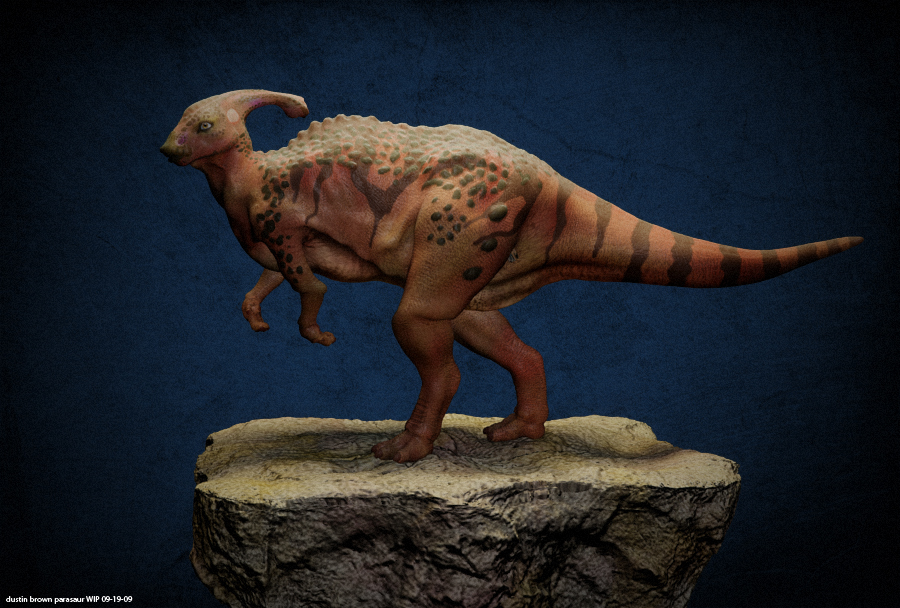
](javascript:zb_insimg(‘159267’,‘parasaur_wip08_thumb.jpg’,1,0))
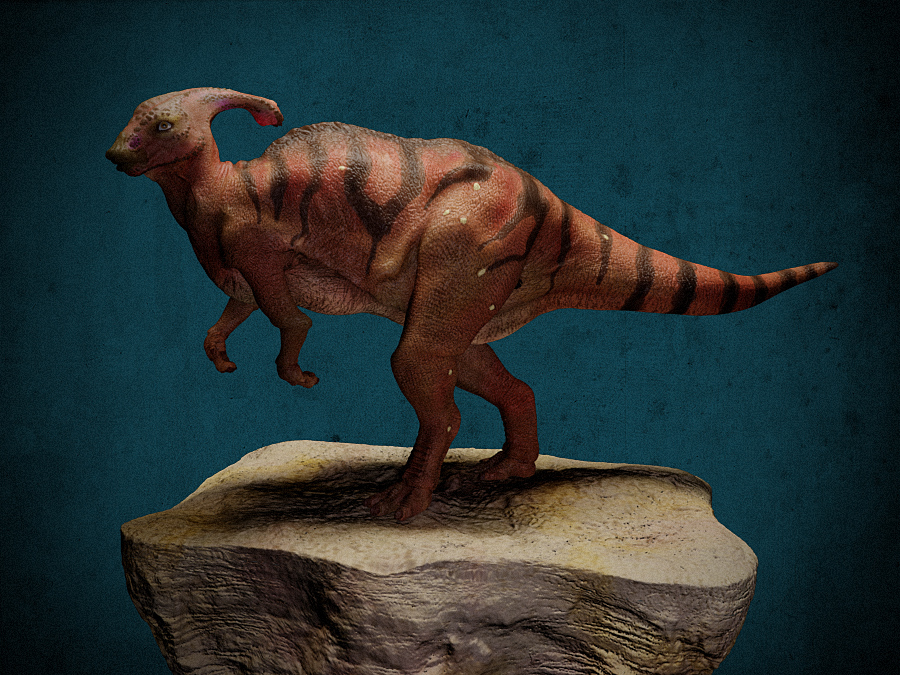
Attachments

parasaur_wip08.jpg

much better then before details are showing up better and the form…:wink:

looking forward to your future progress…:+1:

Whatever you did improved the look a bunch. I see all the fine details and the lighting and materials seem more fine tuned. Great work Dustin.

On a side note, Your Vimeo icon is hilarious and thanks for the tutorial.

Looking great i hope my sketchbook can be as good as yours

Thanks guys. Here’s the latest lighting block-in for Tom. Textures are incomplete.

[[attach=159655]tomWaits_wip07.jpg[/attach]]tomWaits_wip07.jpg

[tomWaits_wip07_thumb.jpg]

Tom Waits! (BIG, BIG fan!)

can’t wait to see terry gilliam’s The Imaginarium of Doctor Parnassus

nice job

Sweeeet, this is a beautiful light setup Dustin. I really like how its not super bright or blown out anywhere and still has nice contrast to it. The SSS in the ear looks nice.

Once again great job Dustin :+1:

Hey dustinbrown!

I really really like your sense of form, the bone and muscle structure felt under the skin. I neglected it long enough being to vain to see I had forgot it to a degree since I haven’t done much in that respect since finishing the academy (three and a half years ago). Thanks to your encouragement, and looking forward to seeing ang hearing more from you :+1:

Looking cool. Keep going dude :+1:

Thanks guys. Small update. I’ve been doing skin studies for this, and makeing tweaks to the skin shader and textures. I know it probably seems overly pragmatic, but it’s actually been very helpful when assigning my own RGB values.

[[attach=161184]tomWaits_wip08.jpg[/attach]]tomWaits_wip08.jpg

I was poking around on Master Zap’s blog and came across this great post on Mental Ray Myths. After reading it, you may get crazy ideas in your head. Here’s a cool Max tip: Go to Customize>CUstomize Defaults and UI Switcher. Coose Max.mentalray, click ok, and restart Max. Your default renderer will always be mental ray, and your default material in the Material Editor will be Arch&Design(mi). Sweet Zombie Jesus, I was happy when I discovered that!

PS if you haven’t seen Fantastic Flesh, check it out, its pretty neat. Dick Smith, Wes Craven, and more :slight_smile: