This is just poly painting then, thus the need for higher levels of geometry…right?
Yep, this is poly painting. It kinda sucks because you have to crank your subdivisions way up to get a good looking texture, but it works.
[ ](javascript:zb_insimg(‘58225’,‘sword_003.jpg’,1,0))
I personally love the polypainting because it eliminates any technical aspect of texturing… and you can go so high with your poly counts now that you can get a really high res texture out of it
I’ve already found at least one use that saved me alot of time… that eye that was uploaded for free use a while ago… all I had to do to add it to a model was subdivide twice, apply the texture, and convert it to polypaint color… no messing with multiple textures in a model or incorporating UVs or anything
You have a good point SalmonGod. It’s very easy to create quick textures. I’m finding it very intuitive so far.
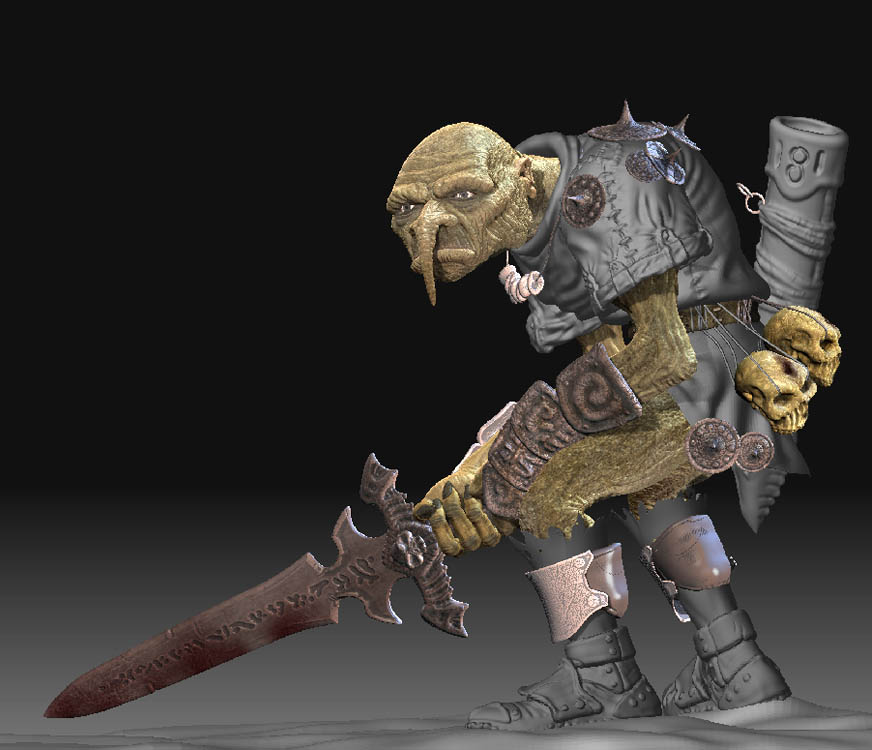
The sword looks Great! By the way are the runes from something, or made up?
I don’t want to turn this into a troubleshooting forum, but could you post a workflow or ZScript?
I tried doing this with a head mesh, and adding texture mapped eyes, but i could not seem to change materials. Once the texture map was applied to the eye mesh, the head would would inherit the same Plastic Toy Material.
 No UV
No UV
Head Basic material Red
Eyes ToyPlastic material White
I can see by your image you have two seperate materials.
I took the runes from the original sketch. Not sure if they are made up or not.
To assign a material: Select the object in the subtool stack (i.e. the eyes), make sure M is pressed (not MRGB or RGB), select a material, press fill object in the color panel. Now select the head and do the same thing with a different material.
If you want to paint the mesh, first assign UV coordinates to the object you wish to texture if you haven’t already. Make sure MRGB is on. Turn Add off. Select an alpha, brush, and color or texture and paint away. Hit Txr>Col when you’re done. You can use projection master as well. If your texture is too blurry simply add more subdivisions to the mesh. If you wish export your texture for use in an external 3d app simply hit Col>Txr and export the created texture map through the texture panel.
I hope this was clear. It still kinda clunky and I find that I’m reassigning materials to objects all the time.
I’ve been playing around with Matcap a bit lately. The sword turned out pretty good, but I’m getting not so good results with skin. Here’s how the head turned out.
[ ](javascript:zb_insimg(‘58949’,‘head_001.jpg’,1,0))
I like it alot!.. keep it up!
It’s a nice start the nose looks oddly flat thought you might want to do something with it. I’m reminded of a tube sock that I have just taken off kind of limp and sweaty. It might be the coloring to it needs do be a little more on the rich side, to help distinguish it from the rest of the face. Or a little more on the pail side, this is because he will have blood vessels closer to the surface of his skin in that area also in the cheeks but not so much the jaw or forehead.
Can’t wait to see what else your going to do with it.
Cheers
-Eric
askue - thx for the crit. Yeah this guy still has a long way to go.
Here’s an updated image. I’ve decided to redo the boots. They didn’t make sense to me at first.
 ](javascript:zb_insimg(‘58978’,‘arrk_008.jpg’,1,0))
I think the problem is with your shadows, they are too soft. It would make the parts of the skin show up better if you hardened your shadows up a lot.
Still, looking better.
good job
Chao~
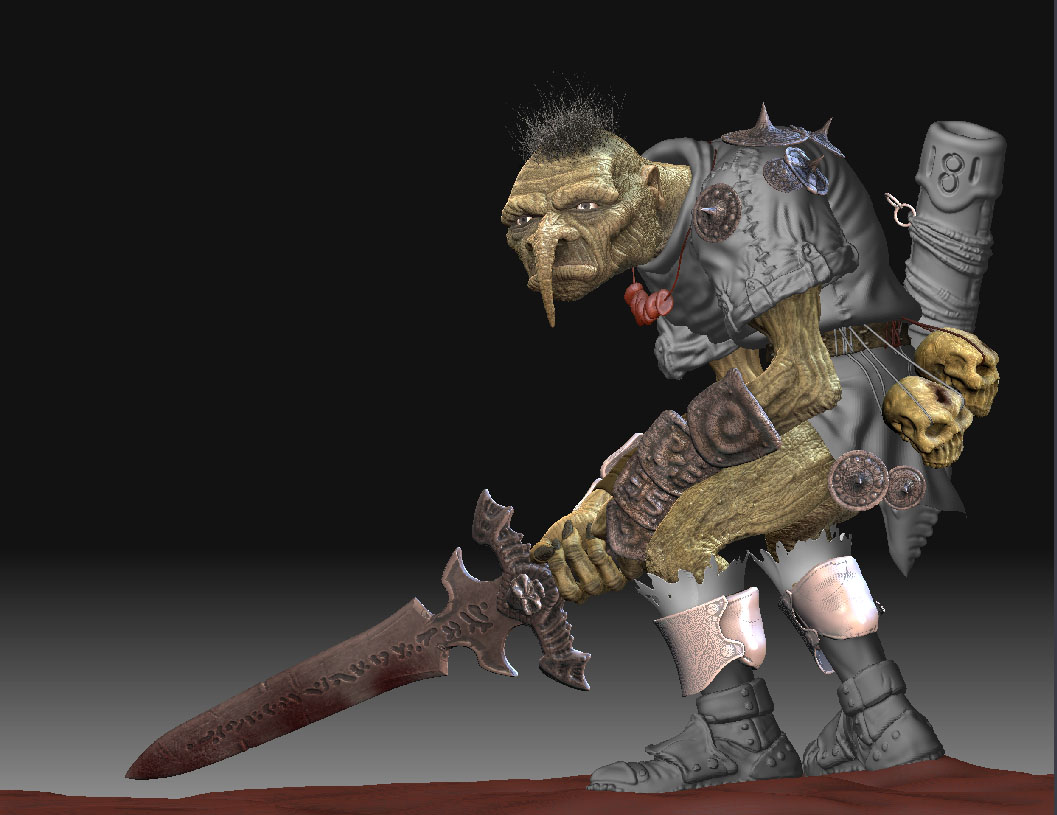
Here’s an update for the troll I’ve been working on. I fixed the boots, added a terrain mesh, and made some other minor tweaks here and there.
[attach=59735]arrk_009.jpg[/attach]
![[attach=59735]arrk_009.jpg[/attach]](http://javascript%3cb%3e%3c/b%3E:zb_insimg('59735','arrk_009.jpg',1,0))
Attachments
For your very first attempt its it damn fine job youve done there. 
You have a good eye for detail!
Thanks guruvaidya. I still have a lot of work left to do on this guy.
Below is a small update. I’m playing around with hair and I added some leather straps on the right arm which you can barely see.
Also this guy currently has over 40 subtools I believe. The file is 180 MB.
Next I have to fix the sheath for his sword. I don’t think the sword will fit in there. Add some tattered cloth around the forearms. Add some tattered cloth under his tunic and add a strap going from the sheath to his shoulder. Then I have to finish the texturing and I think the set will be designed in 3d studio max.
[ ]
]
I’ve got like three projects going on right now. I figured I’d jump back over to this guy and post an update.
I’m slowly bring him into max piece by piece for a final rendering. He was fully modeled and texture in ZB3. I’m using Brazil to render him. The backdrop will be a dark cave. A shaft of light is shining down on him from above. There will be some small pools of water near his feet. I’m currently working on the backdrop, which will also be modeled in zbrush.
I still have to bring in his eyes, forearm guards, tattered clothing, etc. Also, I’m planning on remodeling the sheath for his sword as well as the strings. His tunic needs some more work as well.
As always crits are welcome. Although it’s still early in the project, but I’m open to suggestions. Hope you like.
Here’s the rendered version from max…
 ]
]
It’s not done yet, but it’s getting there.
Attachments

Thats sick! Can you post a screenshot of your lighting setup your using in max?
Just one spot pointing down. The skylight has been turn on in the Brazil render settings.

cool, thanks! Is Brazil a free renderer? I heard it was but I’m not sure. If so where can I download it?
Brazil Rio is free. Fortunately I purchased the commercial version when I started working in the industry a while back. The free version limits renders to 512x386 or something like that, but it’s supposed to be fully featured. The full version is very inexpensive.
Go to Splutterfish’s main web site to DL it.
J…
Lookin really good.
A few questions for you. Did you do any prelim modeling in max or was every tool/subtool created and detailed entirely in zbrush?
When you brought each tool in 3dsmax did everyone of them line up exactly in place automatically or did you have to re-adjust them once they were obj’s in max?
Just wondering because soon i will have to be doing what you just did to all my subtools. (I hope i dont have 70 to deal with!) And some were created in max originally and others entirely in zbrush so i am hoping they dont import all crazy in 3ds max.