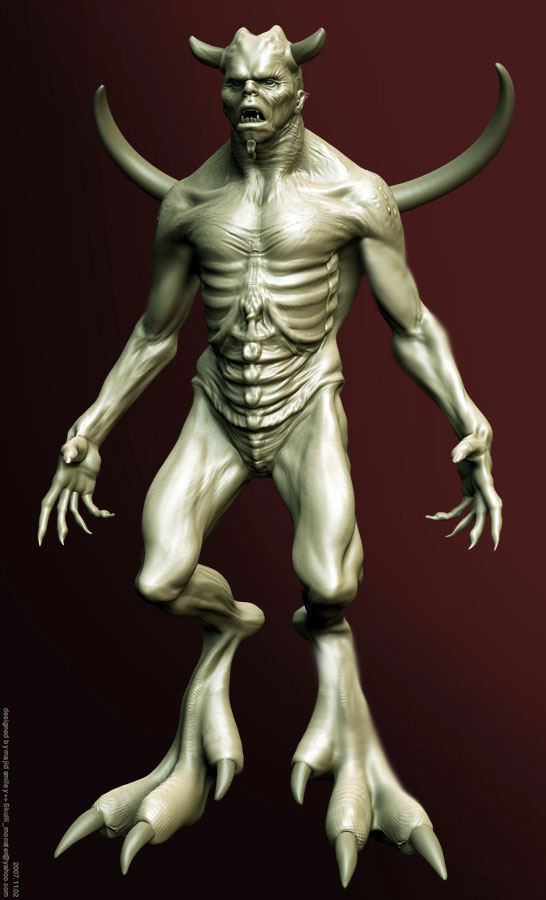
Definitely more menacing.
Not sure what’s going on in his mouth now. It’s open in a very slack, relaxed manner, which went nicely with the tongue and his vacant stare. And yet, I think we’re seeing gums now. Like, a lot of them. Which means his lips are pulled back tightly. Except they aren’t. So, maybe those are two rows of teeth? If so, the top one’s fallen out of his jaw. Very strange.
The low-geometry faceting on his feet can be fixed with, of course, more geometry. I can think of three ways to add it.
Fix #1: Local SubdivisionIf you know you’ll never render him from the back, you can use the crease where his stomach meets the legs to hide the inevitable seams of local subdivision.
Go down to your lowest subD level, hide all the geometry which doesn’t need to be divided further, then subdivide. Turn “frame” on to see what’s changed, noting the line of triangles where one level meets the other. That line will cause nothing but trouble, which is why I recommend hiding it under an organic crease… Fix #2: The edge loop button.This is a technique left over from ZBrush 2 which few people bothered to learn even then, but it’s very powerful and often cleaner.
Go down to your lowest subD level, and choose one ring where the geometry’s starting to get stretched. Hide everything above that.
In your Tool palette, find the “geometry” group and locate the “Edge Loop” button. Hotkey is CTRL-E.Pressing this button right now will divide that top ring into two rings. Not evenly, though – I think at the 25% mark. You’ll want to use your Move or Nudge brush (and a very small brush size) to even that out.
If you also hid everything below that ring (leaving a strip of geometry with holes on both sides), the new geometry will be evenly spaced, there will just be more of it. This may or may not be what you want.
If, instead, you actually moved all the visible geometry before hitting the “Edge Loop” button, the new geometry covers the difference between one position and the next. This can also be used for any arbitrary extrusion, and makes traditional box modeling techniques possible (if perhaps a bit awkward) in ZBrush.
Fix 3: Re-topologize.That’s become the preferred technique lately.
Take the model as far as you can as-is, rebuild the topology, project details from your original mesh onto the new one, and continue modeling from there.I’m not an expert on that last one, but there are tutorials floating around. (Judging by the overall high quality of your work, I’m guessing this was already your plan and you just haven’t gotten there yet.)
 ](javascript:zb_insimg(‘74284’,‘wip02a.jpg’,1,0))
 Great model and concept…Looking forward to more!
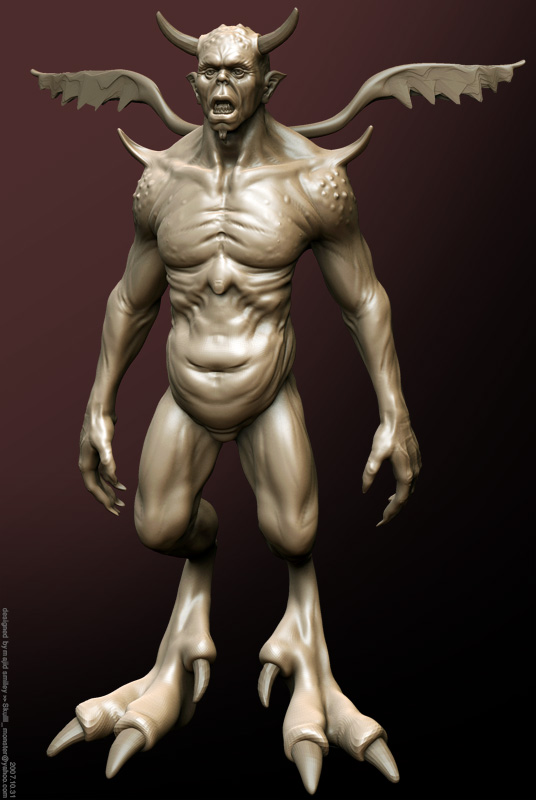 ]
]