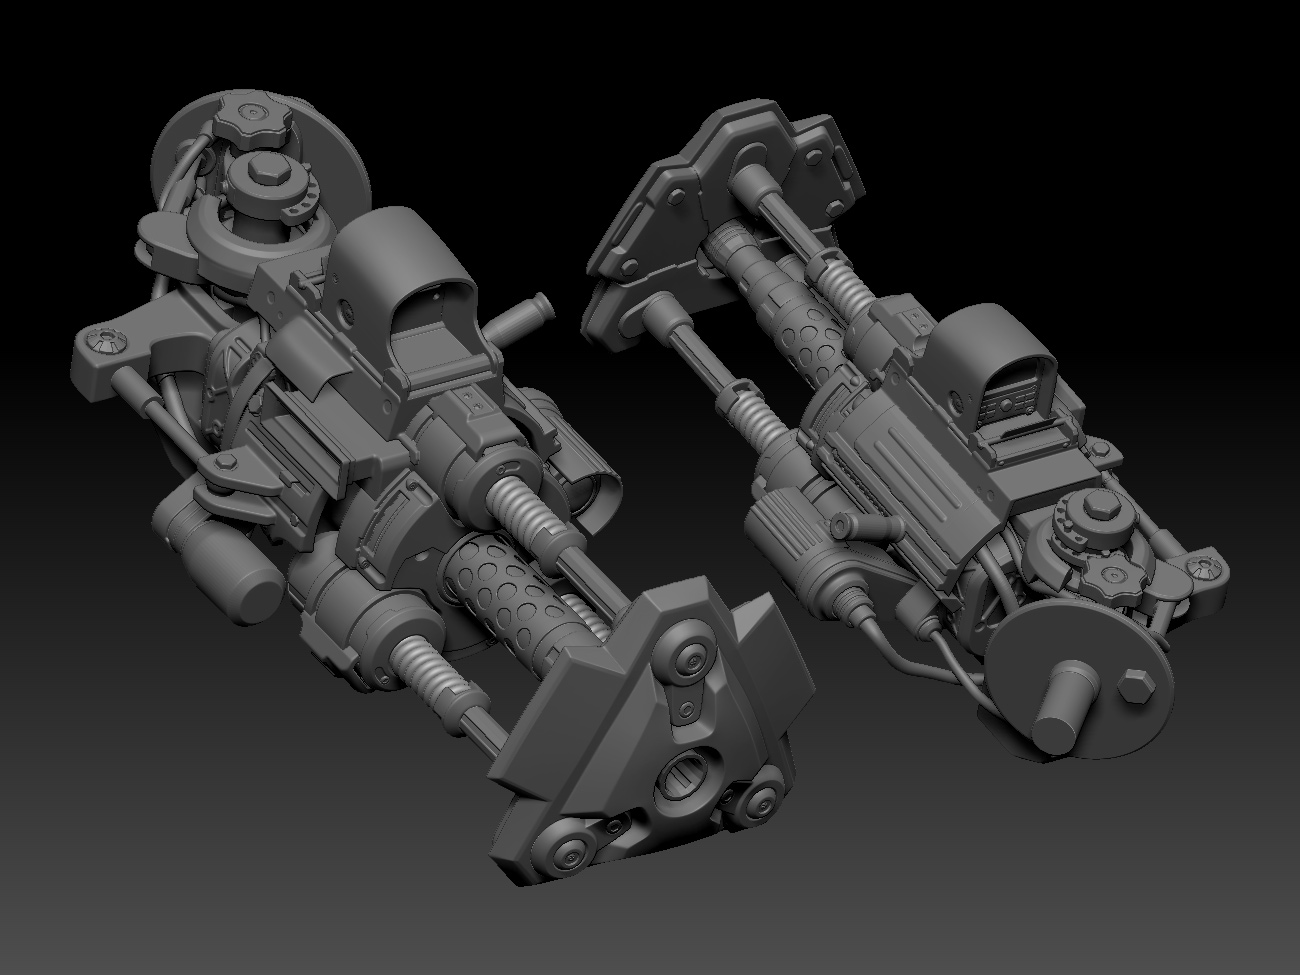
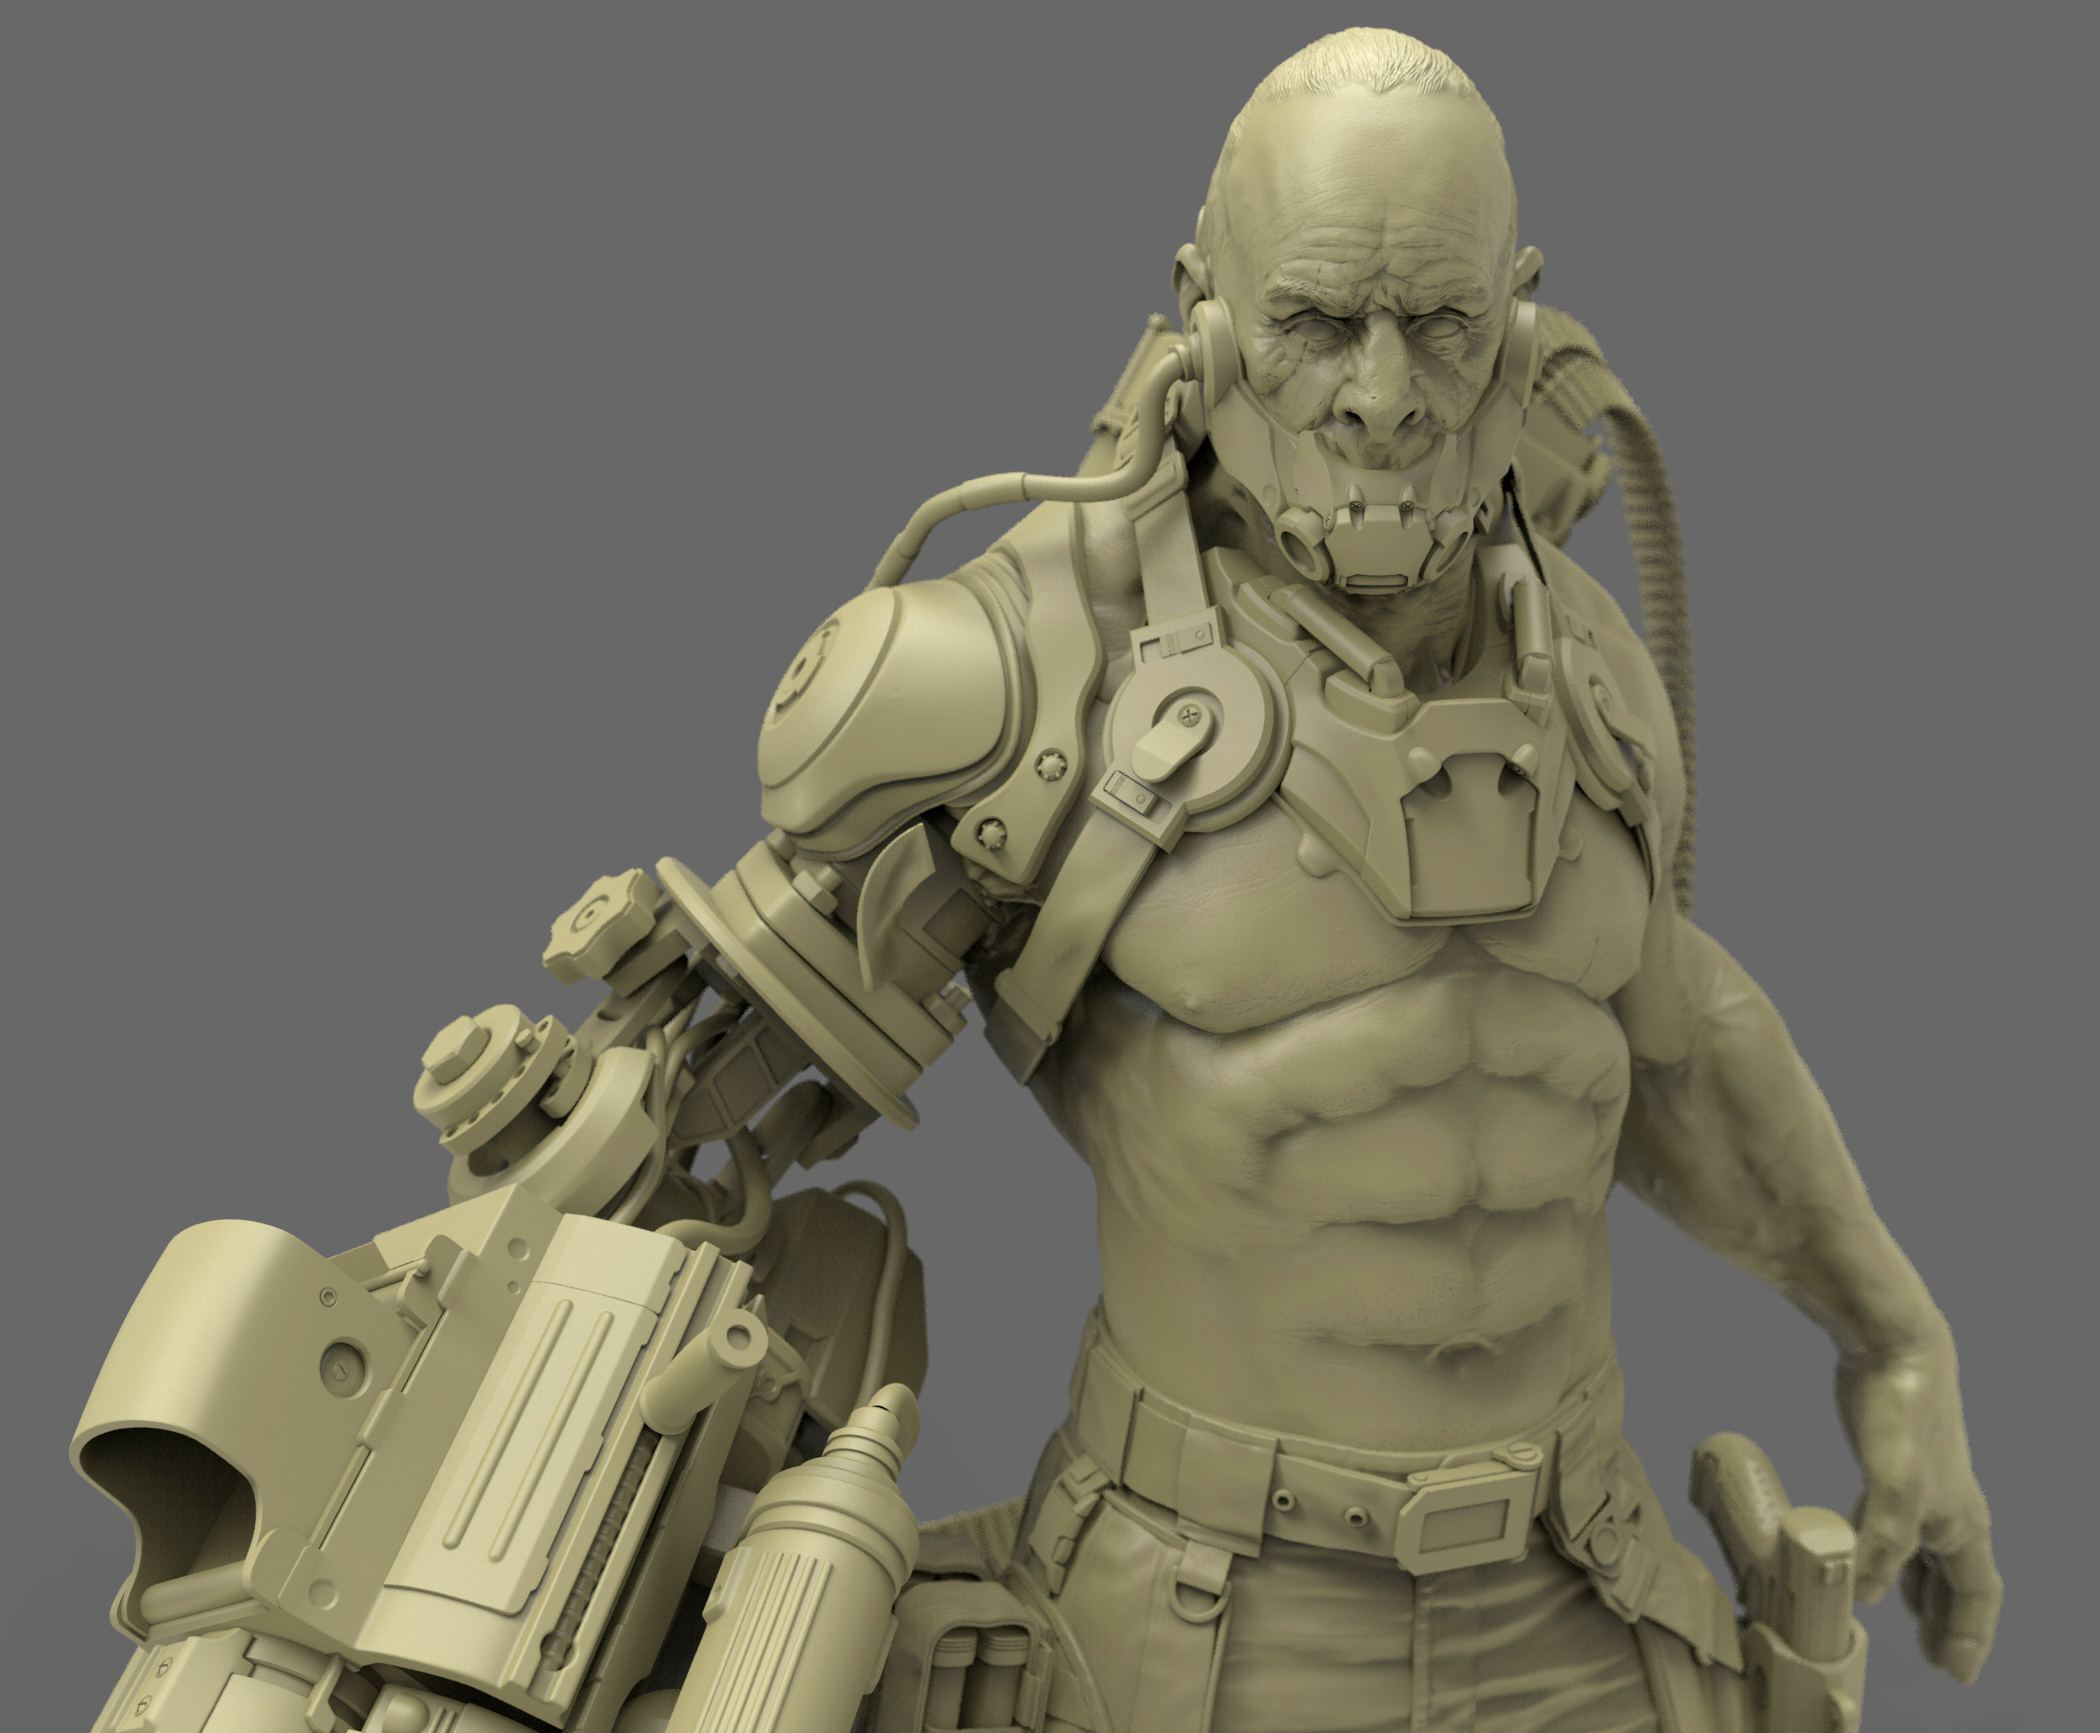
Weapon pretty much done; all the simple stuff I kept as zmodeler subd preview meshes (creased what needed to be creased on a low poly mesh, and hit “d” to activate geometry > dynamic subdivisions and shift-d to toggle that off when needed); the complex stuff I ended up subdividing, dynameshing together, doing any detail work (slicing, dynamesh with group to make panels, alpha stamping, clipping, that sort of thing), then zplugin > decimation master to knock the subtool down to something reasonable. If for any reason I needed to go back in and detail it later, all I would have to do is re-dynamesh it with the settings it already has (decimation master won’t kill your dynamesh settings, you just have to ctl-drag in the document to re-dynamesh at any time and start working)
Some kind-of dated movies on detailing and slicing:
https://www.youtube.com/watch?v=b_amkUAopow&list=PLkzopwqcFevZ2zkL0O7svqvUr8nNKY0Q4
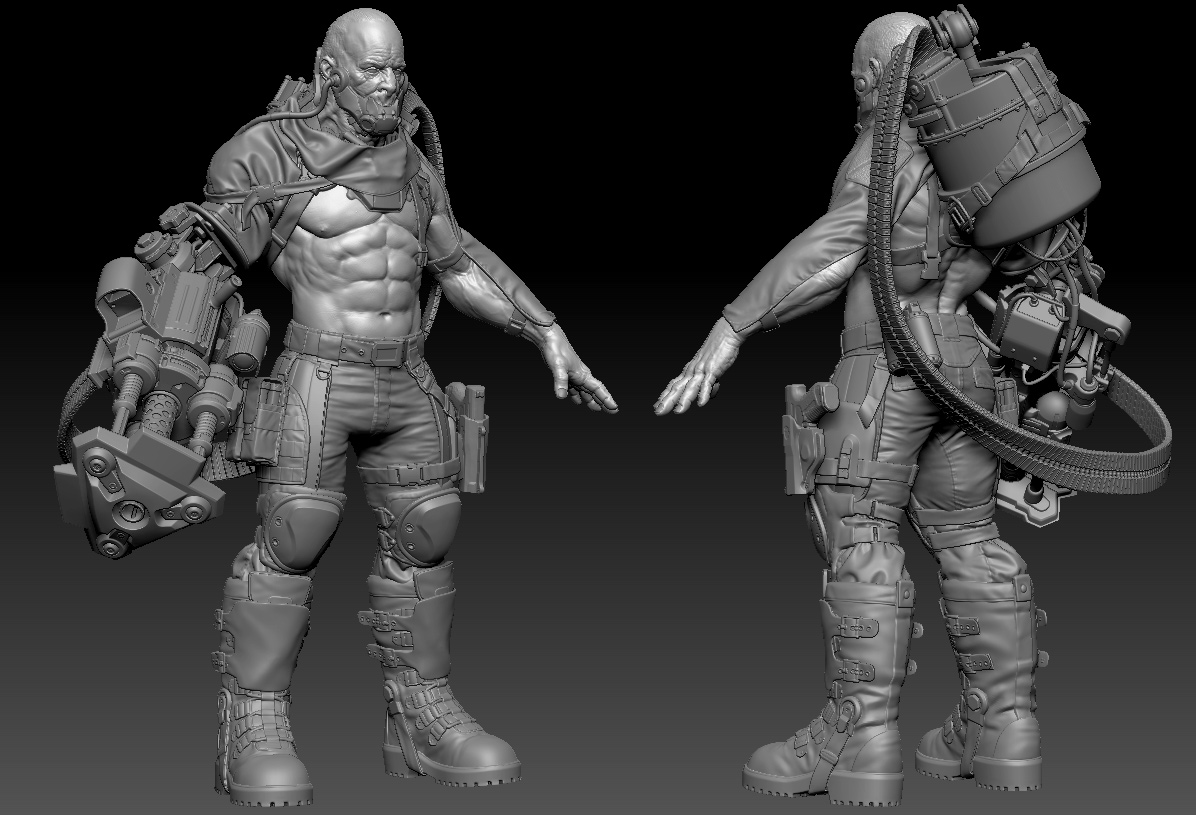
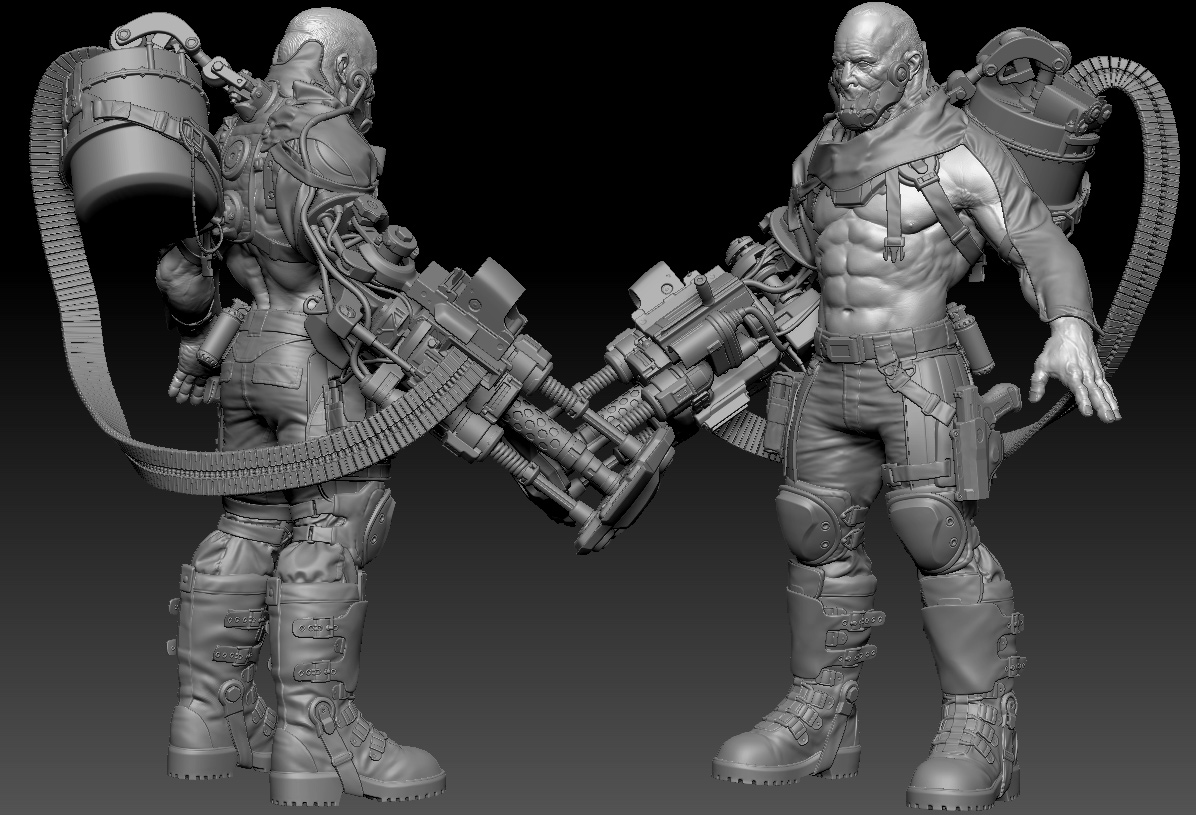
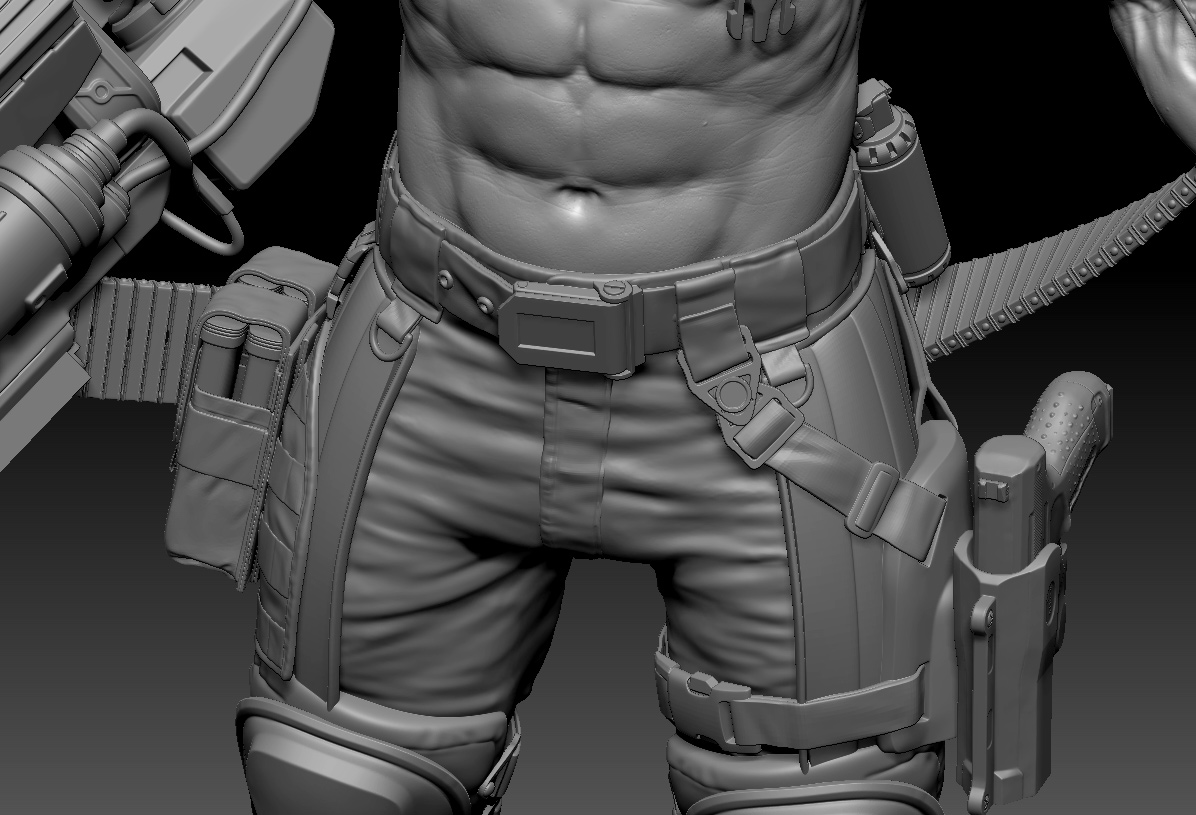
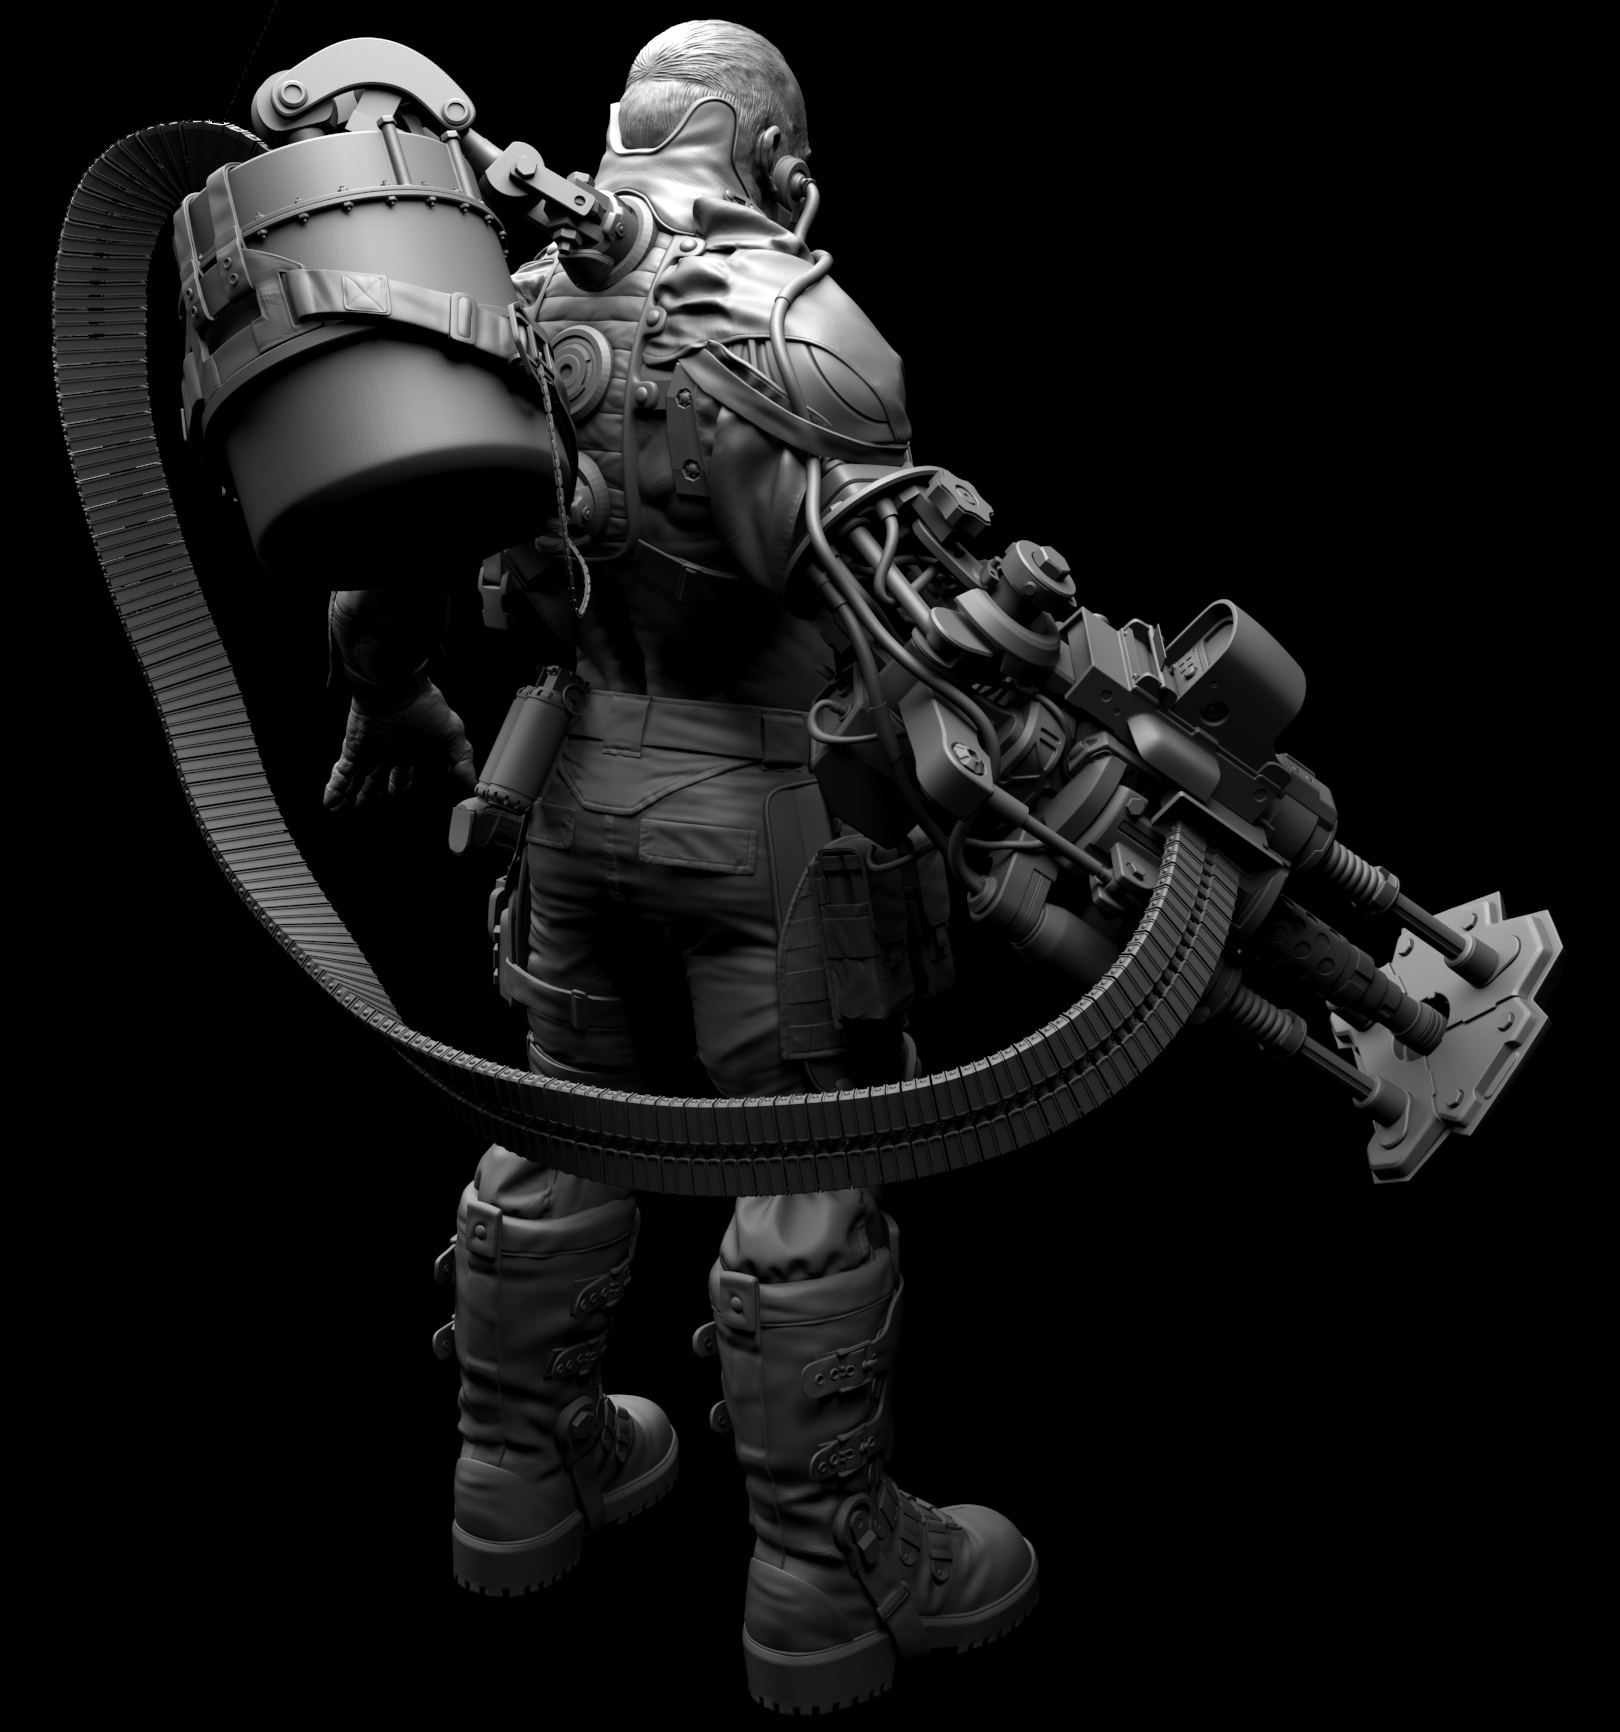
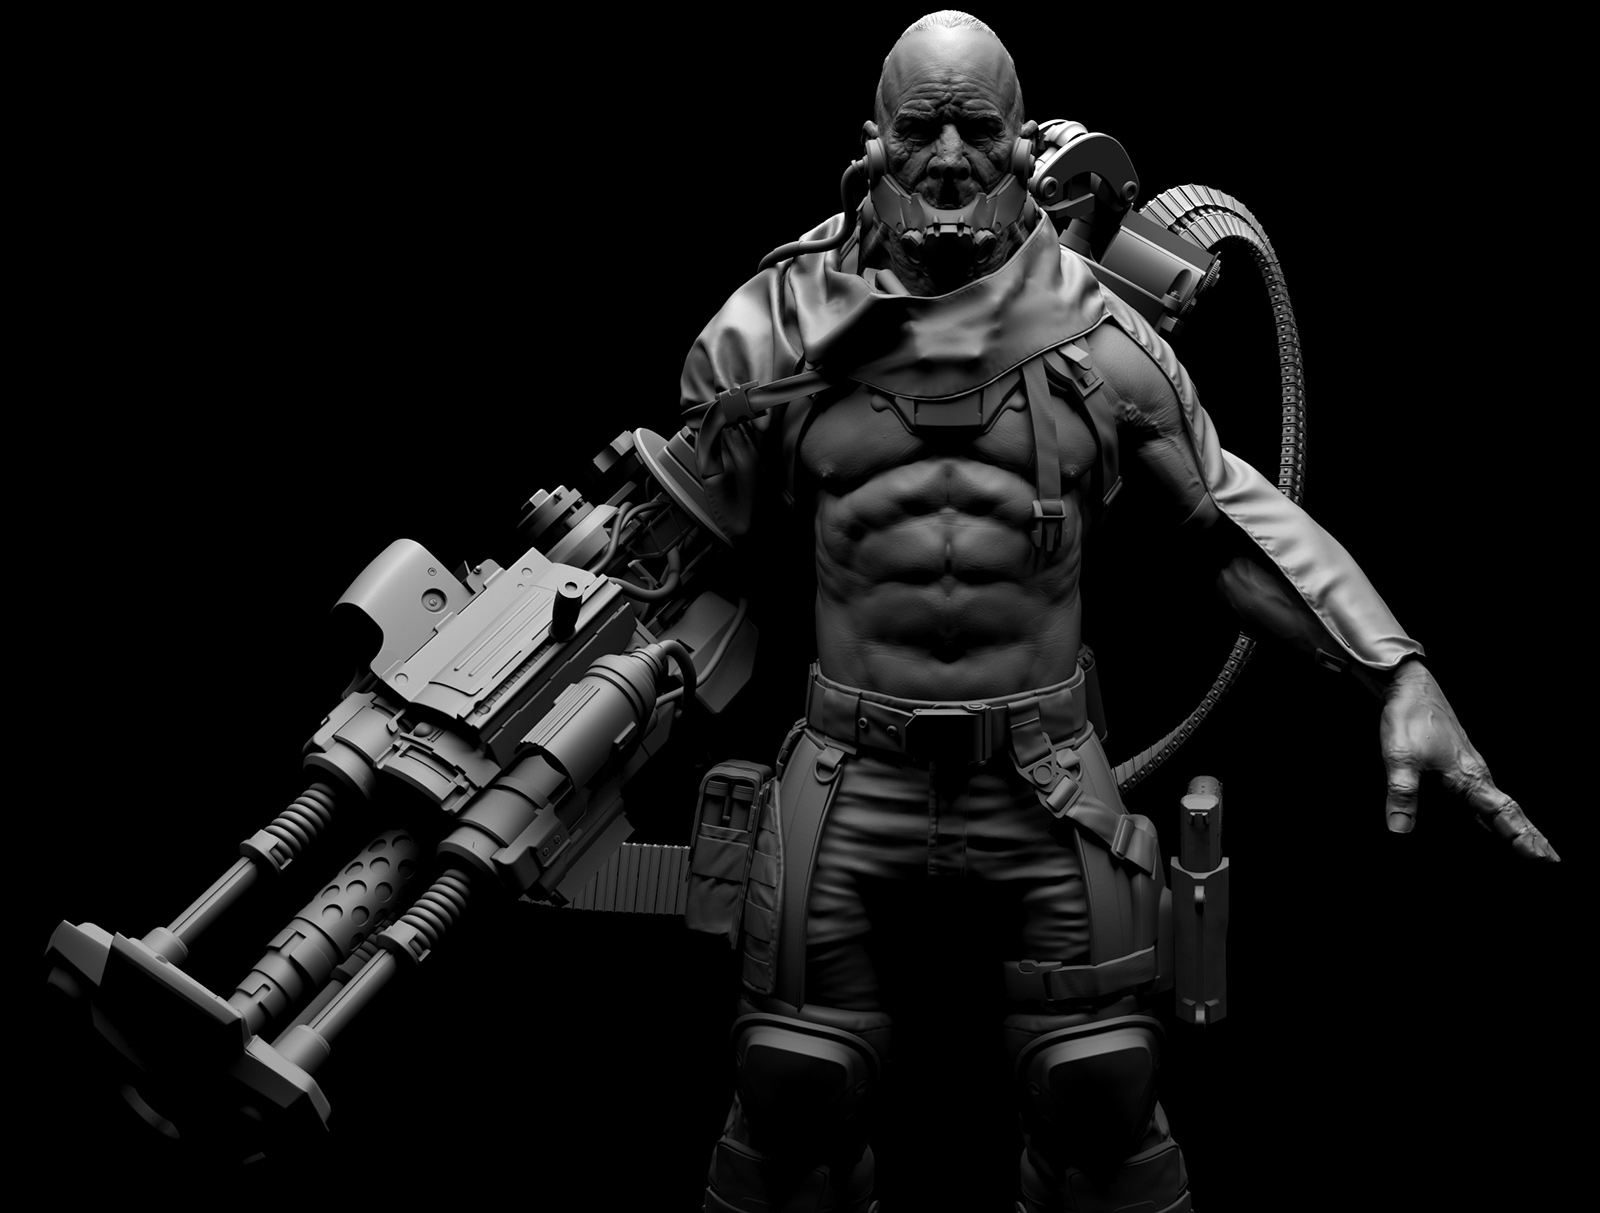
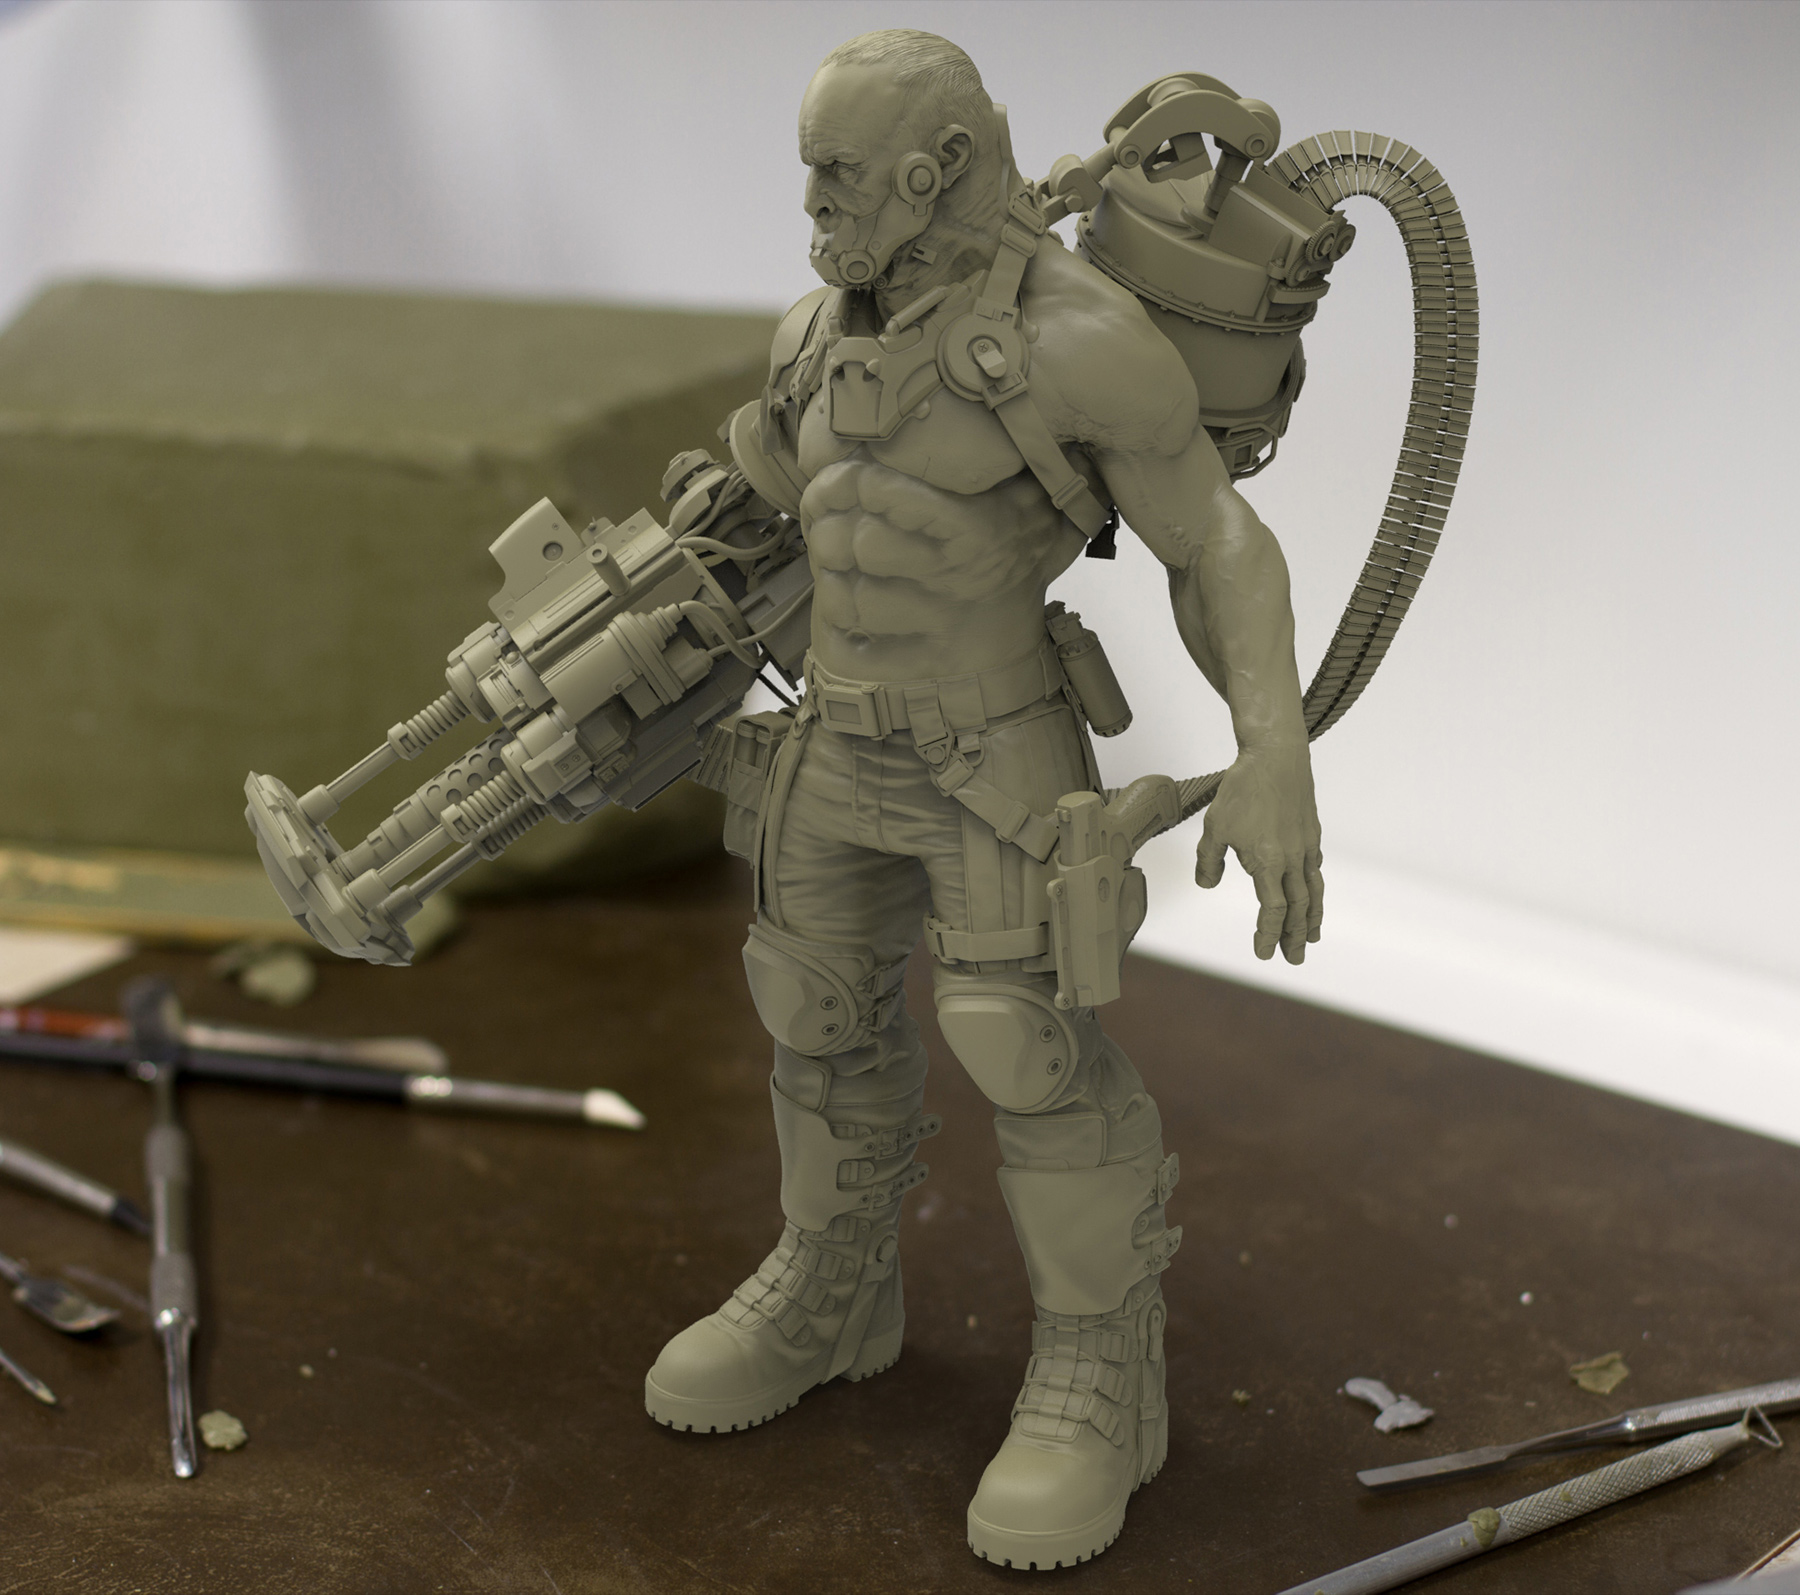
The final weapon ended up being pretty lightweight at the end of the day, about 40mb; I still keep a version mirrored down the x for retopology and baking reasons, but I went ahead and merged visible > appended the final gun into my body file so I could work on integrating the two files together properly. Because I was a bit pressed for time, it ended up being pretty light work–just a few cables and bolts to attach.
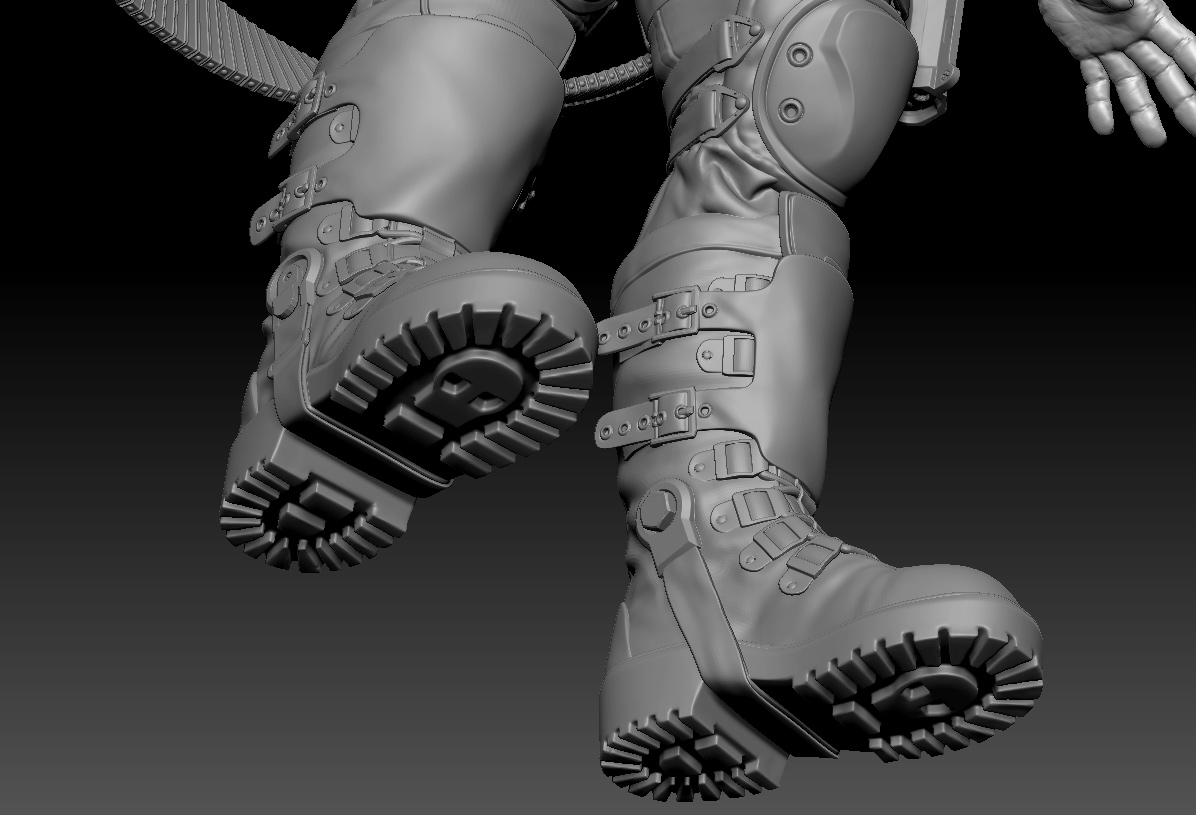
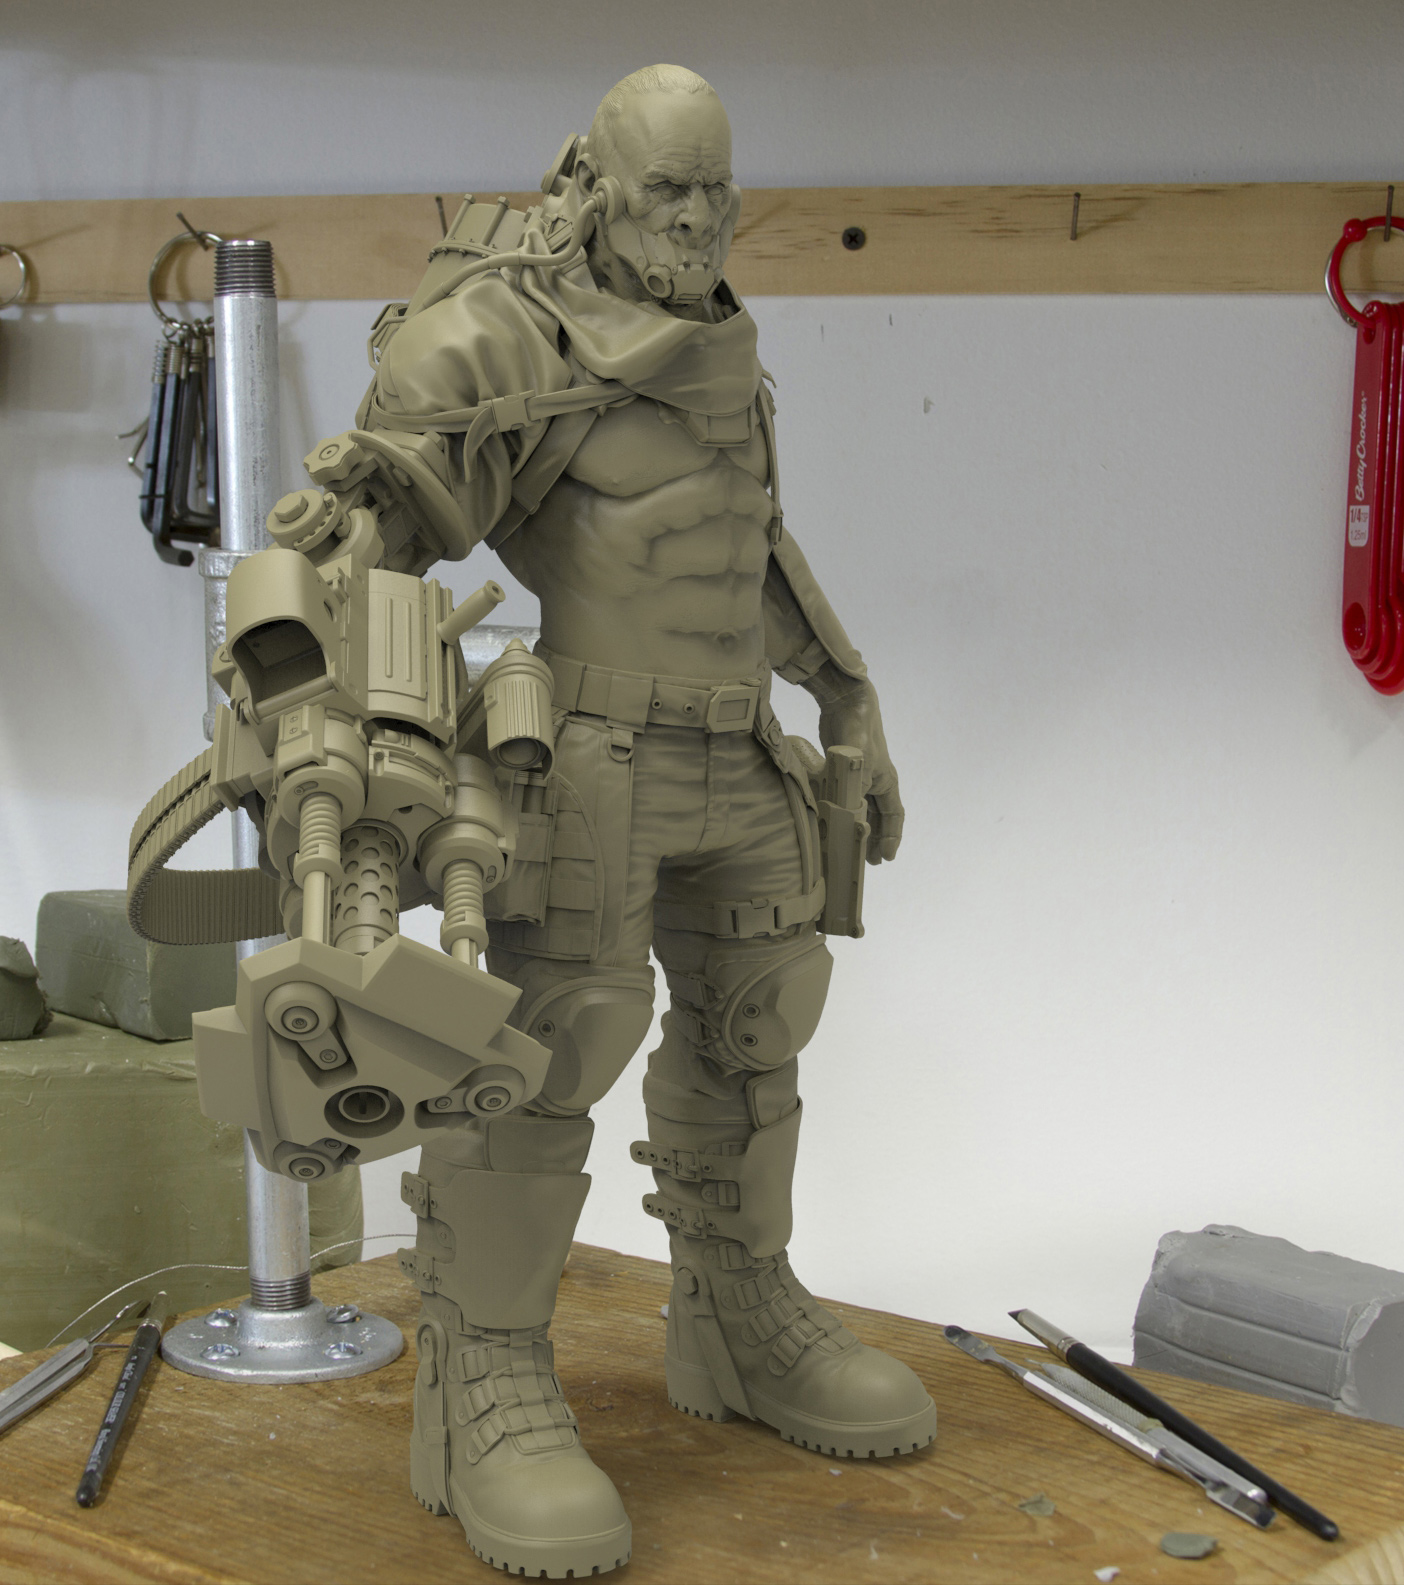
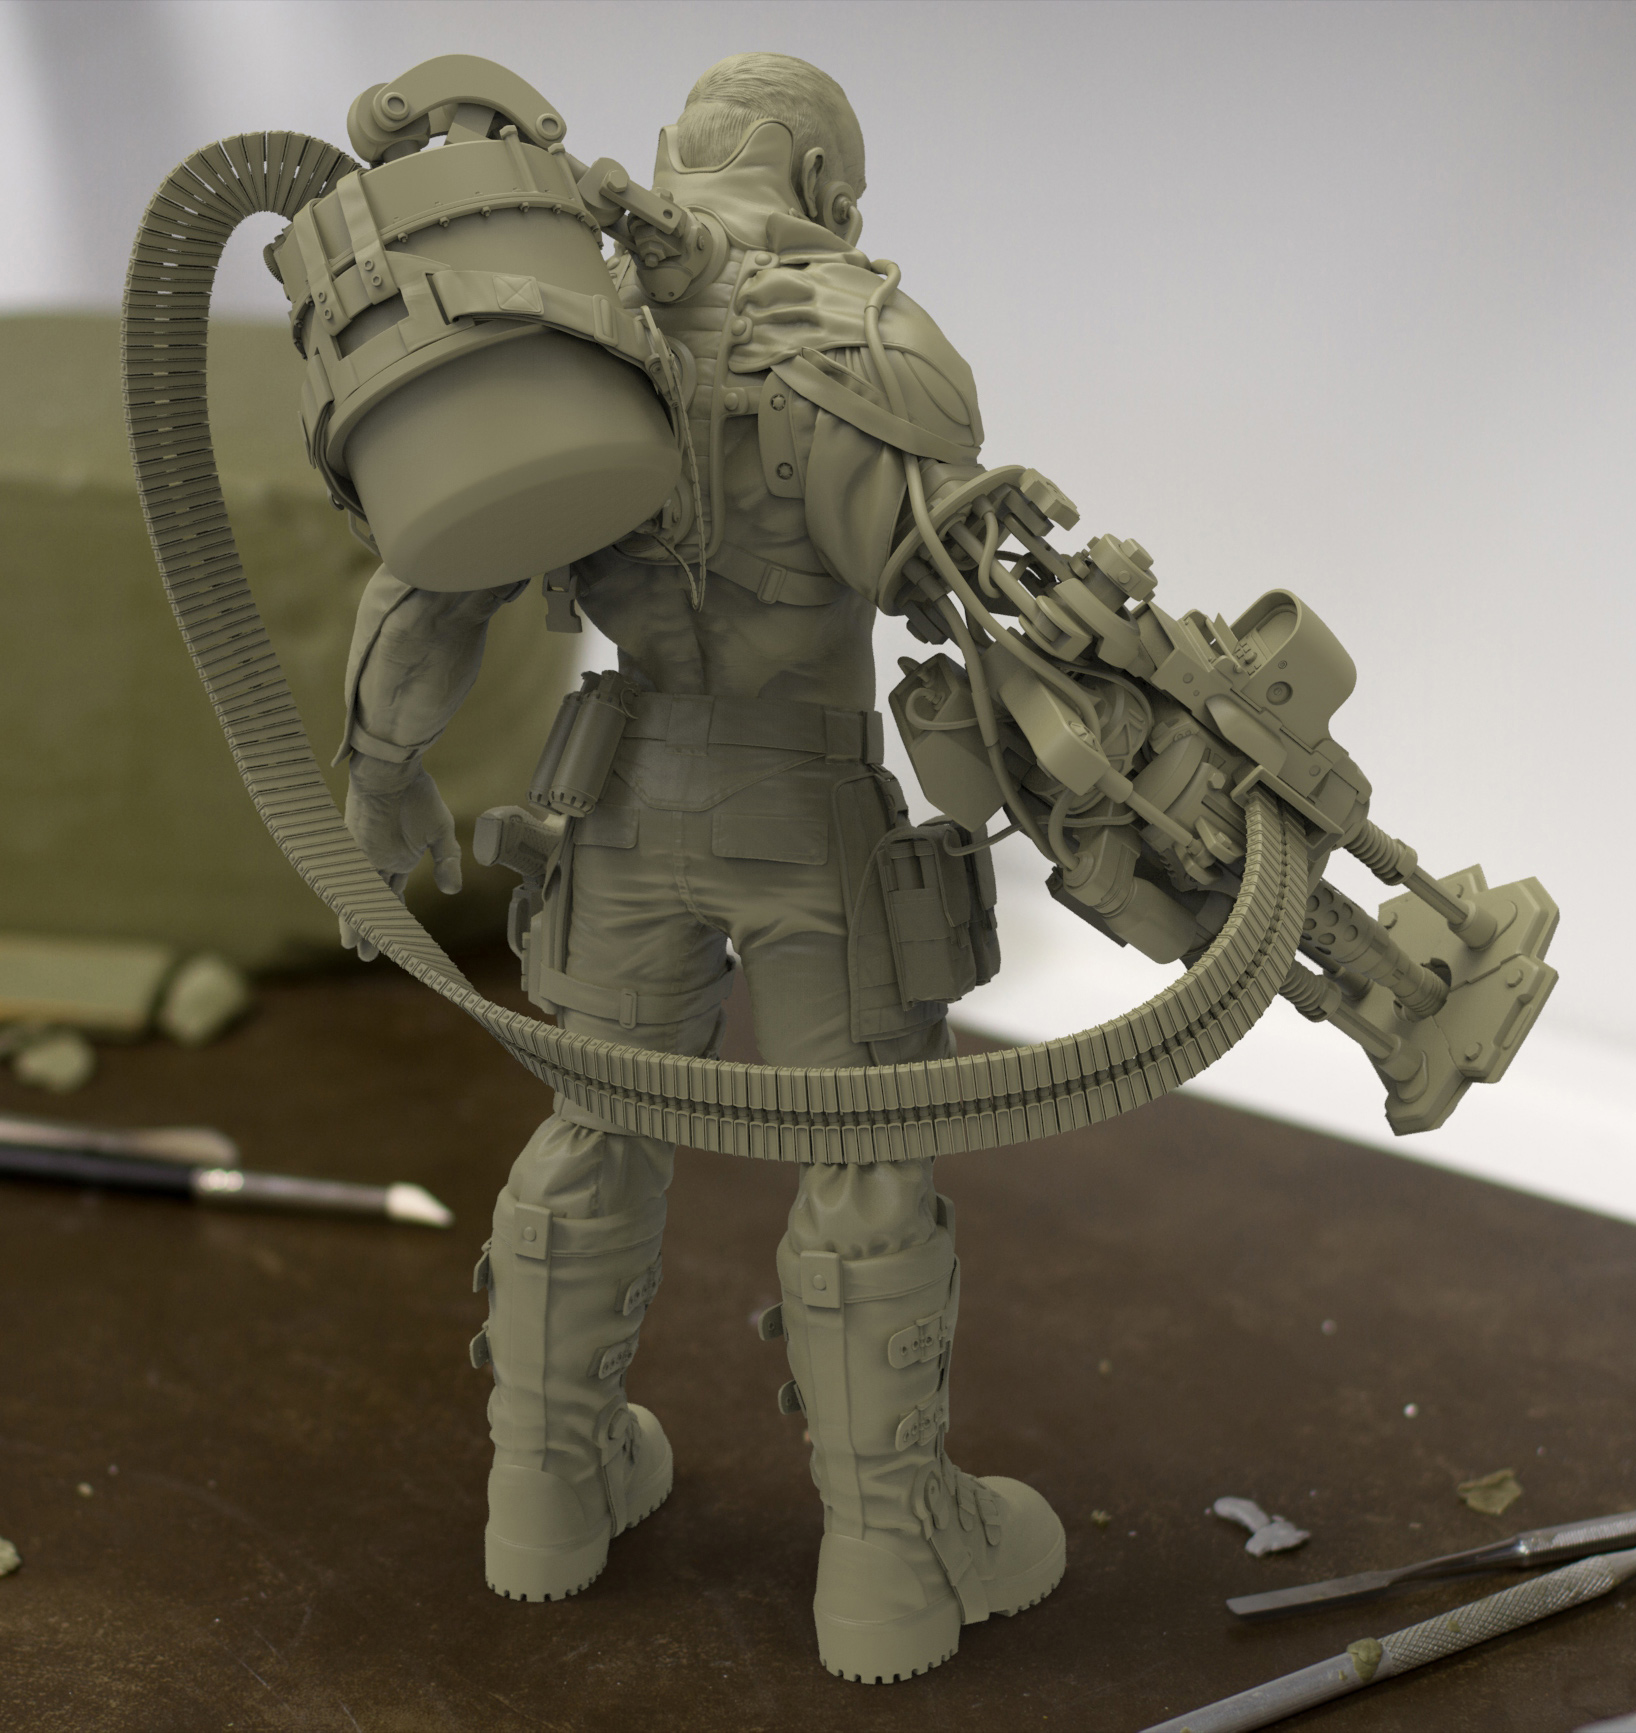
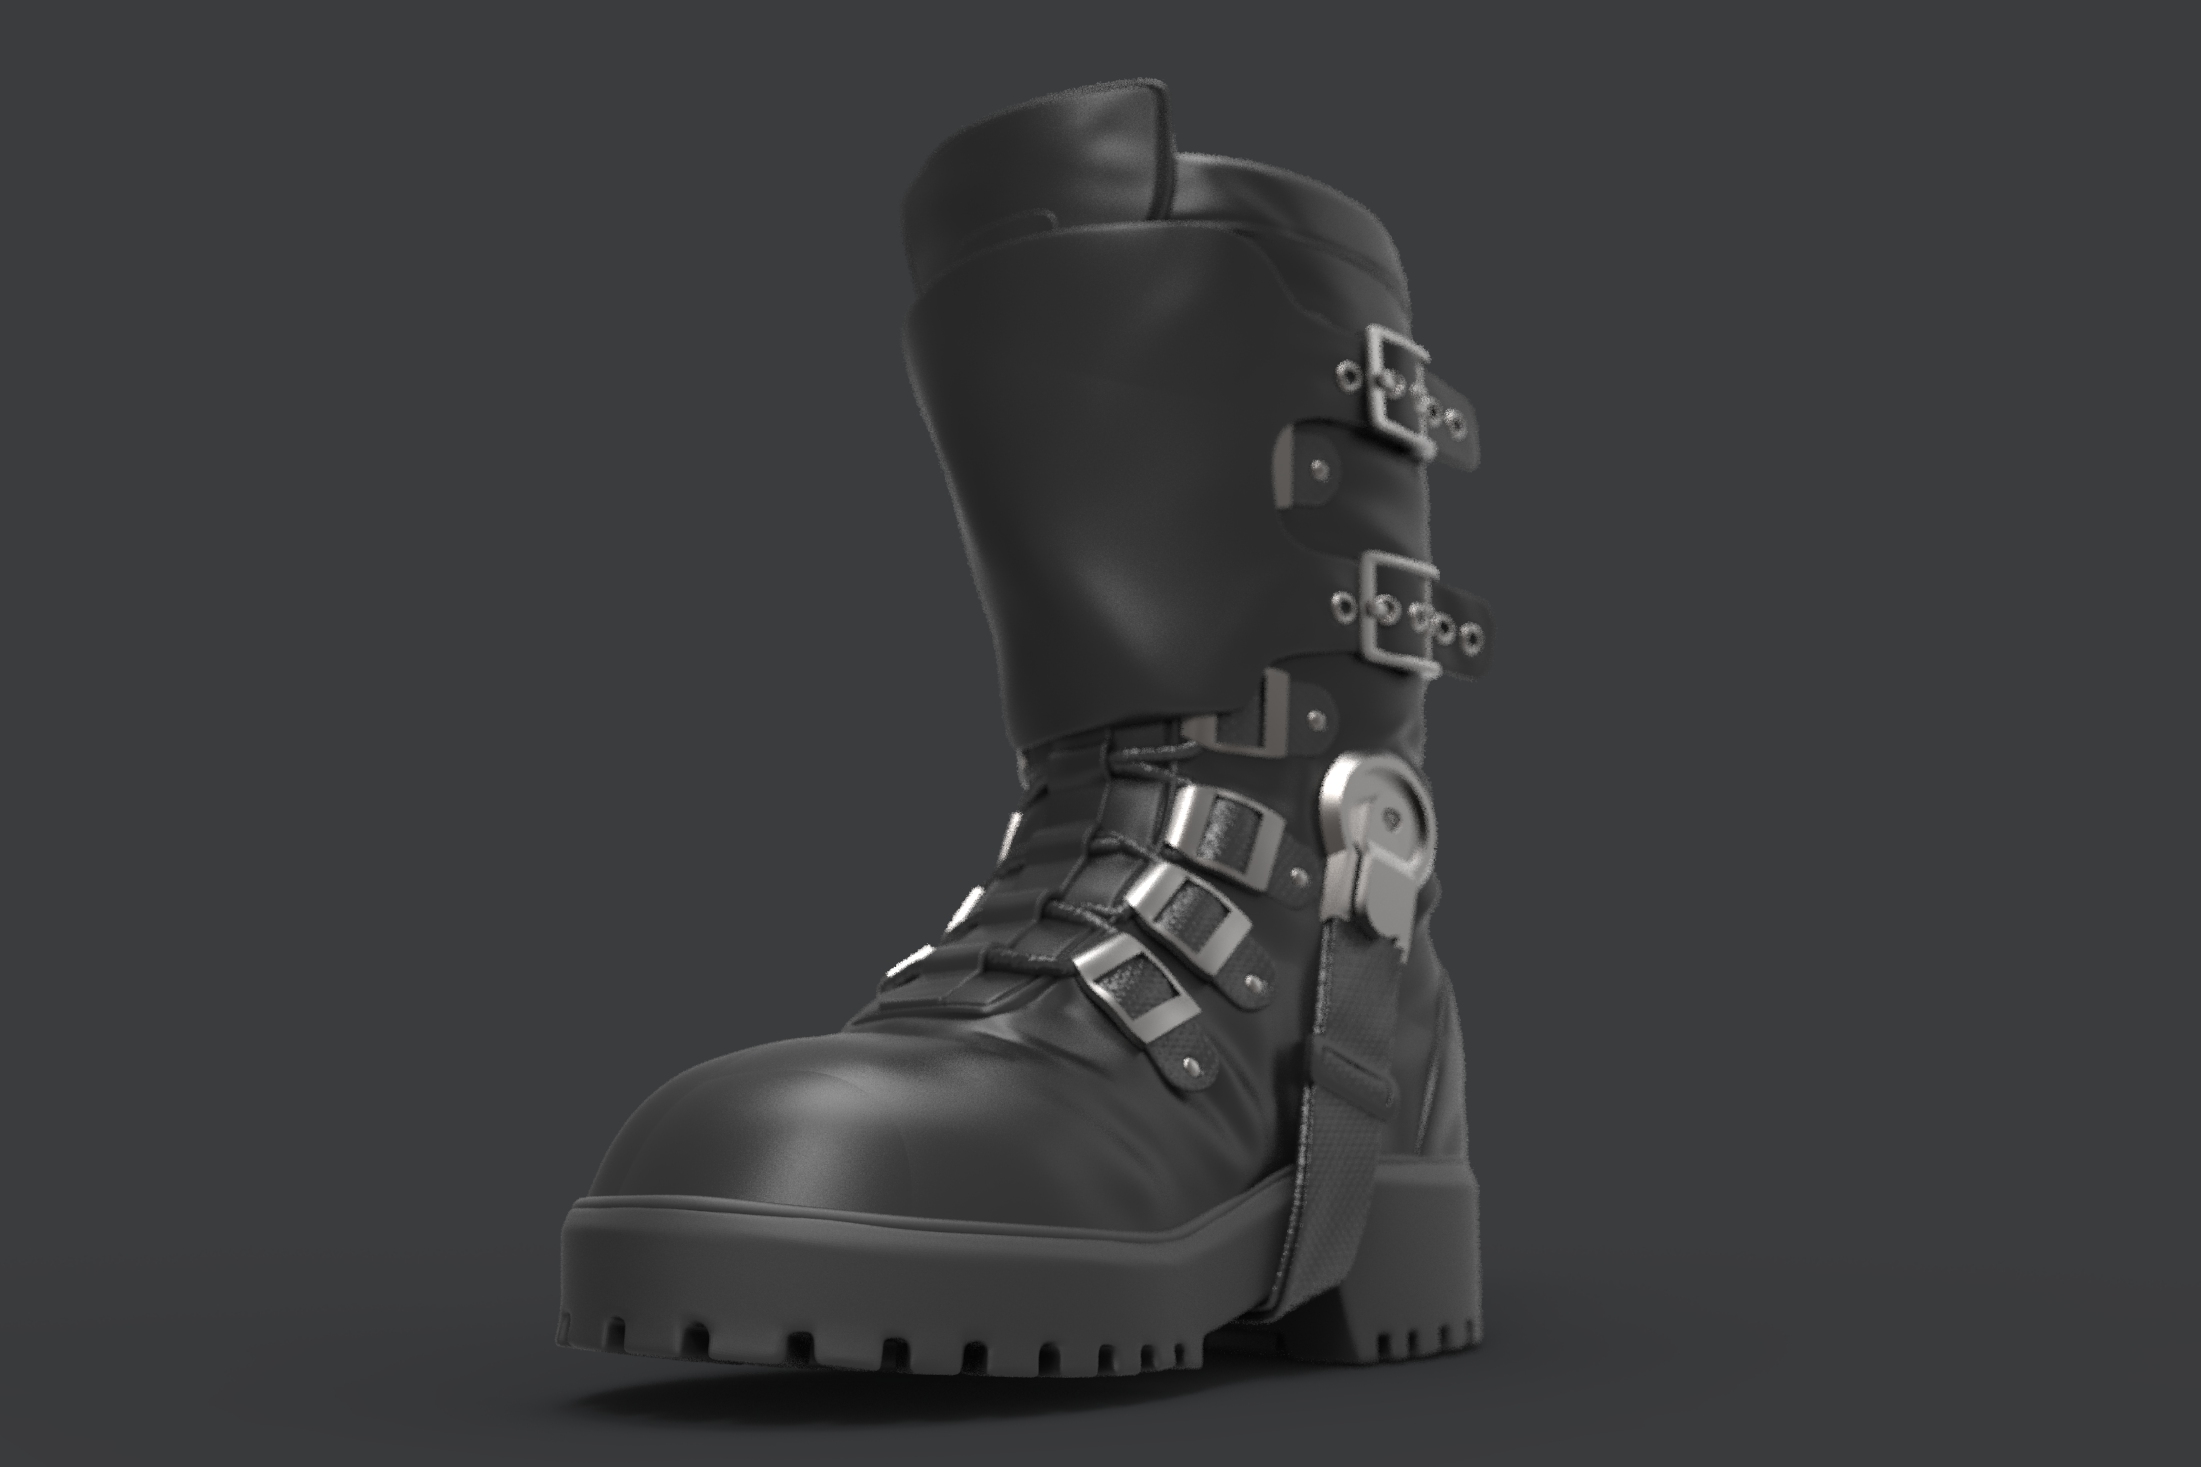
Skull boots! The pouch and boot creation ended up being (surprisingly?) more box-model-y than I would have thought-- it’s 99% low poly modeling, creasing and subdividing, then at the VERY end, doing some quick wrinkle work. I’m going to do a more thorough breakdown of the boots creation in a bit, but for the soles, here’s a good trick:
- I used zsphere topology to get the bottom of the foot shape,
- gave that topology some thickness (either under the skin thickness option under zsphere topology, or just append the adaptive skin and zmodel or extract out a skin thickness)
- then I used the topology brush to make all of the little “cubes” very quickly
- Separated them out into their own subtool, moved them around to get them to sit as nice and “flush” as possible
- creased and subdivided the sole and the cubes, dynameshed them together, did a little hpolish / smooth cleanup where needed
- zplugin > decimation master to get it down to a reasonable size
- then zremeshed the entire sole.
Now I have a nice, tight, low res sole that I can subdivide once for my high res. No masking, no transposing, no inflating. Just model, dynamesh, zremesh!
Attachments


 small_orange_diamond