 hey carver, the transparent and antialiased buttons are turned on
CURLYCREATIVE,
Are the fibers in preview mode or have they been accepted and are a subtool. If they are a subtool, then re apply the texture in the traditional texture map menu.
I can’t seem to find how to PM you so sorry that this is off topic, but I found your download of the models from an anatomy website you posted quite a while ago. I had actually been using them for a bionic arm project to be 3D printed for a while from the japanese source site for a while, but your post said you went through all the models. My question is are there models of cartilage in the model? I can’t seem to figure out how they are labeled for a search. I’d like to print nylon for the joints possibly, after I cast the bones in aluminum.
If you could maybe email me that would probably be the easiest.
[email protected]
Thank so much for your time!
Amadon
Much thanks. I appreciate when people take the time to create such tutorials. I’ll be around more often. Followed and Favorited. : )
Well, I realized that my thread has not been updated in far too long. Been busy. I was on the 4R7 beta testing team, had a blast figuring out the new toys.
More to follow.
Attachments
Attachments
And one more.
Attachments
Hi Carver
please keep posting I have learned a lot from you
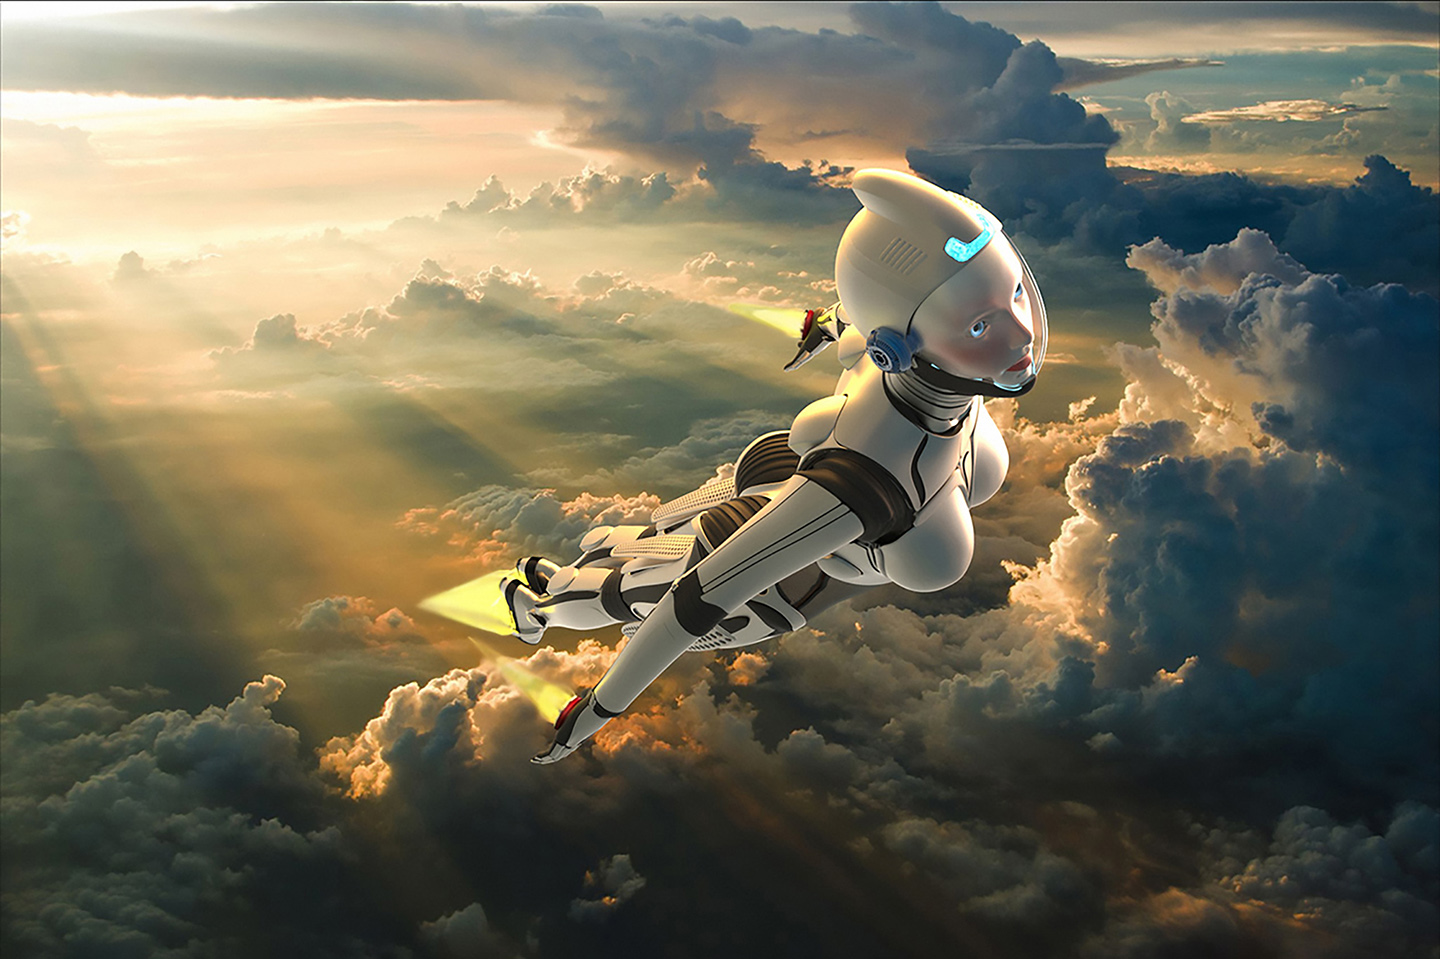
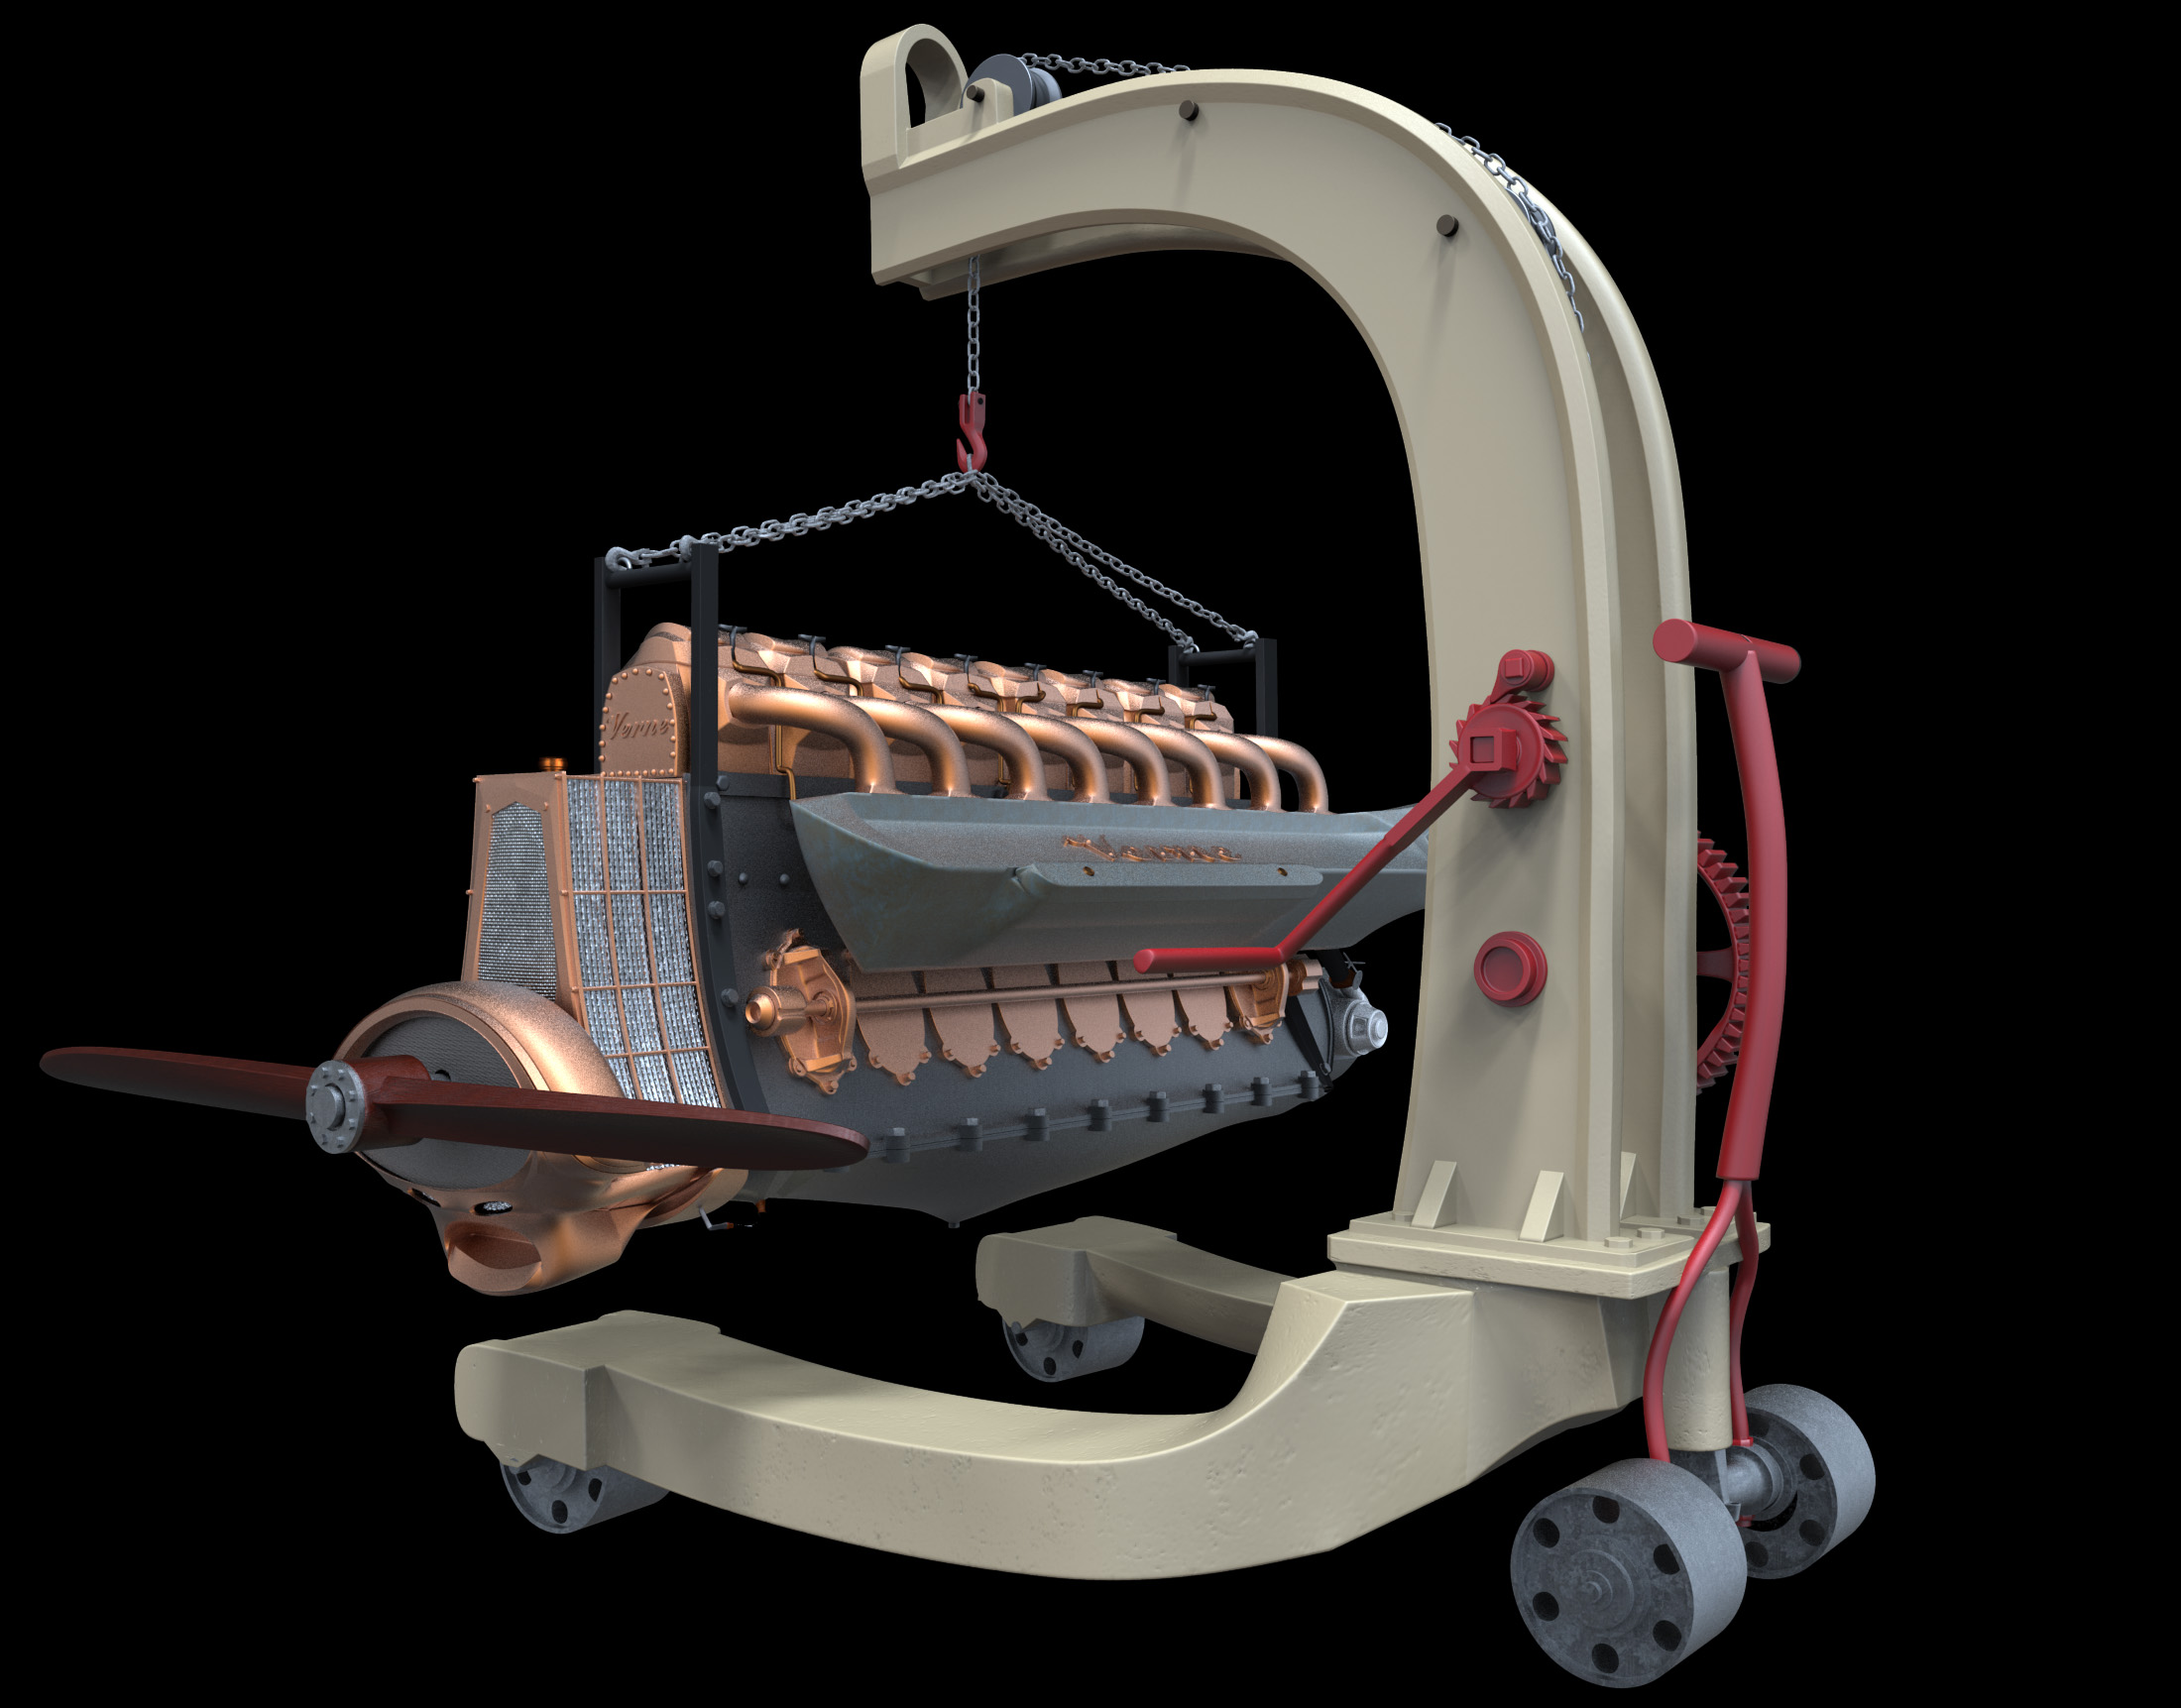
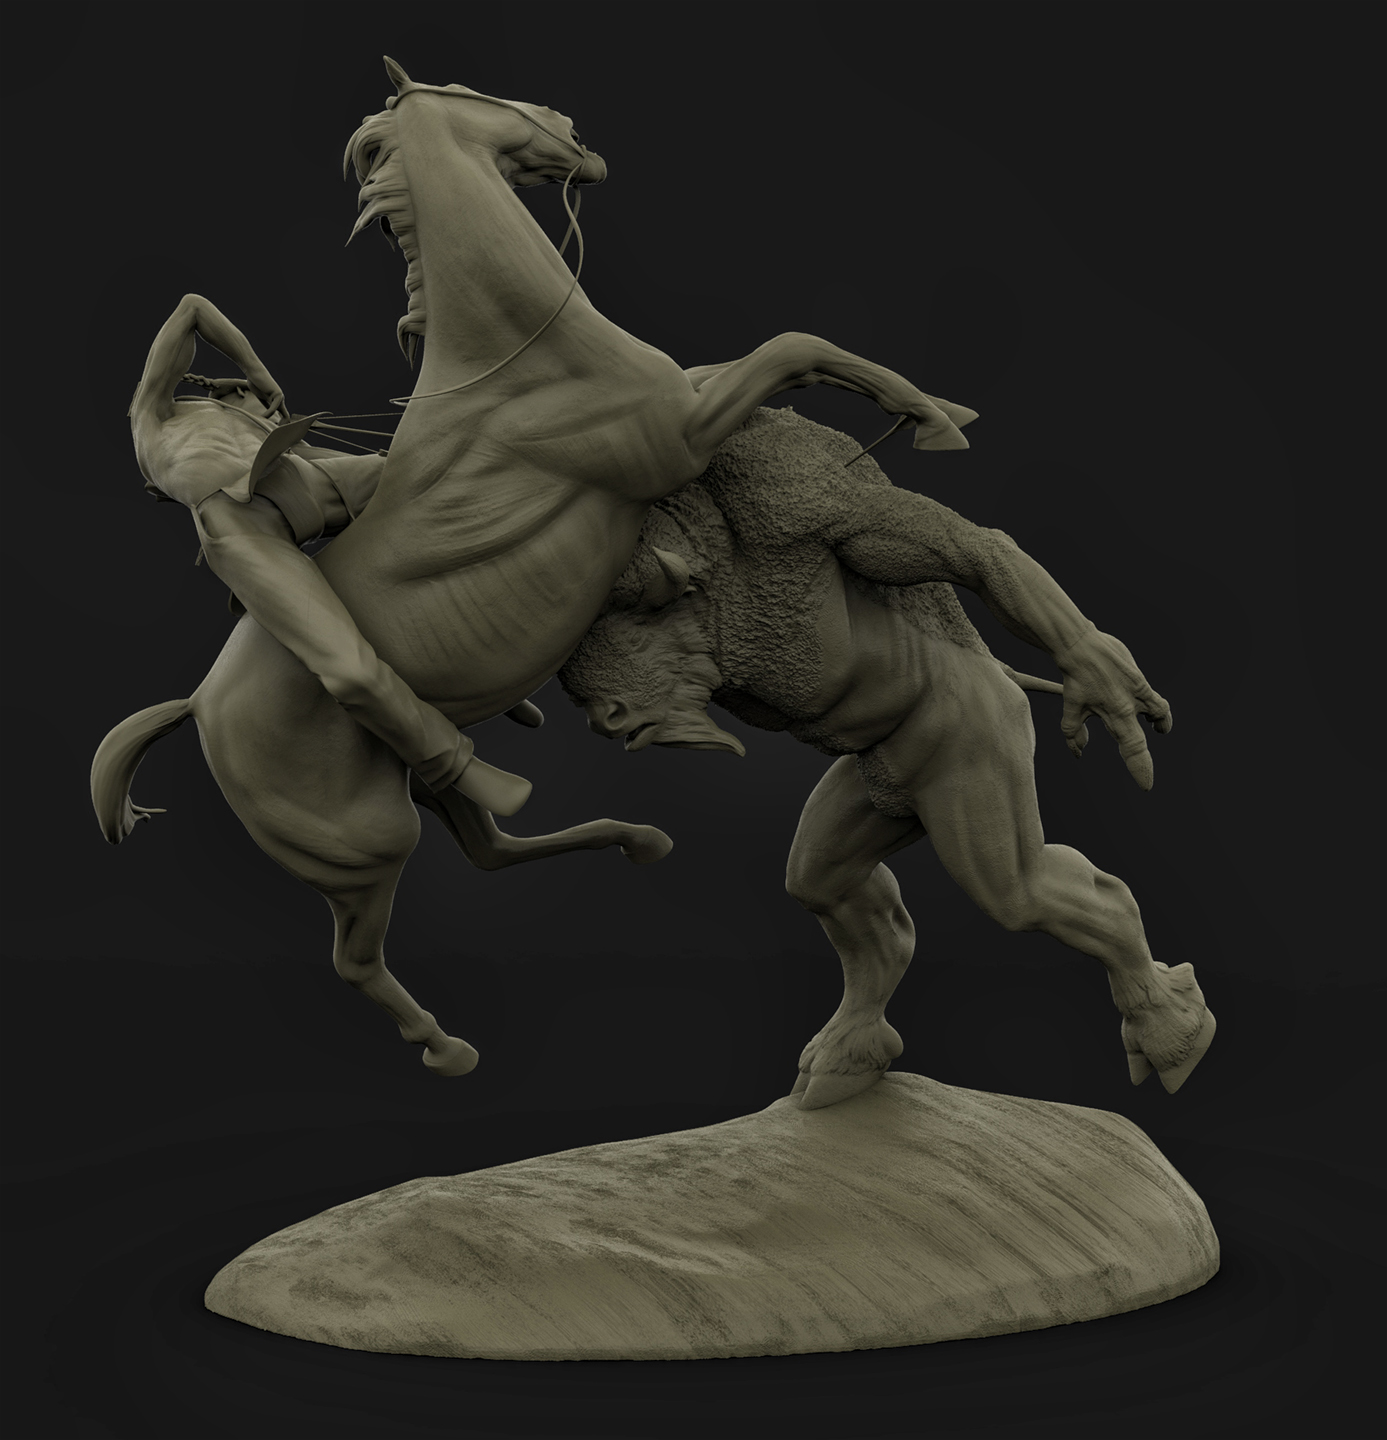
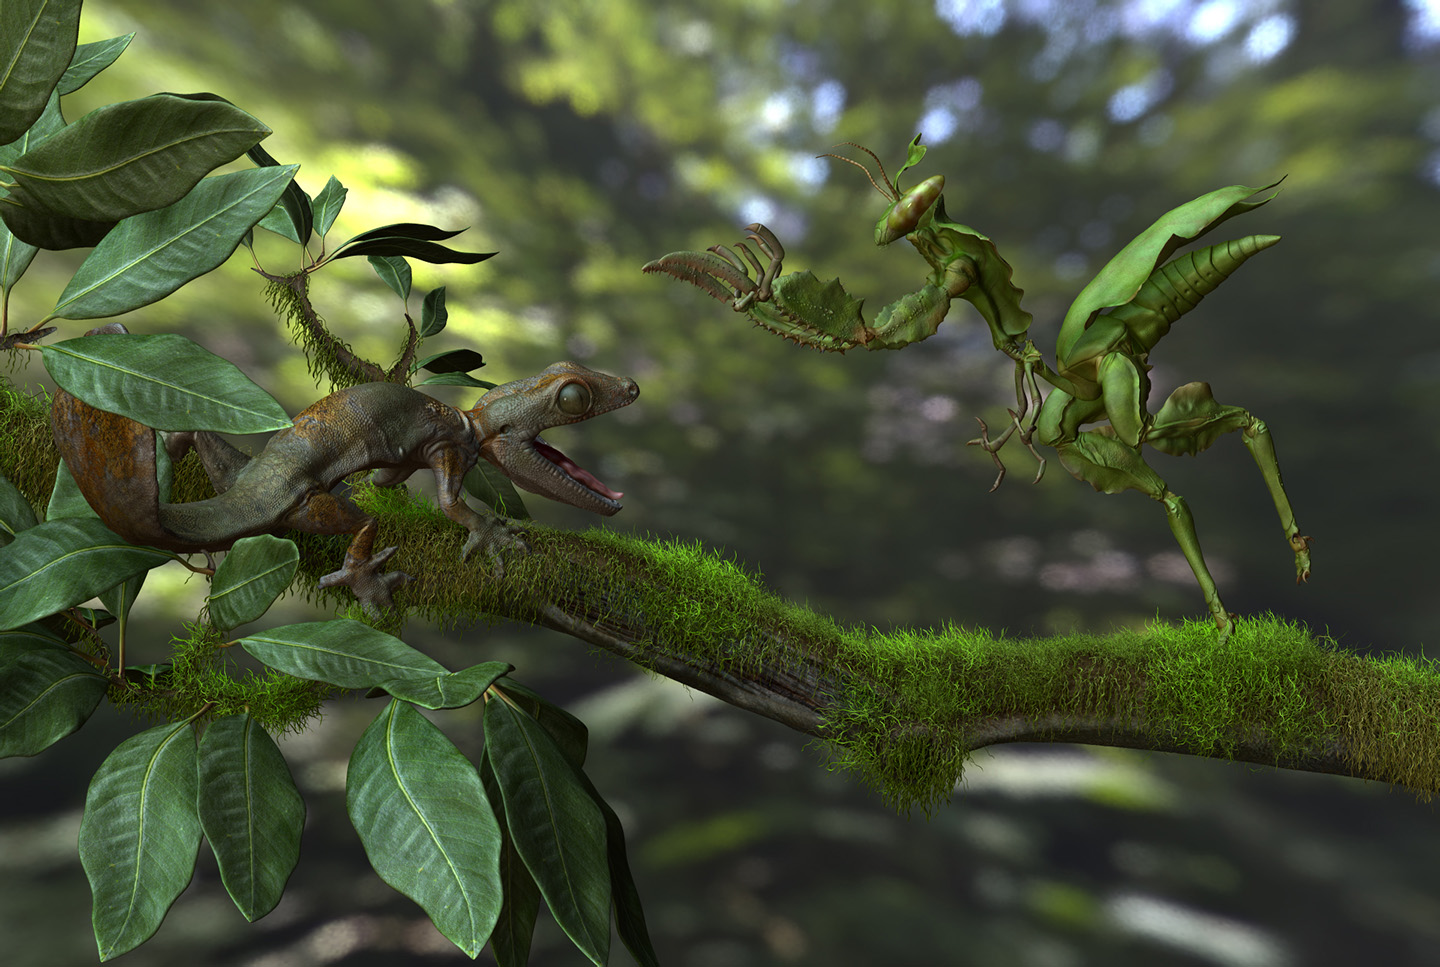
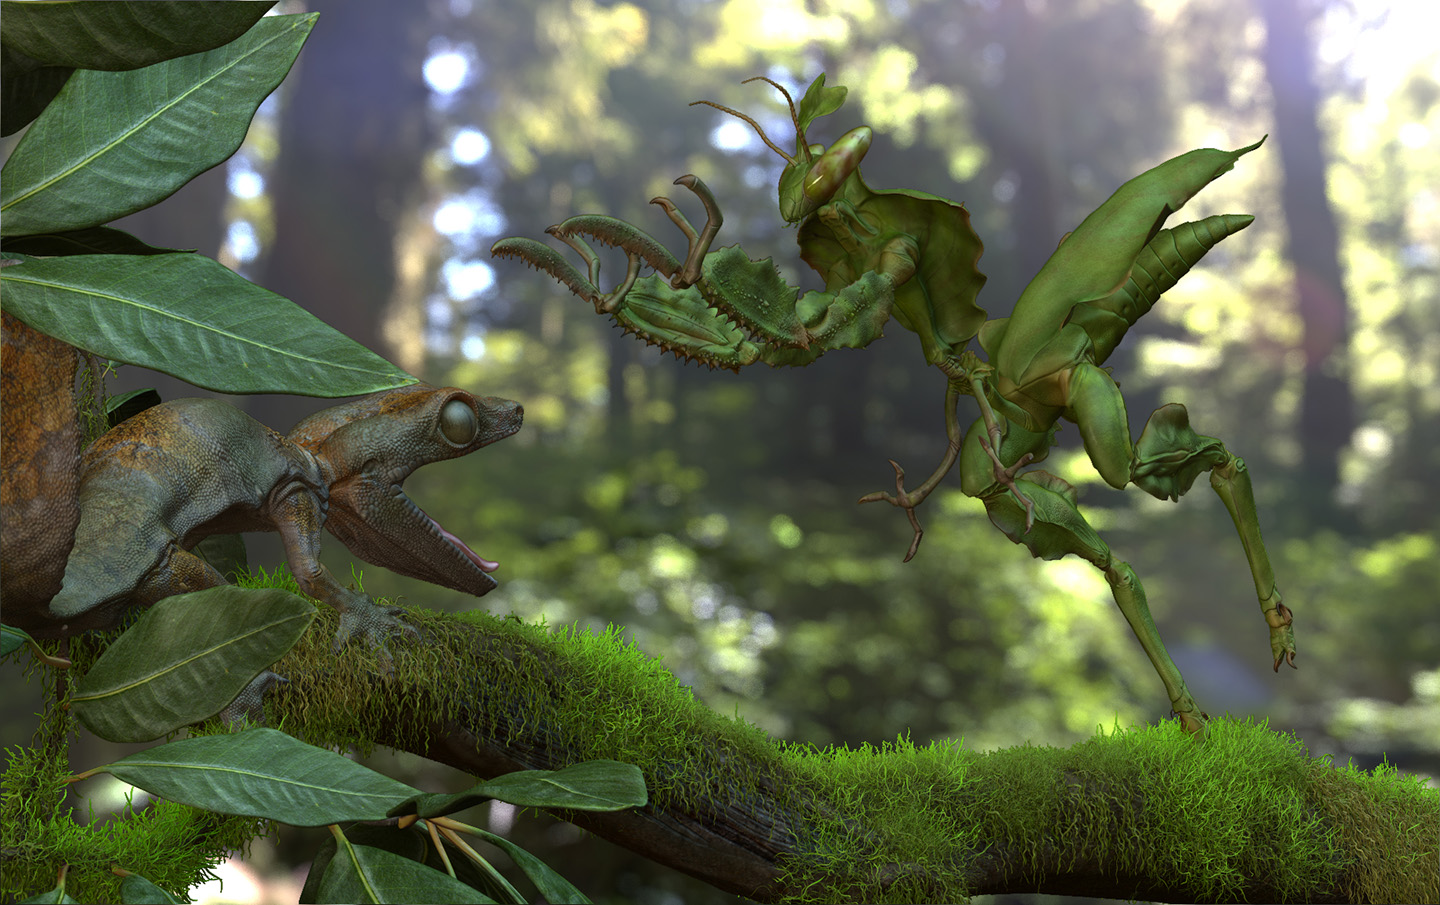
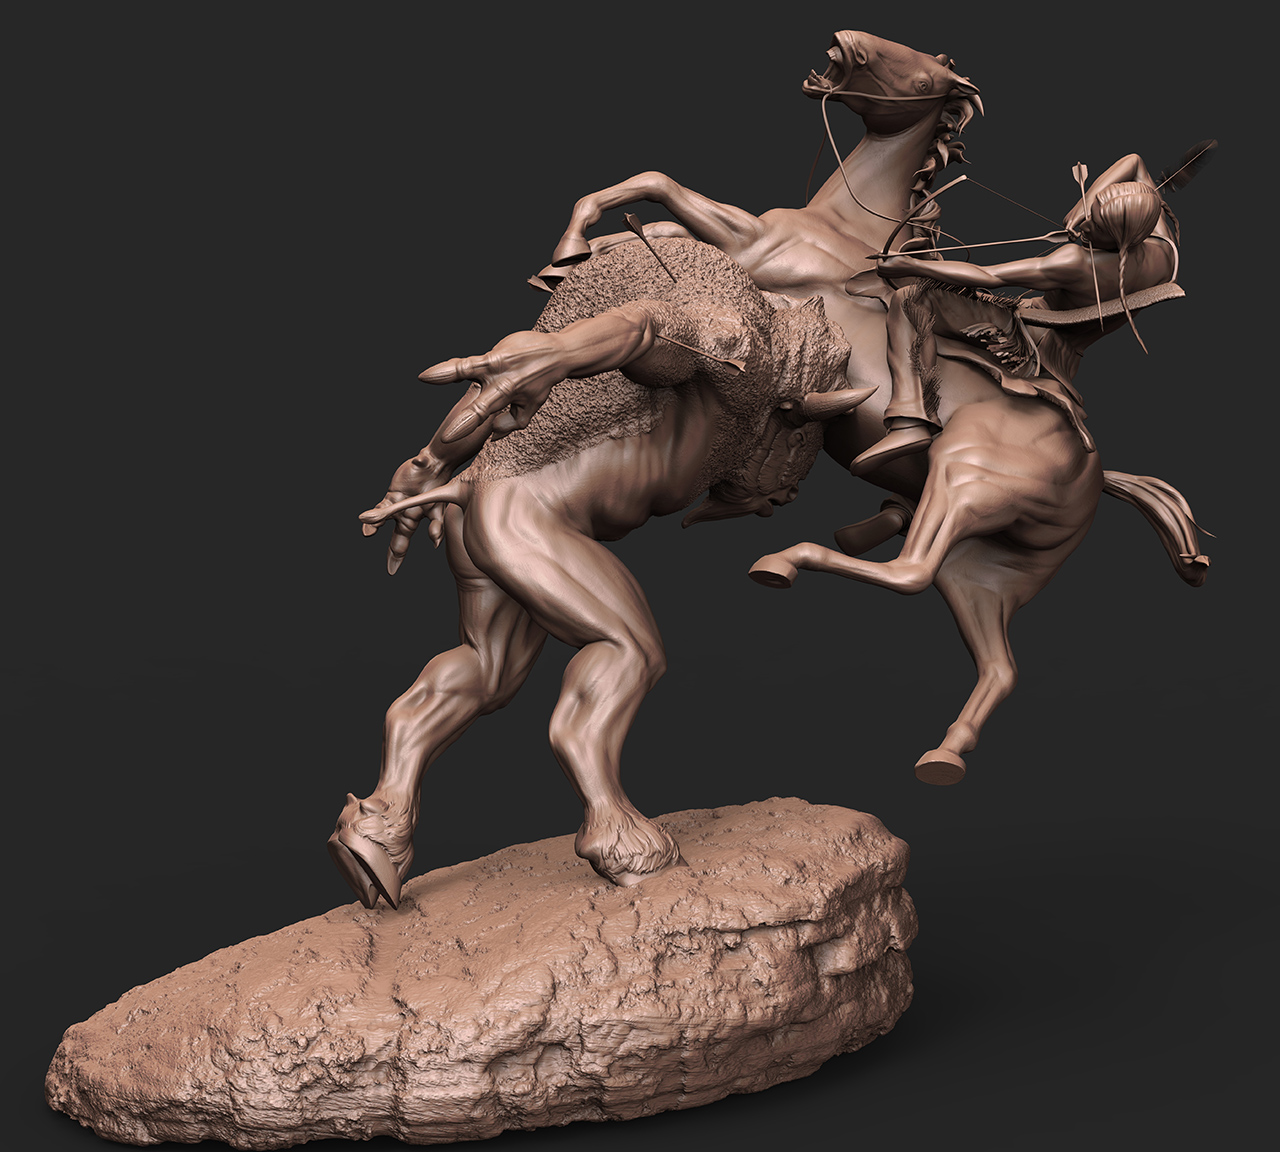
I’m baaack…I have been doing so much technical work the past 18 months or so, that I haven’t really had any me time to just sculpt and do my thing. This is an idea I have kinda been mulling over in my noggin for a really long time.
I want to keep this kinda loose, more sculptural than model making. Still playing around with pose and surface treatment.
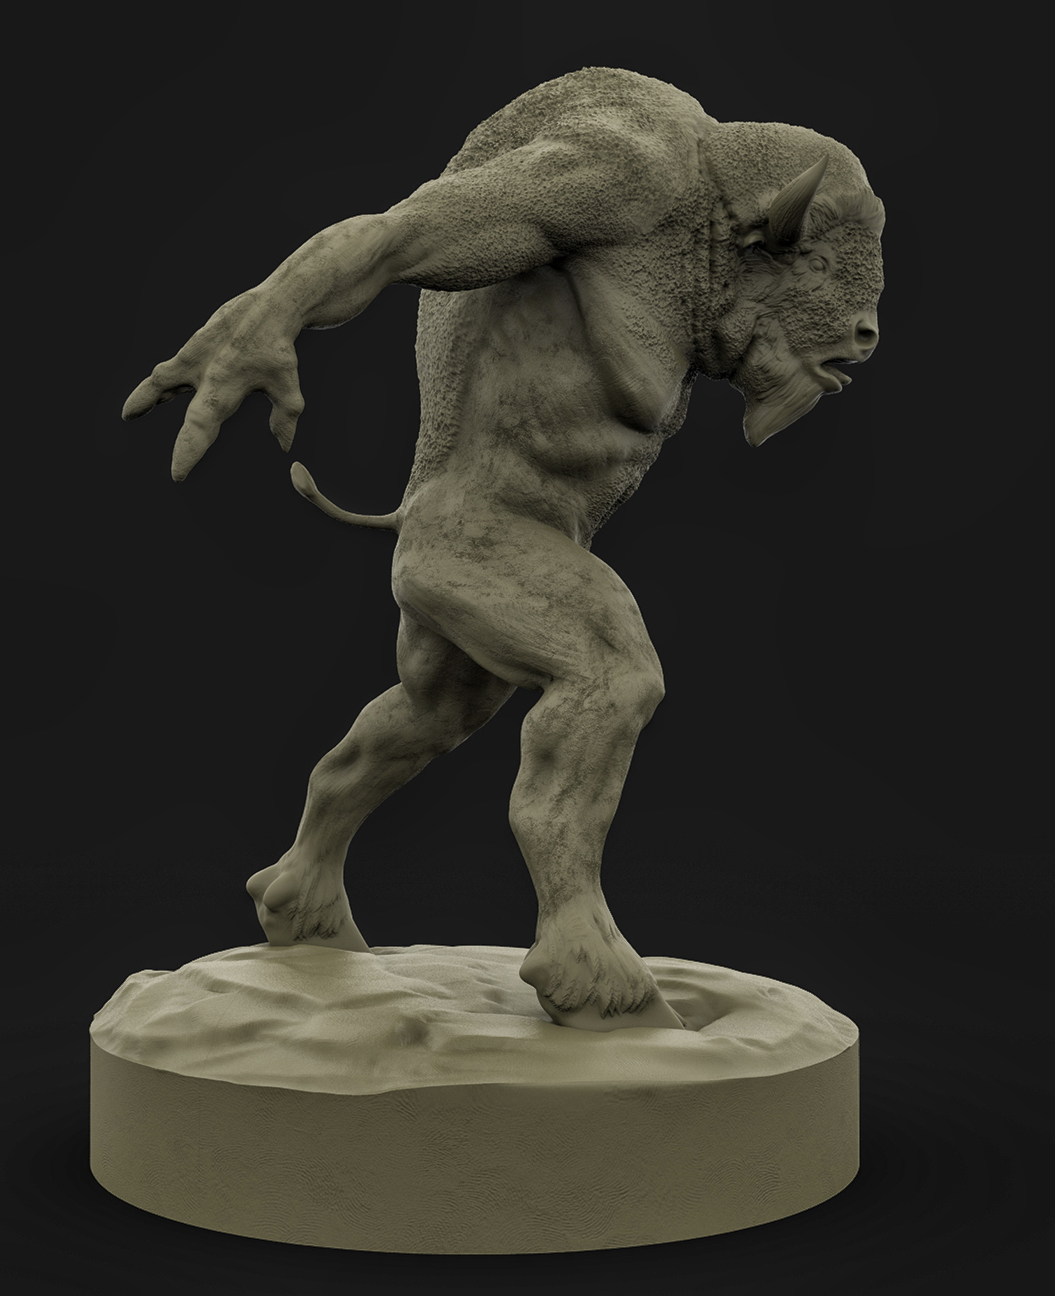
Here is the final path I will be taking this.
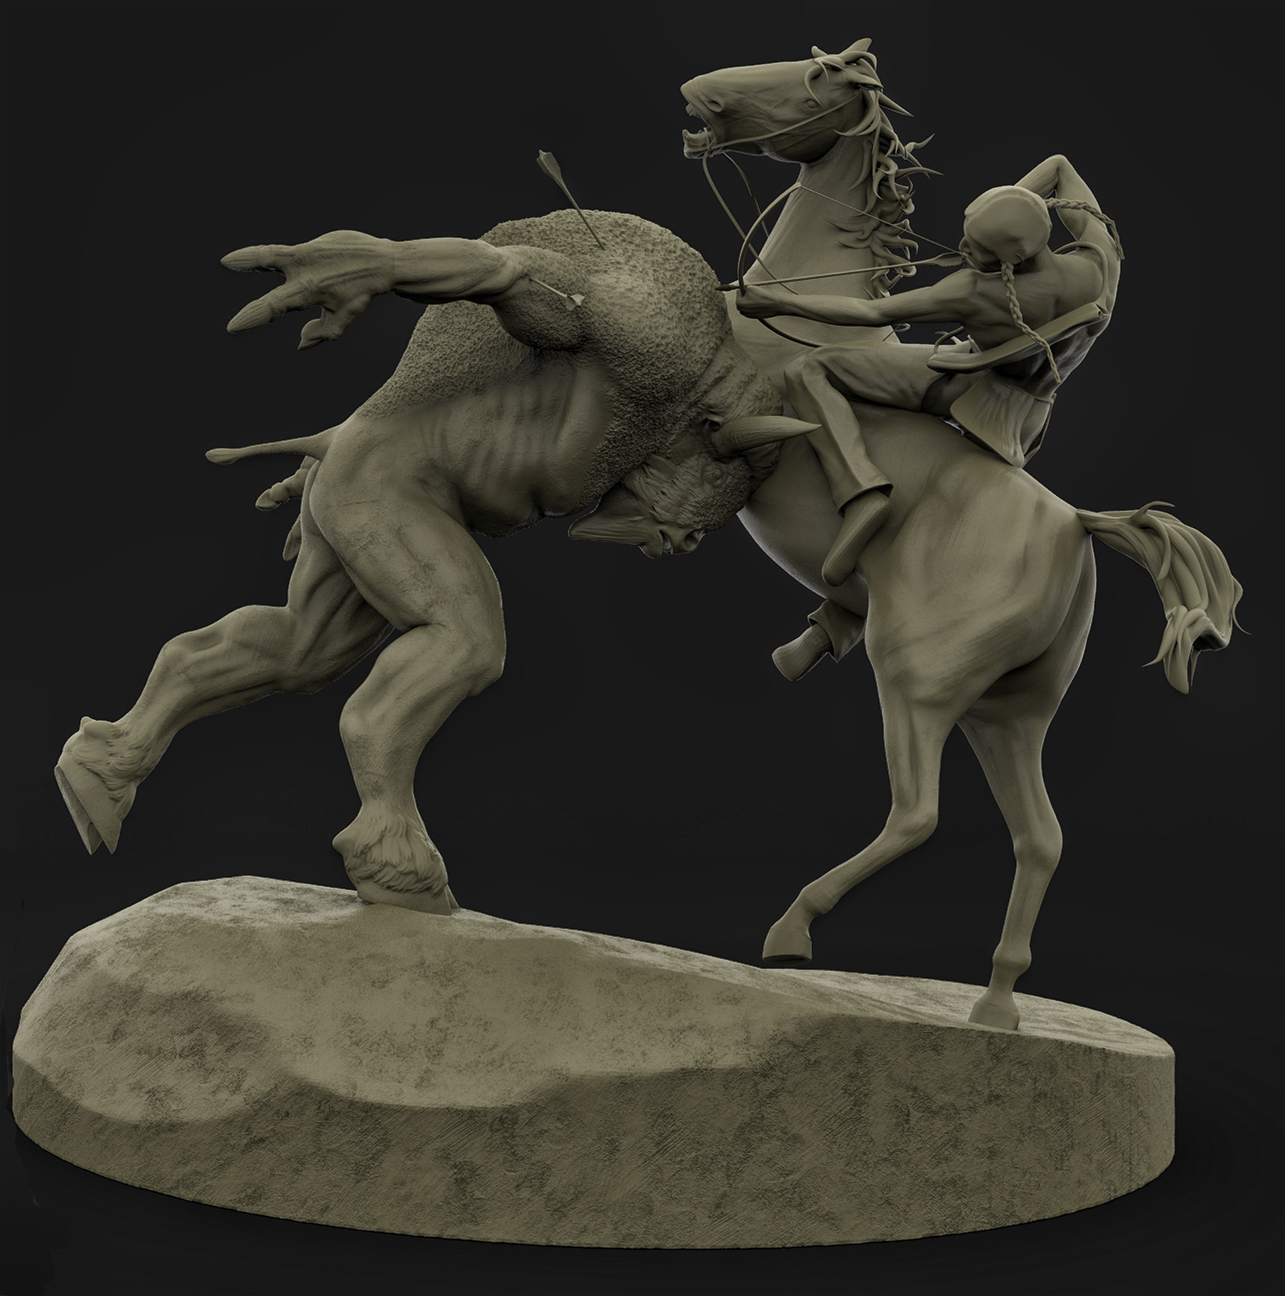
Still a million adjustments to make. Most of the subtools are just place holders and are nowhere close to being done. Still very much a work in progress. When I do finalize this, I plan doing a large 3D print of both the Motanataur and the battle.
More updates in the coming weeks.
Attachments
great job.love the pose.;)
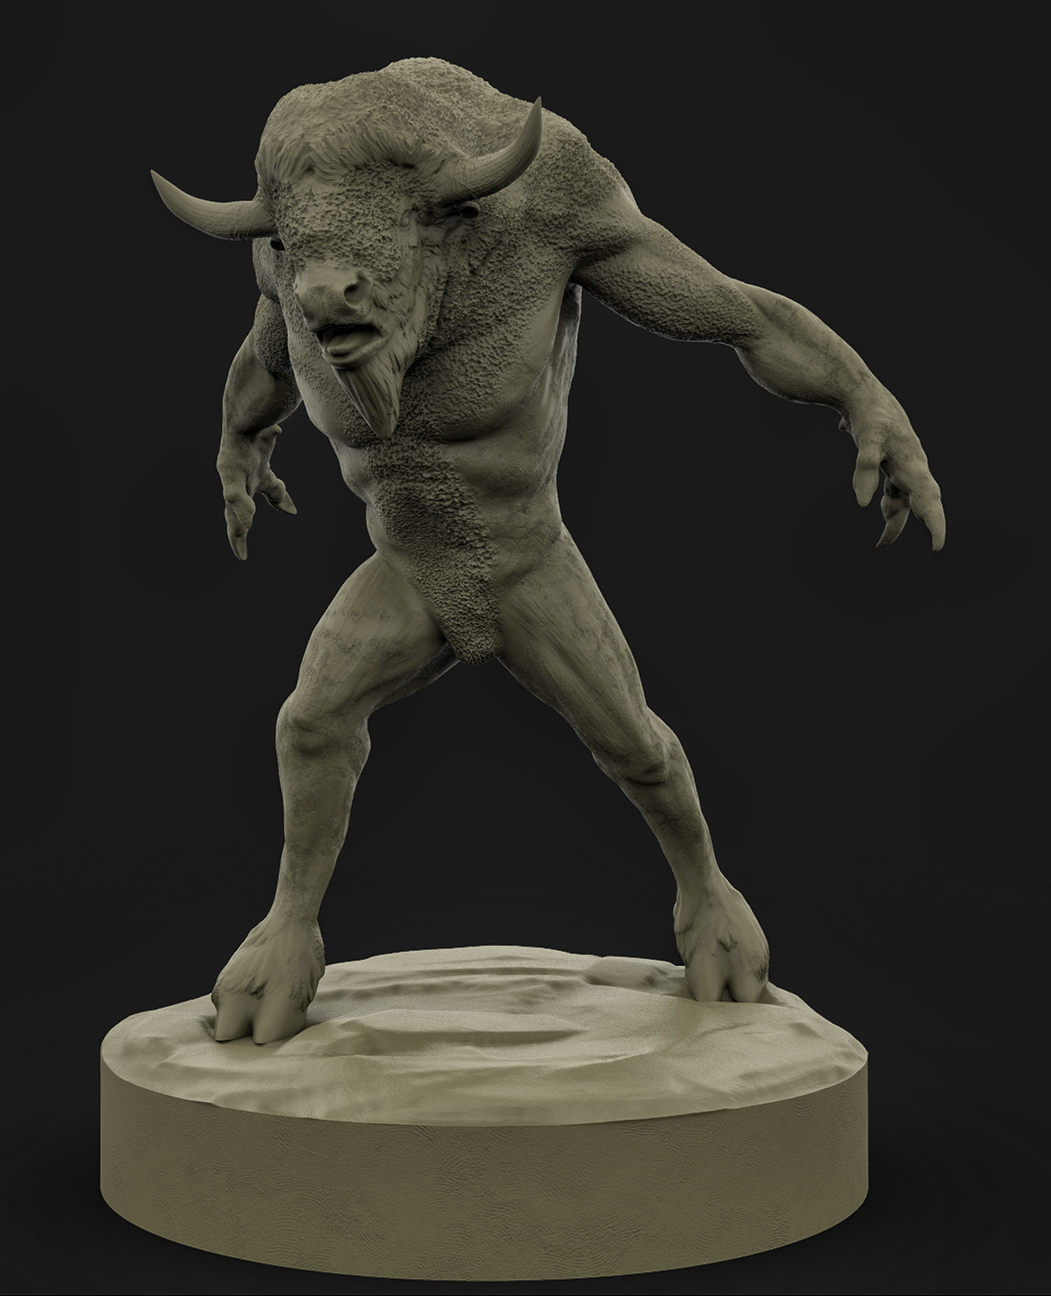
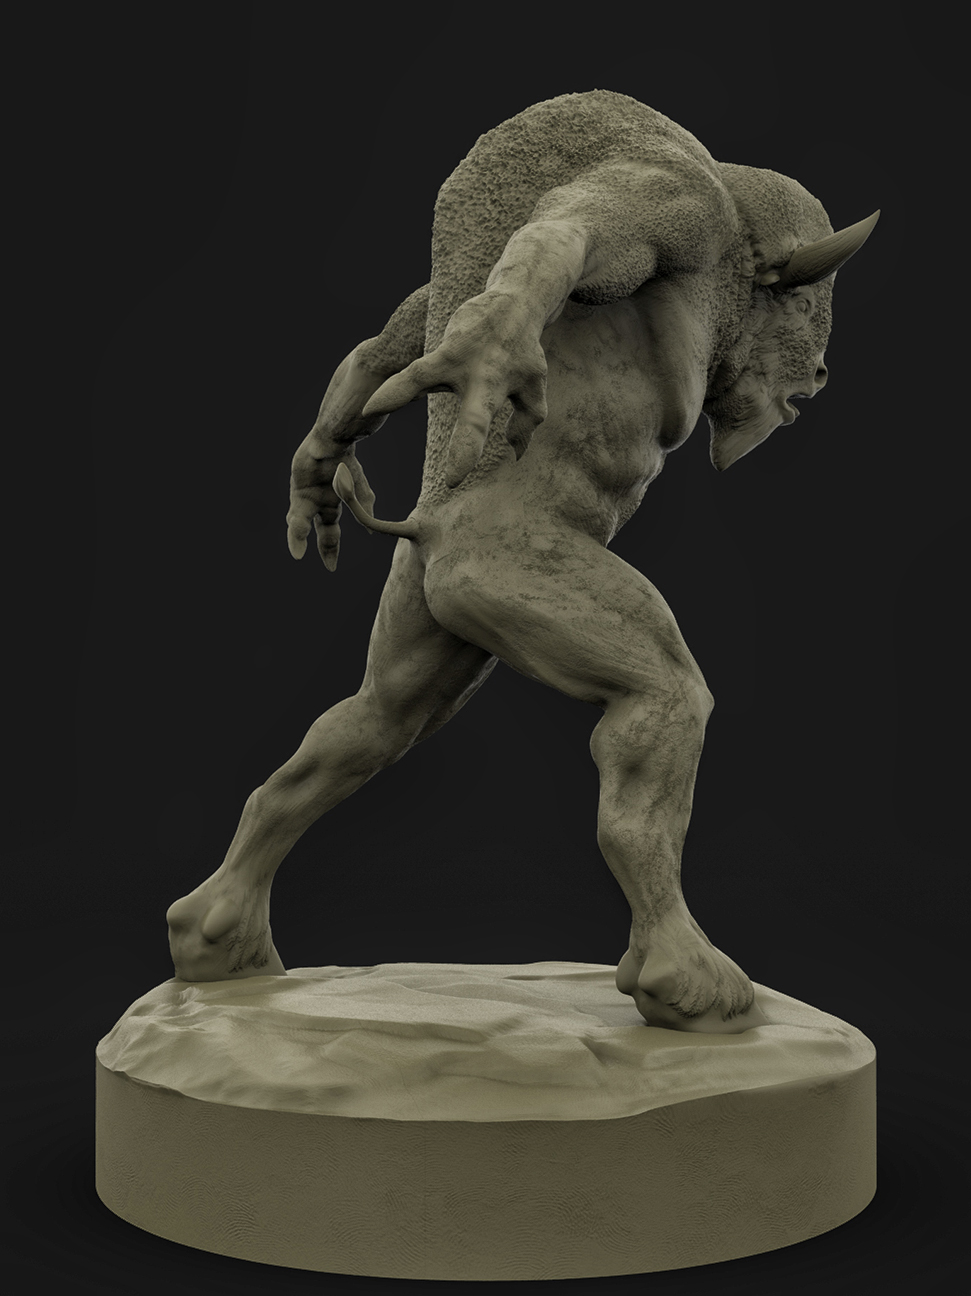
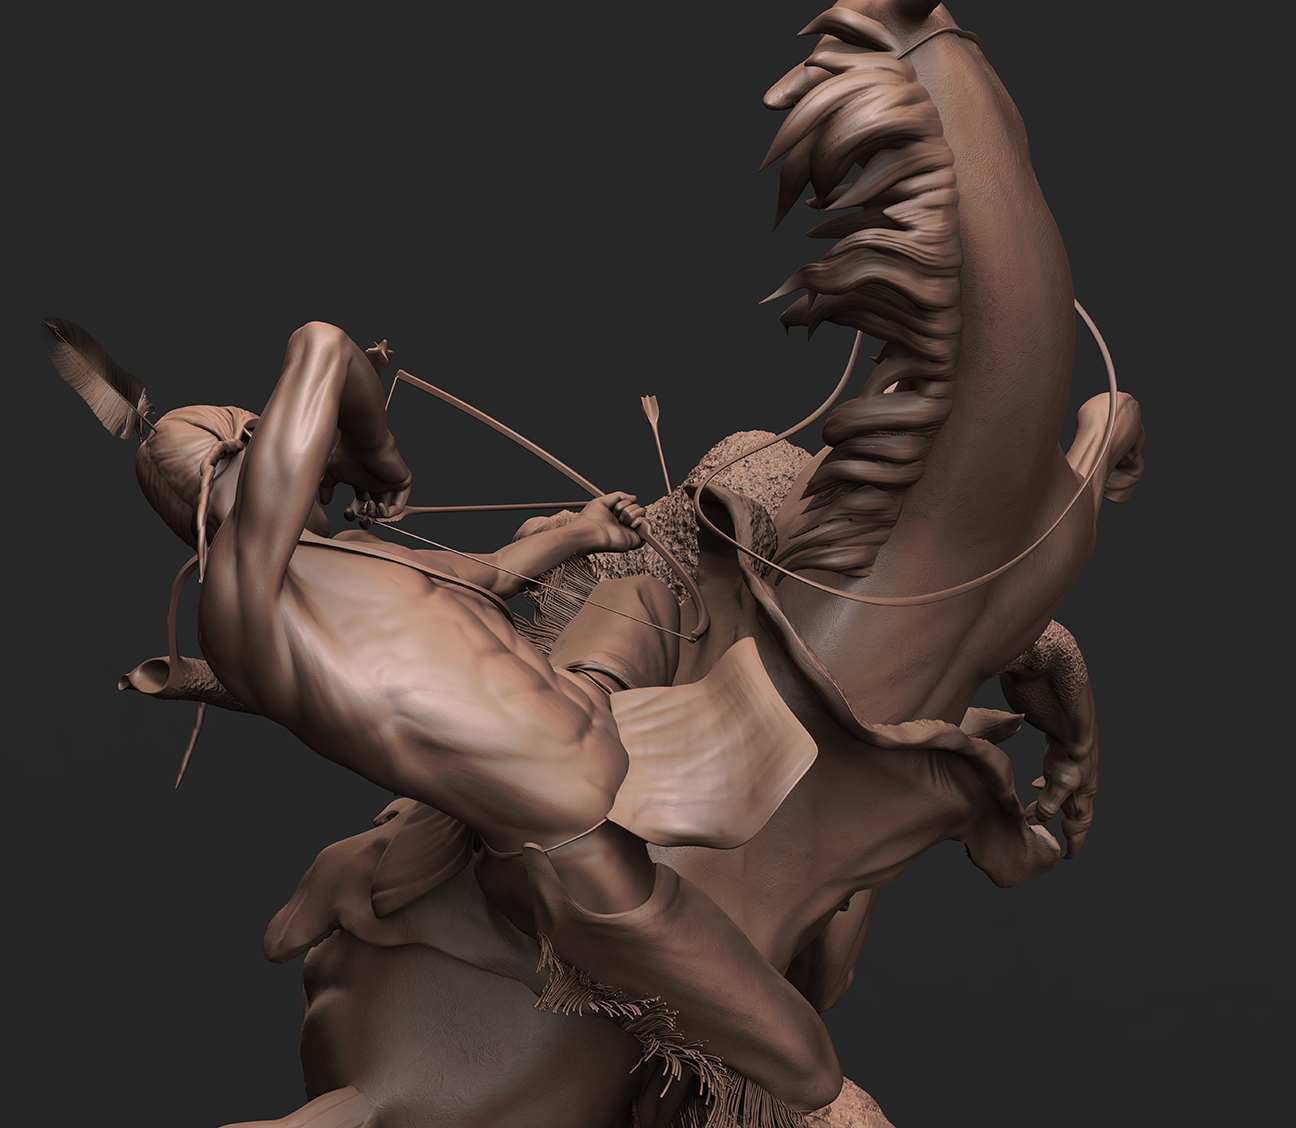
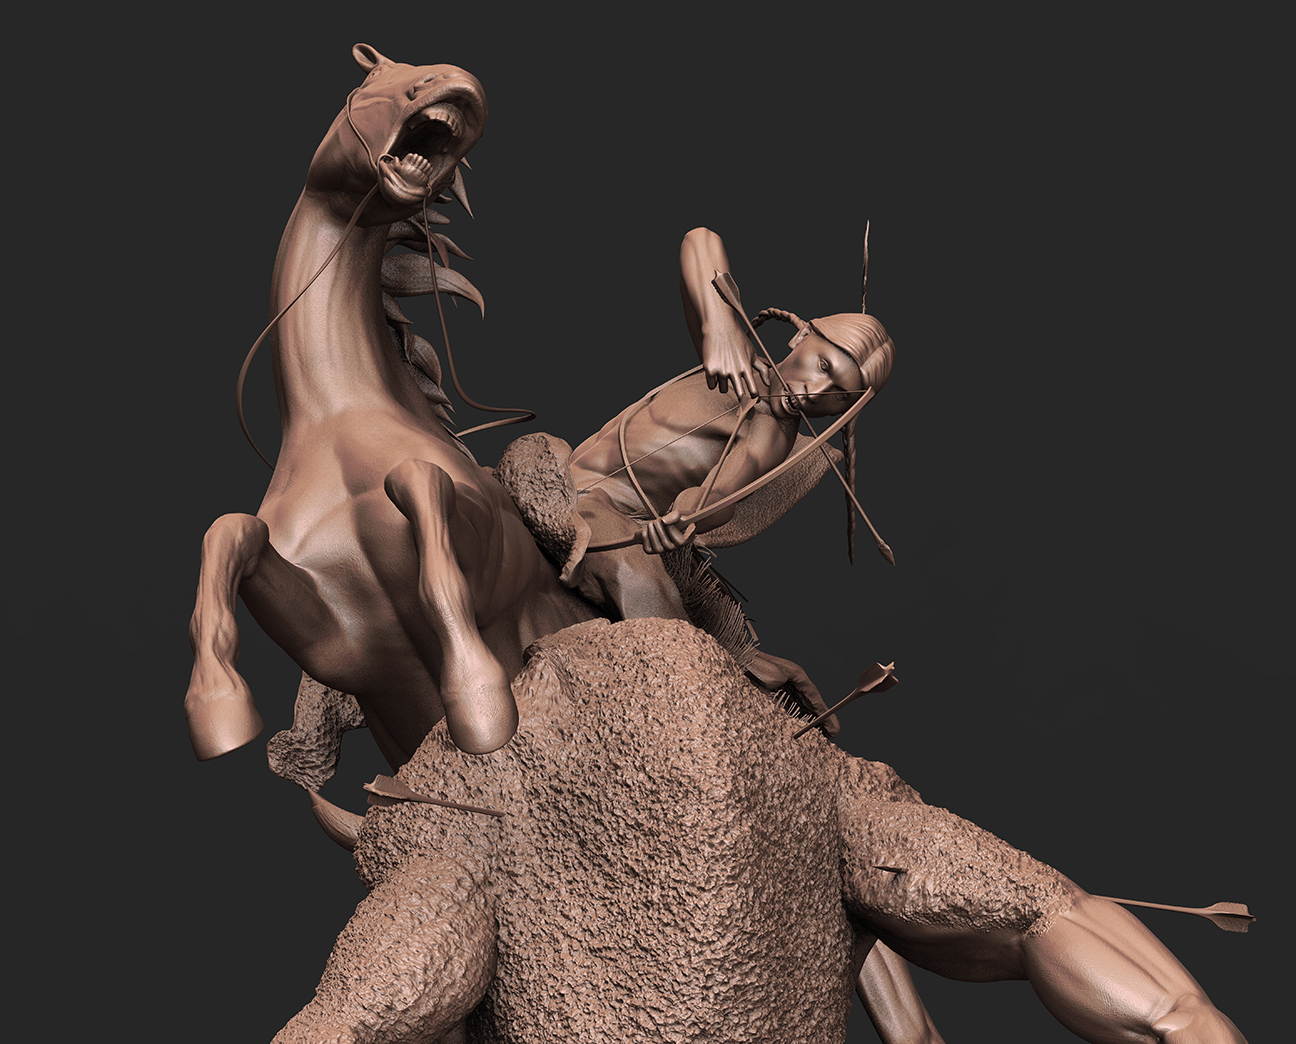
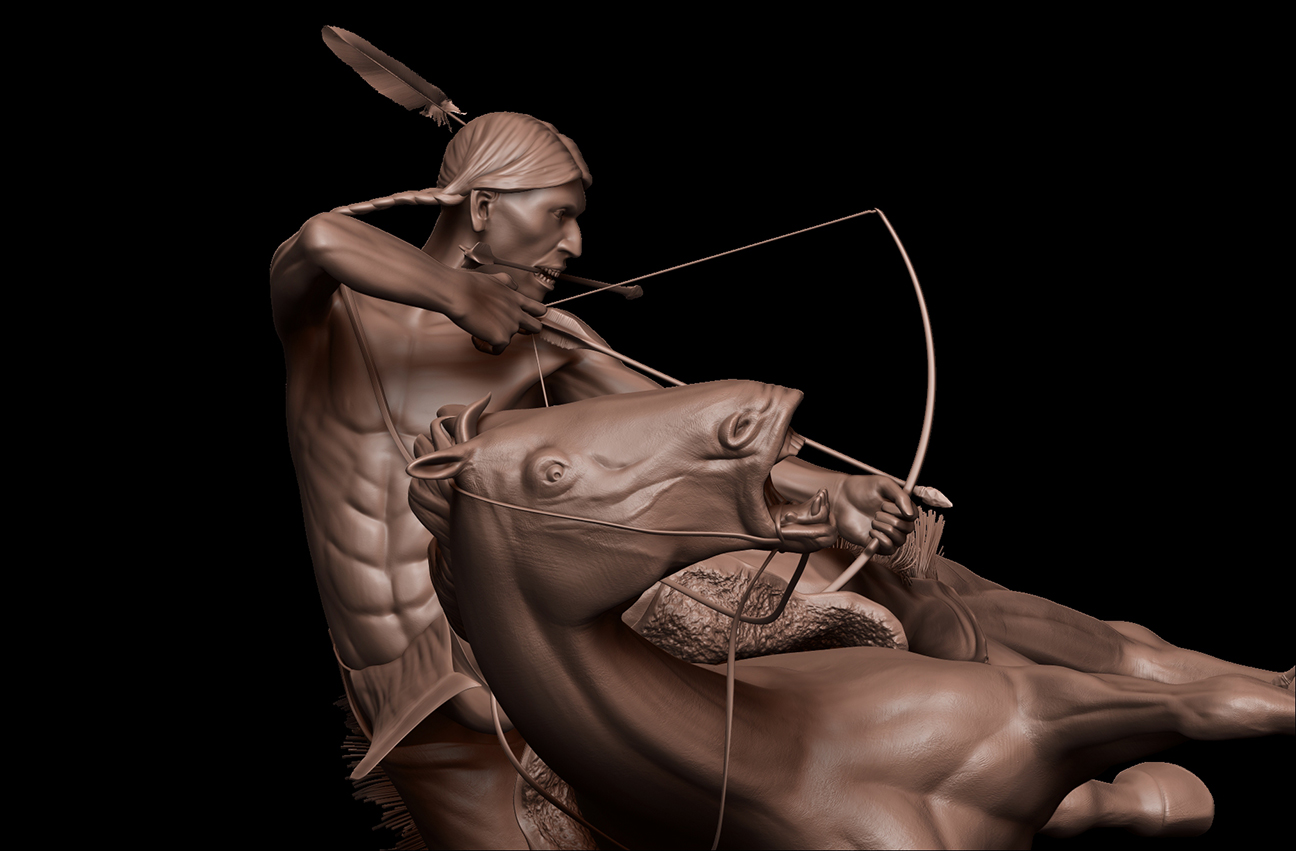
Hey Diablo, thanks. None of the poses are set in stone. I have a feeling that this sculpt will be in a state of Flux for a bit longer. The Montanataur single figure will get a few tweaks, but the second piece is still up in the air and could morph into something completely different. I think that posing can really make or break a sculpt. Breaking the whole T pose display is super important. Breaking the T pose breathes life into any figure.
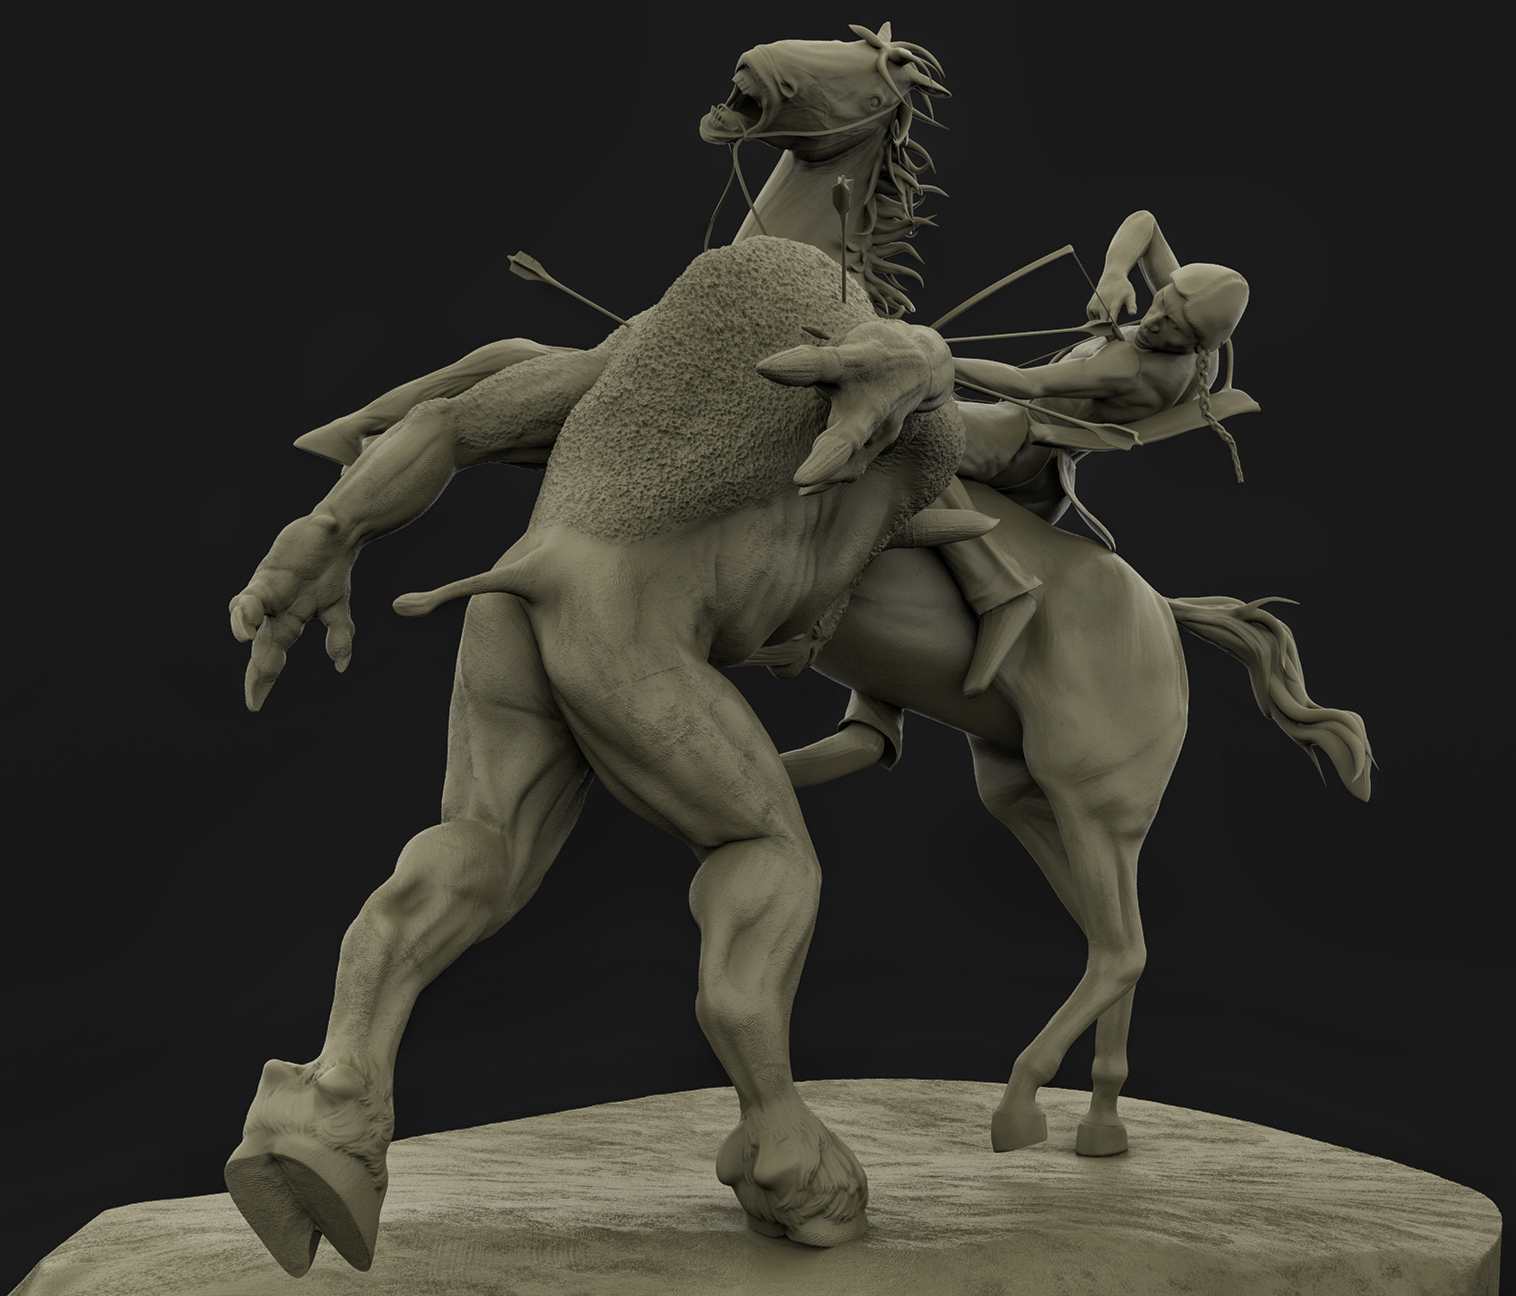
Small update. Still mainly tweaking the pose.
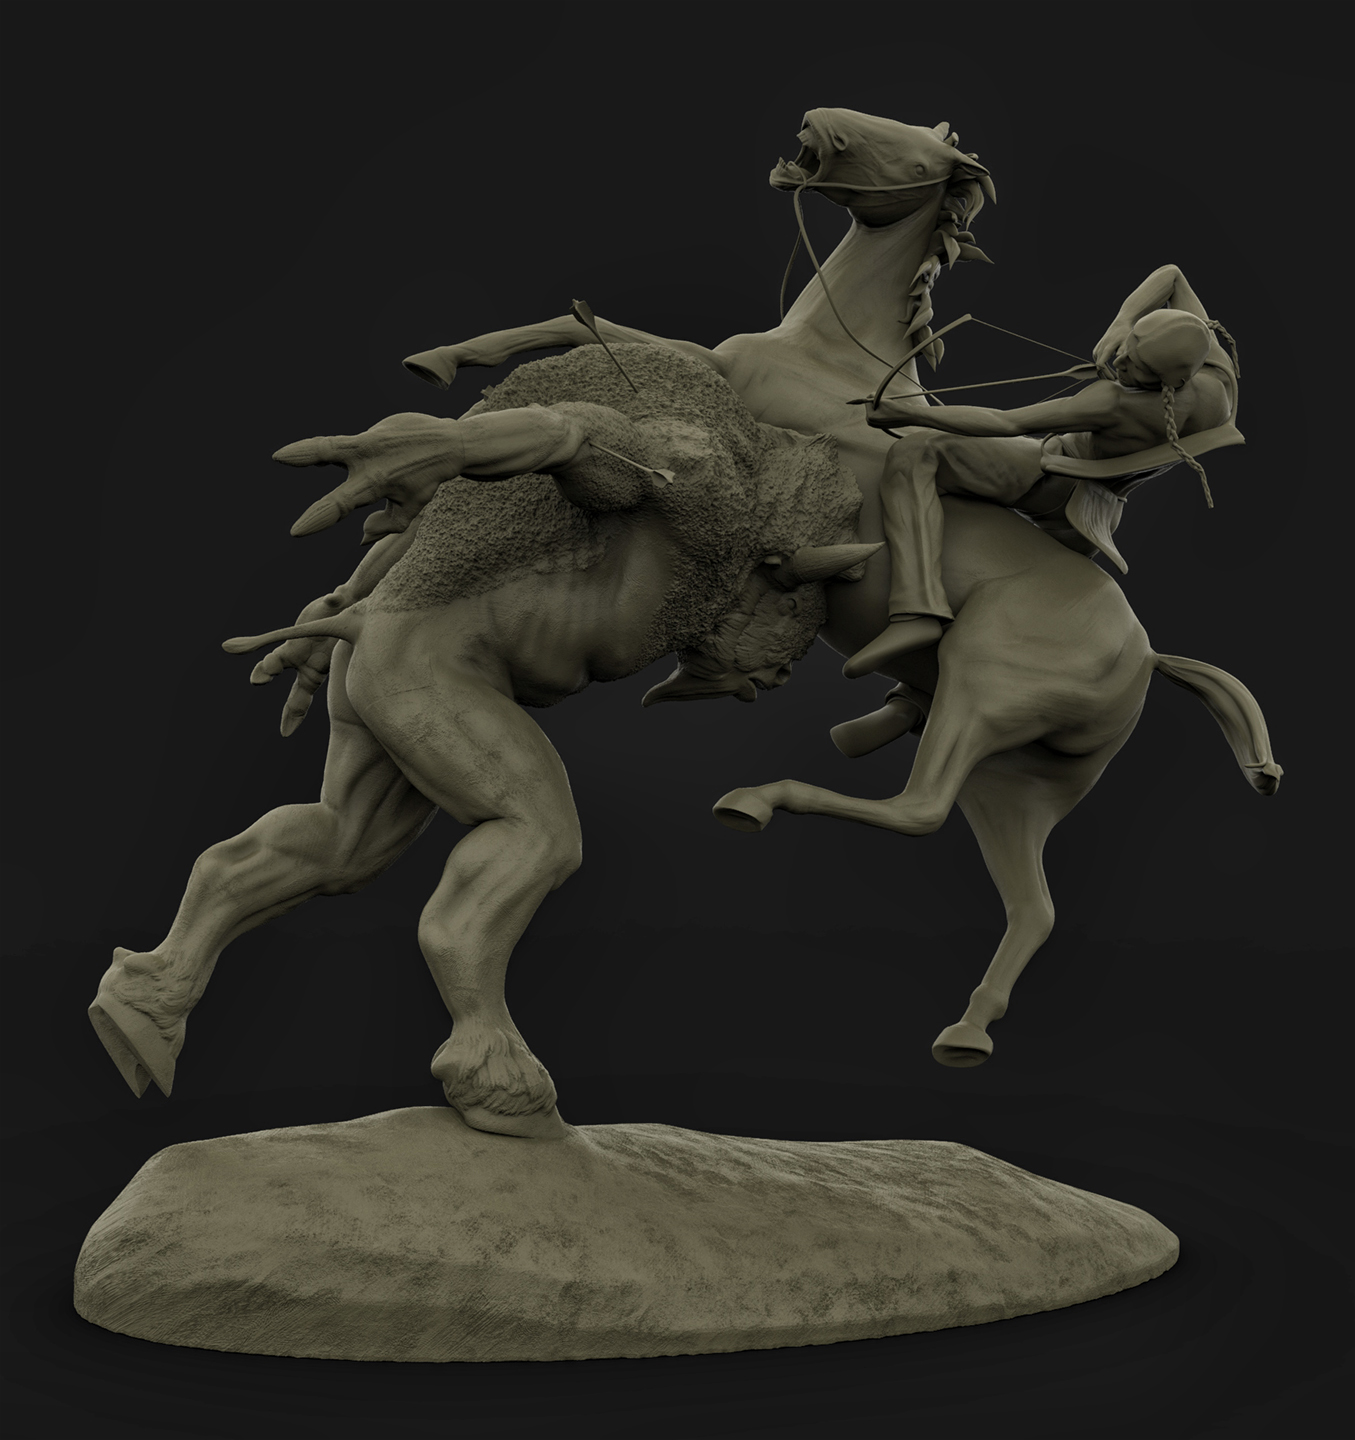
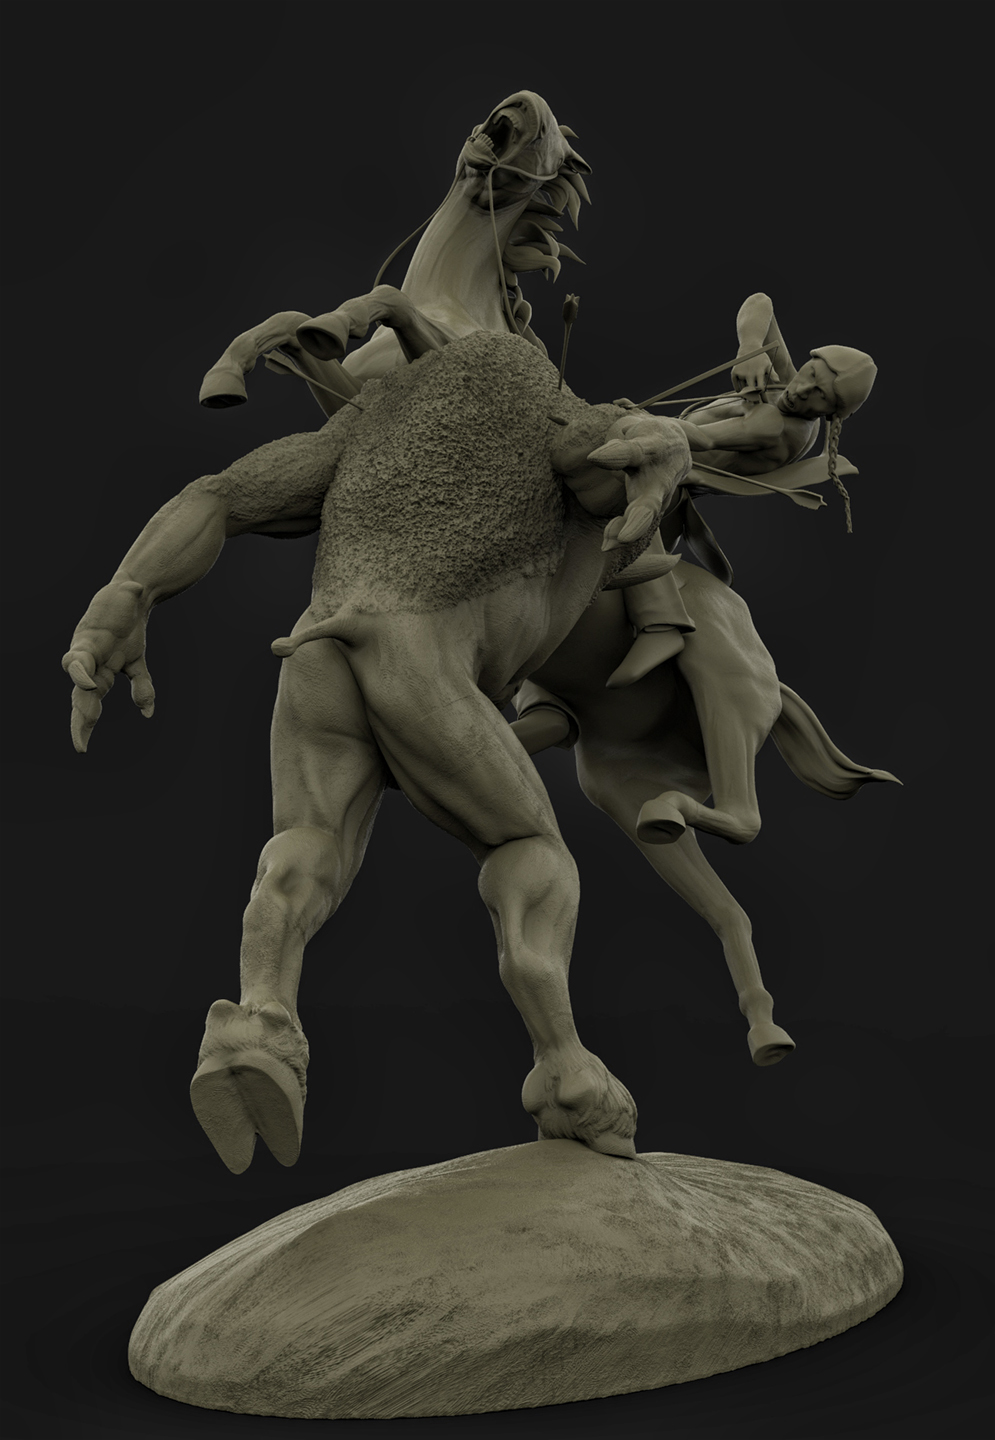
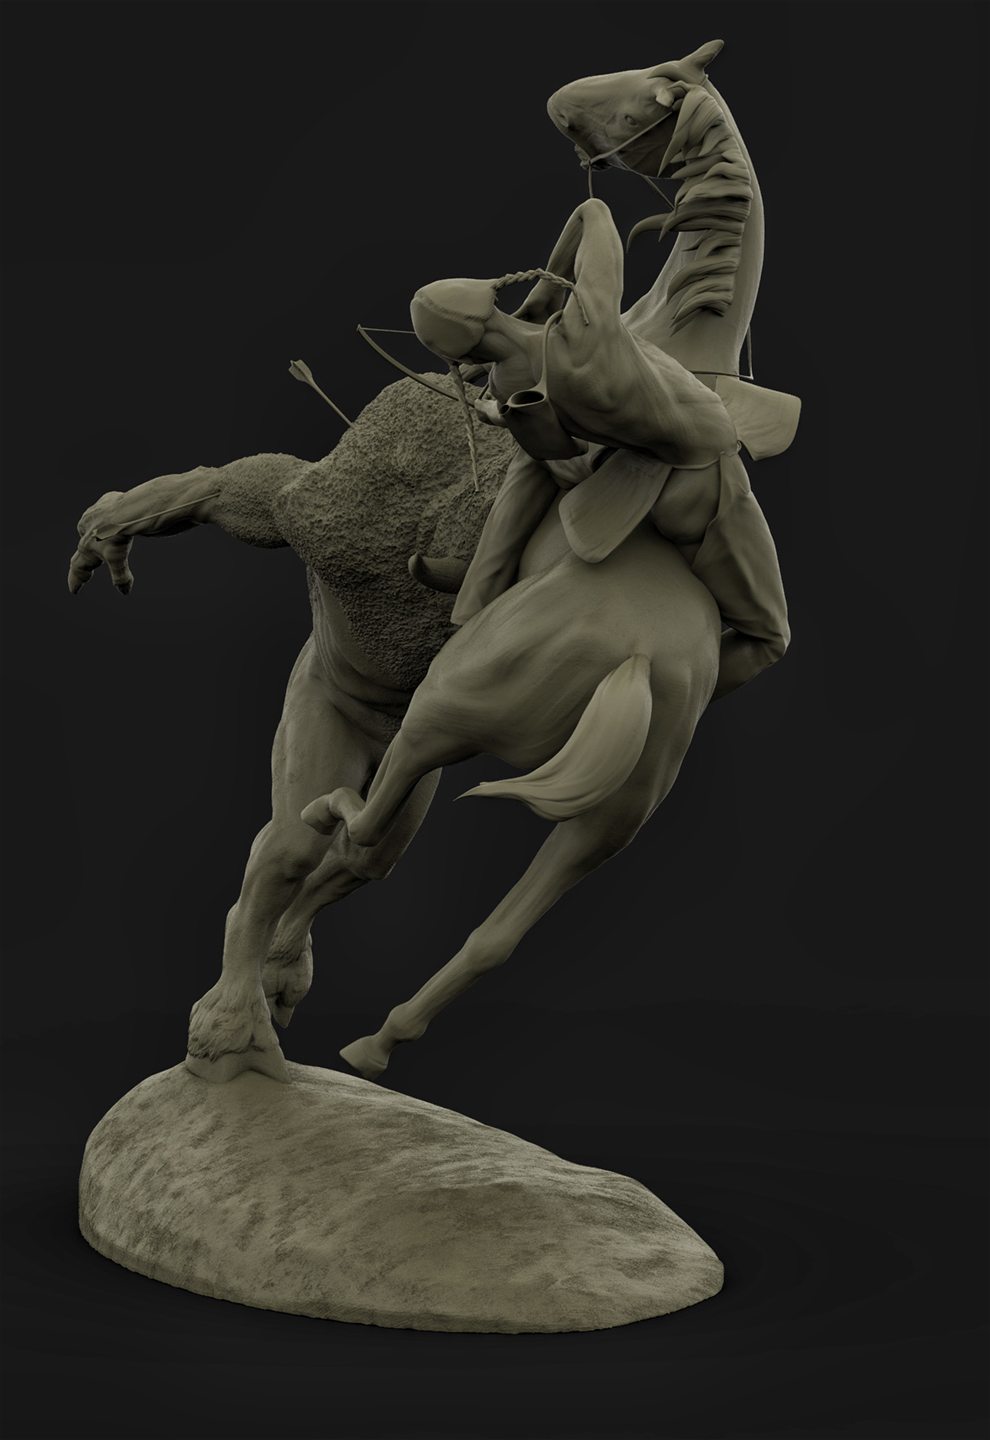
Thanks for looking!
Attachments
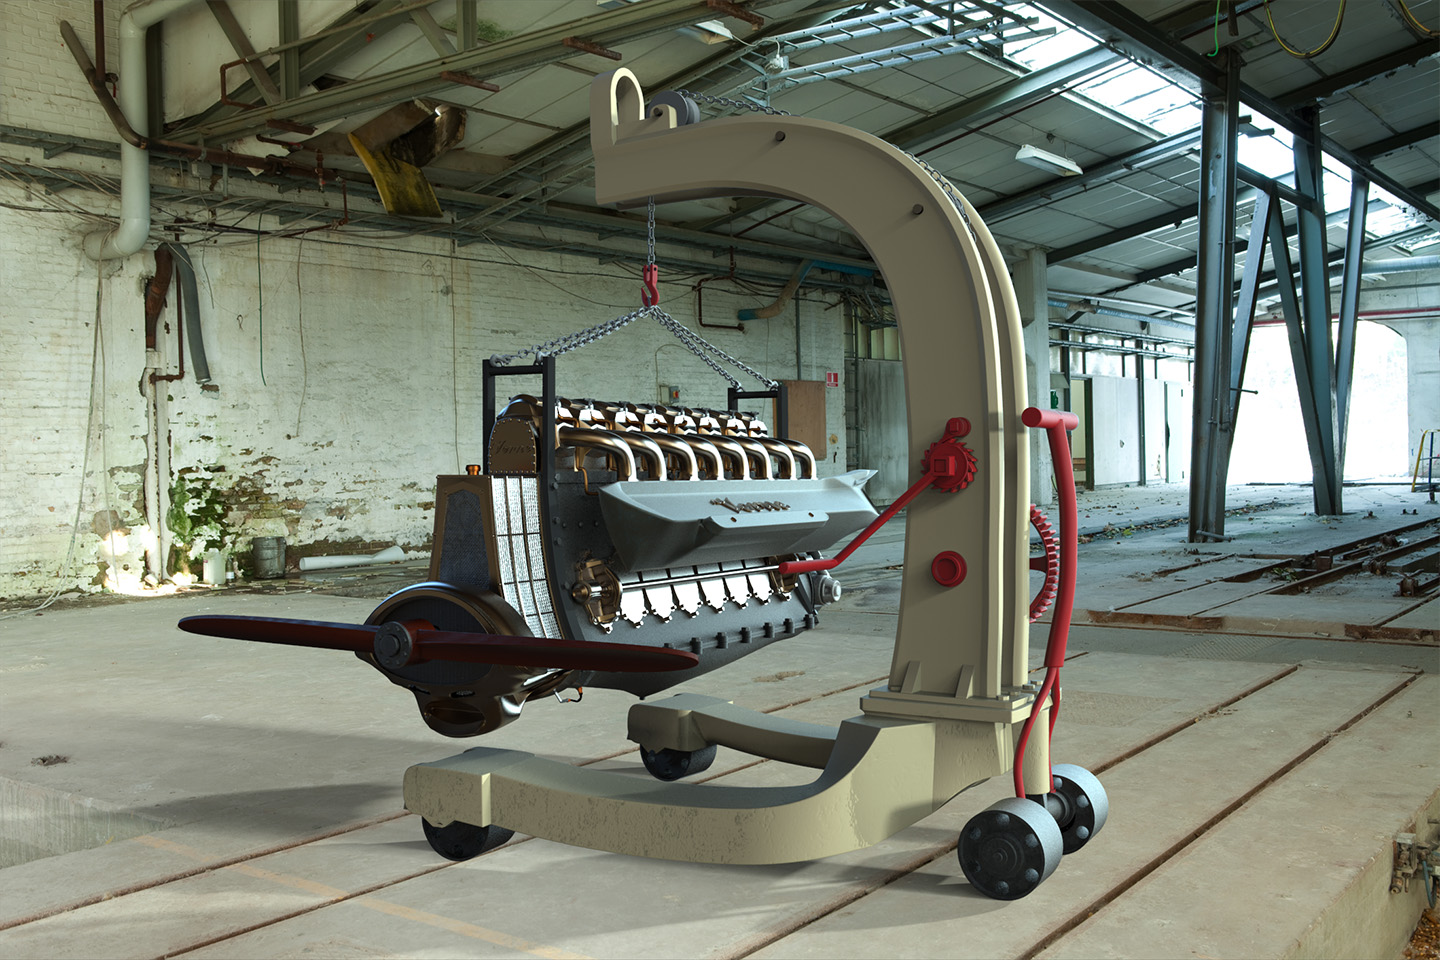
Like really old.
I was rummaging around in my earliest stuff, like ZB 2.5 and 3 early, and thought I might dust this old thing off and play around in Keyshot. Didn’t like it. So I did a simple light setup and hit the BPR instead. Pure BPR, no Photoshop at all. I love having Keyshot in the arsenal, but it isn’t perfect for everything. The keyshot renders were taking hours, but these took like 6 to 8 minutes.
Attachments

Started this a year ago, and noodle on it when I can. I just finished a long project and pulled it out off the cobwebs again. I still have a way to go. Someday soon maybe.
Attachments
It has been a week, and all the artists involved have put their work up, so here is my contribution. I was in the Art Dept., and worked knee to knee with the great Patrick Tatopoulos, which was incredible. He is truly one of the most supportive designers I have had the pleasure to work with. I did some digital sculpts of the Alien Queen, Patrick’s version, which is a bit different than the direction they ultimately ran with.
A quick screen grab including some of his original design work. The school bus is for scale.
This was early in the design sculpt phase. This leg configuration was put through an animated walk and gallop phase. The rear legs were ultimately reduced by a third.
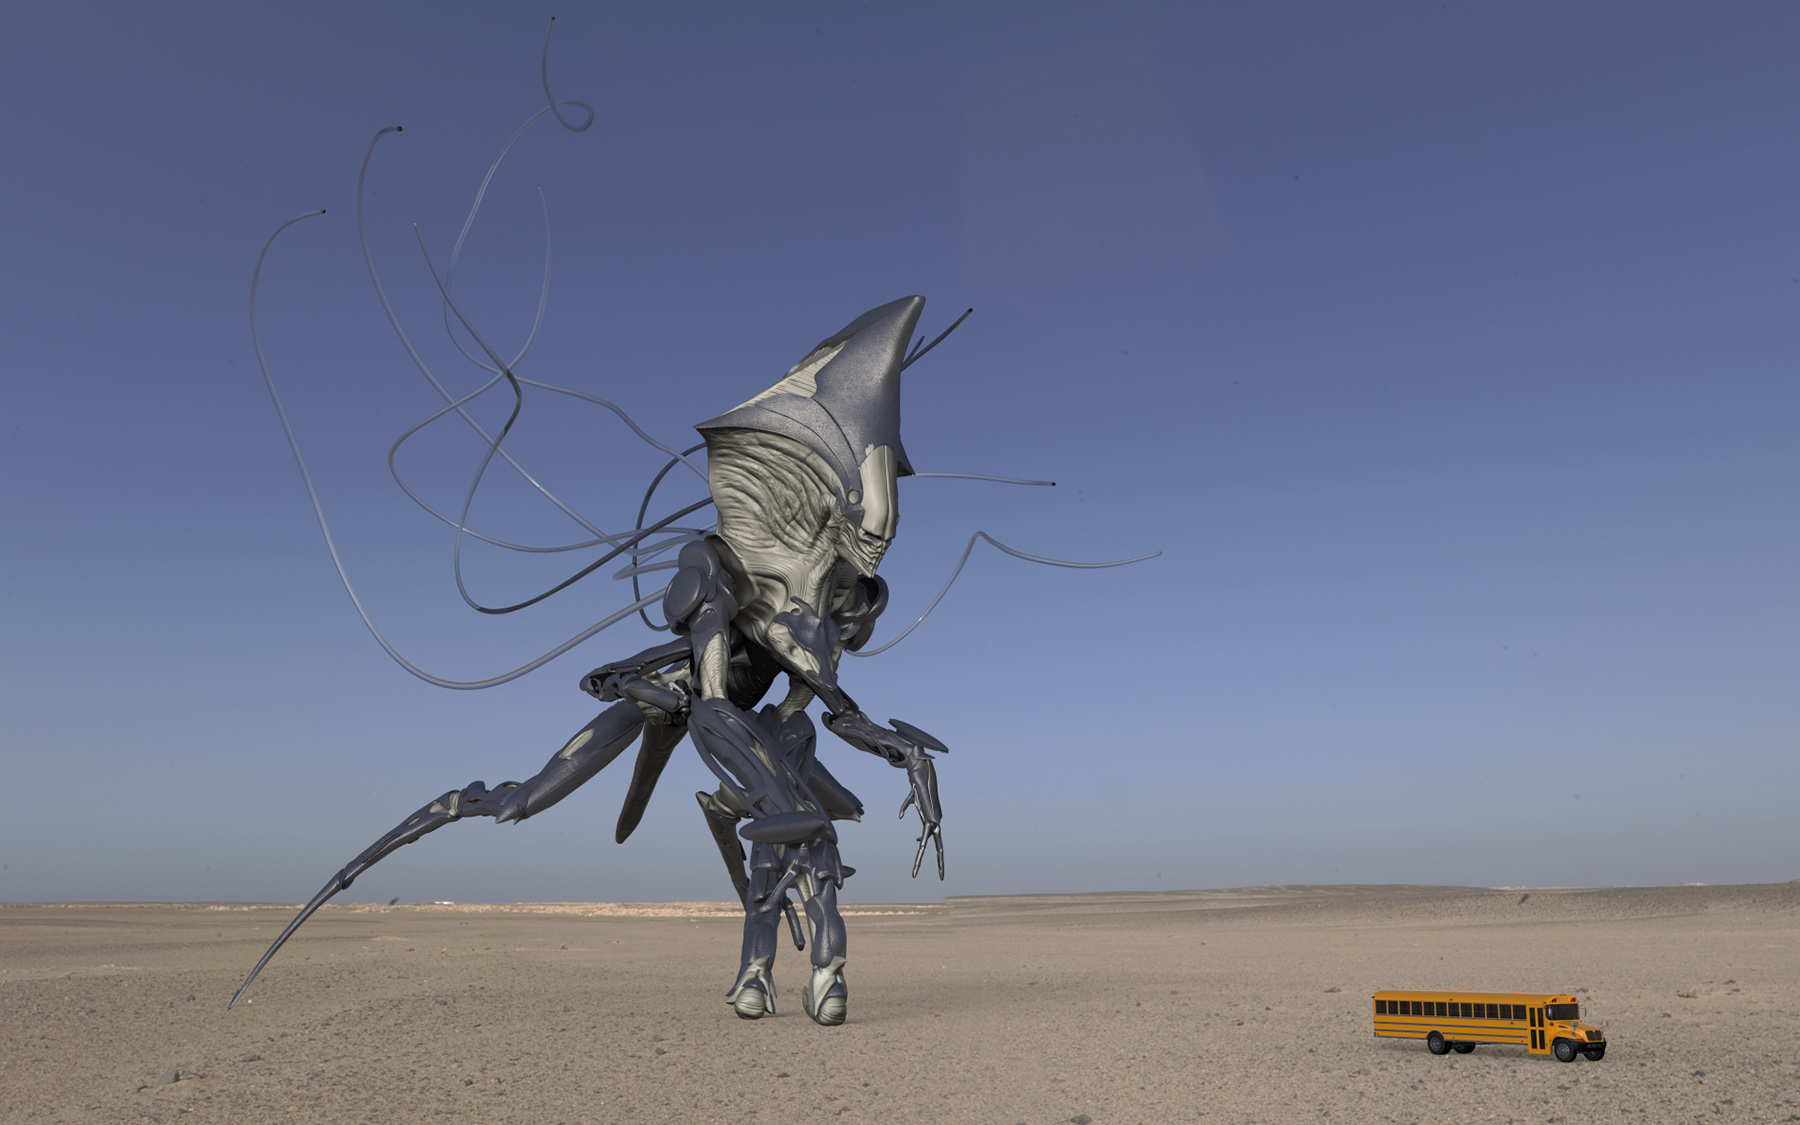
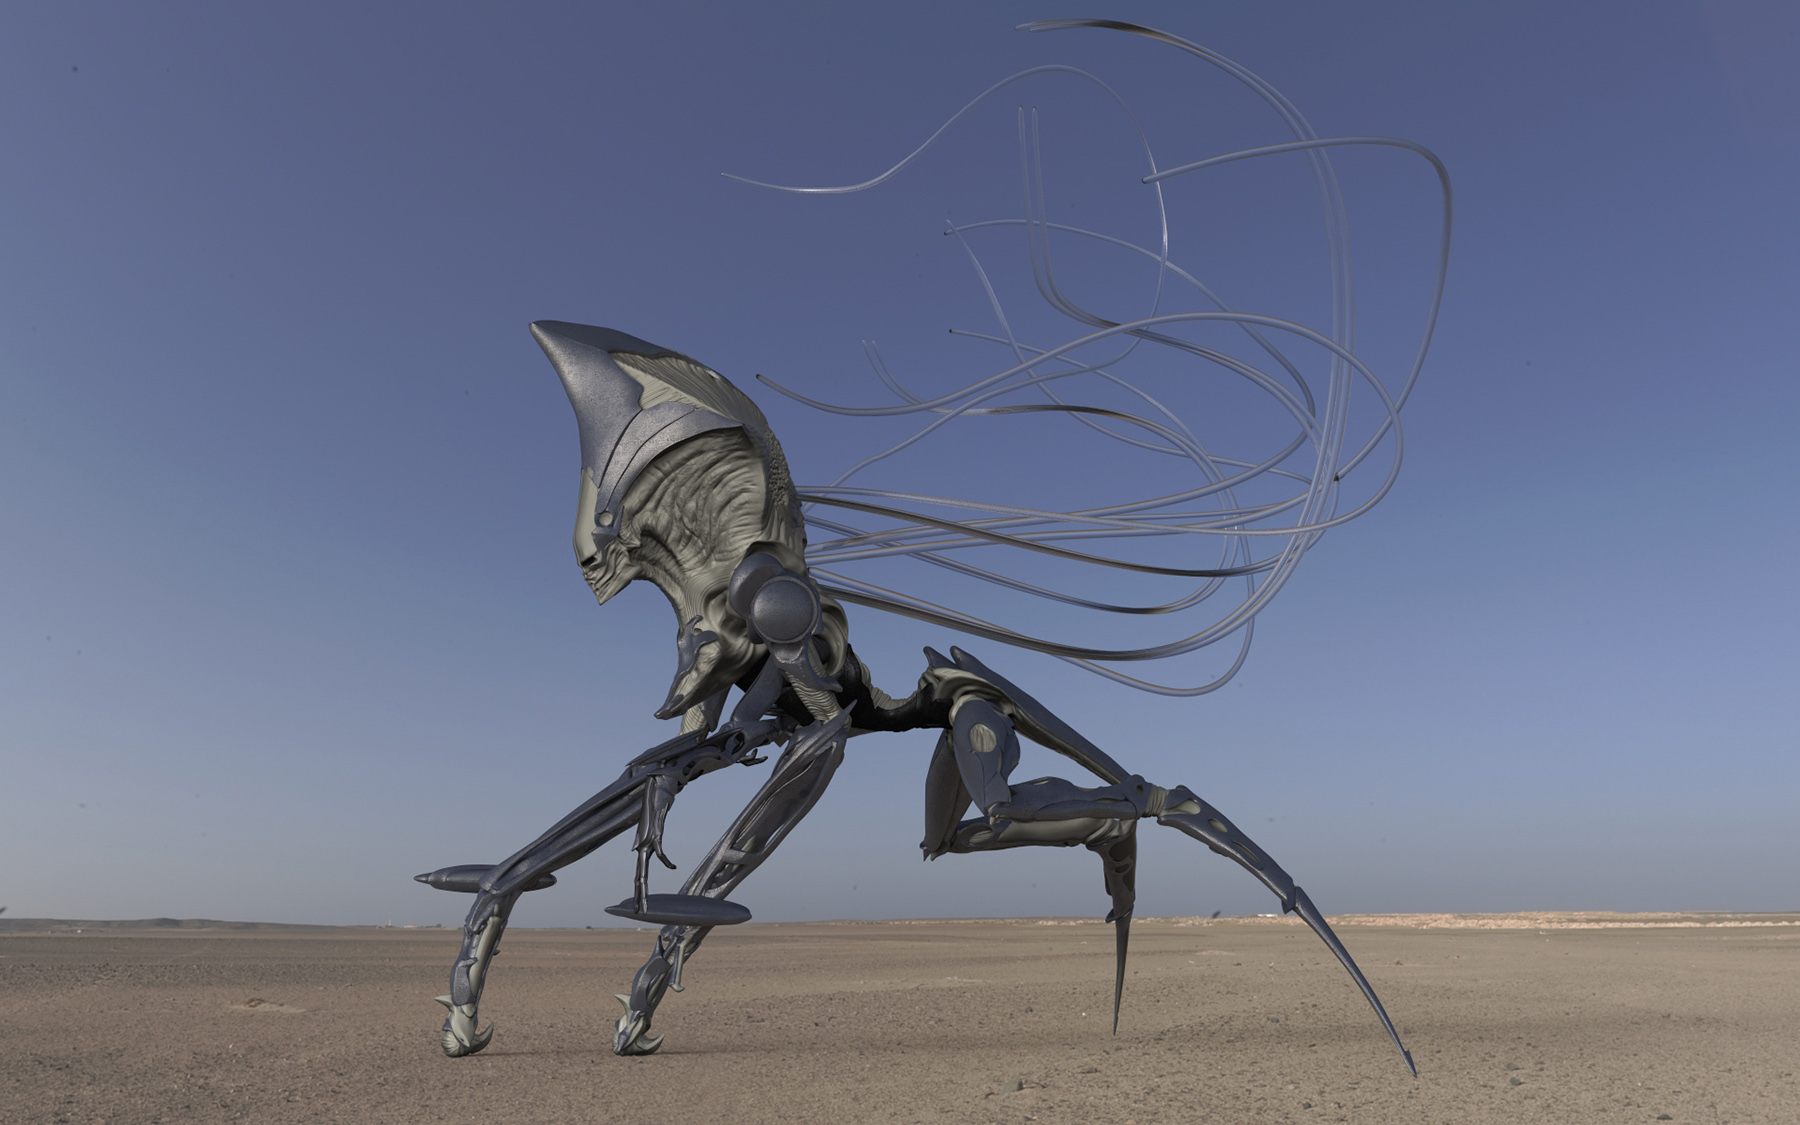
These Keyshot renders are of the final proportions.
The production was ramping up for an insane shooting schedule in New Mexico. The art dept. was moving into phase 2, and to location. I was a phase 1 guy, and the plan was for our group to stay behind in L.A. Our time was constantly being re jiggered, and I had to move on to other design work, which I will cover in the next post.
Attachments
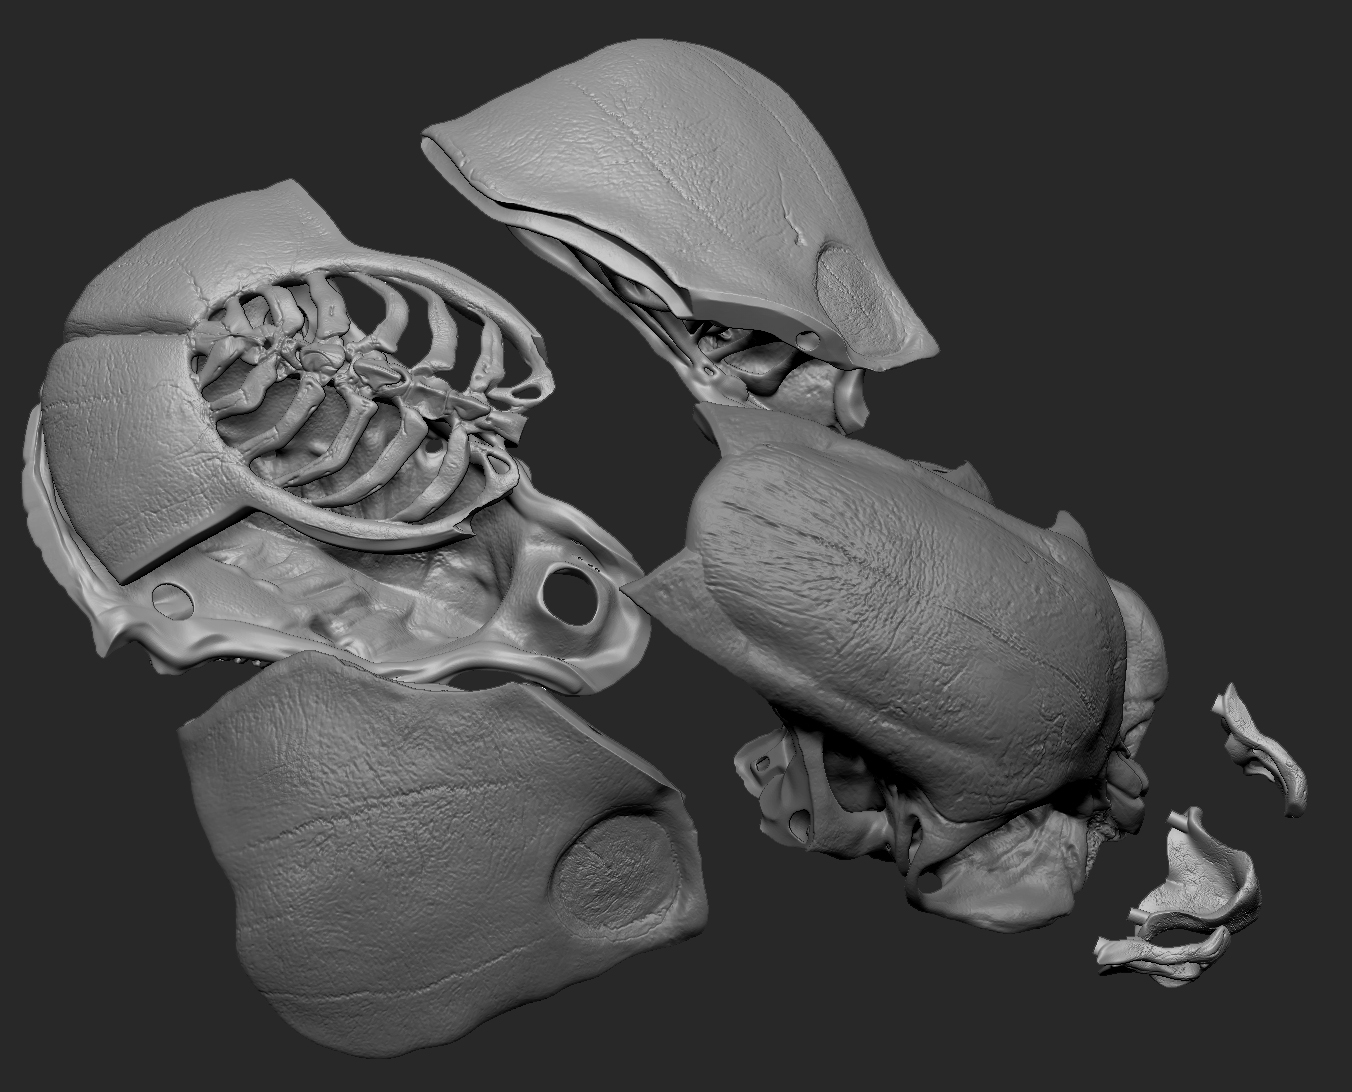
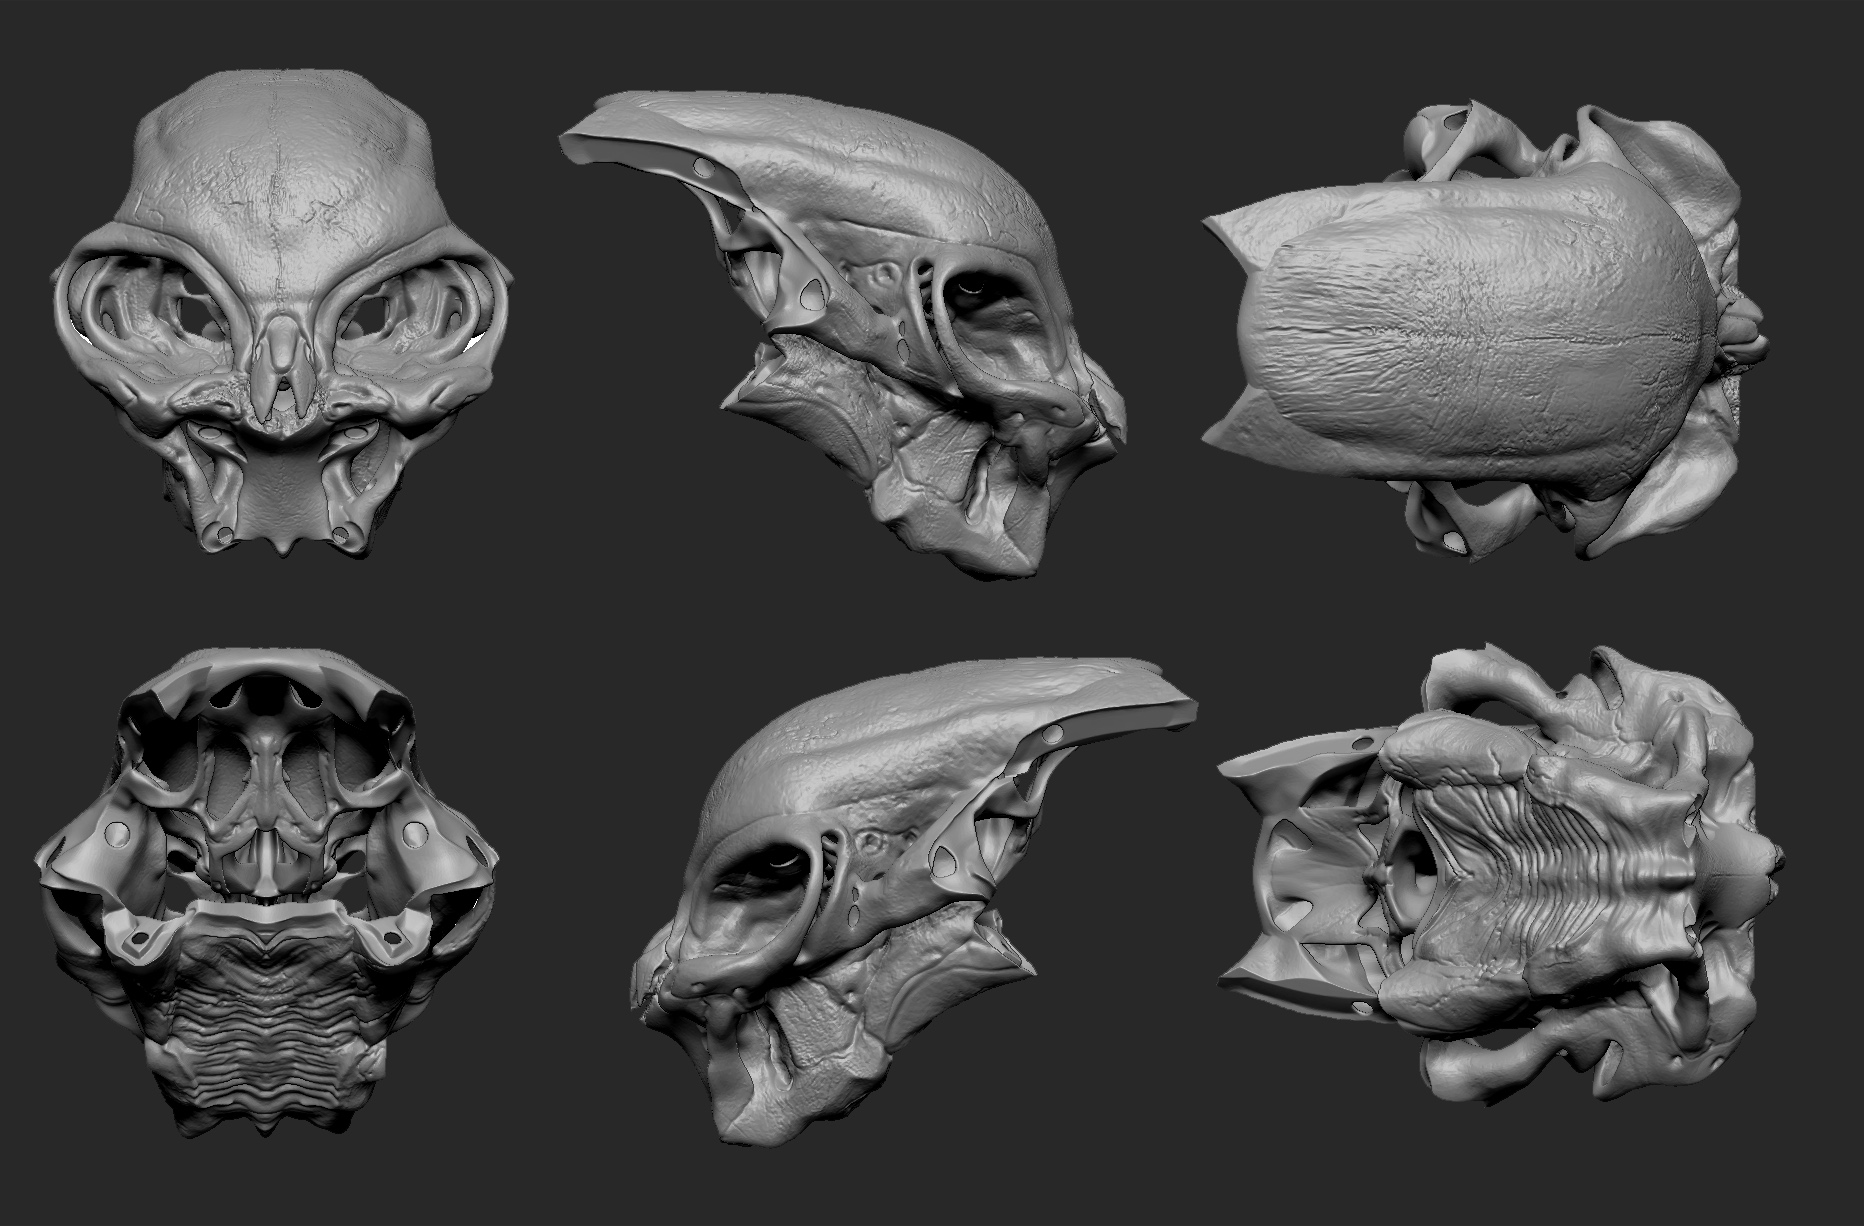
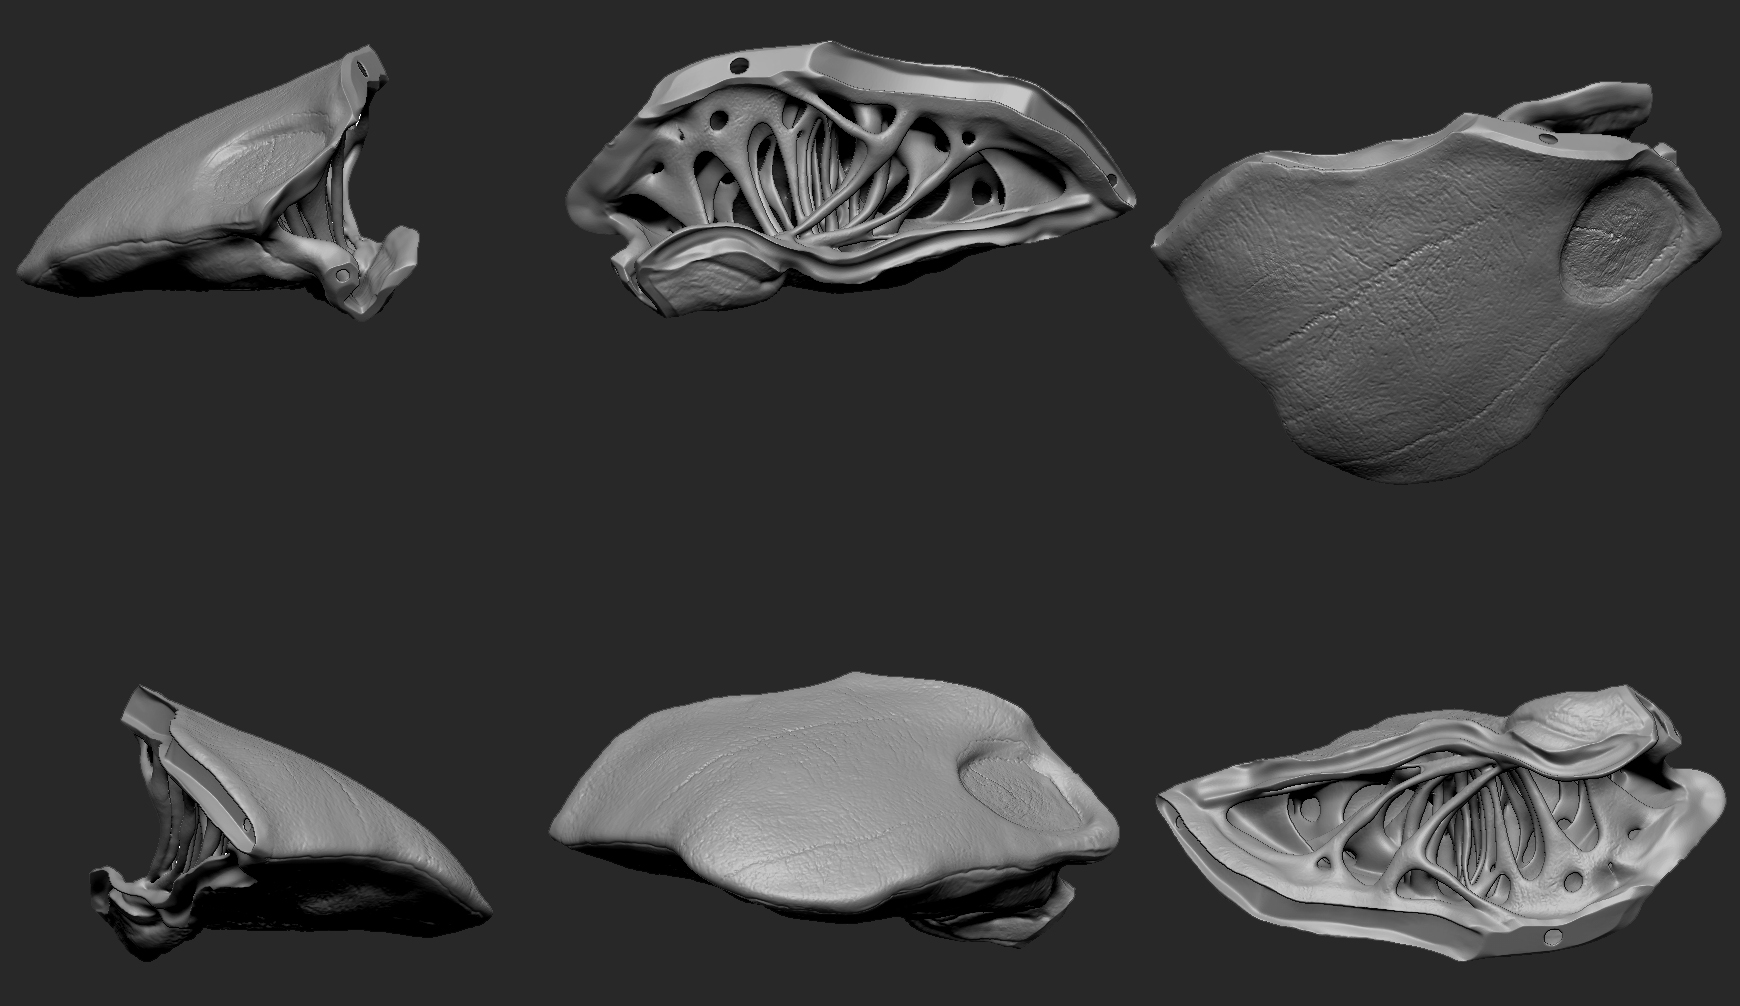
I also designed the alien skulls featured in the African scenes. Set dressing needed this turned around in 4 days. Did I mention the schedule was extremely rushed? They also needed the skull to have a complex interior like a real skull, complete with sinus cavities owing to the fact that there was a tight close up of a skull getting crushed under a boot heel and they didn’t want it to look phoney, like a plaster slip casting. The master was to be output on a plaster printer to create a master that could be used to make a mold and cast dozens of copies in high density foam. Then the print would be cleaned up and painted and used for the close up shot.
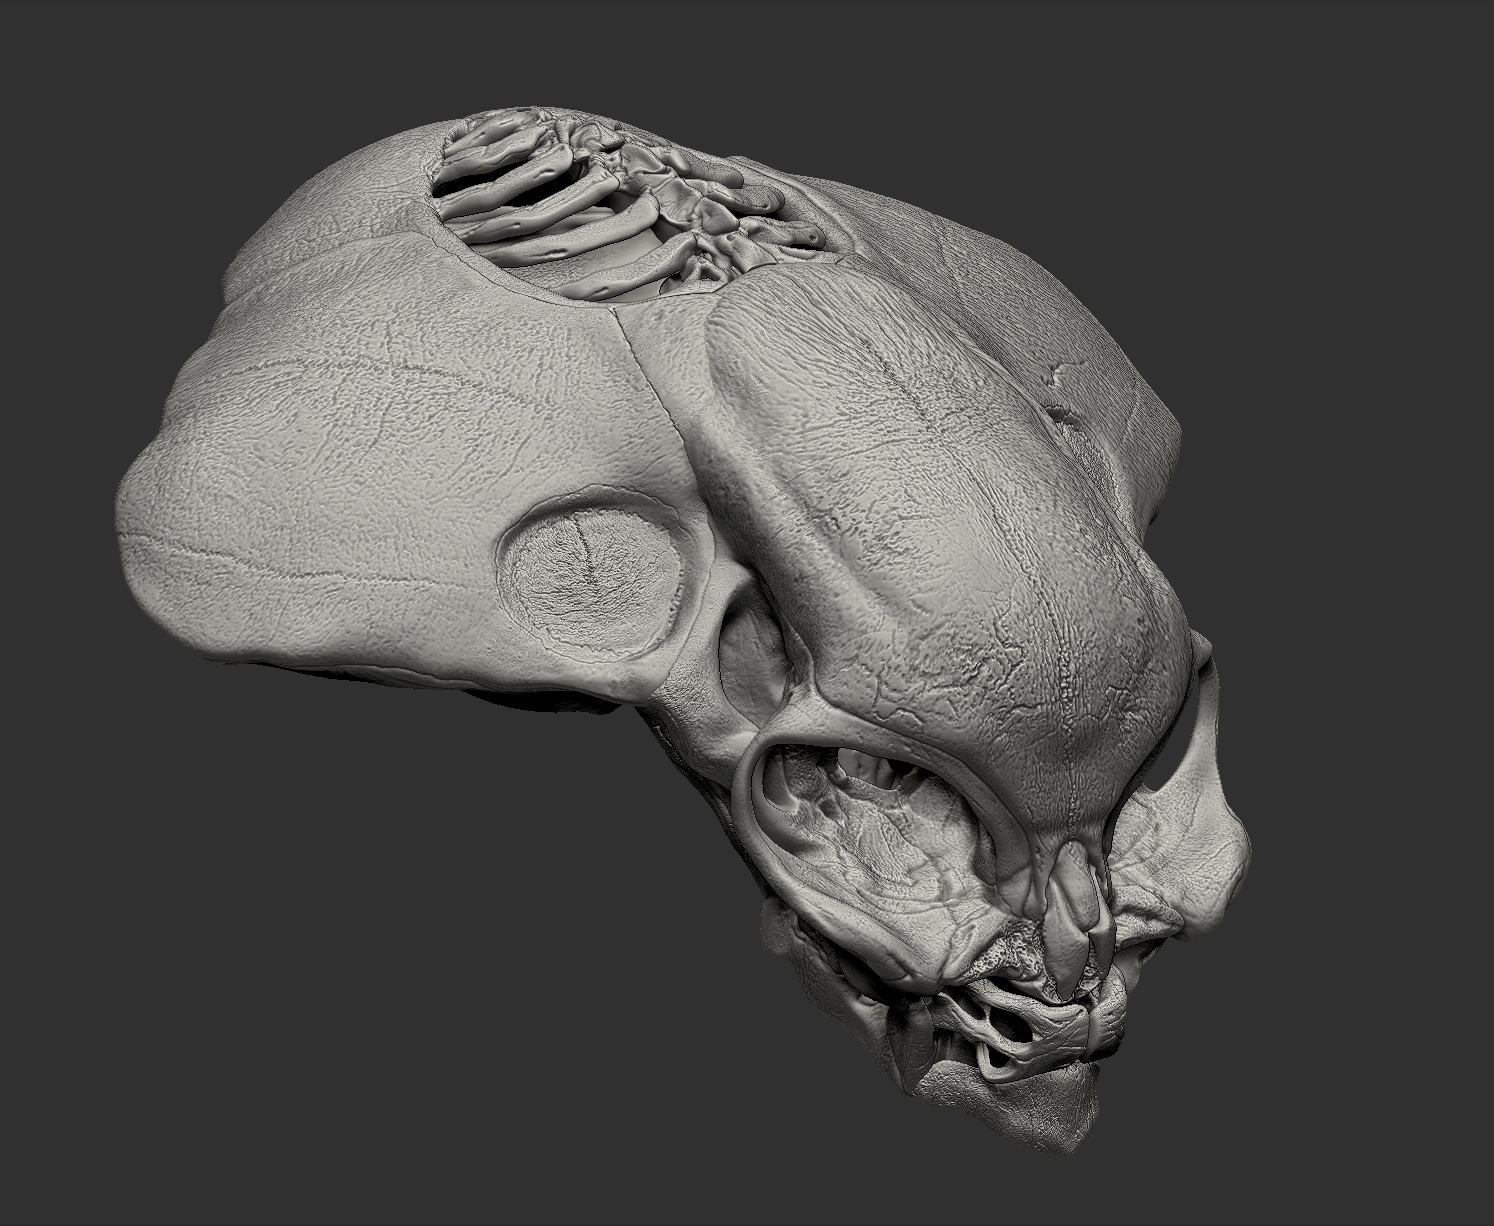
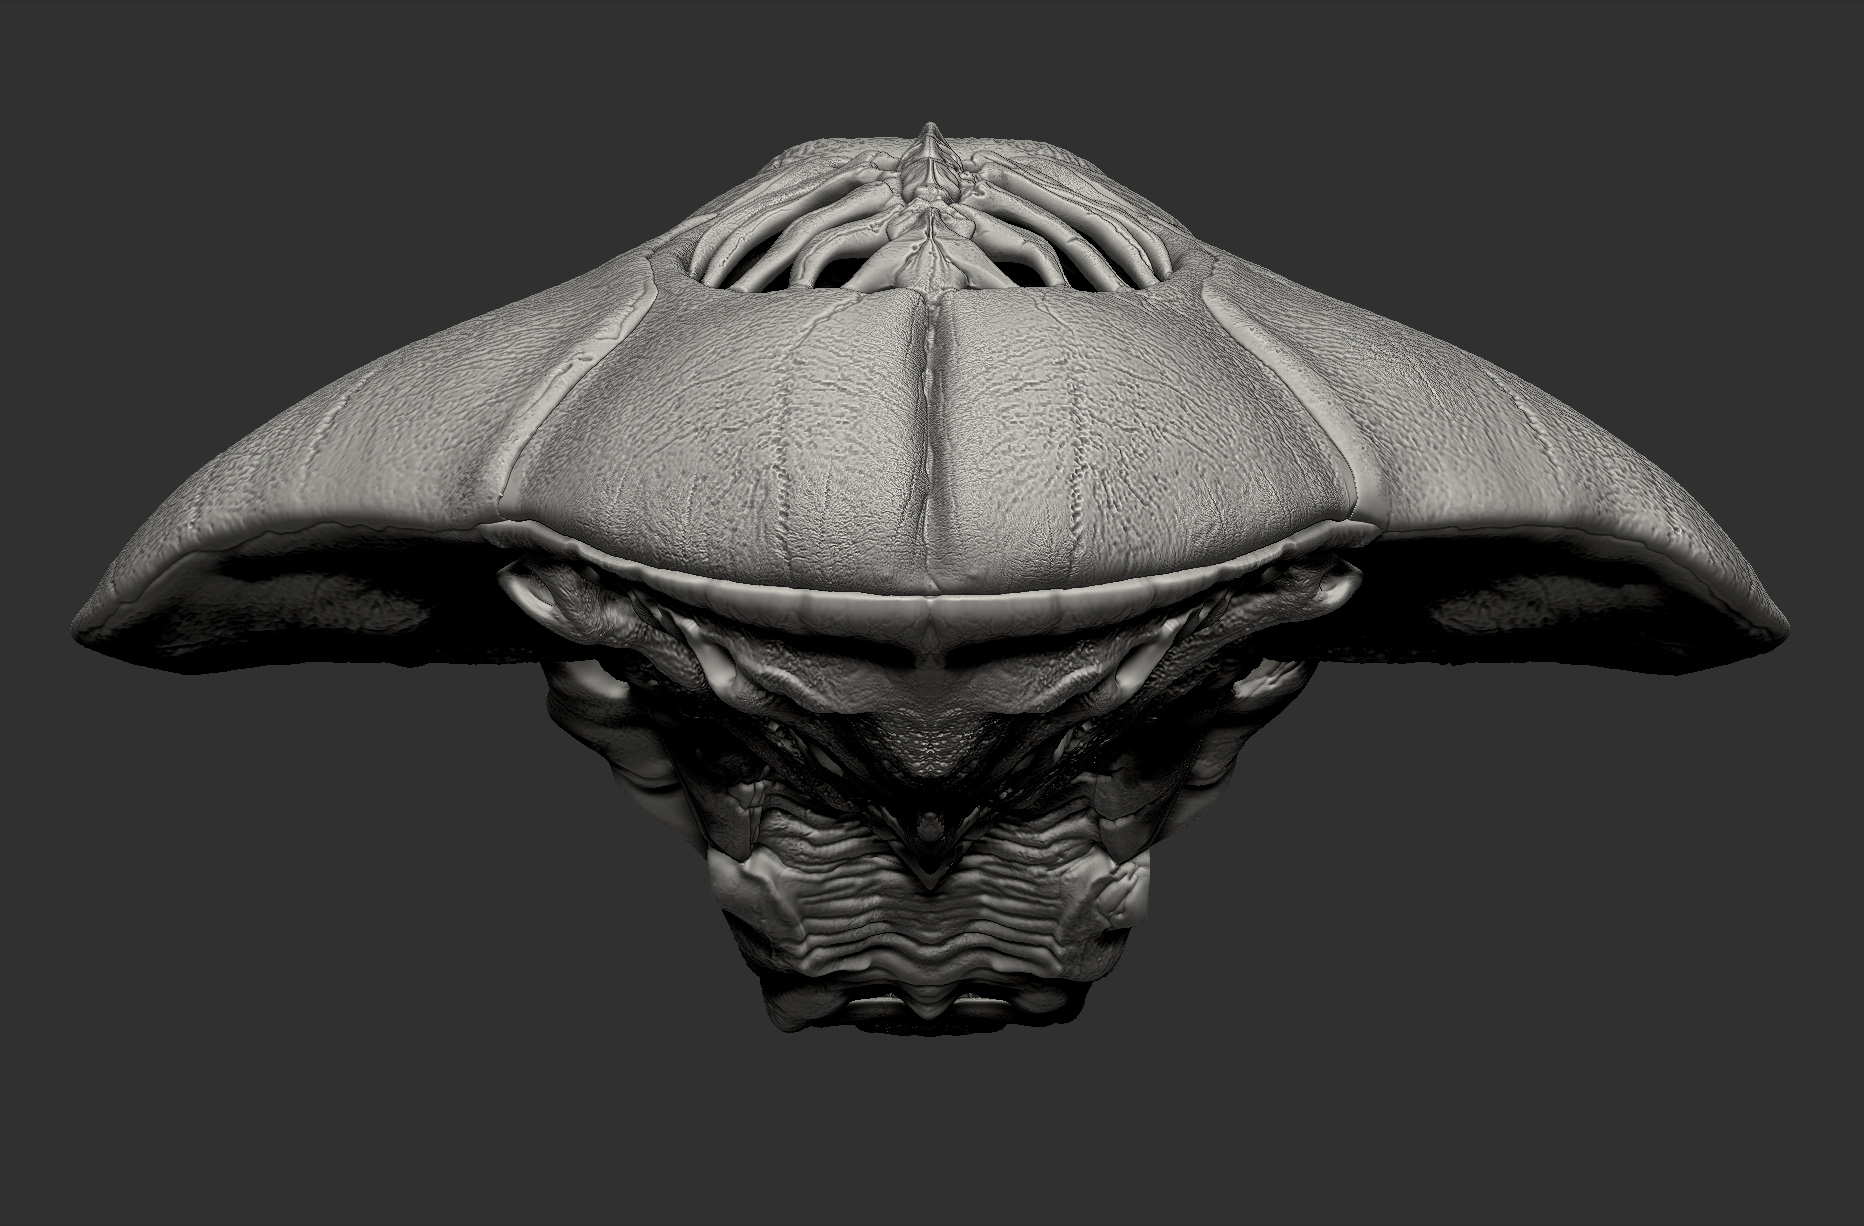
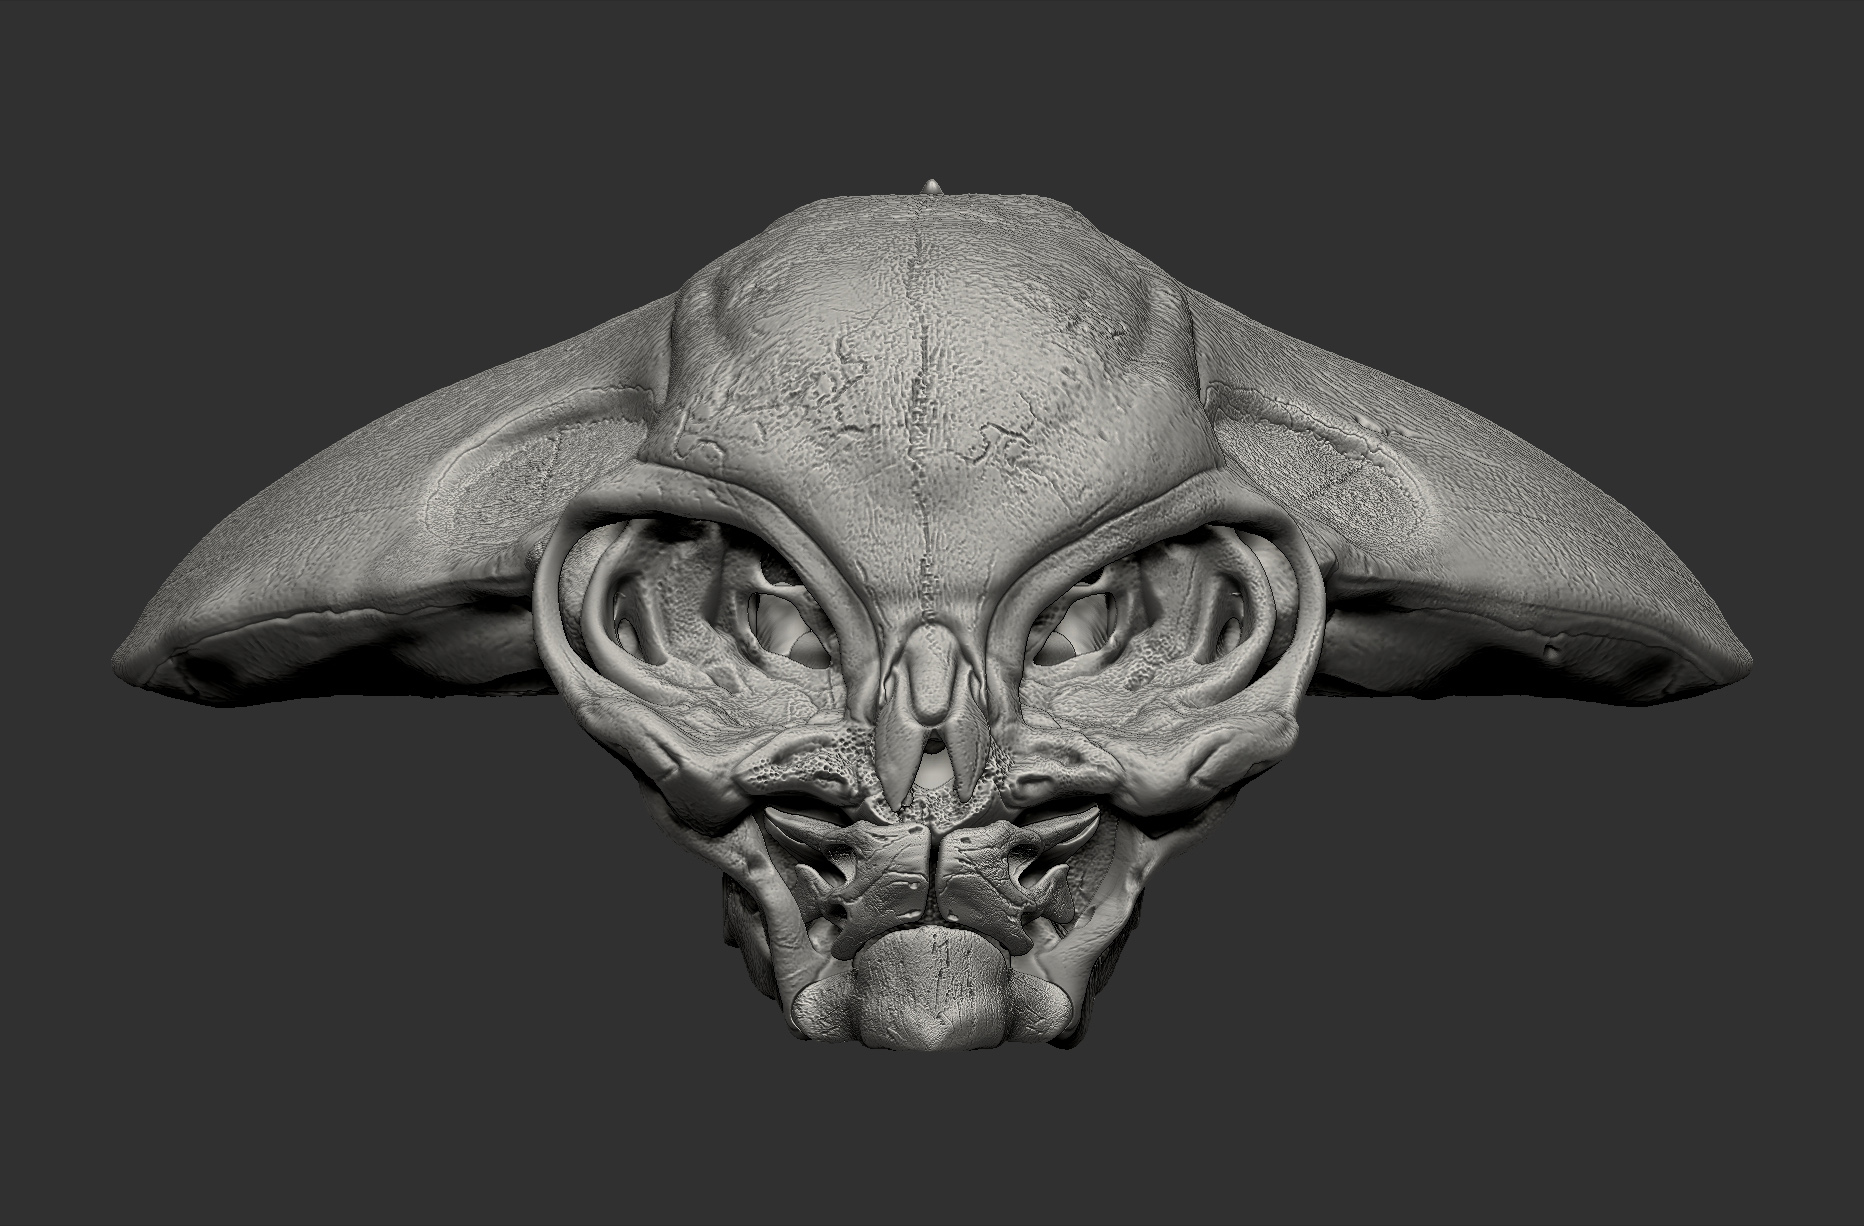
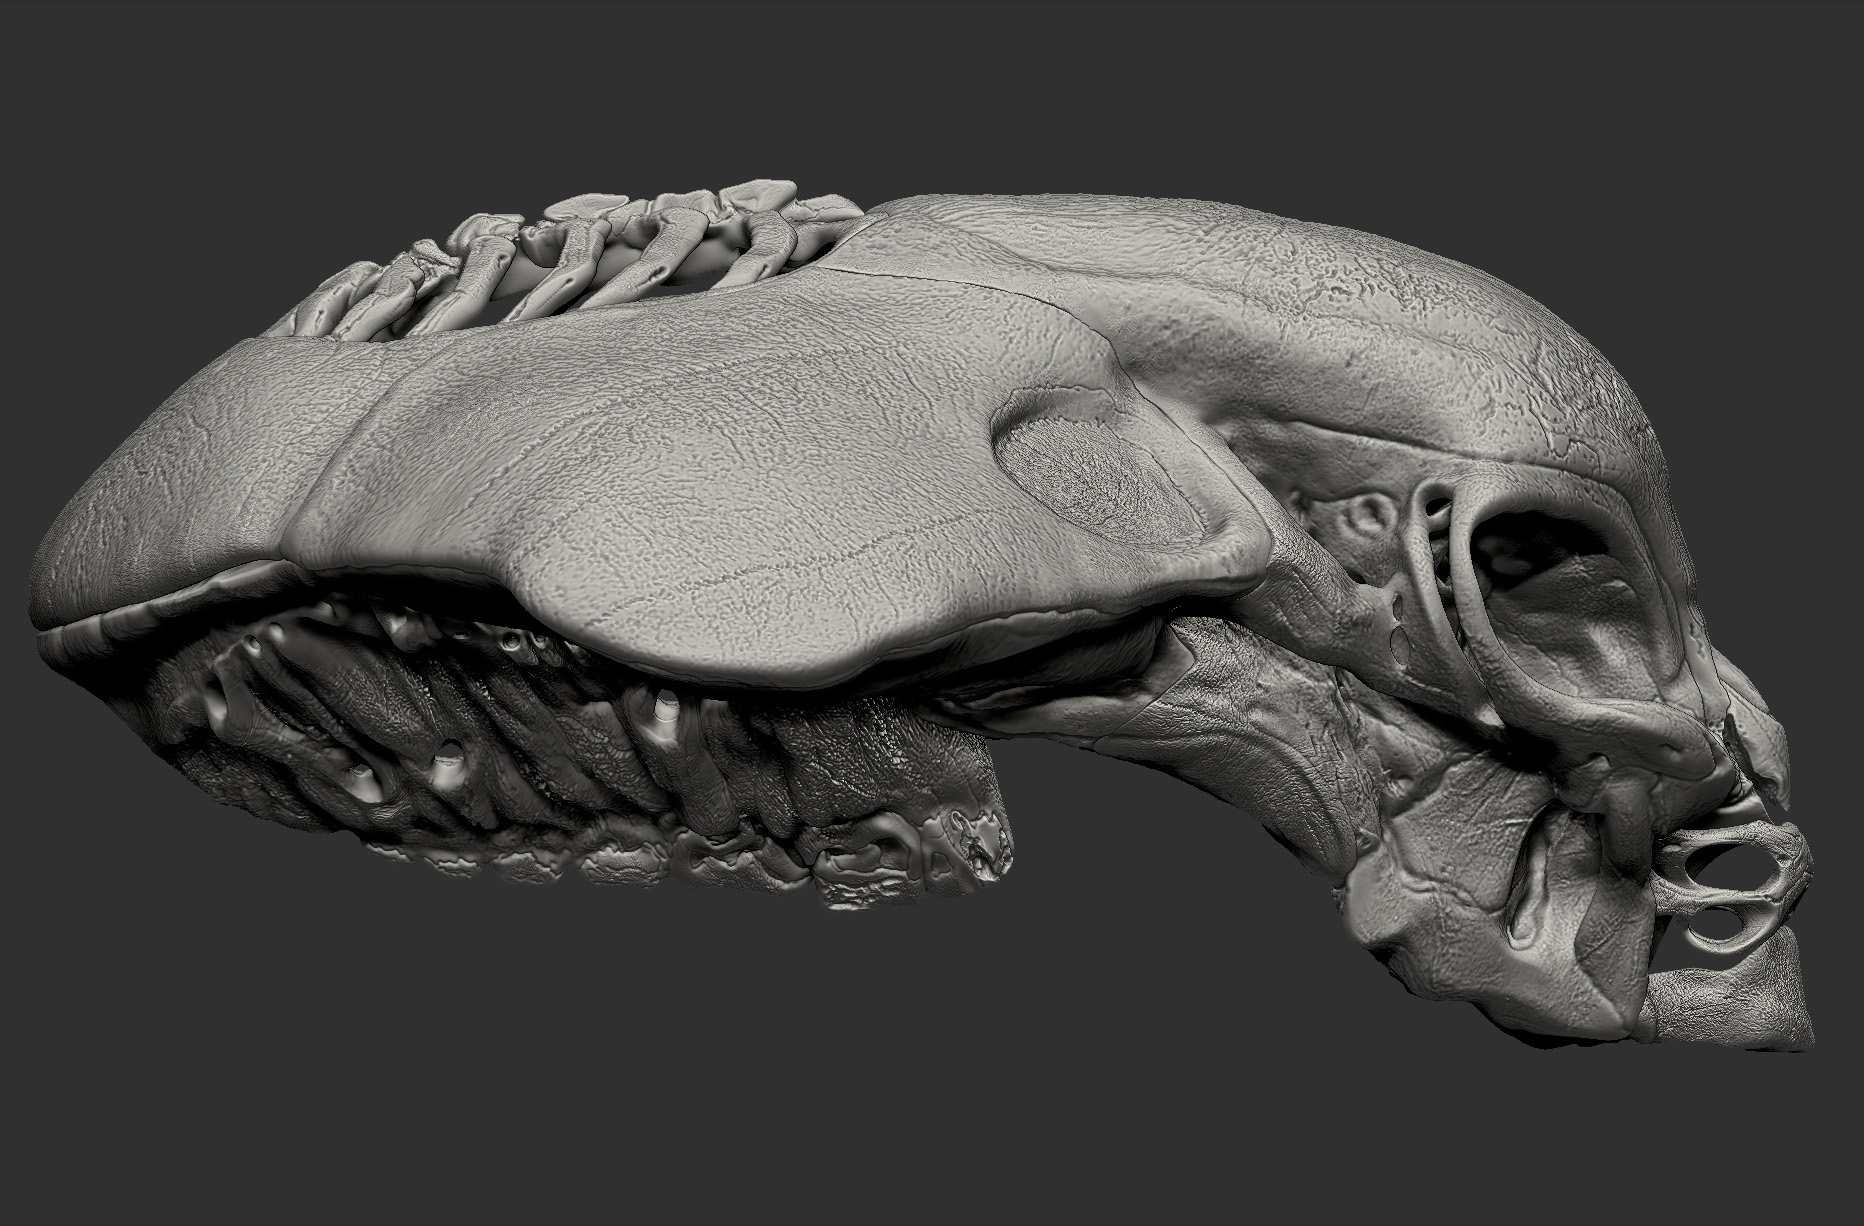
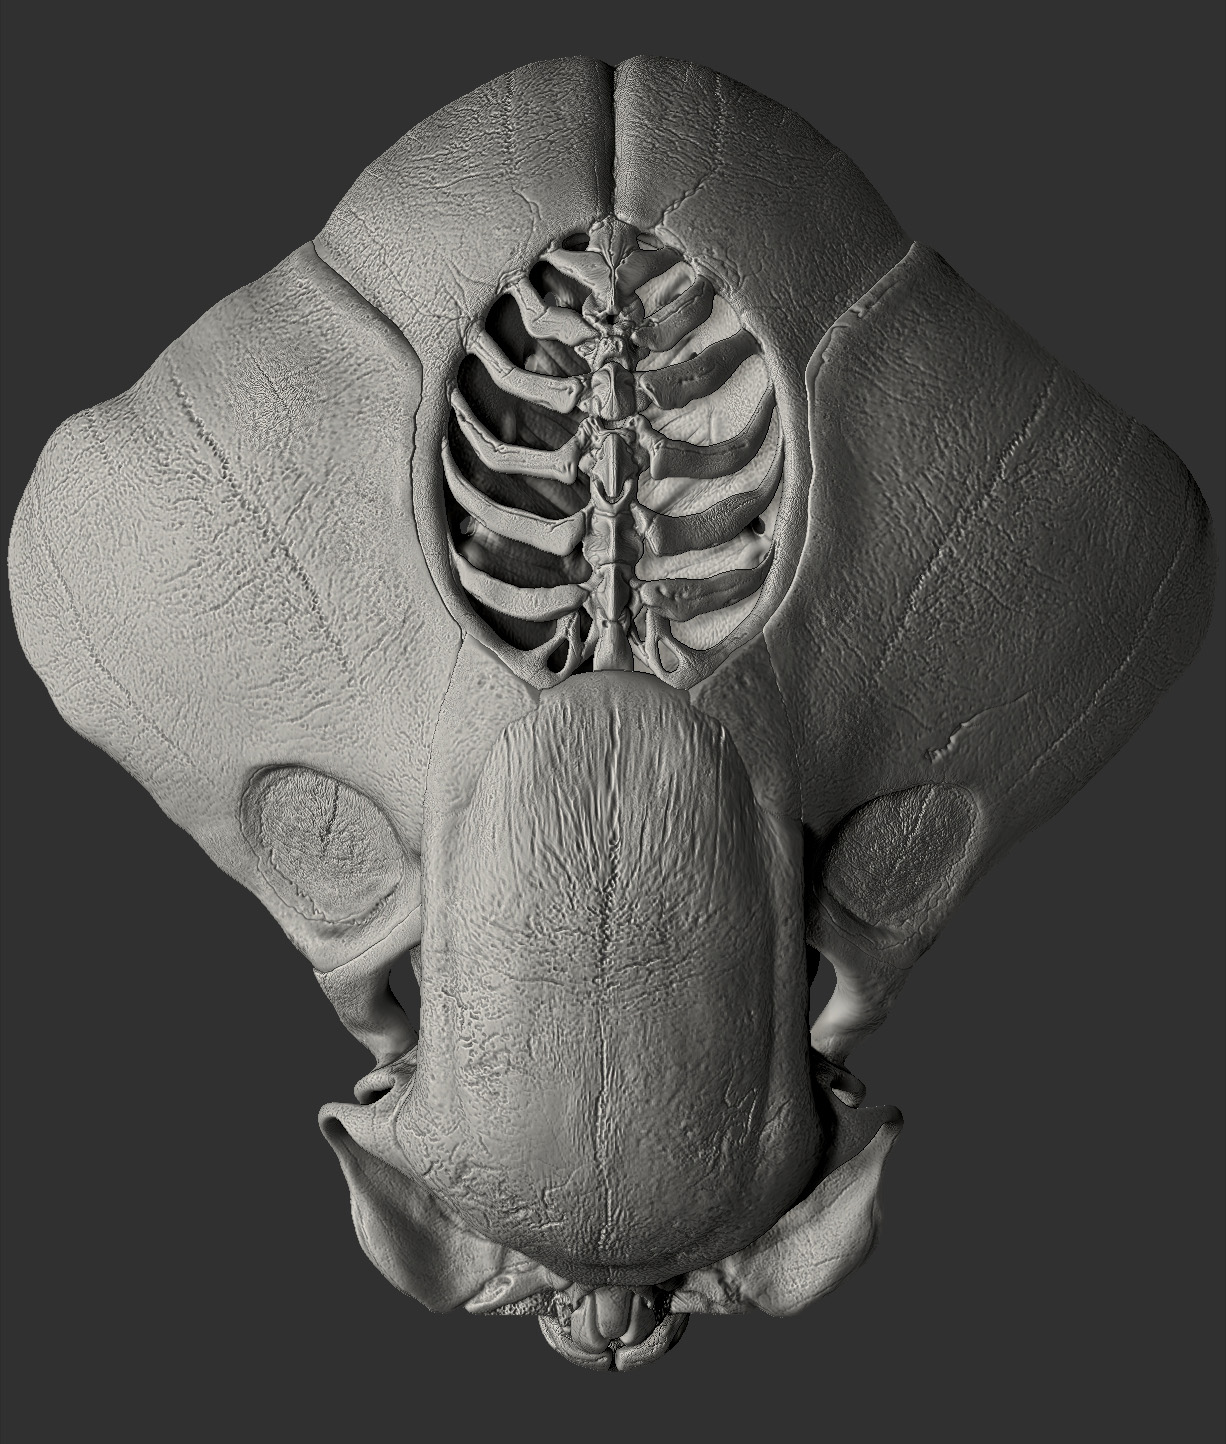
Here are some interior views
Attachments
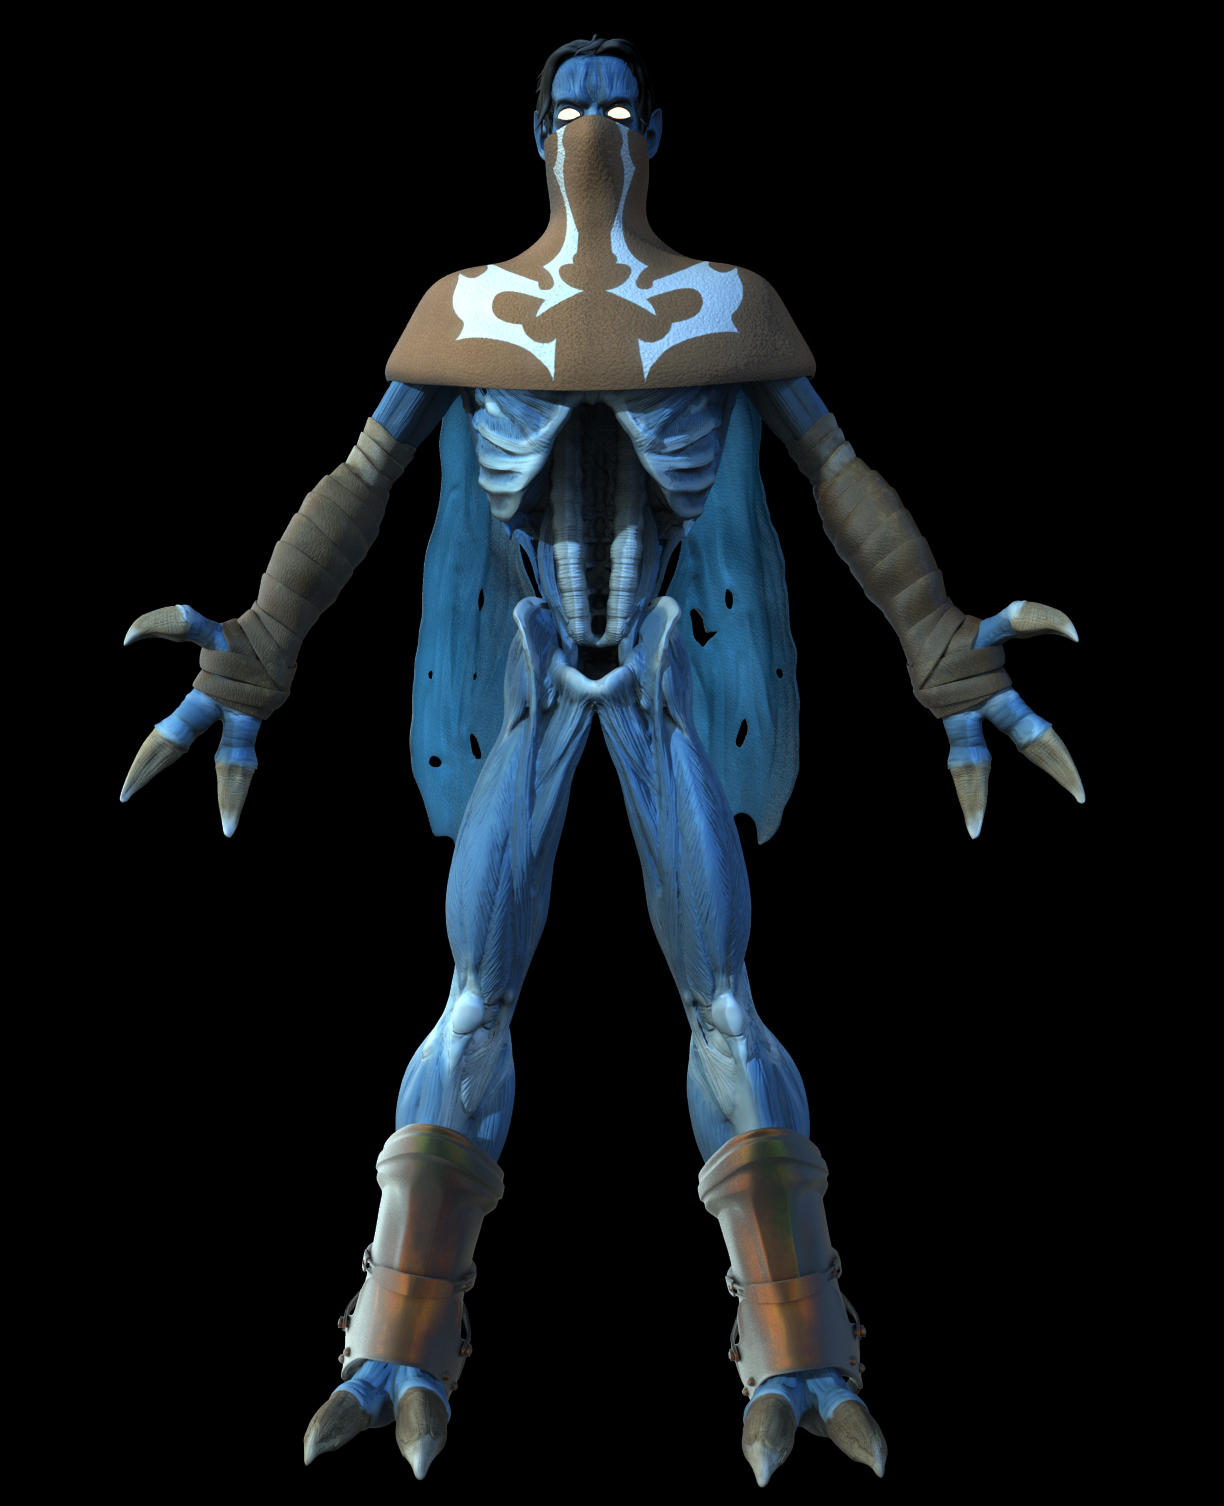
My final post on my contribution. This is Patrick’s concept of the “Inner Queen”. He wanted to steer clear of her being just a monster. He thought she should be alien, but elegant, and almost frail. He gave me to 2D renders, and a picture of a ghost shrimp and a glass frog, and a few notes. 2 days later my unit was shut down and that was all she wrote.

The Inner Queen final render

Full body render

Transparency test render in Keyshot
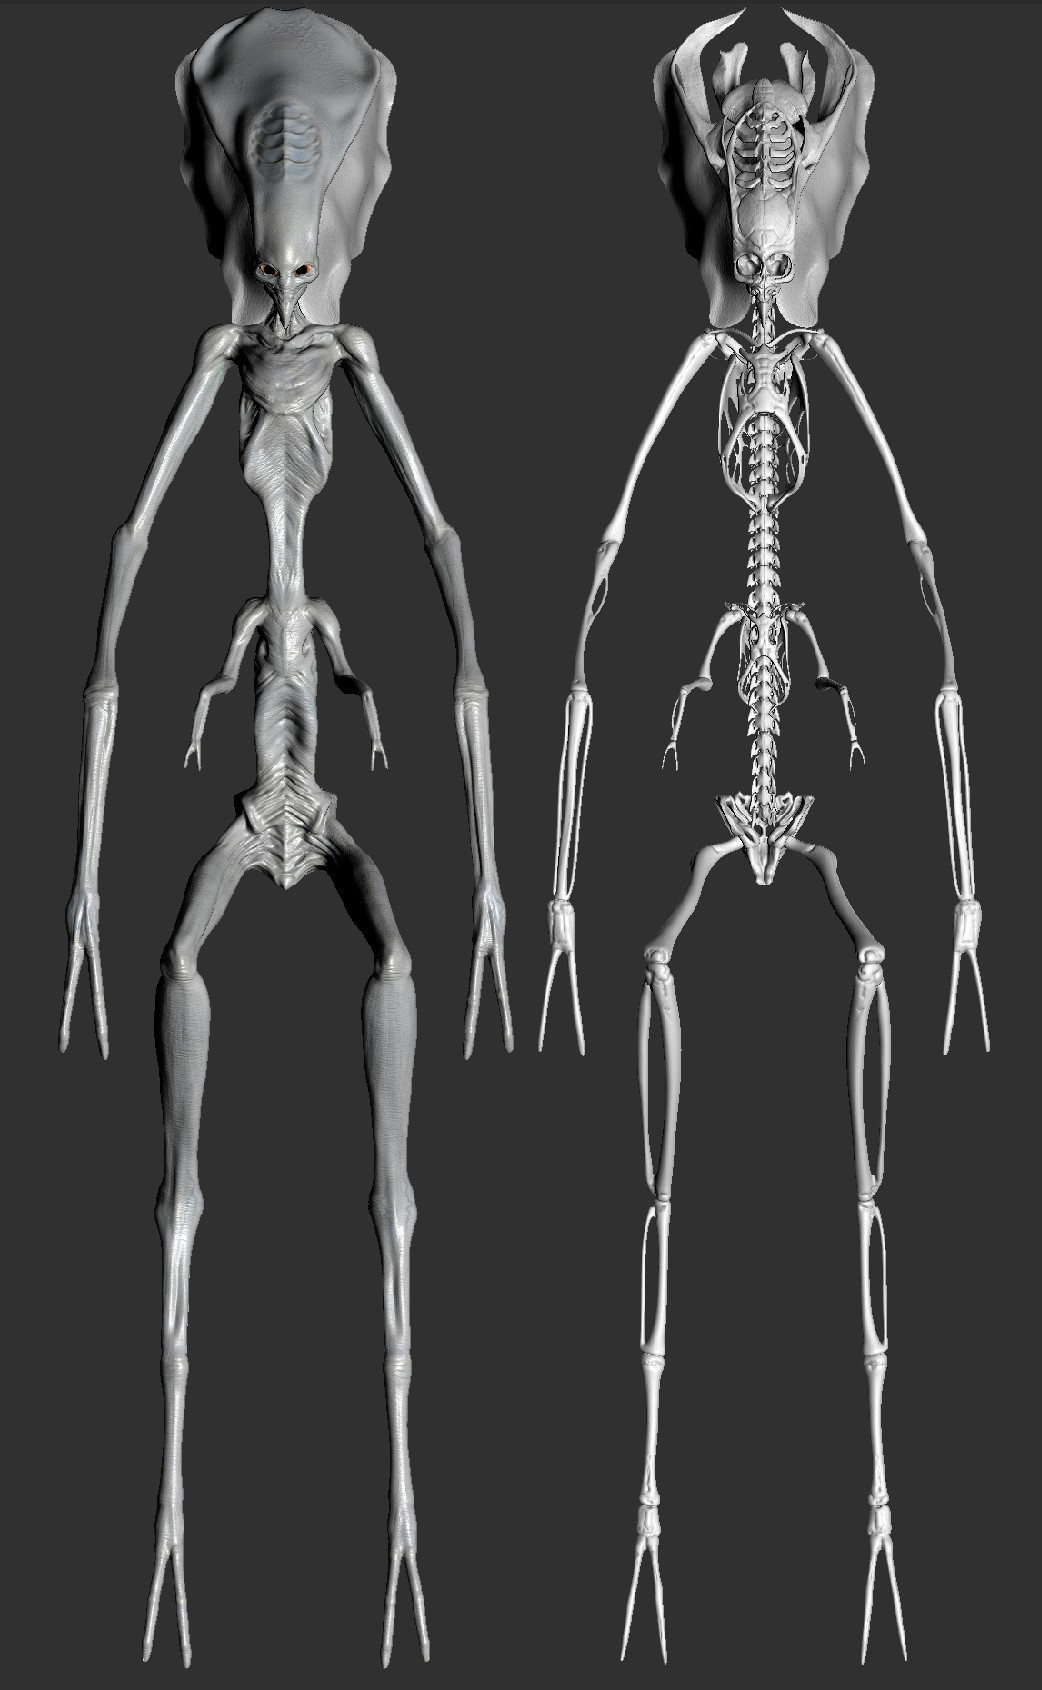
Flesh and bones.

Zbrush screen grab
I did what I could in 16 hours. Thanks for looking!
Attachments
hey there everybody,
Finally got my @%it together, started a cubebrush store, and have moved the Body Parts anatomy model to a final home.

So, no more dead links, or other annoying BS associated with this file. Free to all, as always. This is the most complete anatomy model I have ever seen. Compiled from CAT scan data, this was originally over 100 obj files. This is my attempt to make the model easier to interact with. So, for those of you that have never seen this model, go get it.
http://cbr.sh/9uqpme
http://cbr.sh/9uqpme
Attachments
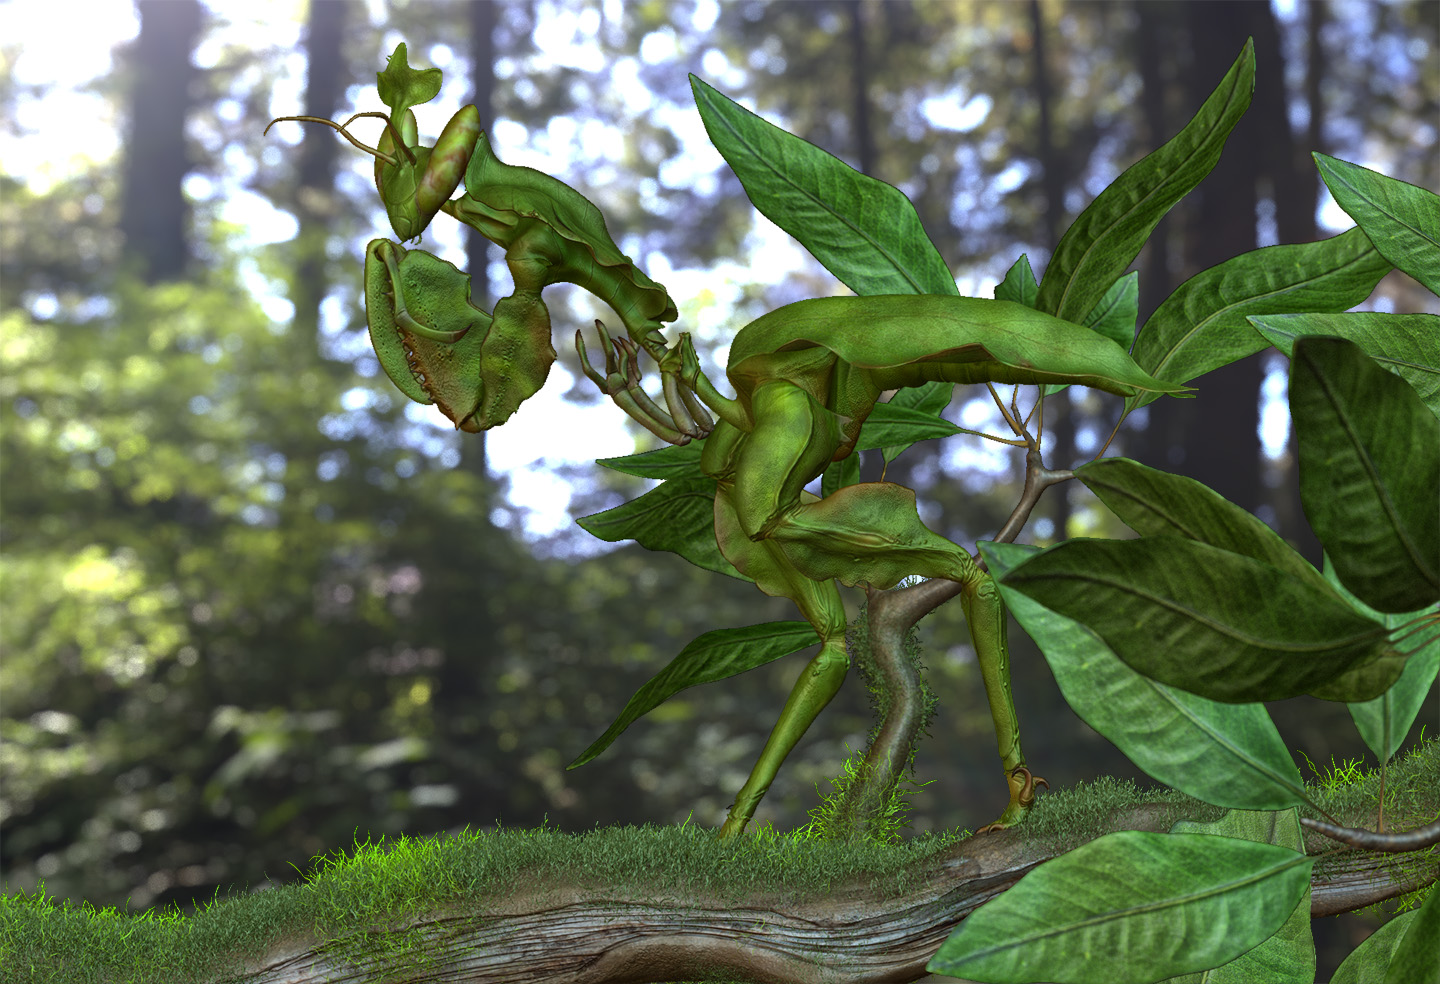
It only took about 10 years, but I finally squirreled away enough money to buy a 3D printer. I have been professionally preparing files for printing since about 2008, for other people, shows and whatnot. So it almost took a decade.
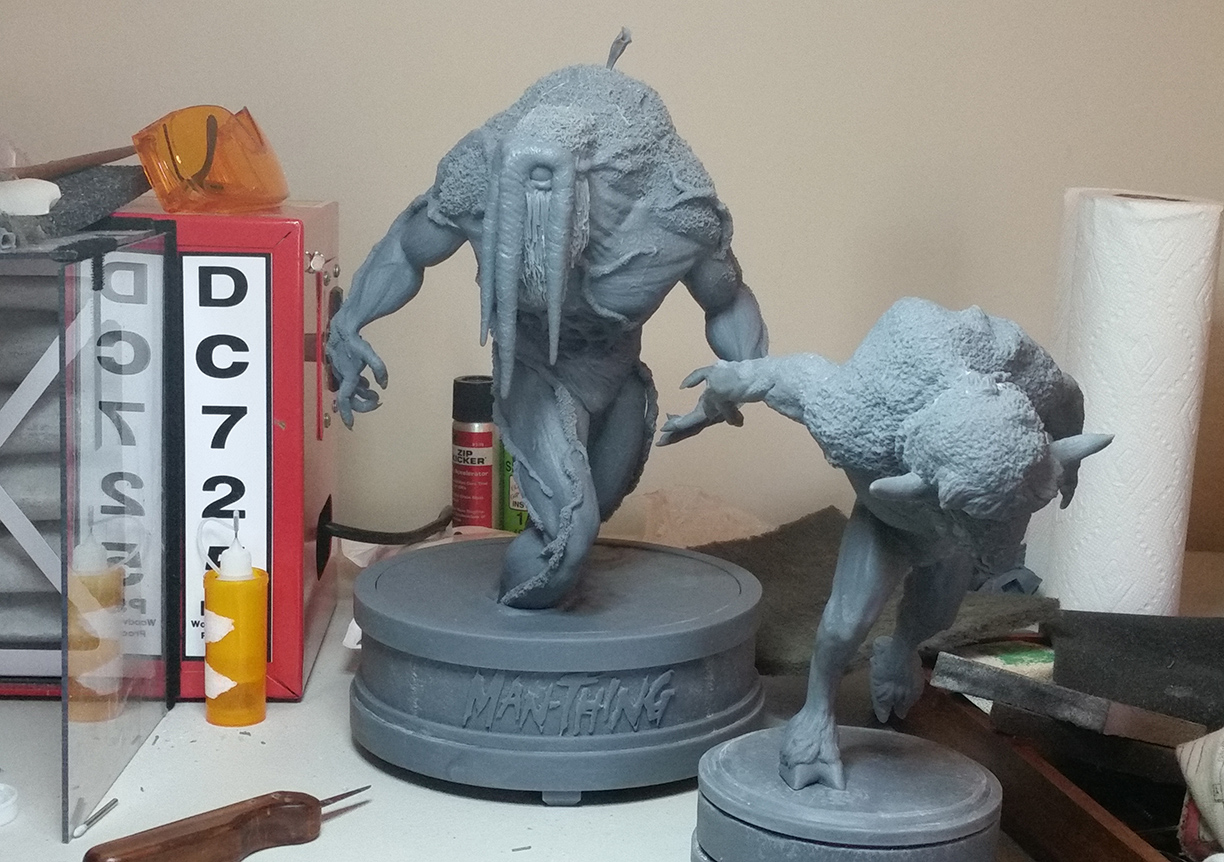
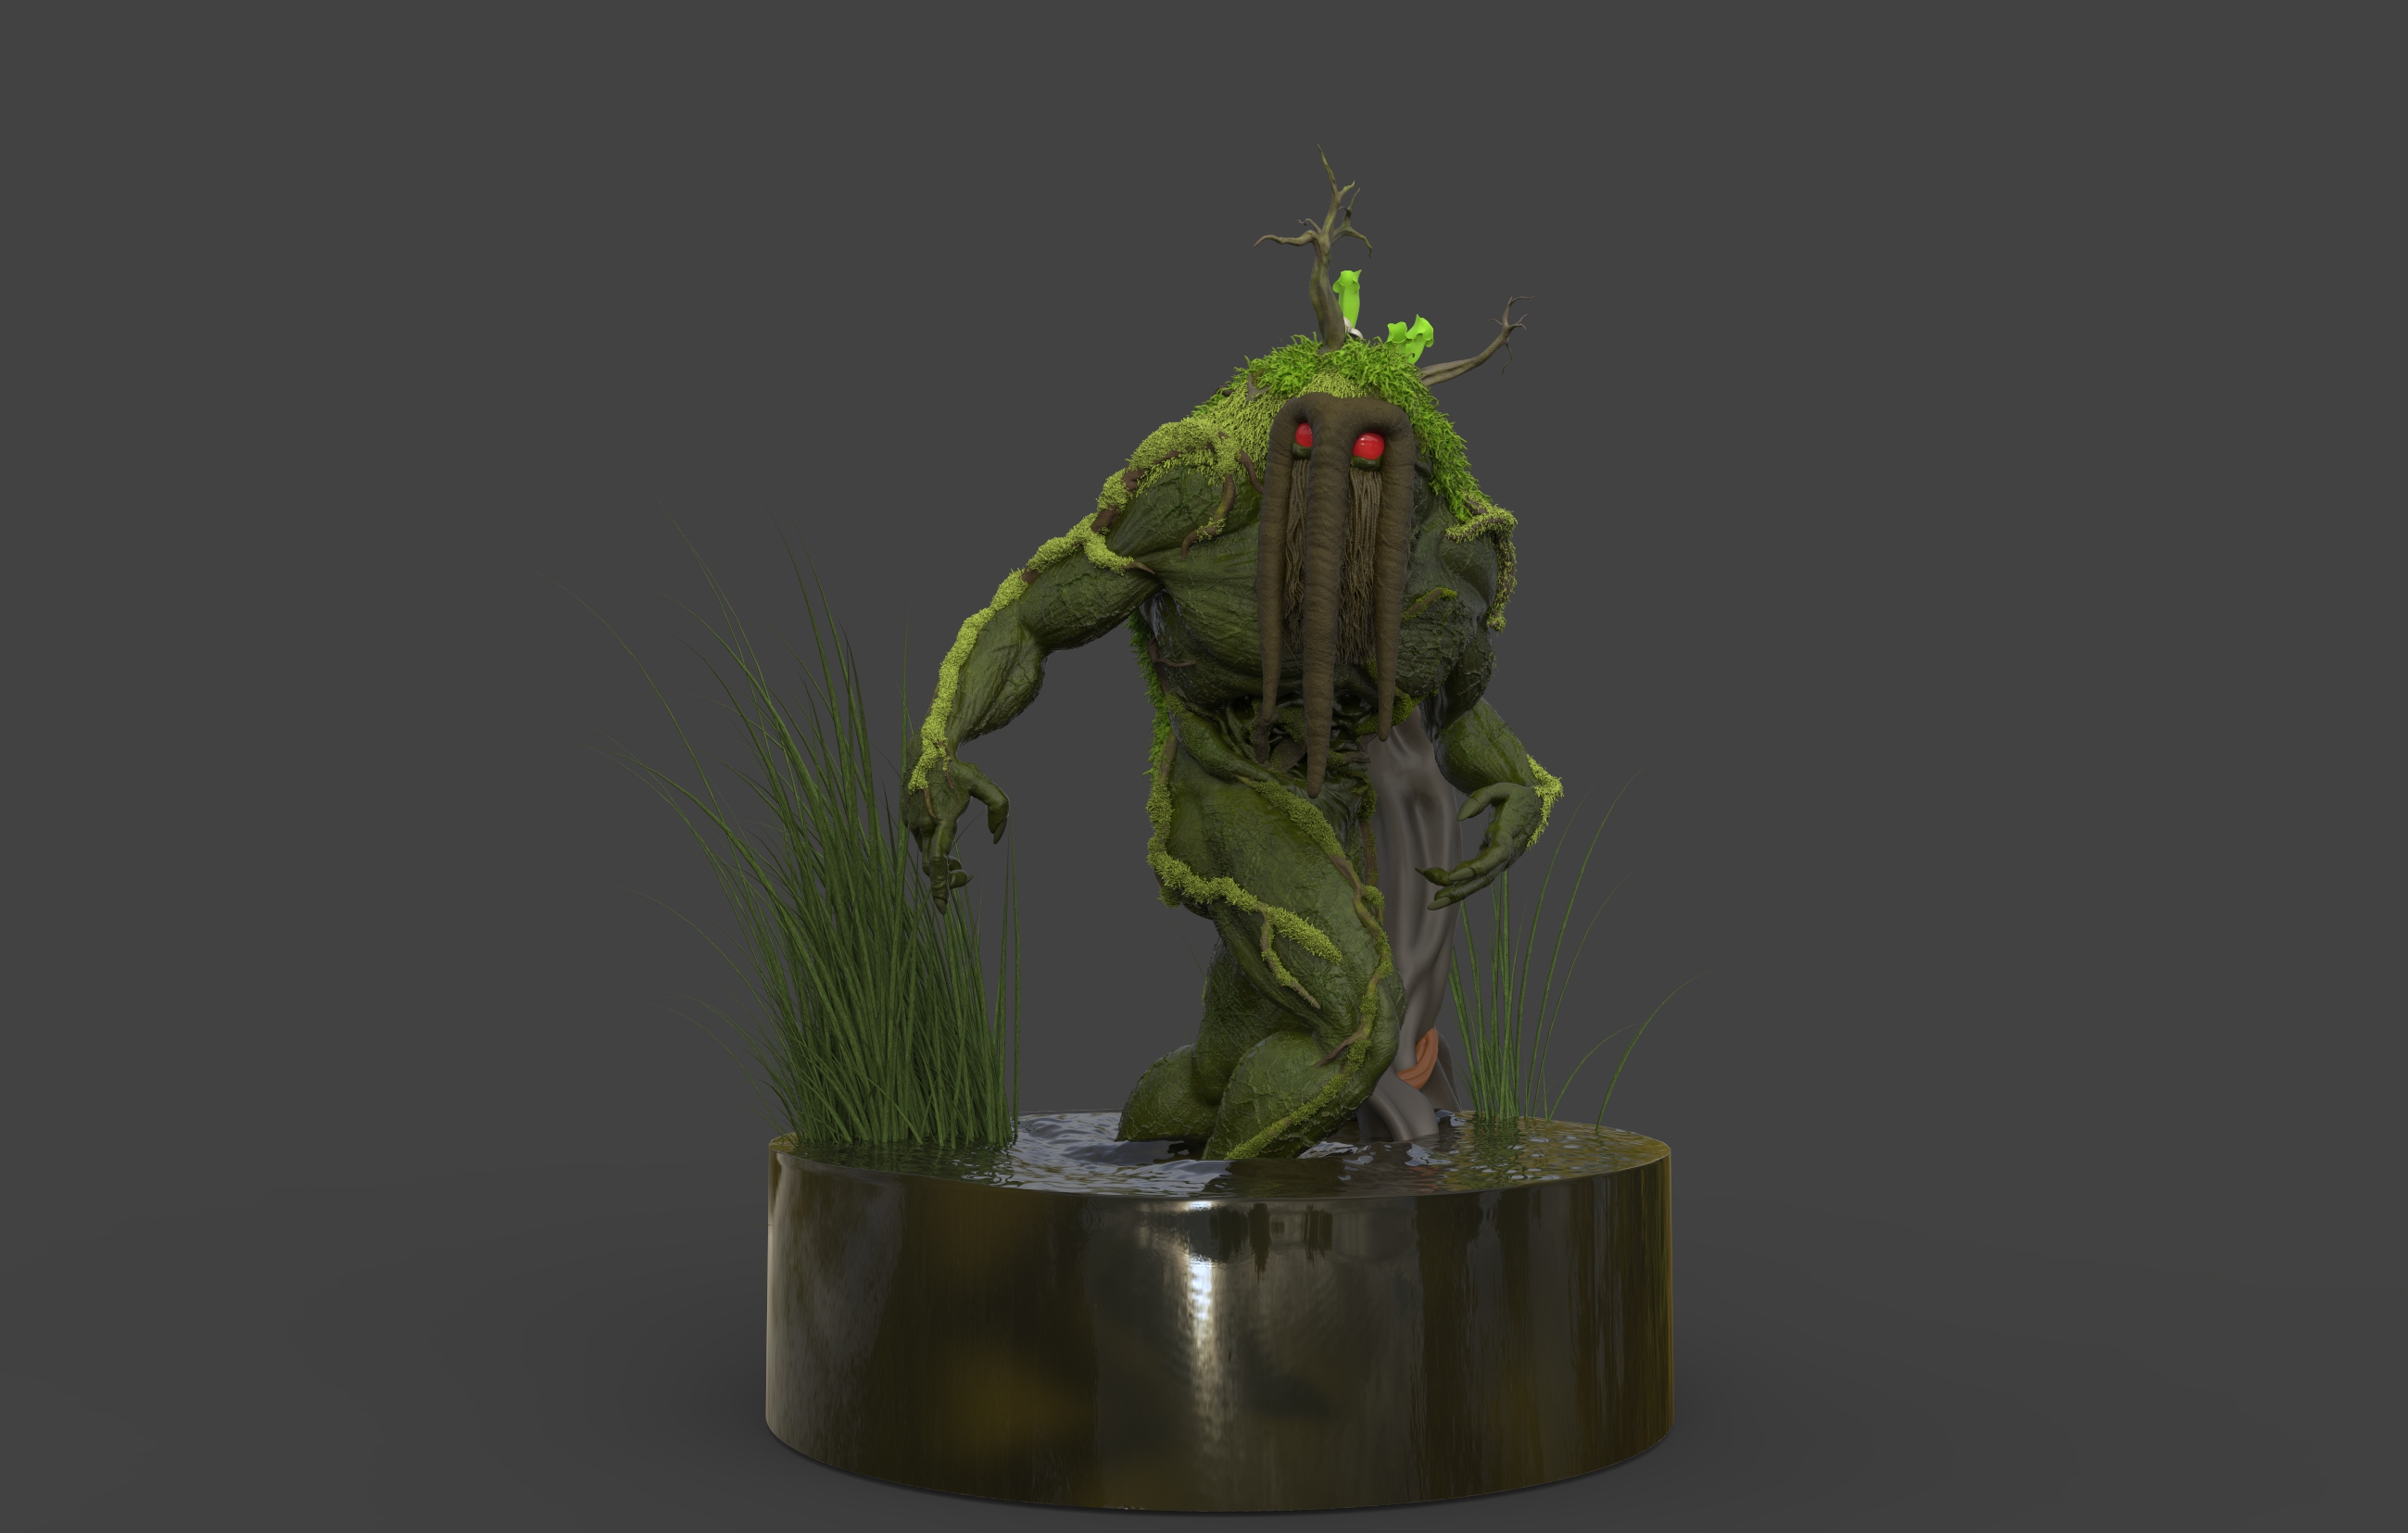
What’s on my bench
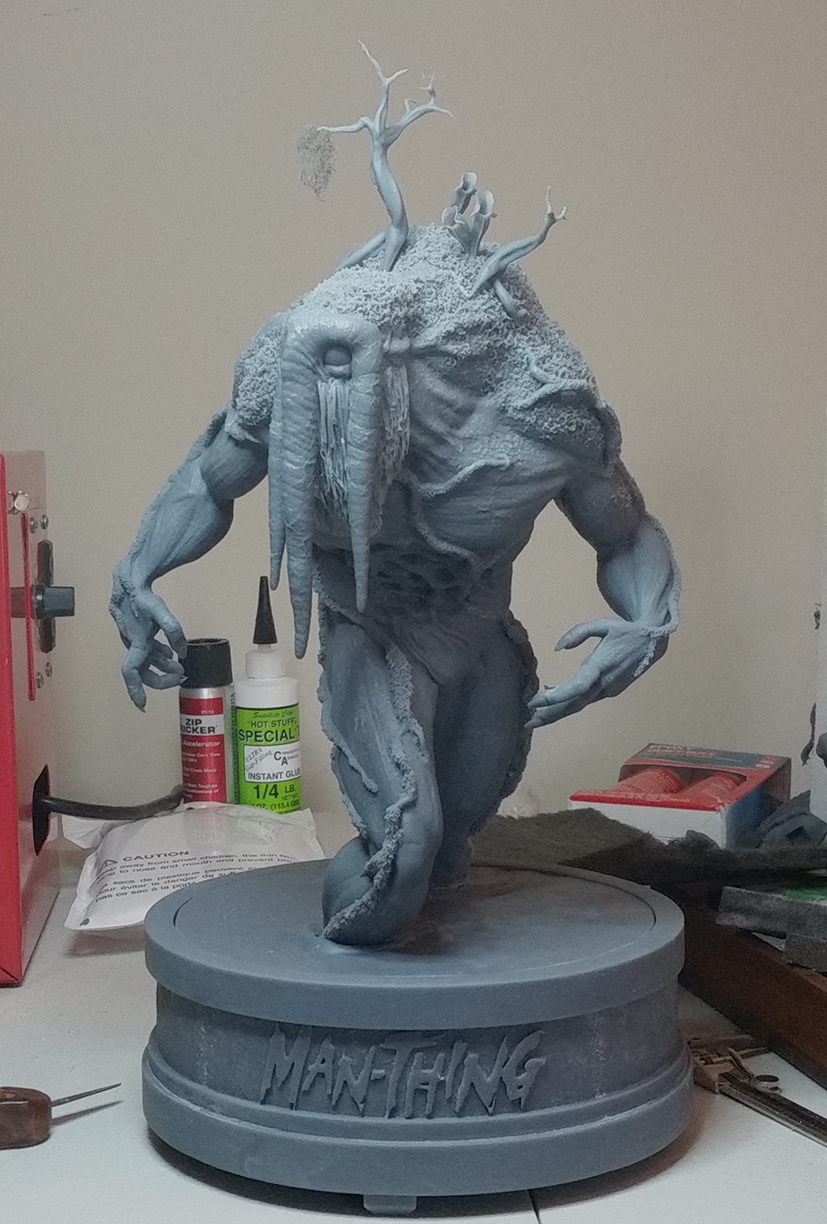
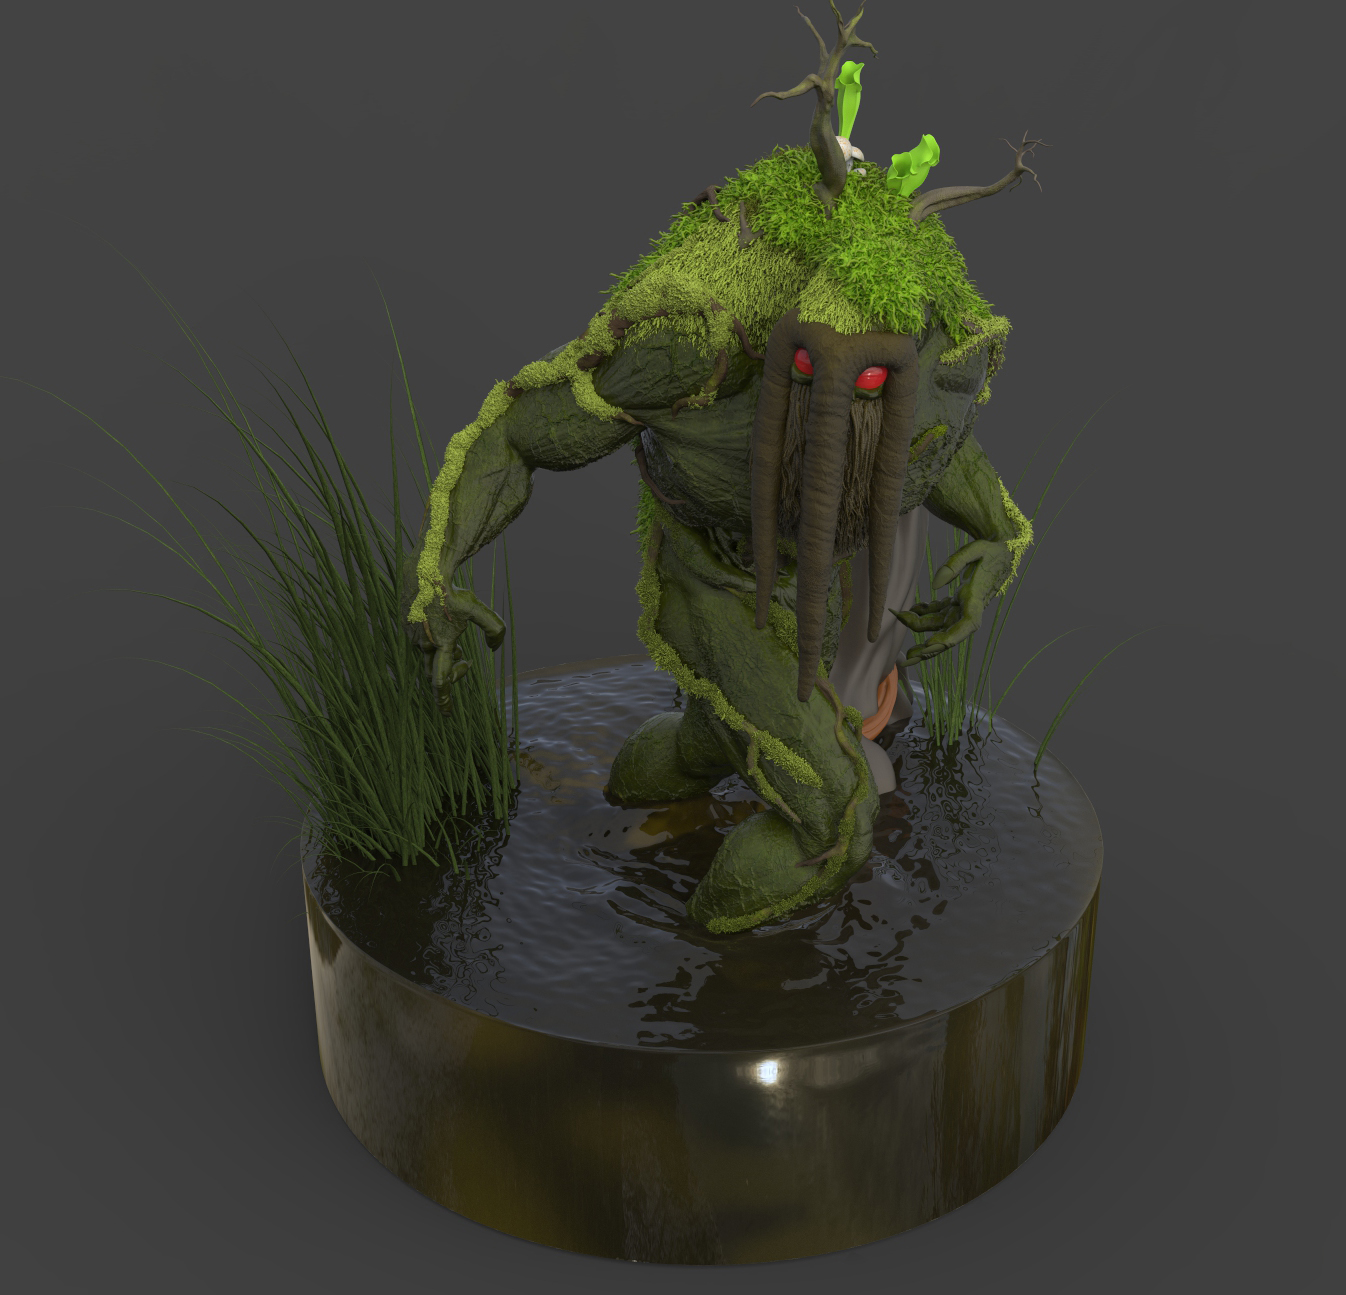
Why Man Thing of course. My ole buddy
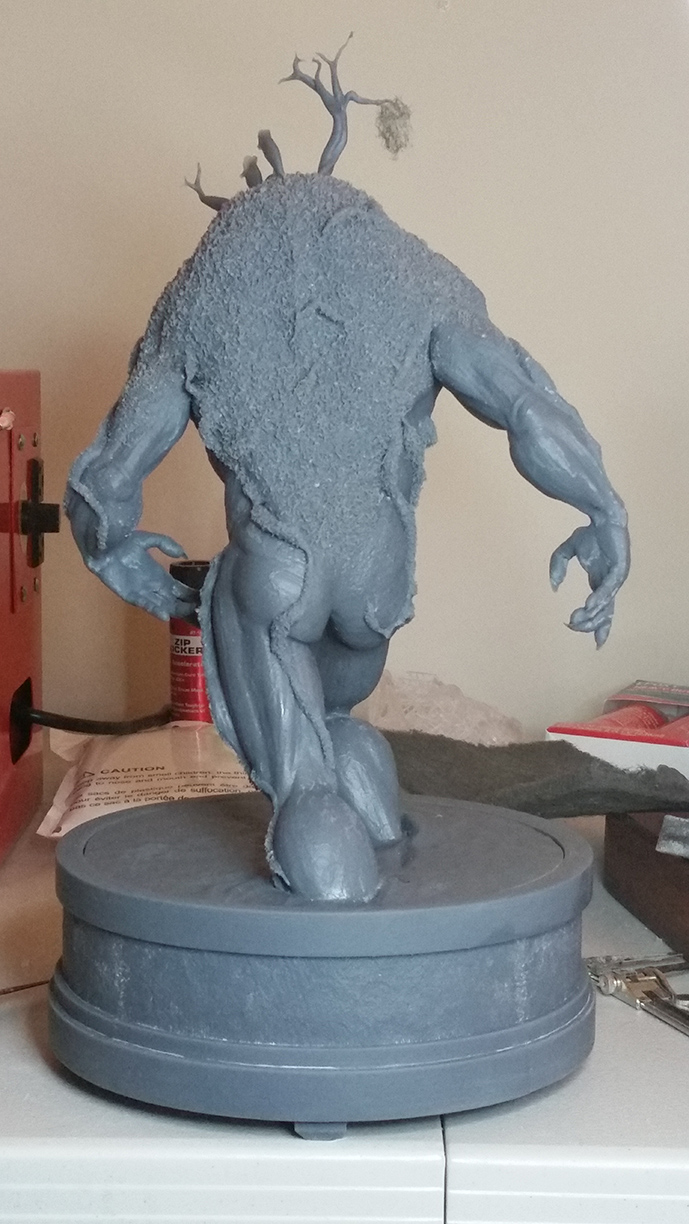
All of the moss is fibermesh. Yup, 3D printed fibermesh
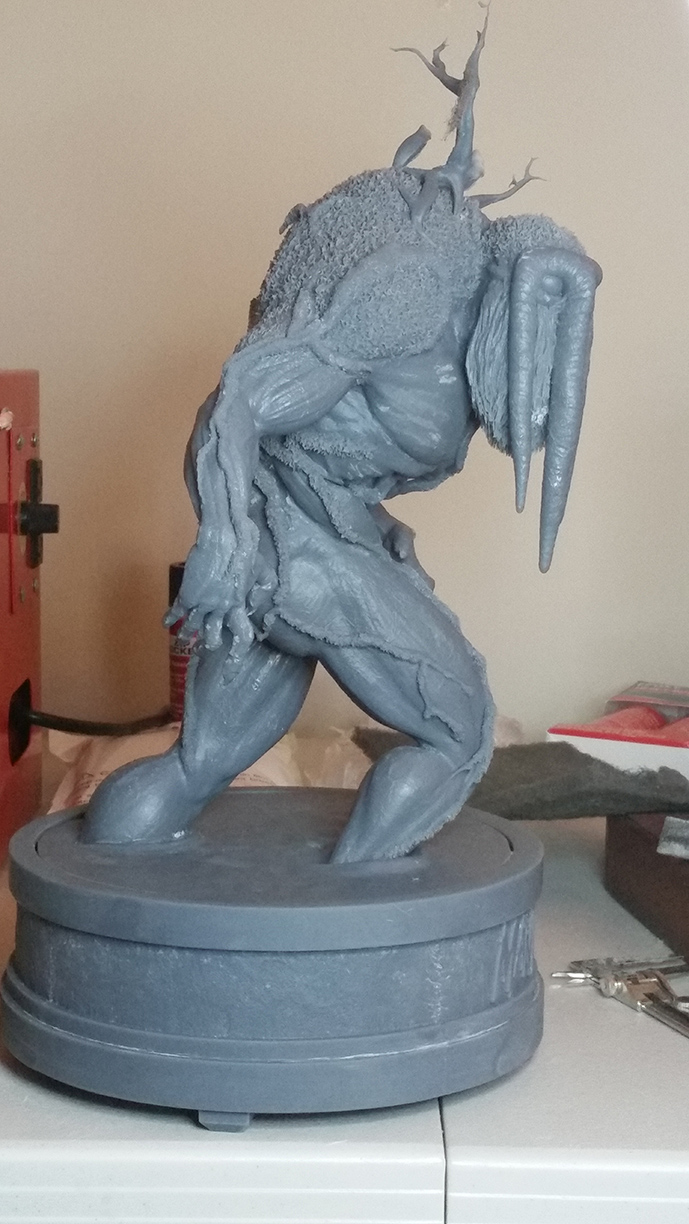
He is app 14 inches tall. The image quality isn’t the best. I am no photographer, and am using my phone. Anyway, the Form 2 is like a dream come true. No stepping in the parts at all, and this was printed on the medium setting.
Just wanted to share. Thanks for looking.
D
Attachments