Thanks LVXIFER, glad you like the paintings. Thanks for watching the video. I did those thirteen paintings for a classic monster art show at Halloween Town in Burbank. I painted them over a three month time period. They were a lot of fun to do. I didn’t finish all that I wanted to but plan on getting back to the rest soon, but currently I am having too much fun ZBrushing.
Cool video! Watched and downloaded the full episode too.
Also enjoyed to see your paintings,really nice! Would love to see them bigger,
especially the Karloff ones.
Thanks for this and for your answer to my last question,much appreciated.
I had no idea you had done those paintings. Holy Cow. Really beautiful images - I’ve never heard of the Man in the Beaver Hat before. I have to check out “London After Midnight” now!
Hey Rick,
Just watched the YouTube video and now I’m pissed we didn’t manage to make it over there to the gallery. Didn’t realise you had done so many paintings for that show. Great stuff and good to see some old-school, tactile work.
- S
Thanks for the fiber mesh run through. Not shown in video but one of favorites at hallowentown is the Bride you did.
Hey thanks guys glad some of you looked at the video of my paintings.
I was out of town for a few days looking forward to getting back to ZBrushing.
I’ll try and do a bit of a tutorial on how I use fibermesh.
Nothing all that special about how I use it though.
OK I put this together to show how I use fibermesh. I hope you can understand it,and that it is helpful. There are many steps to my process but I find that it gives me the type of fur that I am looking for. The settings that I used will probably not be the same on a model that you are making but at least you can see what I do . Again the best thing to do is just play around with it. Don’t forget that you can use different materials for your fibermesh. I used mostly toy plastic. You can also paint your fibermesh. Hope this was worth the time it took me to put it together.


Very cool! thanks for sharing!
very helpful, thanks!
“Again the best thing to do is just play around with it. Don’t forget that you can use different materials for your fibermesh. I used mostly toy plastic. You can also paint your fibermesh. Hope this was worth the time it took me to put it together.”
Monstermaker,
I couldn’t agree more. Fibermesh and Micro mesh are among the most dynamic of all the Pixologic toys. I really appreciate your breakdown. I teach Zbrush here in L.A. at Studio Arts. I point my students to all of the mini tutorials and walkthroughs that pop up here. I owe a lot of my success to the lessons freely shared by so many on the forum, and encourage all to take the time to scroll through this forum at least once a day. I have shared my own walkthroughs on using Fibermesh, and know how much work it is to create them. I can assure you your efforts will be eagerly received. I have tried to push Fibermesh to the limit, and still haven’t found it yet. I will be slipping your breakdown into the next class. More than half of my students are longtime makeup effects veterans. Some have been on your crews. They will be most appreciative of your gift, I assure you.
Thanks again. It means a lot to the scores of students out there.
Best
Derek
Lovely tutorial thanks for sharing! Fibre mesh is one of those things that I lose my hair over! haha
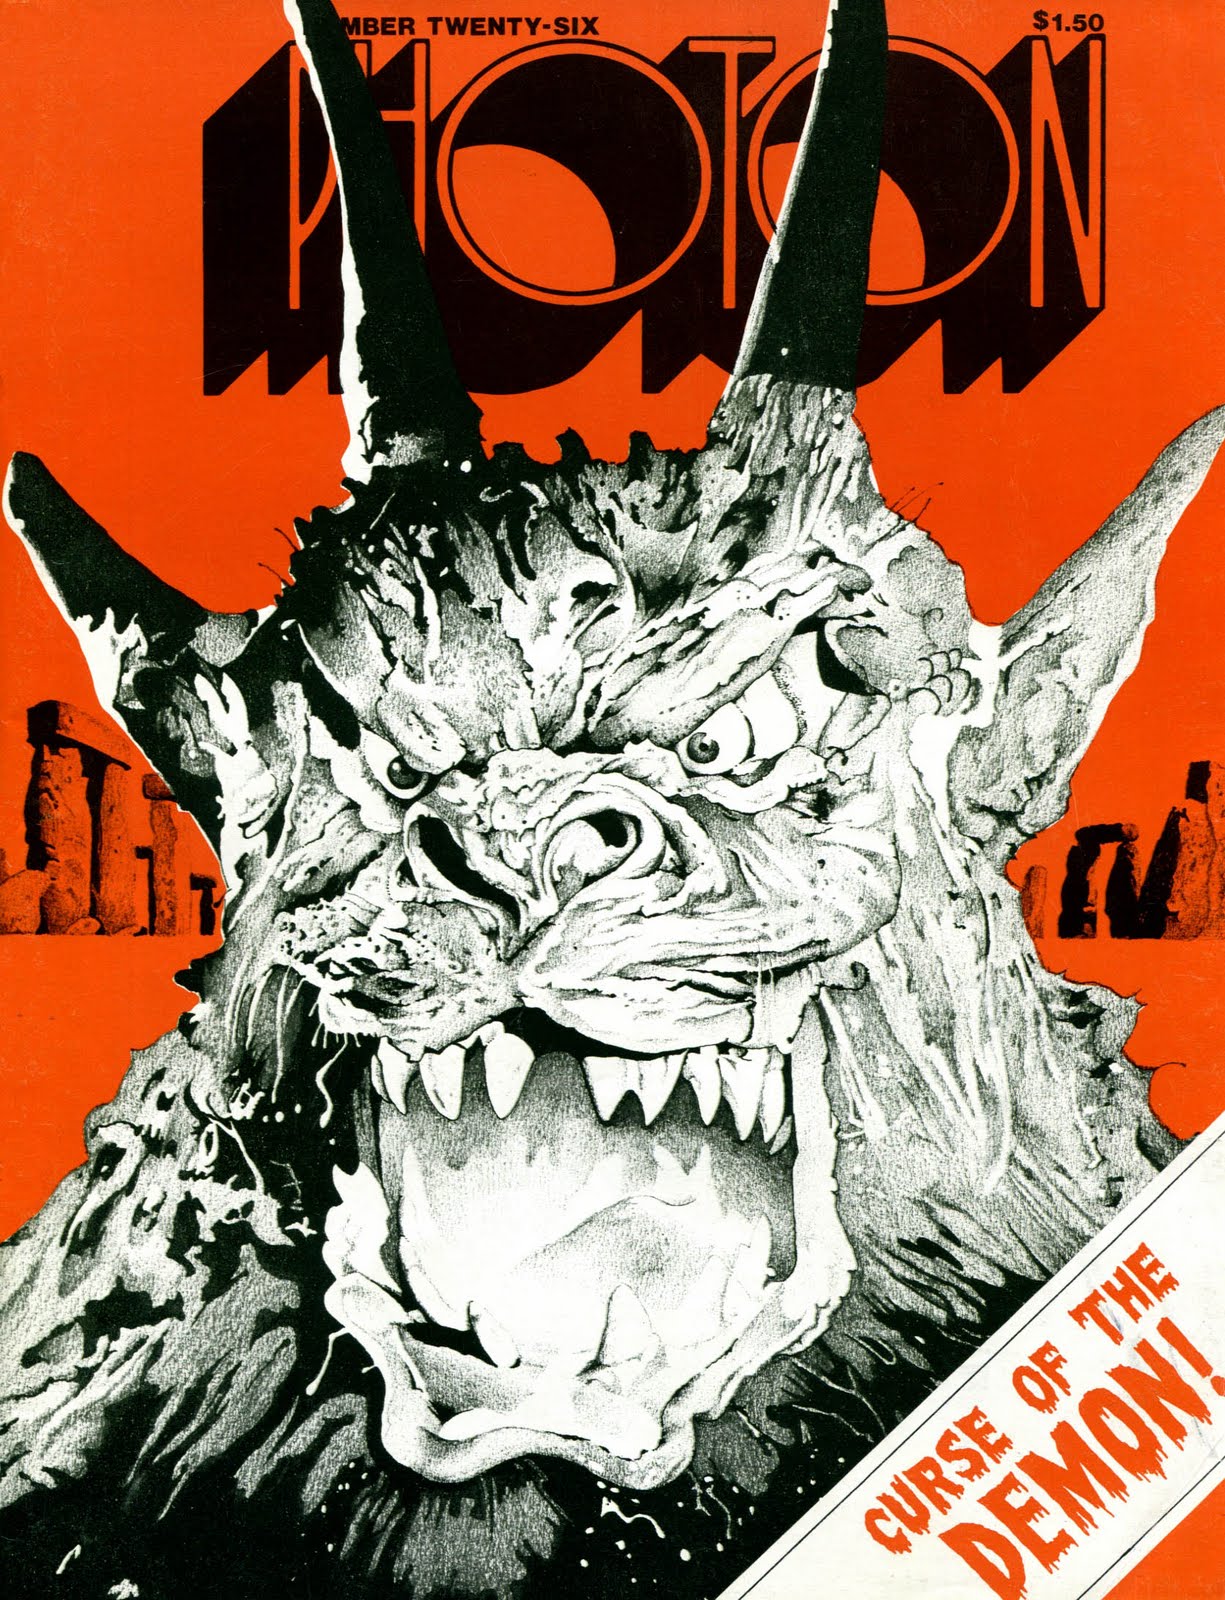
Wonderful nostalgia. I still have the remains of 4 of your ‘Photon’ masks: W.C.Fields, Excorcist, Frankenstein and Quasimodo. I should make molds soon or they’ll be dust. Here are some old memories attached. Thanks for all your years of dedication, mentoring and sharing. ~S.~
Attachments

Amazing Rick, thx for sharing , love the spider guy :lol:
Great stuff, very helpful info. Thanks
Supercool!! Thanks for the tutorial Rick 
grreat tuto, simple and to the point and the effect is really nice
Thank you for the tutorial, this is a great thread!  (love the name of the tutorial
  )
)
Thanks for the tut Rick, this will come in handy for my next caricature. Keep up the great work!
Thank you for the breakdown on your fibermesh method Mr. Baker. The information is greatly appreciated!
I was HOPING you’d do that alien next!
Thanks so much for the breakdown. Simply using different masking techniques for the separate layers adds a whole new bit of flexibility to assigning fibers to characters. Seriously, I’m excited to go sculpt now, and I can’t thank you enough for taking the time to show us these steps.
Cheers!
Brad