ZBrushCentral

Breaking into zbrush - 1st models

Hi there, I’m new to zbrush but have been learning it in my spare time for a little while. I’m trying to push my models on, but am in need of some impetus as I feel like im starting to stagnate - and losing focus on finishing them.

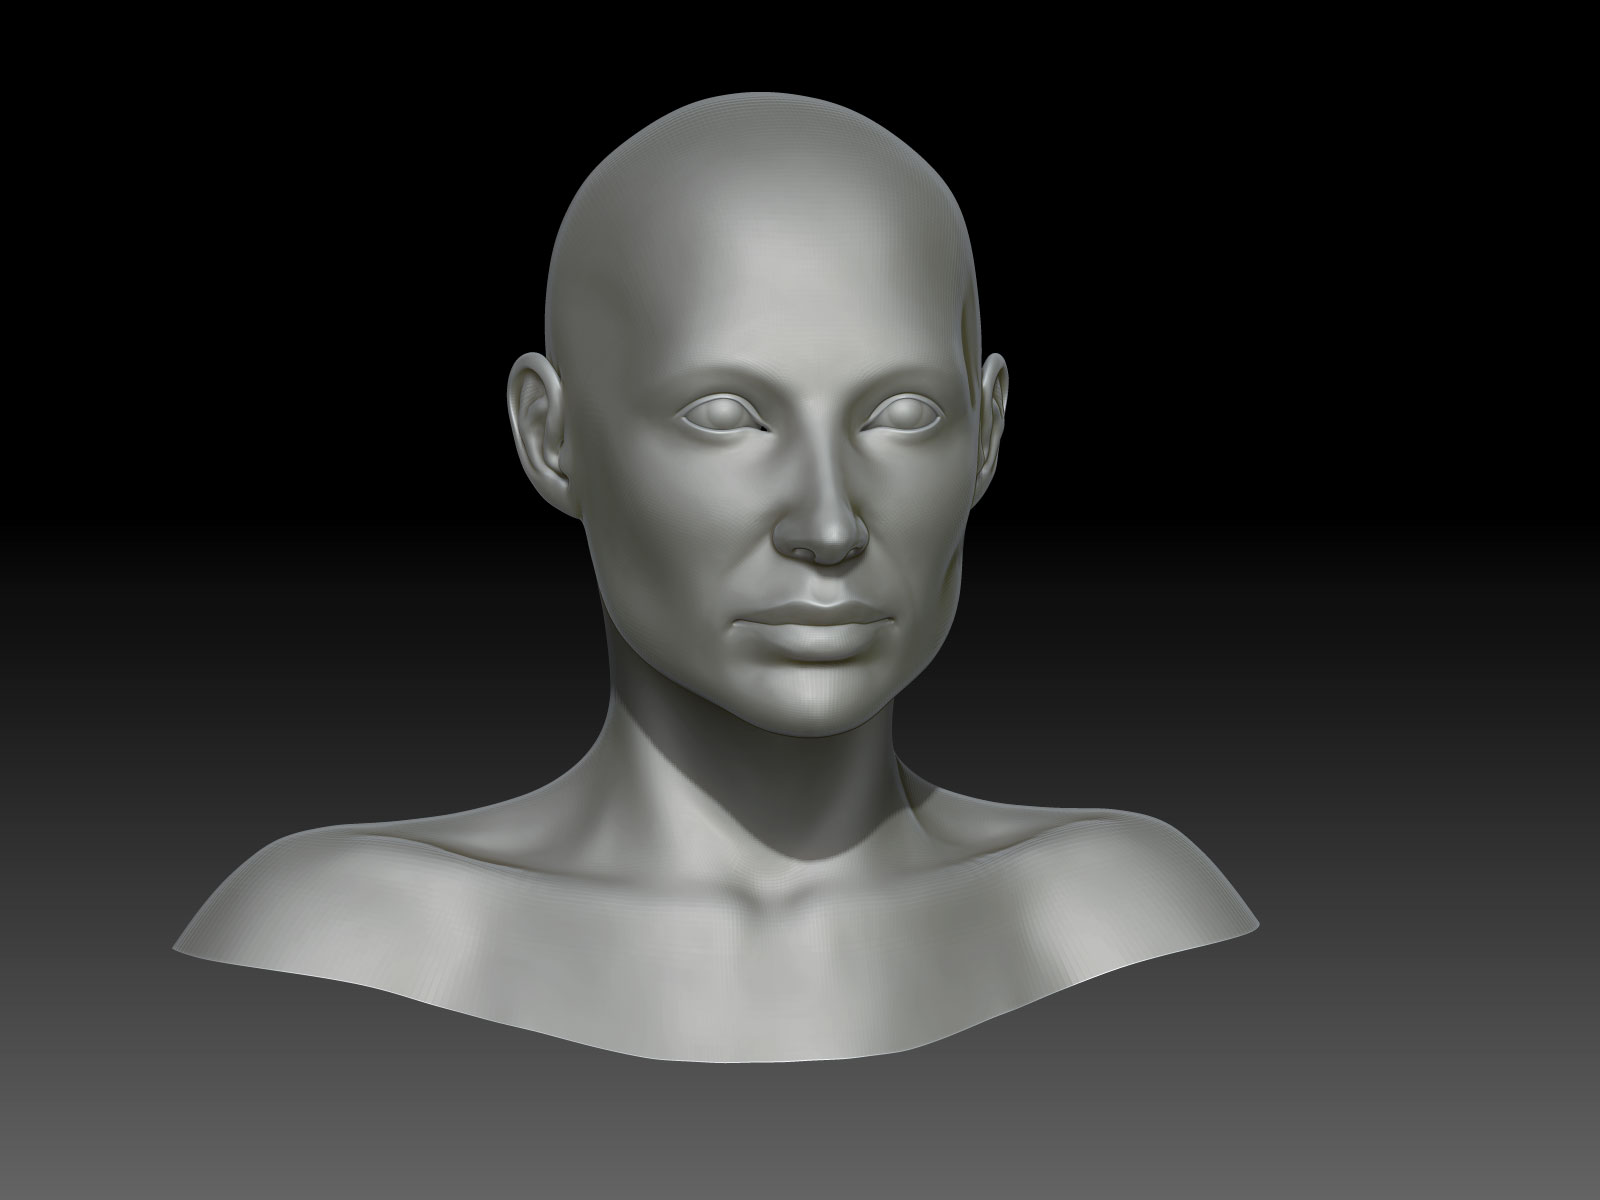
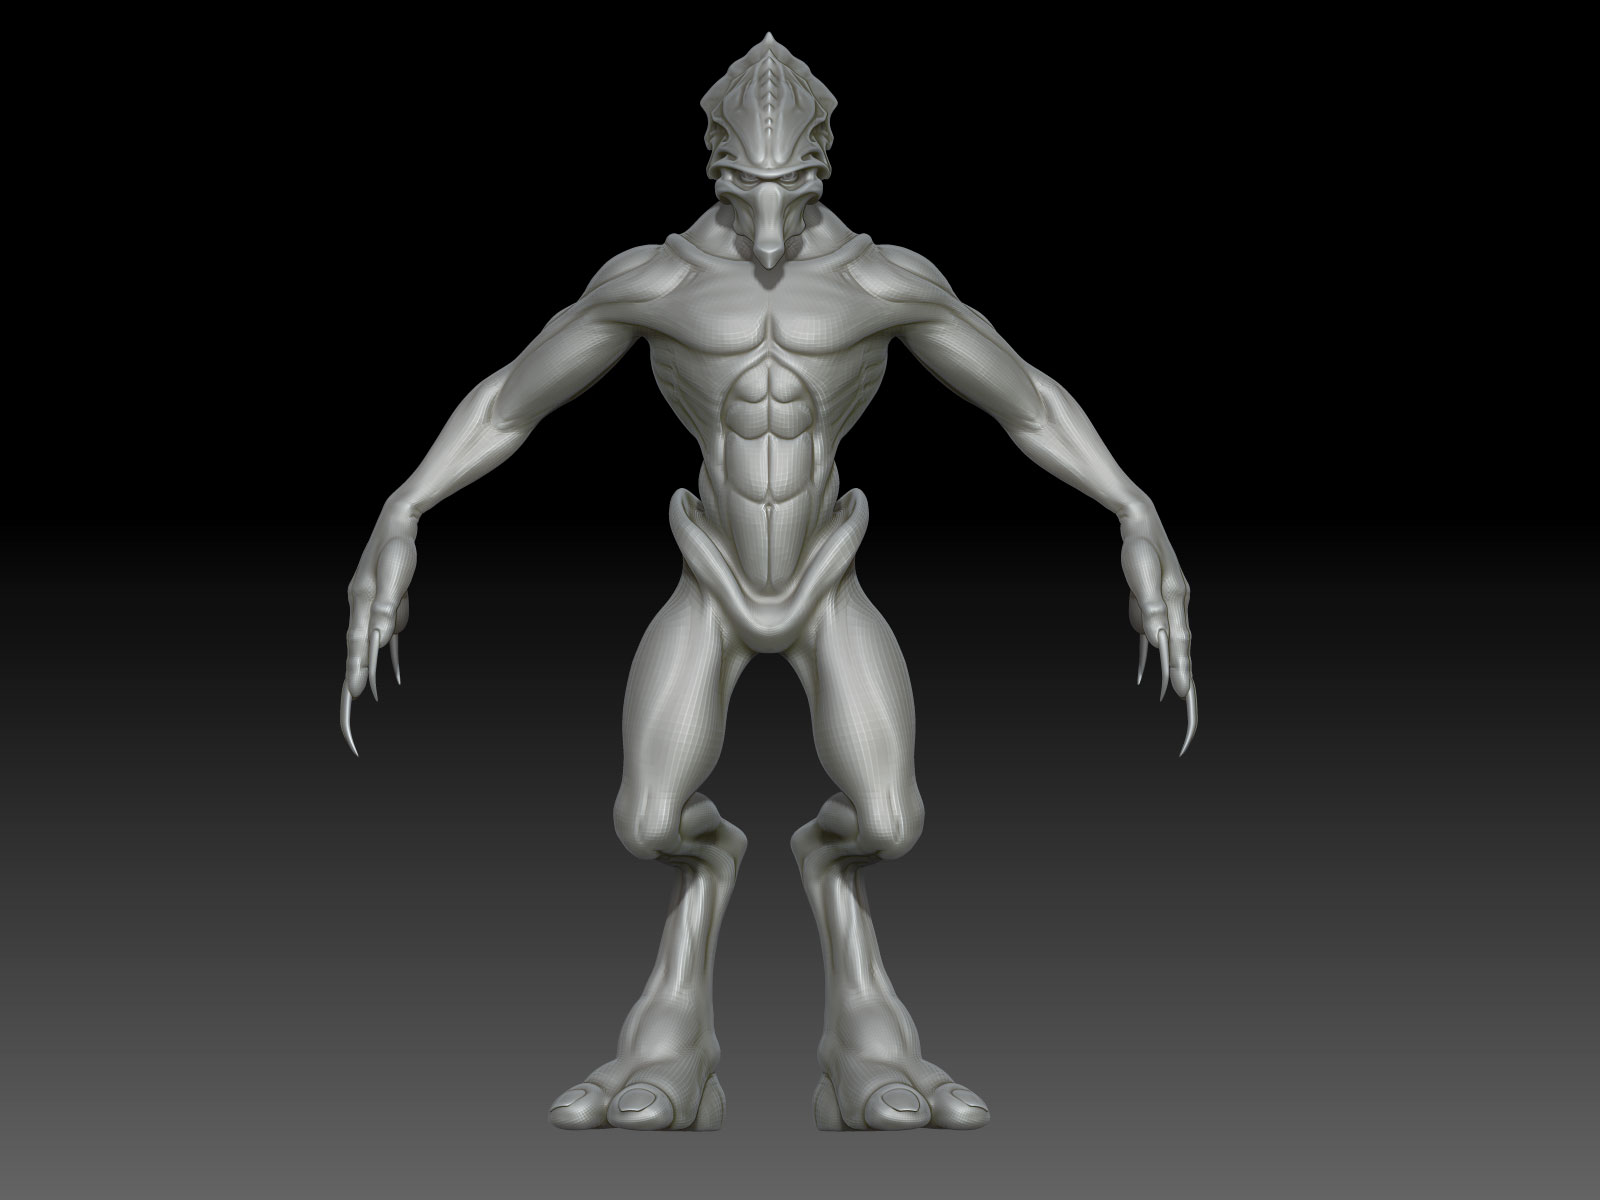
Here are a couple of my current models - any feedback would be very welcome!

Cheers, Sean.

Attachments

fem-head.jpg

protoss.jpg

adun toridas !

Great start. Use lots of photo references and practice, practice/

female head is a good start but needs some tweeks here and there.

I don’t know about you, but I can’t see both ears of a person at the same time unless I am looking right at them, can you? Anyway, your ears are out way too far. They are also too large and up a little too high.
Your eyes (actual eyeball) seems to be too small. The eye lids are out too far (probably due to the wrong size eyeball). Looking good though, like I said, a couple of tweeks and you should have a nice piece on your hands. Then it’s on to the details

Hi, thanks for your responses. Interesting about the eyeball size as my most recent tweak was to reduce it to that size. I used some ref from Ryan Kingslien, and that famous image of the guy popping out his eyes, in relation to my main ref’s iris size. It was something I spent some time trying to get right - but ill ceratinly revisit it. Im also using 30 fov, as the 50 default is way too strong for me - this does alter the frontal features to head volume quite alot. Ill check the ears as well!

Heres a little update on the female head, the lashes and brows are temp, but helping me work stuff out. Can anyone help with bpr rendering a glass material for the eyes? I’ve got a second bit of the eyeball under the lens/glossy one. It would be nice if i could see through my outer ball ;).
fem-head1.7.jpg

Starting to look like Claire Forlani, is that what you are going for?

I was just thinking that, but couldn’t come up with the name…nice mouth and nose - looking towards updates

Bingo, Claire Forlani it is. Glad you came up with that without me having to mention it! Basically I used her as ref, but I wasnt intending on getting caught up on 100% likeness, I just wanted to practise a female head and used someone beautiful who I could get plenty of reference pics of.

Heres a toony dude I did over a few lunchtimes. I was aiming to practise a loose dynamesh - retop in zbrush - polypaint workflow. The end result is some kind of manic politician that seems to have stumbled out of my brain.
toony-dude.jpg

Ok, so as you guessed it was based on Claire Forlani, I decided to push the likeness a bit more. I’m not sure if I prefer this in general, but I think it looks more like her. Either way I think I’ll start detailing from here as fiddling with the tiniest proportion tweaks for likeness isn’t what I set out to do here.
fem-head1.7.jpg

Heres an update on the female head. Ive been tweaking and doing the skin bump, next stop is diffuse and then onto hair.
Ta, Sean.

She looks like Claire Forlani

http://goo.gl/JOwgJ

Yep, i used Claire Forlani as reference. I’m glad you spotted a likeness.

well done then! Looking forward to see hair updates :+1:

Having a bit of trouble exporting this back to 3ds max. Previously Ive successfully exported models and maps into max a few times, but ive never come across this one.


When i export the model and maps, it appears each poly is flipped. Weirdly the mesh isn’t inverted, the uvs aren’t inverted, the map has flipped each poly, but when i apply the map in max they are correct per poly but have a seam at each poly. Ive tried a few things, mainly triple checked for uv problems and inverted normals but the mesh and uv seem to be fine. I tried flipping in zbrush and exporting and I get the mess I expect, certainly not a magic fix. Does anyone know whats going on here?

Ok, so i’ve worked out that its something to do with having uvs outside of 0-1 in uv space. I thought that as zbrush auto exports multiple maps for uv tiles it would understand this kind of uv layout. Is there a special workflow to use multiple uv tiles in zbrush?

Try this: export from zbrush, import info max and set faceted on import panel options. At this point select polygons and set the same smoothing Group for every poly. Now export the model chosing zbrush preset (try also none preset) and import back into zbrush. Now you have to create the textures again. Try first by baking the normal map and see what happens. Now it should be fine, you would not see such kind of faceted texture. Let me know

Hi, thanks for the reply. The faceting isn’t really the problem and I don’t think its to do with smoothing groups - see how the poly’s in the map are actually flipped, especially noticable in the eyebrows. I fixed the problem by reUV’ing the head to the 0-1 texture space, but i’d like to be able to use multiple texture tiles. I read in a tutorial to use polygroup>uv groups and then isolate each tile to export each map, but when i go to export it warns ‘mesh partially hidden’ and makes me unhide it all.

zbrush dont allow to use multiple uv spaces. the only thing you can do, after uv group, is to divide the mesh using group split. at this point you will have multiple subtool that can be reattached back into max with every unwrap placed into different uv space