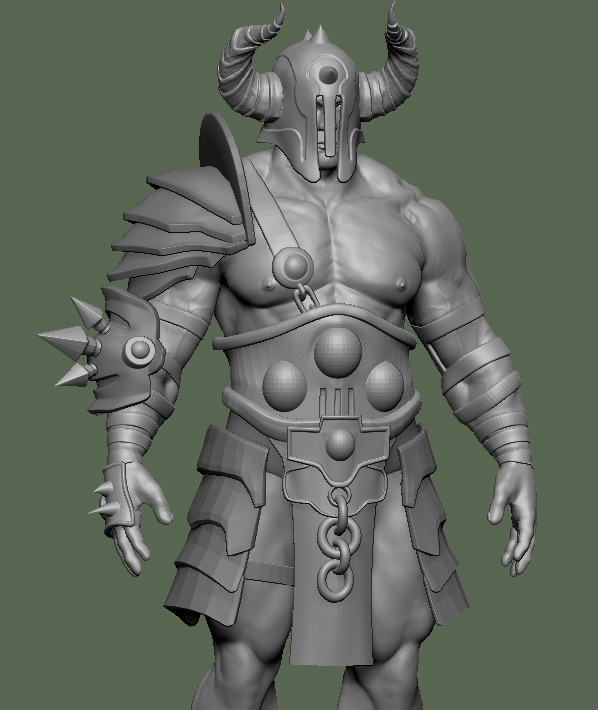
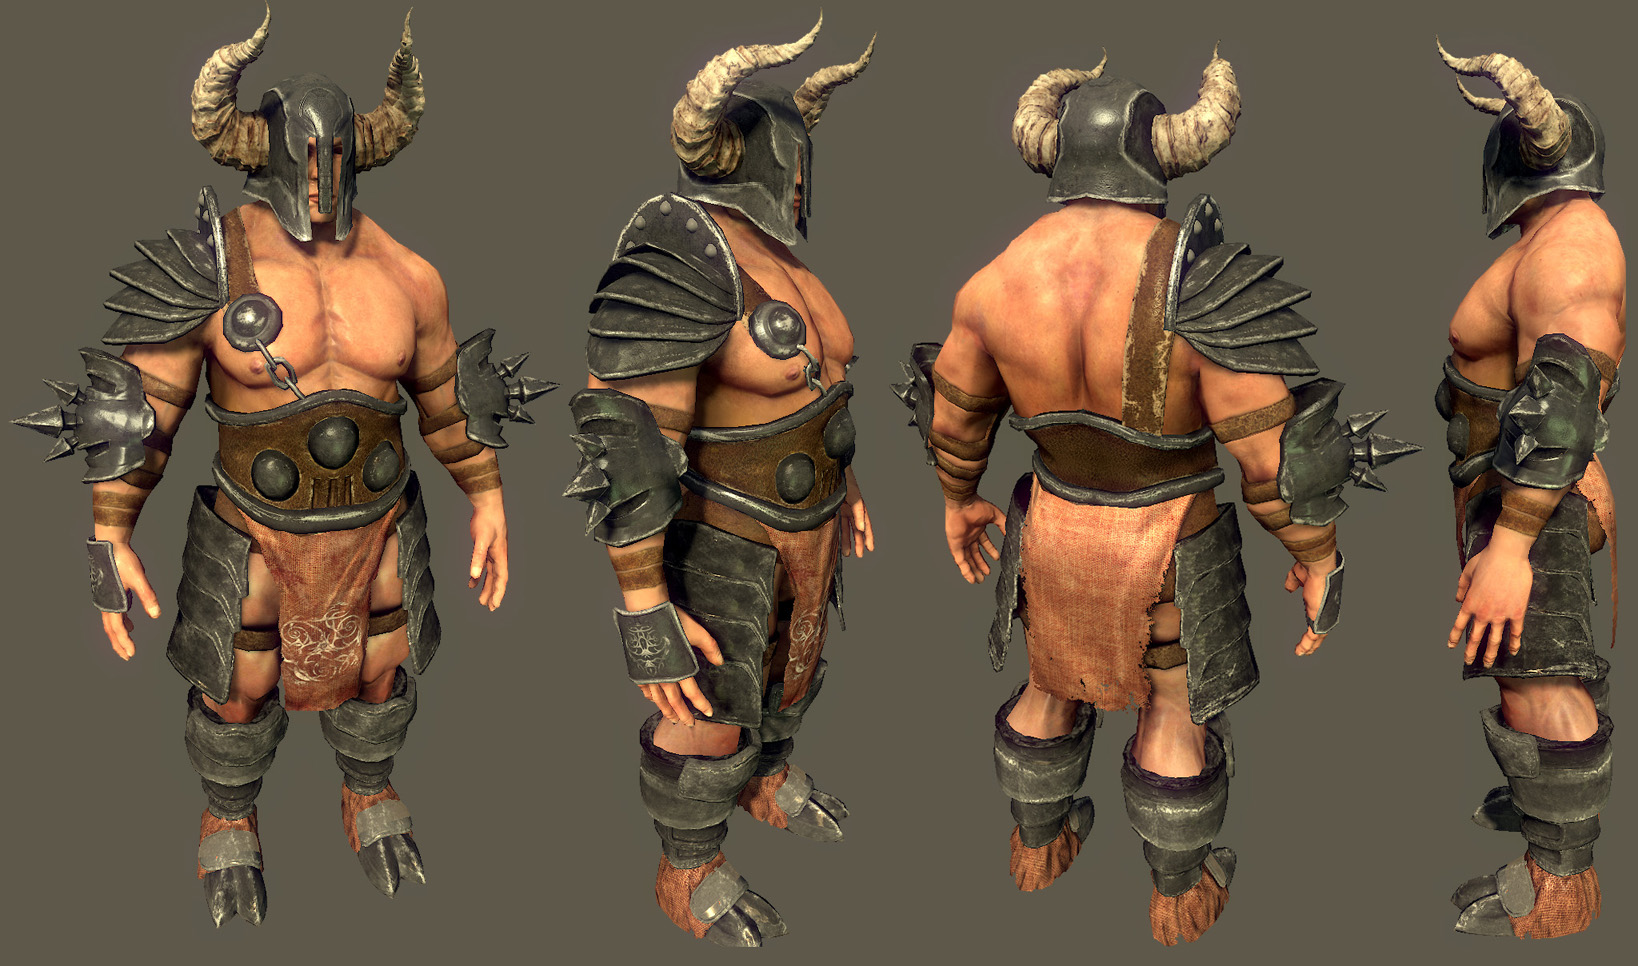
Yeah, he’s based off of the Diablo 3 Barbarian.
Which one of these concepts do you guys think looks the most interesting?
http://img801.imageshack.us/img801/9477/diabloiiiconcept87sm.jpg
Yeah, he’s based off of the Diablo 3 Barbarian.
Which one of these concepts do you guys think looks the most interesting?
http://img801.imageshack.us/img801/9477/diabloiiiconcept87sm.jpg
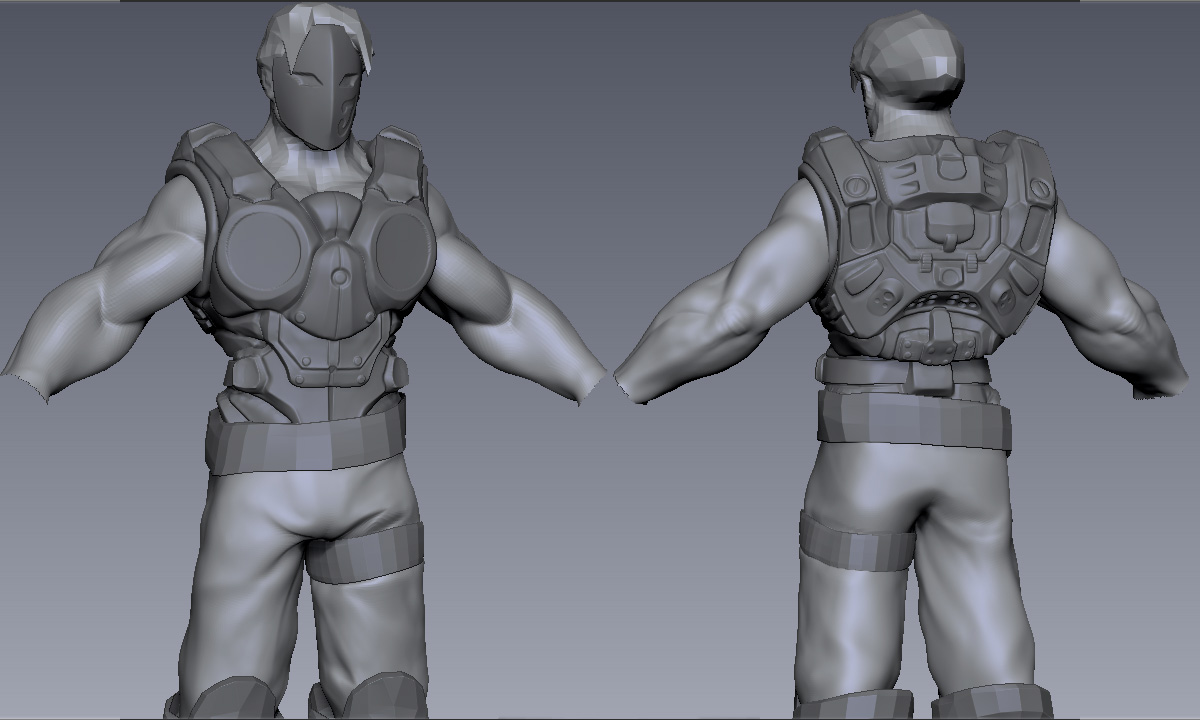
Working on getting the armor into Zbrush and detailing.
[attach=228052]Week6.jpg[/attach]
Solid start! Love the girl’s outfit on the prev page 
you’re improving a lot from your original post. keep it up.
Thanks guys. I figure in 10 more years I might start getting the hang of it. :lol:
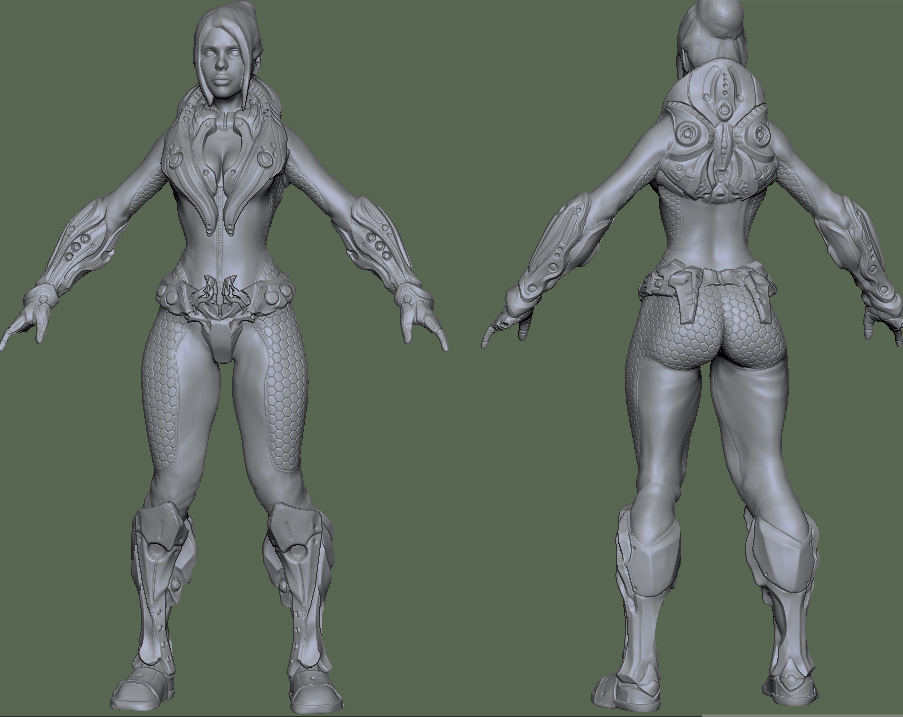
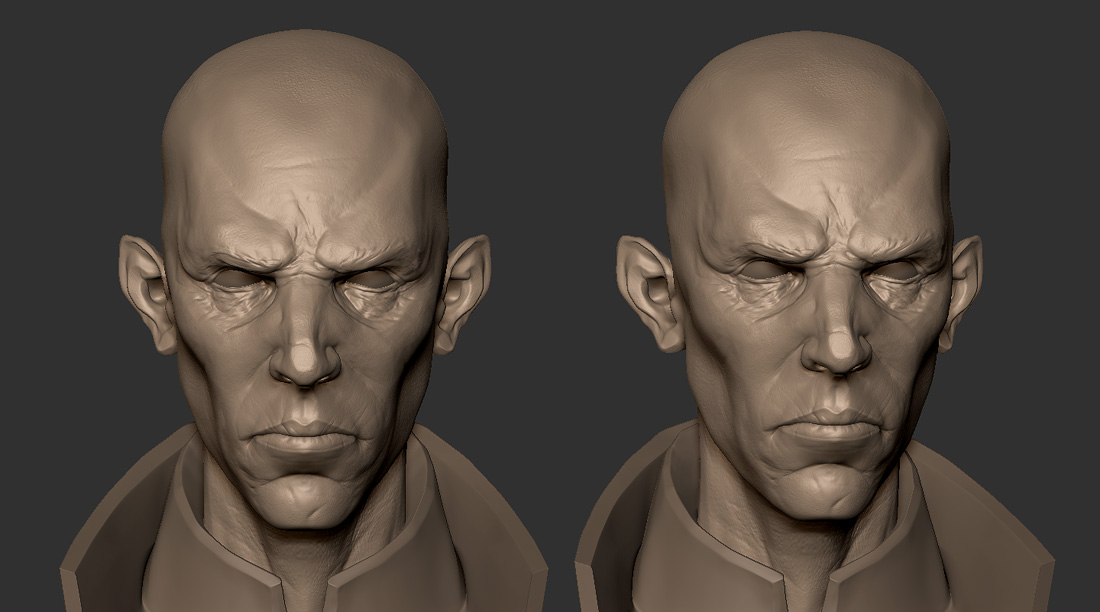
Update on where I am now.
[attach=241996]Face.jpg[/attach]
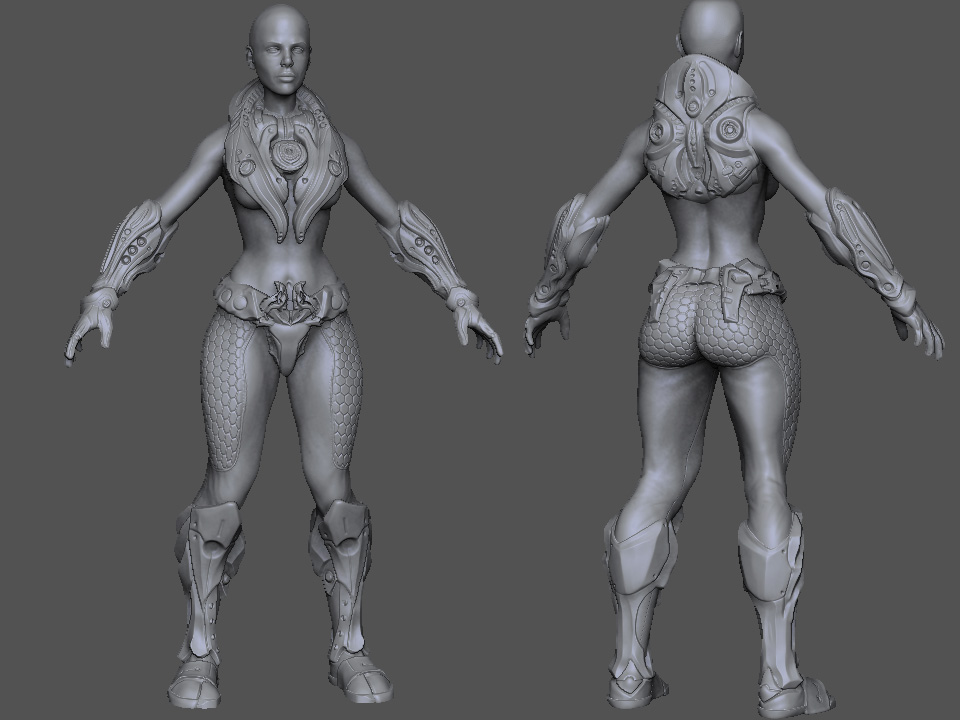
[attach=241770]LegsFin.jpg[/attach]
[attach=241771]Final_S.jpg[/attach]
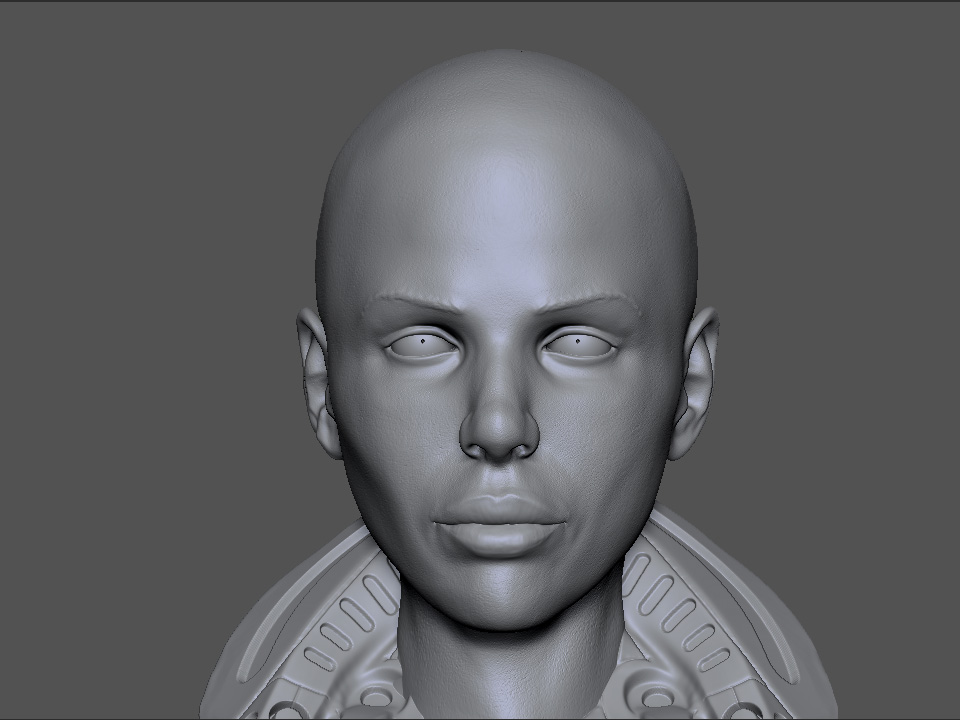
Hey man cool stuff. I don’t know if its just me but her head looks a bit too big for her neck and her face doesn’t look very feminine… i dig the armor though! Hope that helps.
I think both to the designs are really solid. The model of the woman is giving me a GI Joe vibe. One thing you might want to change on the man are the elbow pads. Although how they are now gives him a cool silhouette I don’t think the poor guy would be able to bend his arm. If you just rotated the spikes to the back of his arm over his elbow I think it would look more functional.
hi there, ur works look really awesome, especially the female character. always wondered how people do the hexagonal pattern lookin so continous. could u explain it or make a tutorial for a beginer who just started working in zbrush only a few months ago? thanks. and looking forward for an update on the female character
Thanks guys.
Justin L Myers : Ah, I didn’t even think of that. Good eye.
Csumbihi : Sure.
First make sure whatever mesh you’re working on has UVs. You can either do this by hand or just take the lowest subdivision level into UVMaster and do them automatically.
Mask the area you want to be textured (with whatever pattern you choose).
Go to the texture menu up top and create a new 2048x2048 texture.
In the tools menu go to Masking > Create Alpha. You should get a white/black mask as a texture now
Take this mask texture into Photoshop and Multiply it over the pattern you want.
Save it out and import your new alpha in Zbrush.
Go to Masking > Mask by Alpha and your new mask should be applied.
Go to the Deformation Menu under tools and Inflate until it looks how you want.
Hopefully that helps.
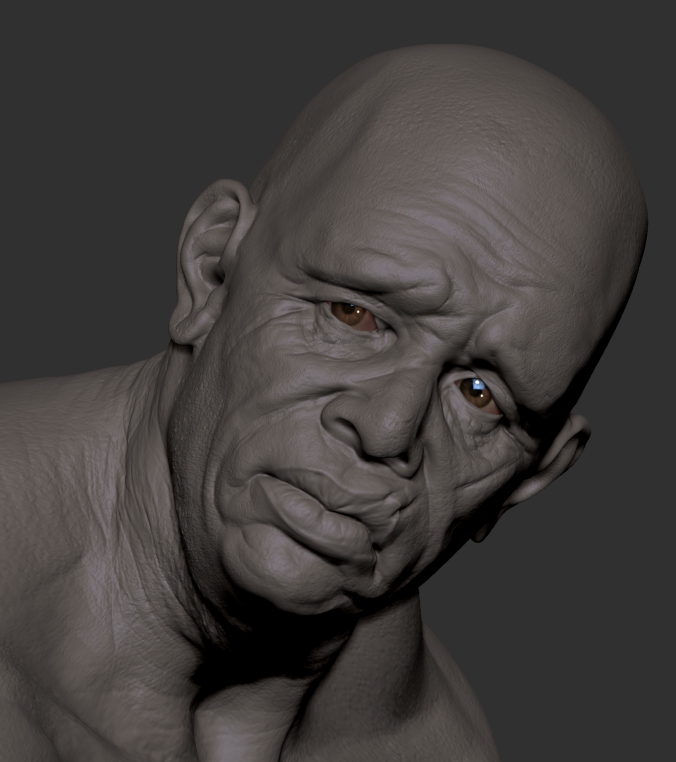
Little updates of where I’m at. I’ll finish something eventually.
[attach=248408]Rework.jpg[/attach]
Hardsurface practice.
[attach=265573]helmetx.jpg[/attach]
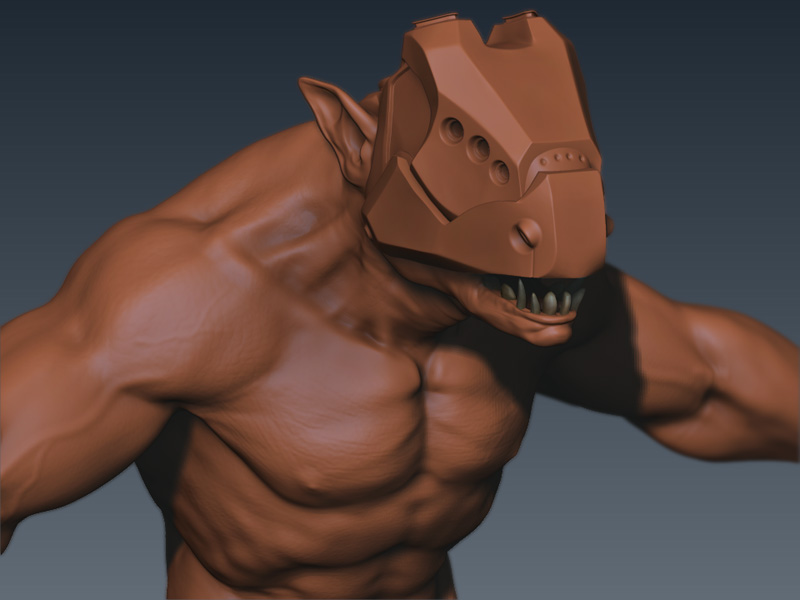
wait, its a one objct sculpted that way ? if, so then awesome work man !!
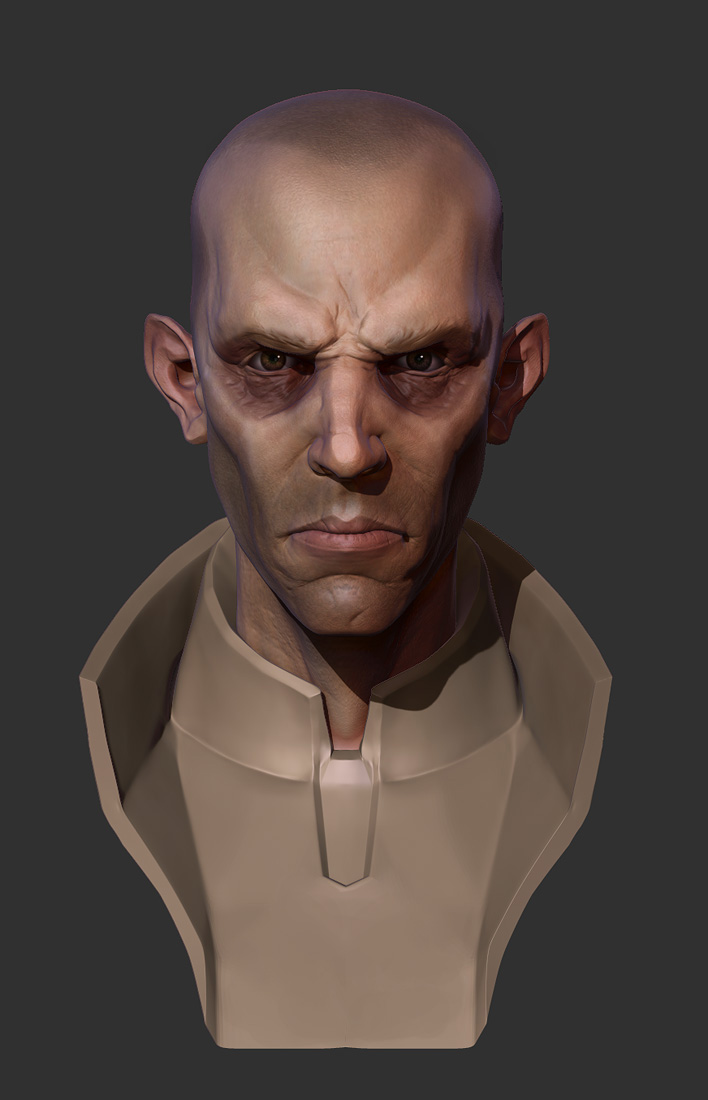
Been a while since I posted anything. Here’s a more finished piece.

I’ll try to be more active here. Lots of inspiring work around!

Bit of a while. Wanted to update with what I’ve been up to.
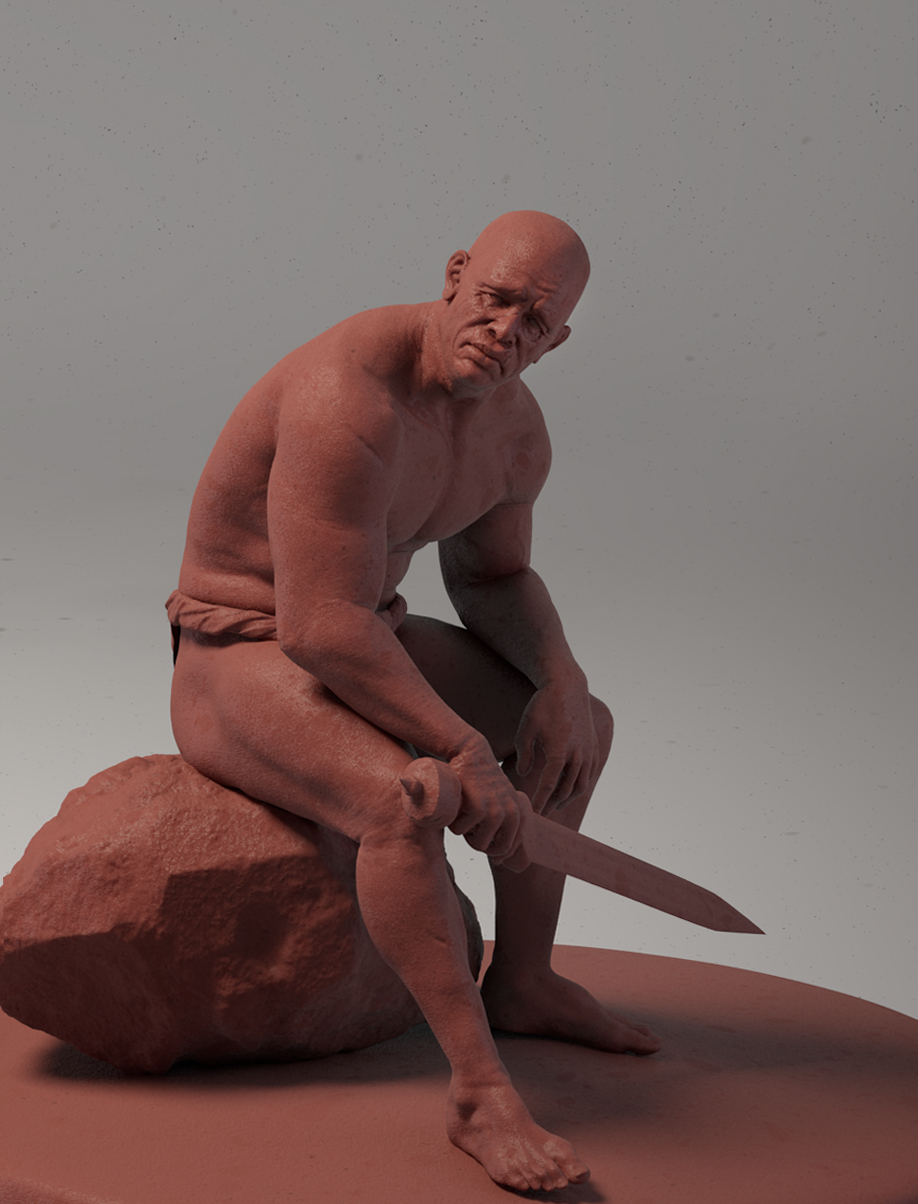
Really dig your last post. It reminds me a bit of the style used in Dishonored, the game. Good job!
really like teh last one…
nice stylisation
Nice style! 
Great style! In form and color… I love it!