Haha, nice catch SNARK. I believe that feature is to allow far more functionality than before, specifically to symmetrical modeling of posed meshes. Glad this is still of value to people. Little things like that do help people and everyone appreciates any help provided. 
WOW! very impressive. I need to learn so much more. 
Attachments

Welcome skullbeast, feel free to ask and contribute to the aid of all.
Here’s a little mini-tutorial on the ‘Helmet Effect’ Jason illustrates on the first page of this thread.
Select ZSphere from Tool Palette. Set Draw Size to ‘1’. Leave Transform xyz res at ‘0’. Draw out ZSphere and snap to axis (Shift). Turn on Edit Mode. Activate the Transform x-symmetry. Draw out two more ZSpheres in line with the root. Turn off x-symmetry. Move one of the end ZSpheres into the root. Toggle ‘A’ to view preview mesh.
~S.~
Attachments


hi everyone:)
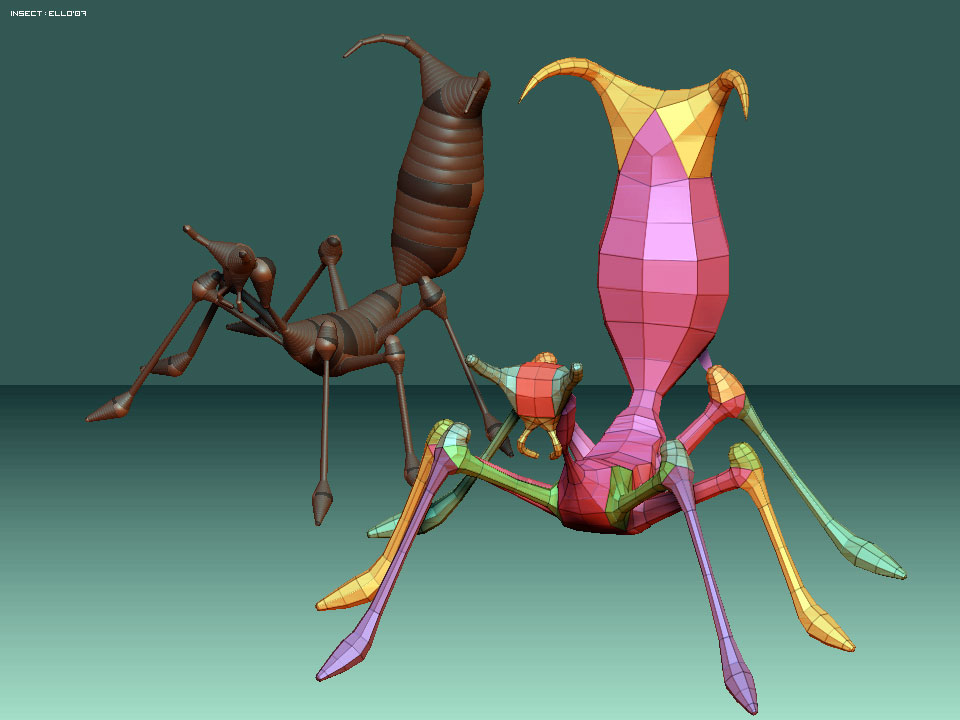
i like to post two of my recent results while learning to use zSpheres. A big thank you goes out to Jason who pointed me to this thread, which was very helpfull to get a glimpse on how to use zSpheres.
btw, i need to figure out how exactly to create wings or other thinner parts with zSpheres.
Attachments
very cool thread!
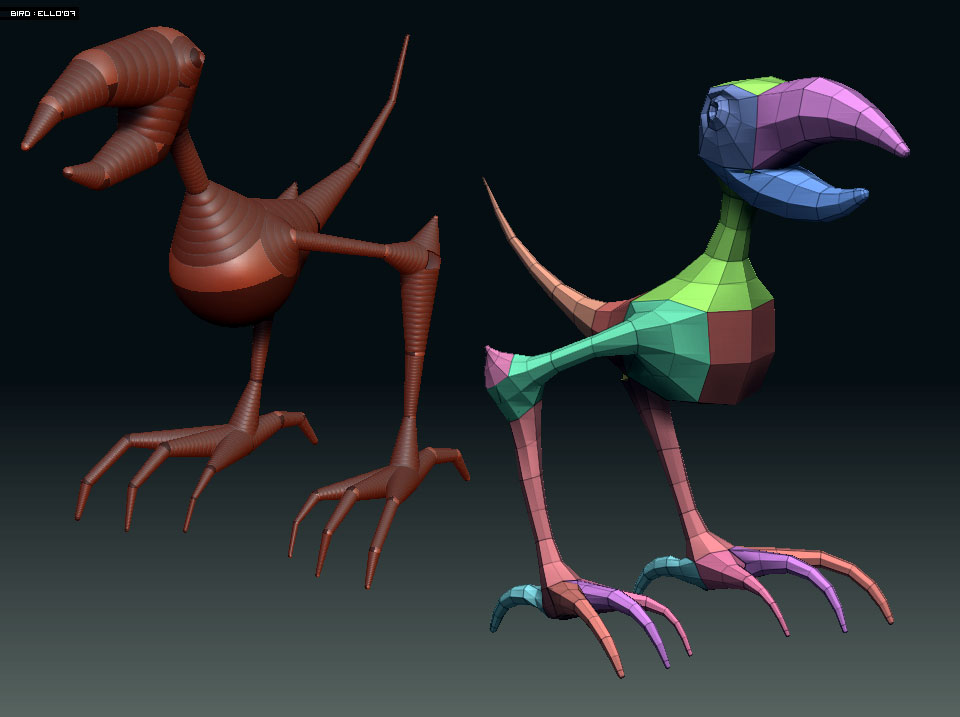
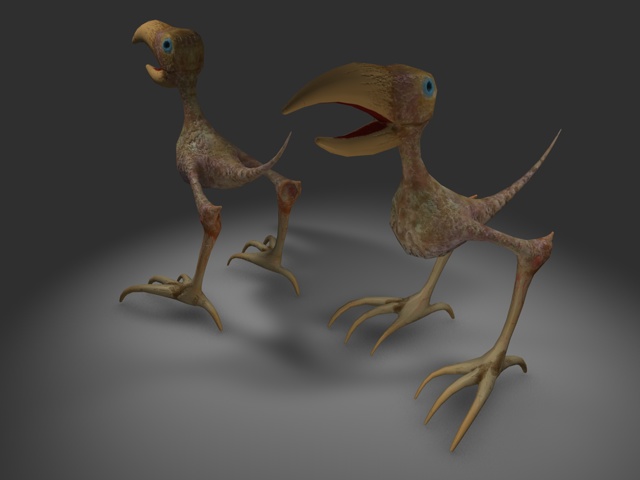
ello, cool characters. However you have some overlapping polys that will cause you no end of troubles. Two quick areas are the eyes on the first image and the mouth on the second.
thanks jason… what/where exactly are overlapping polygons? the eyes work fine, i already painted the model and exported it with no problems in the eye-section).
[attach=67557]zb_bird_c4d0.jpg[/attach]
i have a mesh leaking on the back of the head (i’ll post a shot later when i am home)
btw, i am experiencing problems with this forum. it often hangs and after pressing back and clicking again it sometimes loads correctly. is this only me or is it normal due to the heavy frequency of visitors?
Attachments
I could be wrong, it could just be the visual angle of the shots. You’ll know for sure if you try to pose them. I hope I’m wrong! Although Zbrush 3.1 will allow you to save the file with it’s new tools, it is always best to employ good practices.
I like the look so far though.
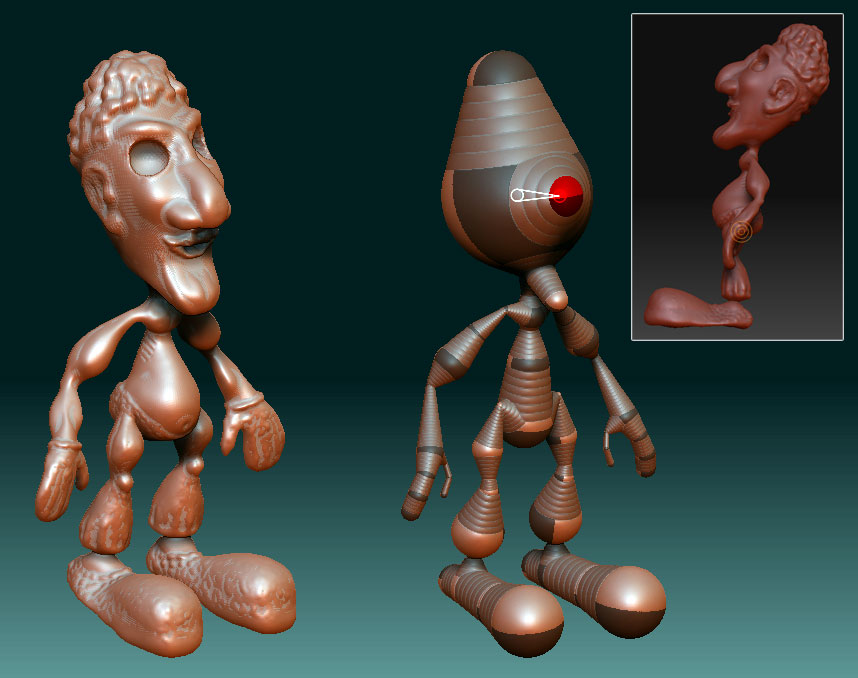
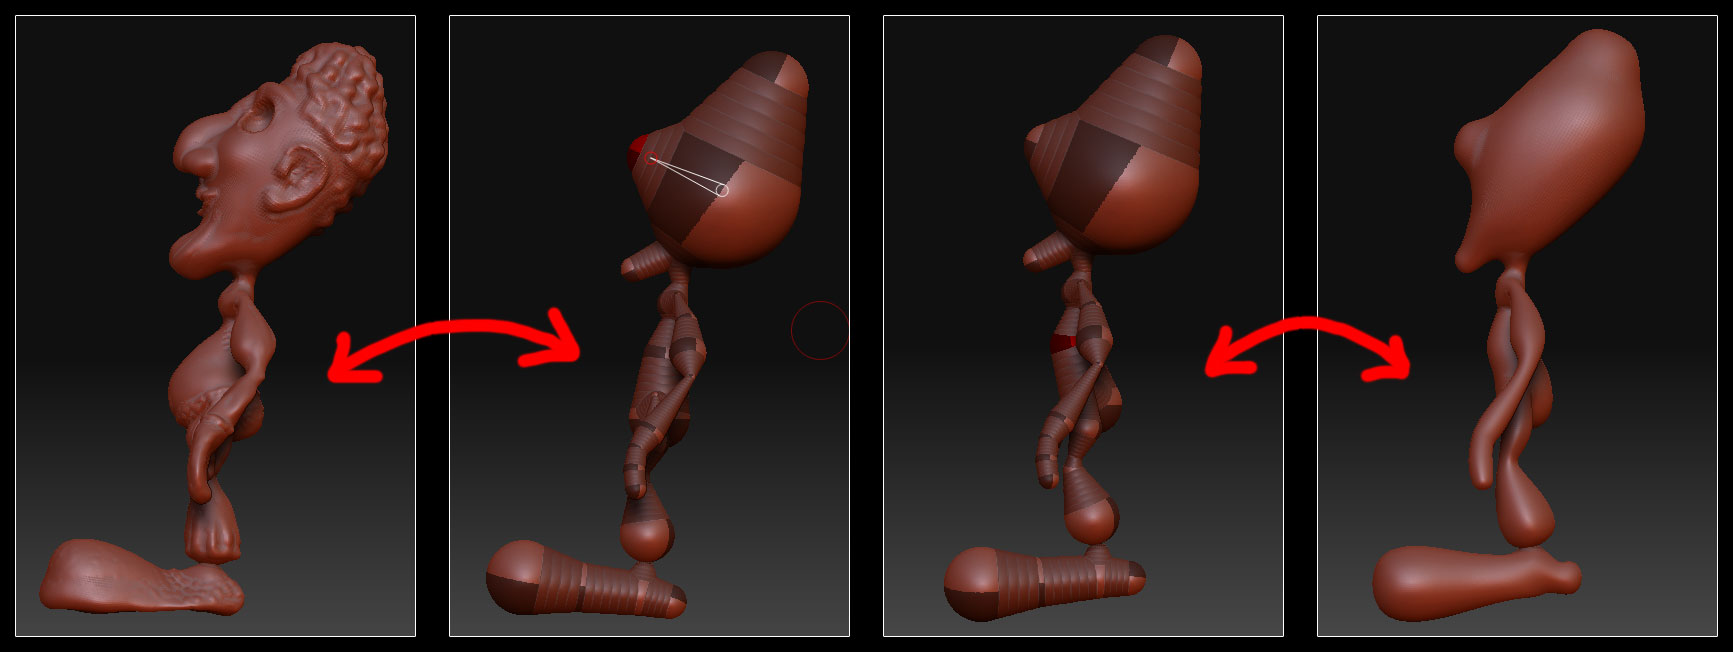
hi jason, may i once again ask something about zSpheres? Yesterday i created this little fellow. But after sculpting quite a while i was pointed that the balance is not good, which is actually right. the gnome would fall backwards for sure. now , when i tried to change the pose by rotating the zSpheres i found that the whole sculpted details are gone. sometimes if i only change veryvery small grade the mesh somewhat “explodes”
any advice on how to give this fellow a better pose without having to redo the complete thing is highly apreciated. if any? i tried to use the move-tool with a large brush, but than sudden cuts appear
thanks for helping me that far anyhow!
Attachments
Hello ello! (Sorry but that made me smile!) 
Sounds like you didn’t store the morph before sculpting.
You can - in ZB3.x - quickly retopo a lowres and transfer the mesh and re-rig a new zsphere structure for posing. A great thread exists on the forum about this with Rastaman, Plakkie and many others.
Or you export the detail as displacement. Then reduce to lowest level by deleting the allowed levels from whatever you have down to say 2 or even 1. Save that ZTL out. Reimport it store the morph and apply the displacement as per the Practical Guide. Then you should be able to pose what you have. Some things make this dicey, but it’s a possible solution, depending on what you did along the way.
Let me know which way you want to go and I can help refine the steps.
Or do as many of us - redo and do it right. Good learning process. 
yes, i need to lookup the documentation (and try to find the thread you mentioned) about the morph-thing and i think i just need to check out some more of the possibilities this great (and also complex) programm
Or do as many of us - redo and do it right. Good learning process.
i guess i am a little afraid of doing so, since i’ve got so far with this figure (for the forst time) i just dont want to put it on the dump…
but you are right this will be the best way to get more practice and i will do so after some more working with this one. i converted it into a PolyMesh to just make a (more or less) final of this one before i start a new one.
btw, lately i had to face a lot of crashes. i guess i’ll check the according section for it.
thank you so far… and on it goes 
Hi Everyone, I’m quite new to zbrush, I read the first couple of pages of the thread really awesome.
I’m looking for a way to make hands and feet (that look just dead good) without any retopo to do.
I am a miniature sculptor and I’m switching to digital sculpting so I need a tool like zbrush to work (I’m on zbrush 3.0)
Can someone help me ? Jason maybe ?
Hello delminiature, and welcome.
If you click on the ThreadGallery button top right, and zip through images you should find a few good ideas. #295 was pretty good for me on several characters. If you do a search for feet and toes you should find quite a few wonderful examples. You don’t need to retopo, as this thread has proven time and again. That said retopo with the latest version of Zbrush is pretty simple to get each individuals perceived perfection. Feel free to post your tests and ask questions, I’m sure people will chime in to help.
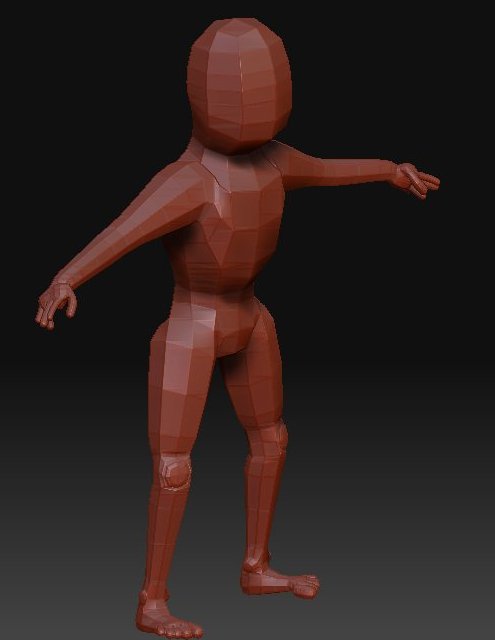
I’m working on a dummy for sculpting 5 head high (disproportion wise) humans.
I need to transform them in stl files in rhino after (yup printing them in 3D) Here is what I have so far (I’m working on Zbrush for now a week)
Attachments
Pretty good start, hope you stored the morph. Do some pose tests to see if mesh breaks, befoer going too much further.
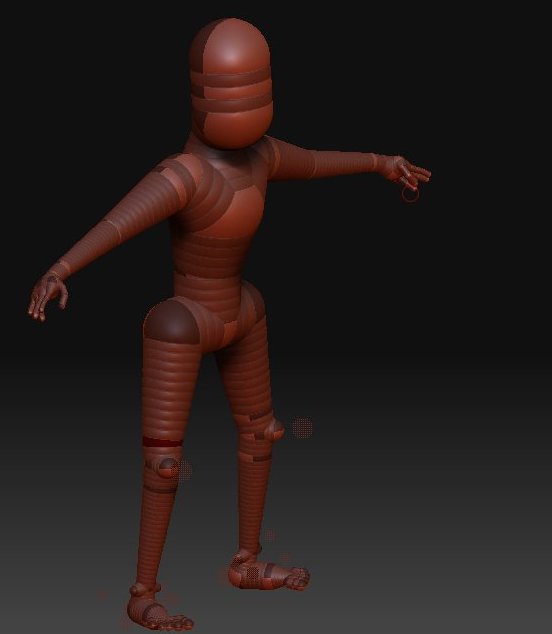
ok can you explain to me how to store the morph ? do you mean the adaptive skin ? I’m really new to that I’m looking to make the proportion 5:1 heads. (5 head high) so the disproportion is like a Games Workshop figure.
I am changing the foot and the hands. They are not at my taste (I’m picky) going to make a lil more proportions in the arms and legs for the lvl 1 mesh. (maximum level being 5)
Well, if you take a little time and go through this insanely exhausting thread it is covered several times. If you look at the wiki it is also covered. Some pre-requisites for doing anything in Zbrush are to actually go through the built in Help and the wiki and the Practical Guide. At least then it will be easier to follow along.
Throughout this thread are several downloadable files that have various humanoid structures tested by several people. You can use them to get started, find one you like, build your own from combinations of features, that was the original purpose for them.
Some have issues and people explain the solutions as it is a Mac/PC system thing the Zbrush didn’t resolve yet. However we spent a lot of time working out ‘Templants’ that did work back and forth, system to system and they would ensure you had the fewest headaches.
All that said, no magic structure exists. We all found many ways to do hands and feet in this thread and many other people have posted them throughout the community with zscripts and movies.
If after taking some time with all that and you can’t solve an issue, please by all means post your images so we can see the issue and a script perhaps so we can all offer you some guidance.
Great ! I’m testing by the mistake success method. I’ve put my membrane to 50 and my Ires to 6. I’ll post picture in the next post. I need to refine some stuff. Oh how to you make those heads I tried all the in ball mag ball and so on. Nothing work so far.
Well for the heads, depending on which one we posted so many great ideas to try depending on what would work best for various people’s styles - you have to be more specific. Perhaps the thread post number, upper right corner?