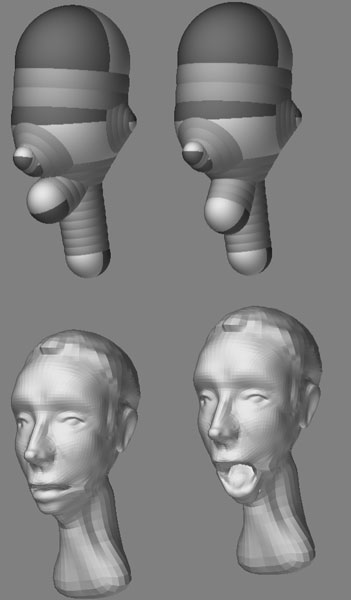
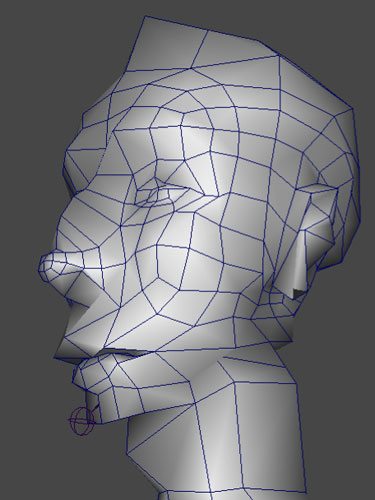
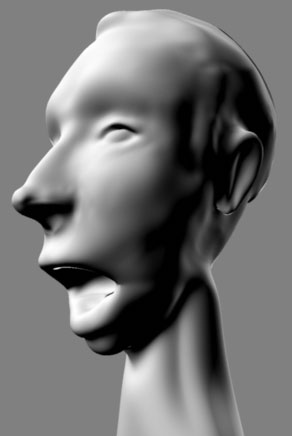
Thank you for the terrific thread and the attention you give to pushing limits. I have a question about the philosophy behind the placement of ZSpheres that are meant to be facial cavities (eyes, ears, mouth). Most times when I begin to build a head and place ZSpheres for sockets, the resulting sockets have knife edges. That is to say, some part of the boundaries of the holes curve inward sharply and close to the surface. Is there an approach to placement that eliminates that?
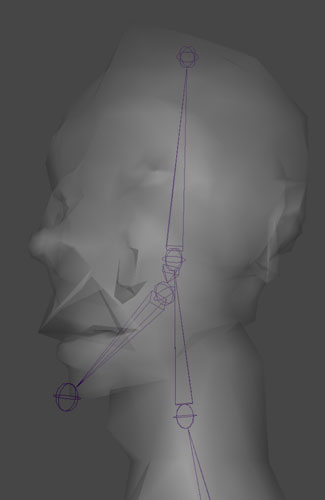
Sometimes, by pushing the zsphere used for each socket further into the head will make it better. If you grabbed my samples, you should be able to see any smooth settings, group settings, etc. In the Tool menu for how the adaptive meash is applied. Of course the various xyz settings also contribute to this information.
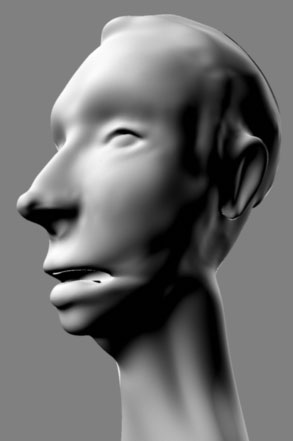
You must keep in mind that this is equivalent to copper wire and very quickly applied clay to elicit a basic shape.
Also, is there a way to open your zgirl tool (earlier in this thread) in Windows XP without distortion?
Sorry, no! Pixologic introduced an error/problem when creating the mac and windows versions. I am working on a script to solve it in spare time. I have been informed that the issue should be resolved in Zbrush 2.5, we will have to wait and see.
When I highlight the tool (and before actually selecting it) the thumbnail preview shows no distortion but when I draw the tool on the canvas it has upper body distortions as described in posts earlier in this thread. I like the ZSphere construction and would like to study this more closely.
Understood, frustrating for me as well when showing people stuff and useing the process in production on different systems I can assure you.
I’m going to try something new soon. Where I will build all from scratch and record the script to see if this will resolve things. This way each armature will be built on the indivduals system. Not the best approach, but we’ll see if it works.
Also, there is a ZBrush preview movie for Version 2.5 that shows a female ZSphere body being used to create a mesh. Who made that model and is it perchance available for download?
Cool isn’t it?! Got me, I don’t work for them, nor do I have access to either Windows beta’s used for development or Mac beta’s that straggle along after. I’m just a simple user like you and everybody else.
Thanks!
~S.~
I wish I could be of more help. However, welcome to the thread and please post any questions and results, positive or negative that you encounter. 


 Nice work Jason!


