ZBrushCentral

A head sculpt

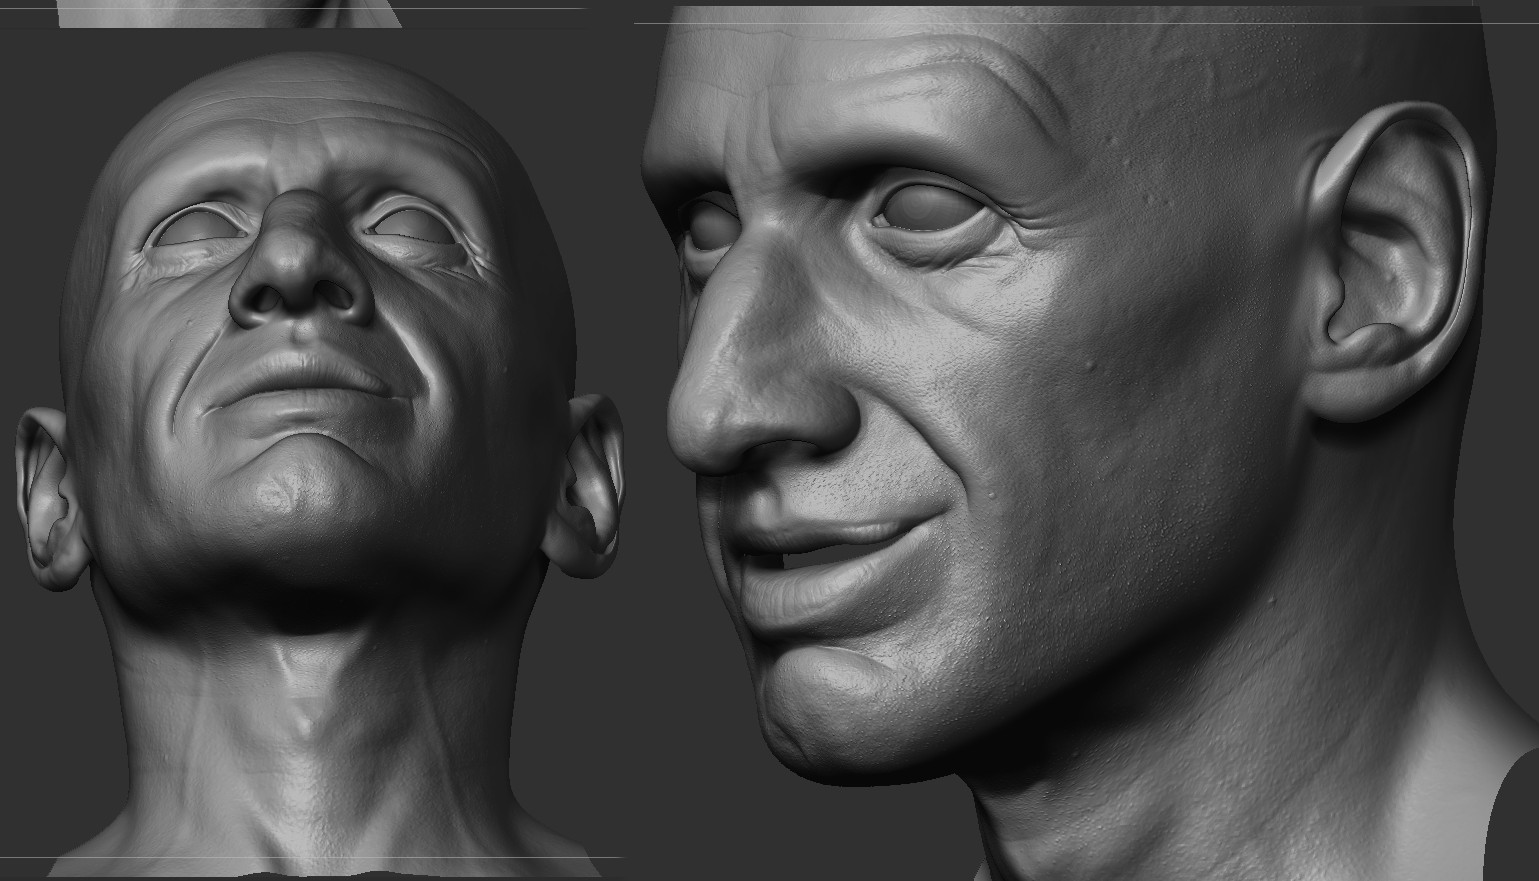
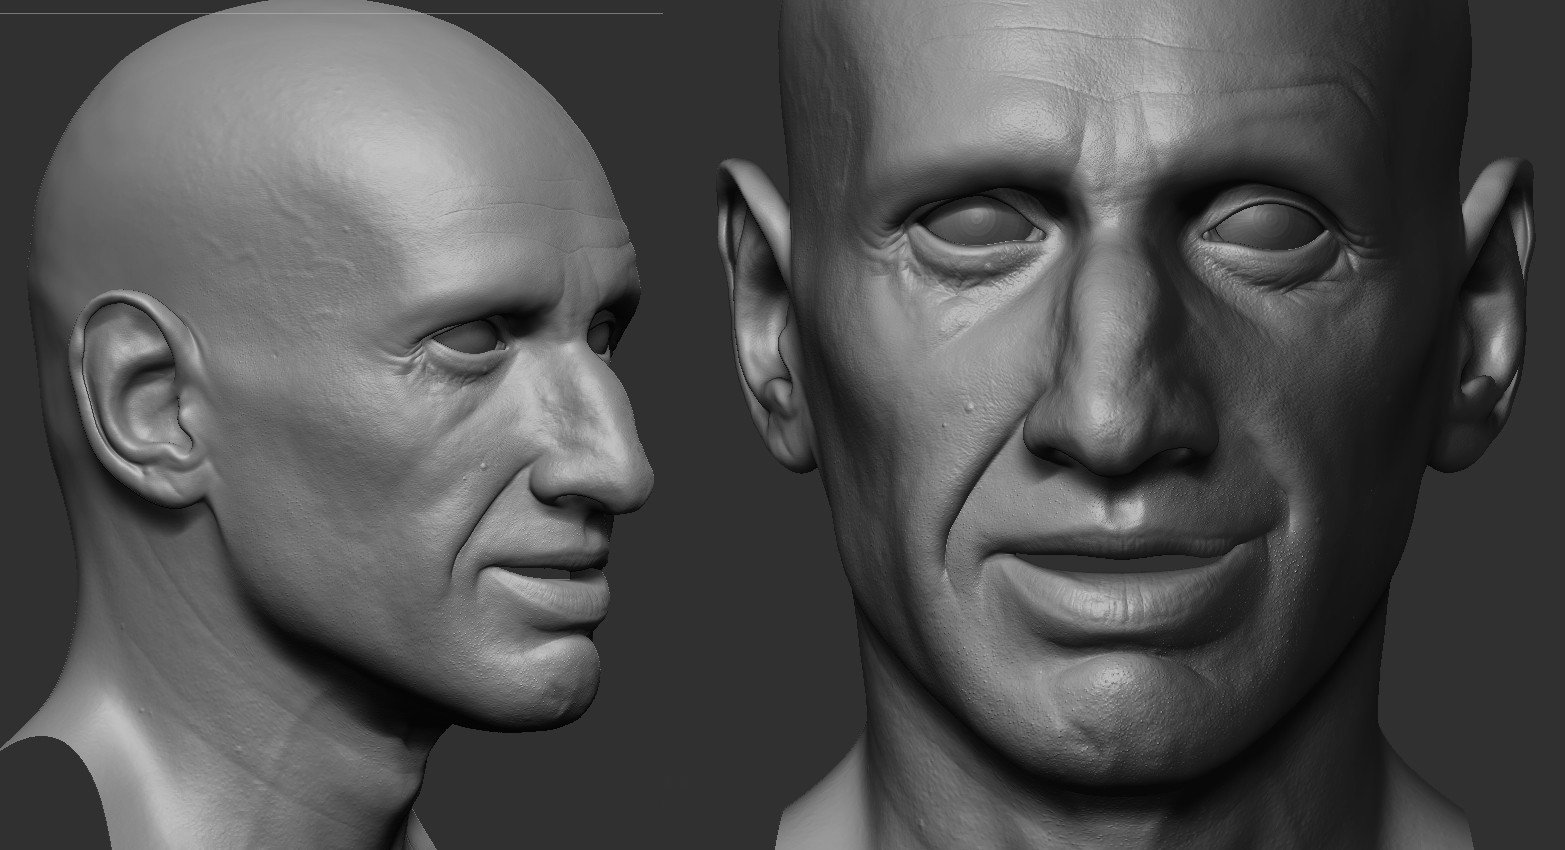
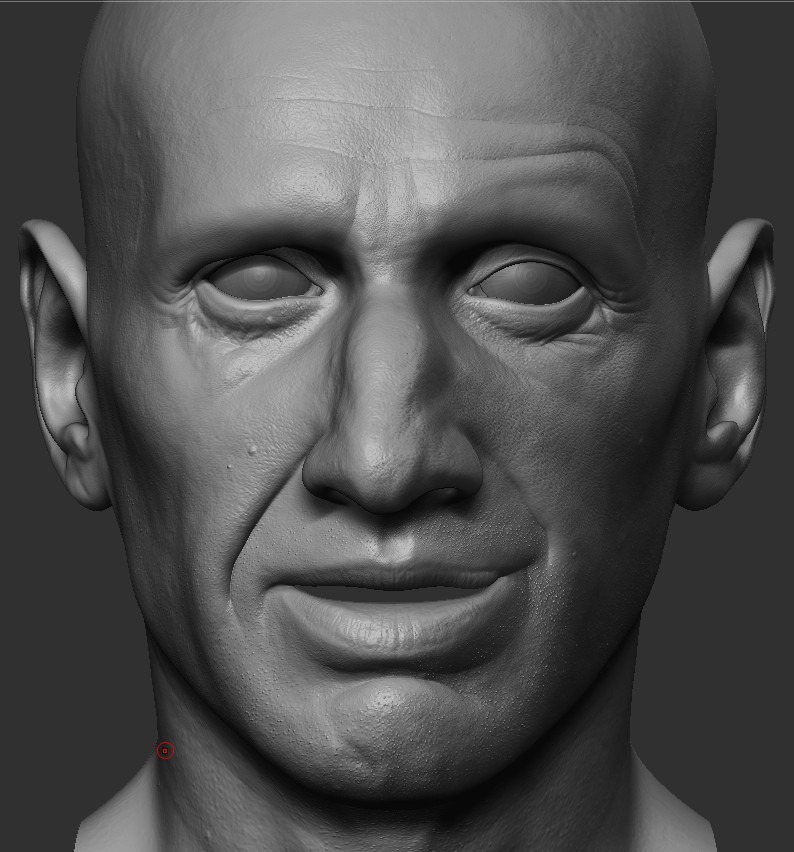
Hi all, I did a quick head, 2 day’s spend on it, I will use this to do some render test with vray sss2 :slight_smile: But also to test some way of doing textures differently then using a picture. So next step is textures and render. All the skin pore are done by hand with alphas in zbrush. I can’t go highter then 2,6 millions, so I can’t add more little details.

By the way, he will have the mouth close, I did it open just for the zbrush pass.
montage_z_latest%20skin%20pore5

montage_z_latest%20skin%20pore2_cropped

montage_z_latest%20skin%20pore2_cropped2 )

Attachments

ZBC1.jpg

Very impressive details:+1:
Waiting for the render :slight_smile:

Another thing that can drive Zbrush mapgen crazy is if you have too many edges meeting in a vertex…

Looks really great! Love the surface detailing. The asymmetry is great too, well except for the neck that kinda sticks out against all the other asymmetry. :slight_smile:

Also I would suggest having a look at the left side of his lips. The upper lip has a bit of an unusual bulge. But man, everything else on his face is just superb. I can appreciate your effort on the subtle forms. :+1:

Hi, thank’s all.

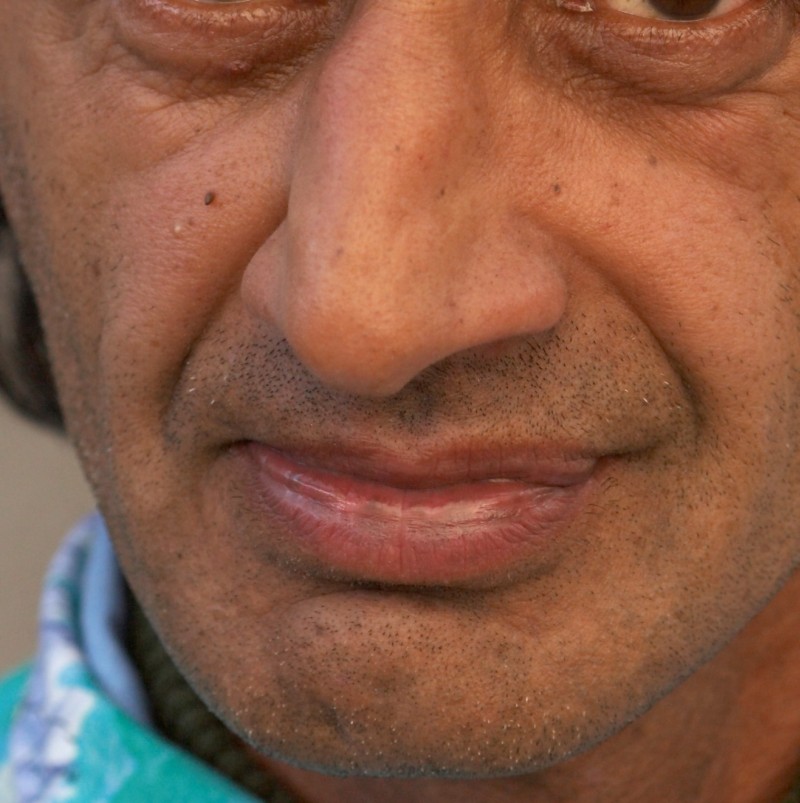
sandpiper : for the mouth, look at the ref ( this is not a total replica, but I was inspired by) the guy have a kind of abscess on his upper lips, so I did it. The problem with 3d, is when it comes out a bit out of the normal things, peoples think it’s badly done. Anyway, I let this like this haha.

Street_reference_0042a%20cropped

Ah sorry, I didn’t realize you were going from a reference. I know how those kind of things can draw people’s eyes so I do stand corrected. :slight_smile: Really looks wonderful actually! :+1:

Fabulous!, did you create the beard structure by texture to alpha?
Cannot wait to see him textured !:+1:

nice sculpting :+1:small_orange_diamond:+1:small_orange_diamond:+1:

This is super nice. Love the expression and realism. Even in gray he seems very lively. My only little nitpick would be the pores in the cavity between the eye and bridge of the nose. They stand out as being too fine compared to everywhere else… I assume because the mesh density is higher there.

Love it, looking forward to see it textured.

Off-topic, but I loved your Arnold :slight_smile:

Big Guns always will be a good referencefor all sculptors here in Zb central.
it’s a Pleasure to come here and see great master pieces like this!
:+1:small_orange_diamond:+1:small_orange_diamond:+1:small_orange_diamond:+1:small_orange_diamond:+1: For Shure!
Keep Rockin!

Hi all,

sandpiper : Hey np thank’s

anigroove: Yes all is done by alpha. Tank you

3d70mohamedaly: thank’s!

Scrybe : Yes I coorected it now, they are bigger. thx

VictorCS : Hey thank’s I must finich Conan too, but I had to change my mond a bit on something else. For the texture, I will try something new for me, going to do this by hand almost all. I will use the skin pores to bake some into the diffuse, all my skin pore, beard, etc are on different layer, so I can extract what I want, so I will play with that worflow to see what I can get out of this.

Ardox : Hey thank you for the kind word!

very nice model! it’s already in my reference library along with your other modesl…

would you mind to share how you model the wrinkles on the forehead and underneath the lower eye lid area?

looking forwad to see more from you

Hi all!

Here are some exemples to show you how the displacmeent in Z 3.5 r3 is bugged! I’m not the only one to get those bugs, and I’m sure everybody get it but not all see the little differences…

[](javascript:zb_insimg(‘190882’,‘Montage_closeup_displace_bug.jpg’,1,0))

[](javascript:zb_insimg(‘190884’,‘Montage__displace_bug_z3.5%20comparaison.jpg’,1,0))

So if someone know how to solve it, I’ll be glad to hear about how to export those maps from z3.5… it’s only for that that I don’t use that 3.5 r3.

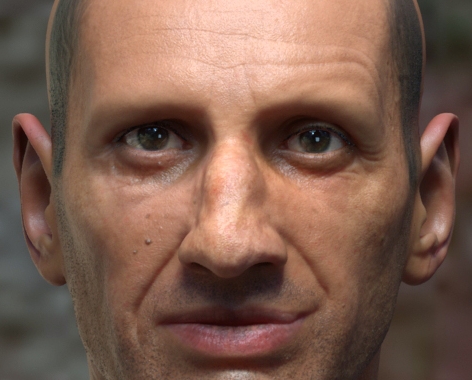
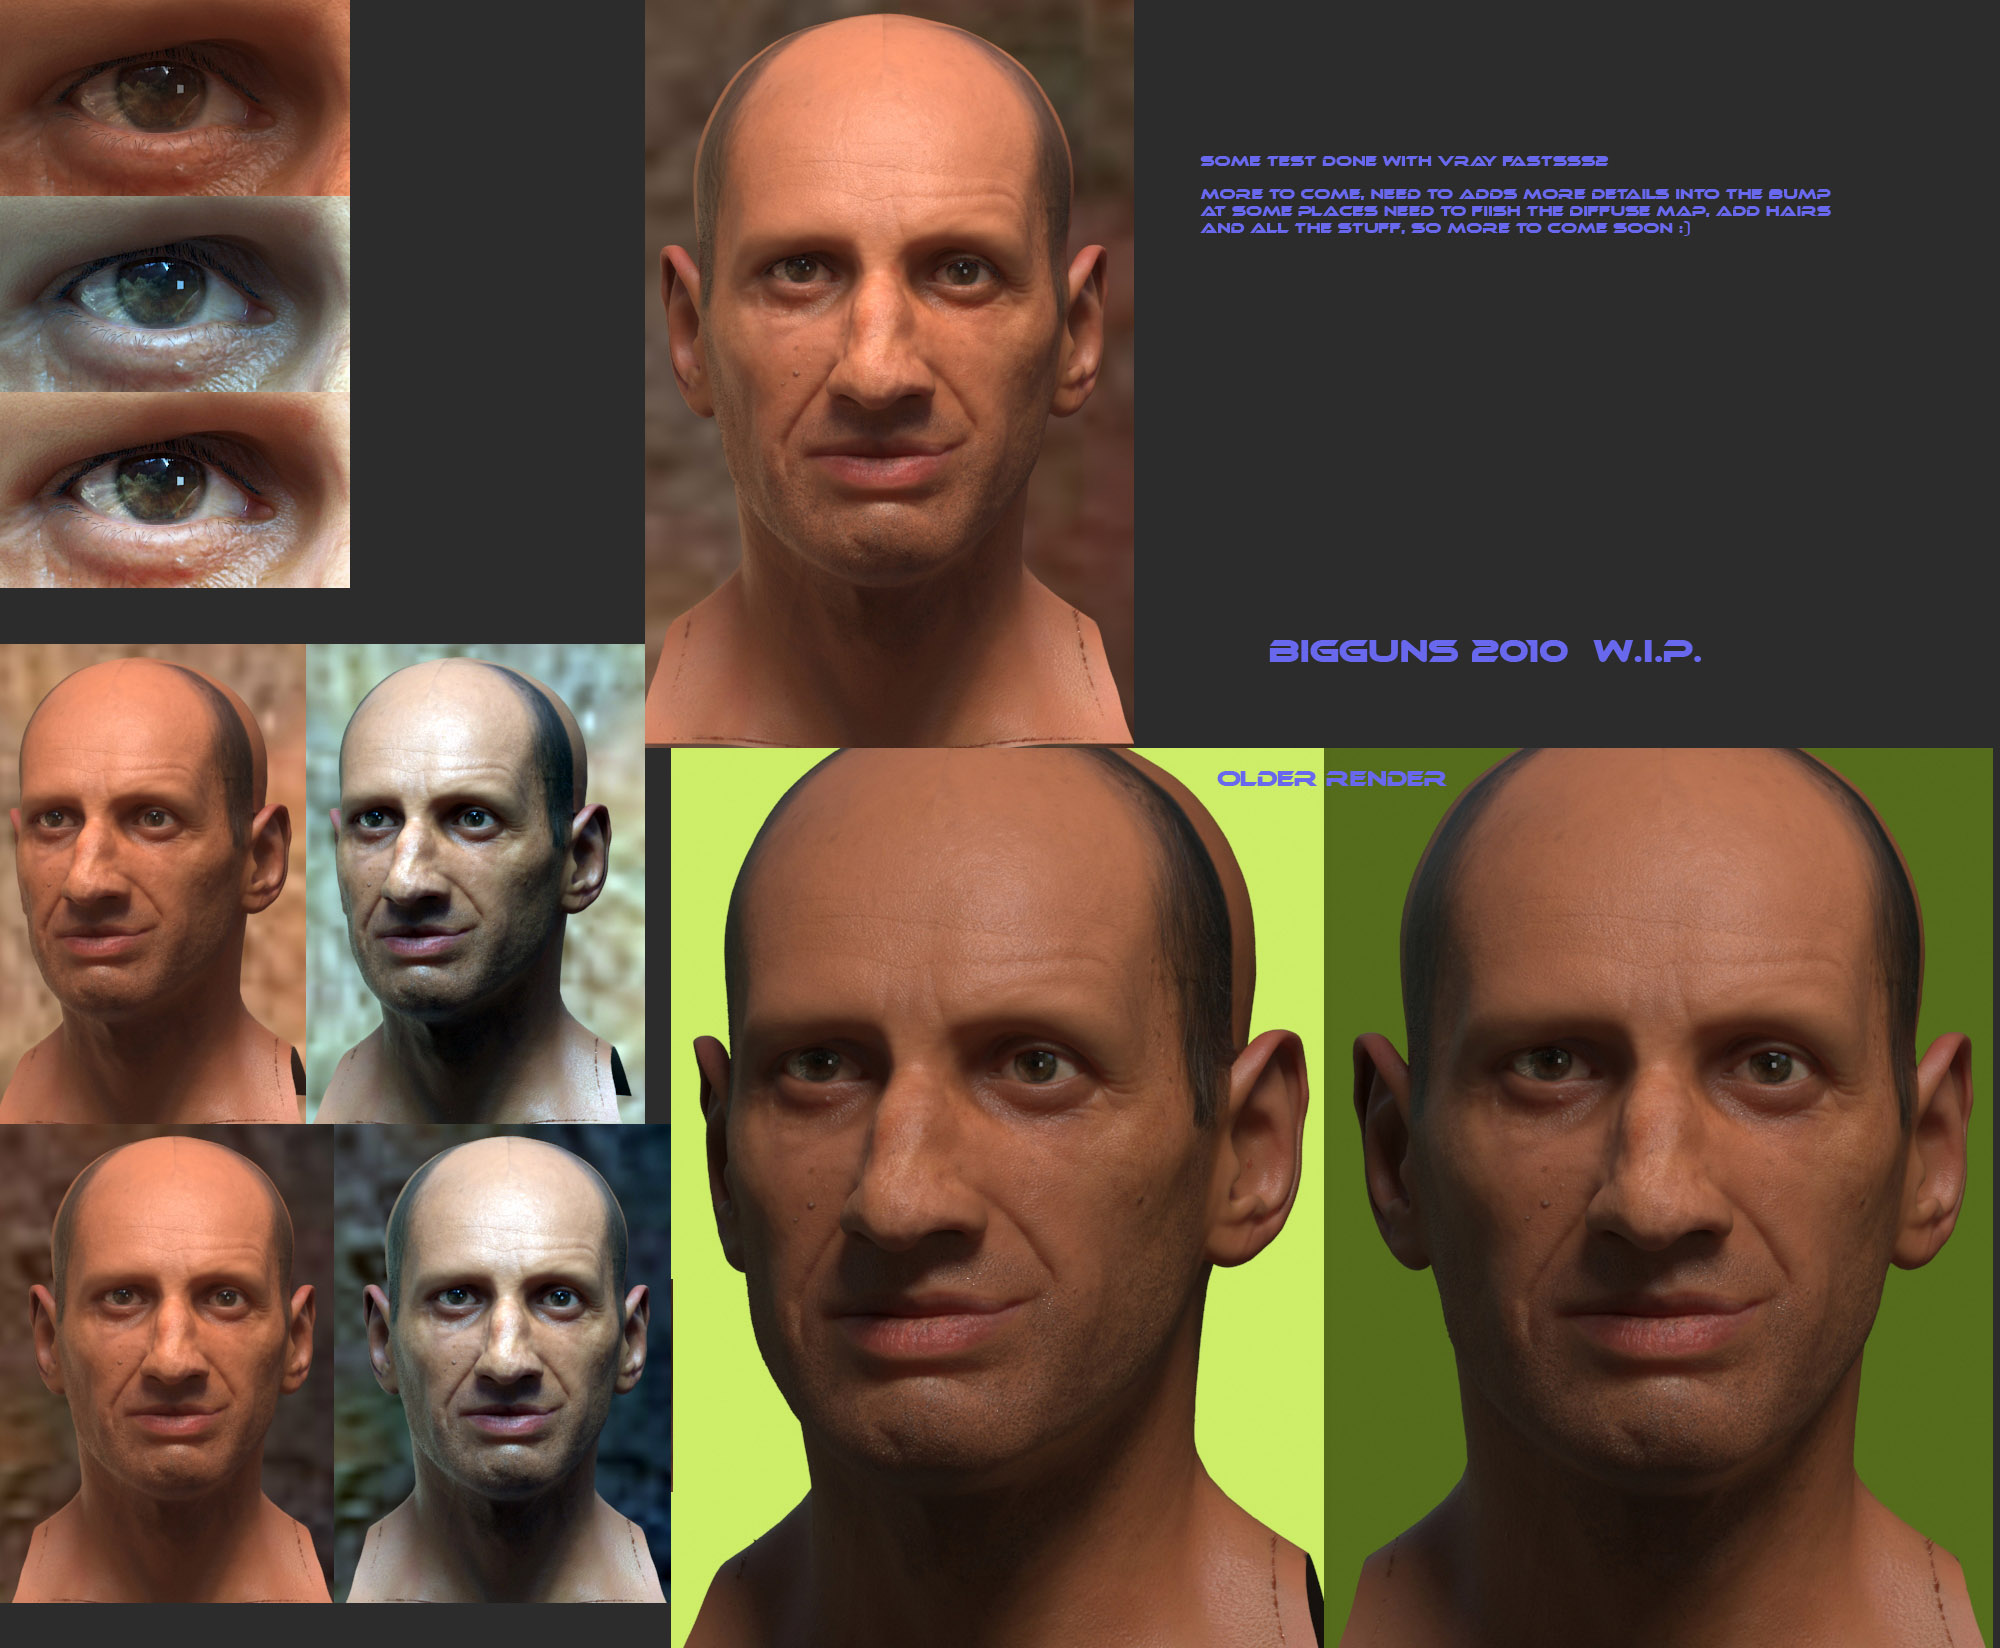
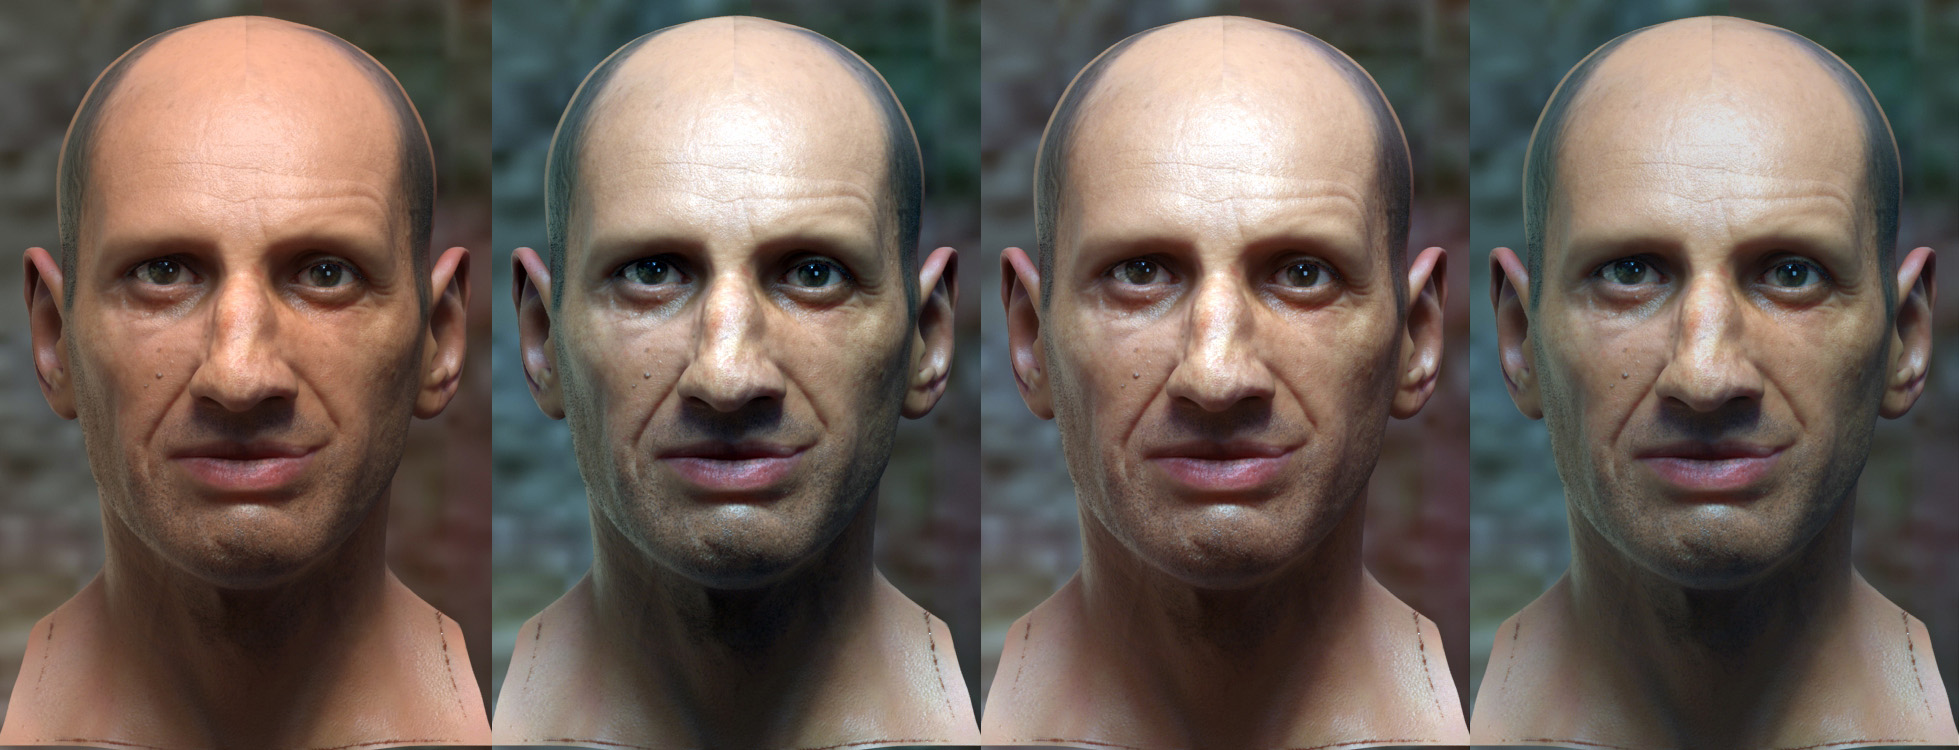
Here is some begeinning ont he texturing and some render test, again done with Vray sss2.

I had redone new eyes more physically correct then the one I had before.

So I will add more details to the bump map on some places and I will continue the diffuse map, the diffe map is done 80% by hand and the bump map is done 100 % by hand, I did not start using photo… I did all the skin pore in zbrush then use it as a bump and I will tweak more .

so , here are some preview, more to come soon with hairs and all the good stuff.

thumbnail

Excellent work I when your done can you show a screen grab of your material? I’ve been trying to get a good vray skin shader, I thought I had something but this is just amazing. I ended up using a vray standard material.
http://wdcstudios.com/images/anatomy_images/vray_head.jpg

This is why I hate Zbrush being a black box, you get some crazy bug and can’t deal with it, can’t problem solve in any reasonable way… But we get animation in Z4, so woohoo!

wow! amazing

how did you get the eyes to look so real?

Wow…congrats… and it sure looks amazing! Very very realistic.

One of the most realistic portraits ive seen in a long time. Well done. :slight_smile: