Hey!!!
Just make sure that you don’t have any overlapped UVs or it won’t work. Plus, it explodes because the vertices were all re-organized. They need to be intact when you export from zbrush to 3ds max (e.g.), then back to zbrush.
hey thanks a lot for your work, i’ll give it a try 
btw, is there any guide to remove the seams in max 2k9 just like the guide with the MEL script for maya? i still get those damned seams every now and then…
thanks guys for your help, it’s a pleasure to read those guides and stuff you share 
hey manusito - im afraid i cant be of much help there…maybe someone with a bit more experience will be able to answer that for you (just wanted to put my 2 cents in so you dont think i dont care about this thread and your questions 
sorry about not being able to help out bro.
it’s alright  thanks anyway and keep the good work!!
I think me (and many others :lol:) would really appreciate an easy to understand 3dsmax UV tutorial like the one you made here.
I’m actually looking forward if this tutorial will work with Max 2010.
It works flawless with 2009 as I already tested and posted the results in the previous page.
Anyone who’s running max 2010 ?
just wanted to put my two cents in and say thanks as well.
hey mradamw -thanks for all your help on this subject and your coments reminding me about the powerfull UV unwrapping features in Max. I really enjoy being able to paint on my mesh (more or less) through zbrush but I just cannot tolerate the convoluted texture maps that result.
So it’s back to Max for now -If you ever wrote a tutorial on UV mapping in Max, I would certainly love to read it 
I had tried and tried, and finally, I have a success!!!
Thanks for every help you’ve given.
I have some questions though
- Can the cavity maps generated in your proceedure be used as a bump map?
We generated two maps…Displacement and Normal maps. Why wasn’t the displacemen map used?? Could I apply in in the displacement maps under the maps rollout??
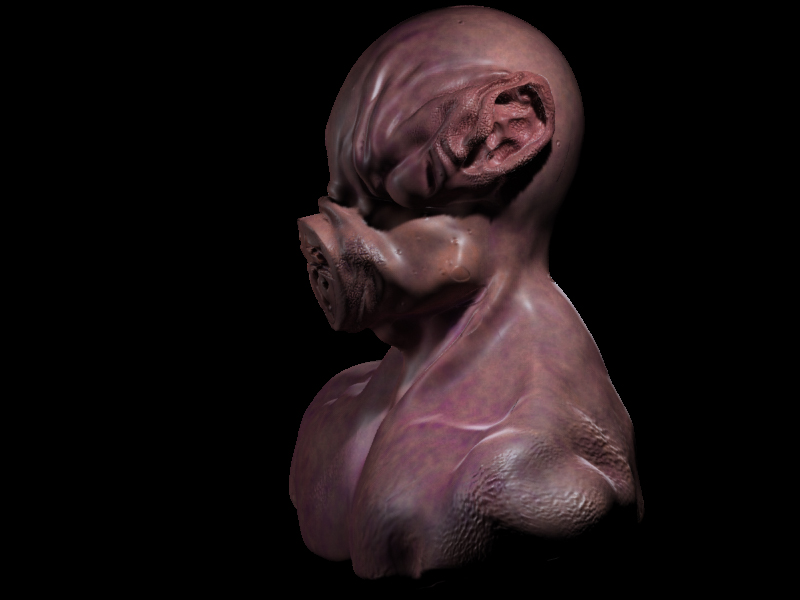
In all, here’s what i got. There were some artefacts around the neck area…Dunno where they came from.
Thanks once again okay??

Another view to show the problem area around neck properly
[attach=137283]Pig Hero.jpg[/attach] [attach=137283]Pig Hero.jpg[/attach]
Attachments
Hey Teeto
Displacement map problems are sometimes caused by
- triangles in your mesh
- overlaping uv’s
Sometimes this causes problems when the mesh gets tesselated by the subdivisional approximation, at least it does in maya.
Keep going, displacement maps are painful so I feel your pain.
S
WHAT about the 1001+16 map…
u haven’t inserting it in the materials like normal and tex maps…
whats the use of 1001+16 map??
and u have created a normal map in zmapper. and then again in the “multi displacement plugin”
which normal map i have to put? 
Thanks this actully helped.
Just like to say thanks for the tut - it helped me a lot!
I’ve just downloaded your guide and still have to read it but wanted to say thanks in advance for all your efforts. Looking forward to go through it
Thanks again.
Thank you! for this beatiful document! is gonna work for me!!! 100% shure
Thank you
This guide was extremely helpful to me!
Thank you!
Thank you!
Thank you!
Hi there, Im just wondering if anyone is having the same problem as me, I hate to be the only one with whom this doesn’t work 
When I get to the importing back to zbrush part after UV mapping in Max, my mesh explodes 
Im using the basic UV editor that comes with Max. Just simple box mapping, making sure there are no overlaps. The UV looks clean, and I make sure to reset Xform, collapse the stack, and convert to editable poly before importing back to Zbrush.
The only step I do that differs from you is that Im starting with a retopo’d mesh, and creating an adaptive skin(which is the one I export to max, UV map and reimport). Is there a setting to look out for before “creating” the adaptive skin?