ZBrushCentral

50s Kid SKETCHBOOK and Jason's TOONSHADER experiment - Drawing Tool Kit

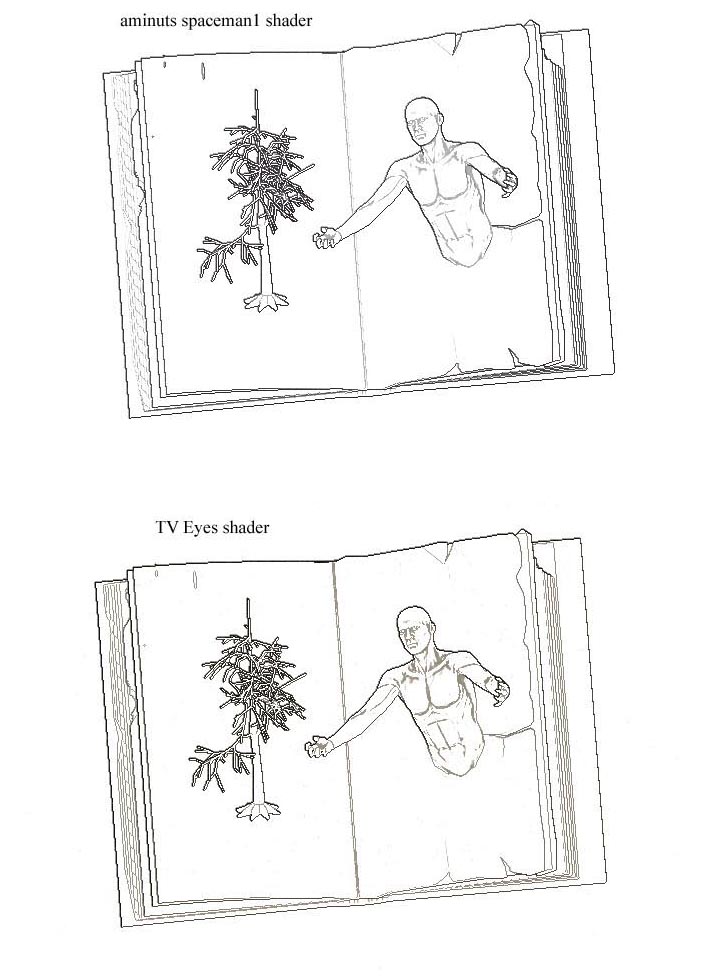
nice looking version there Tveyes.

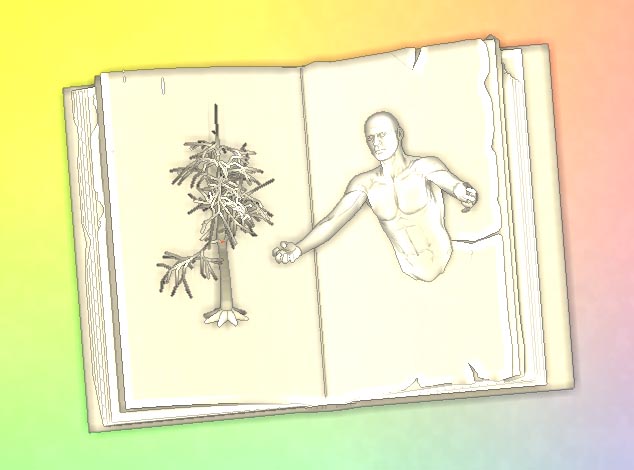
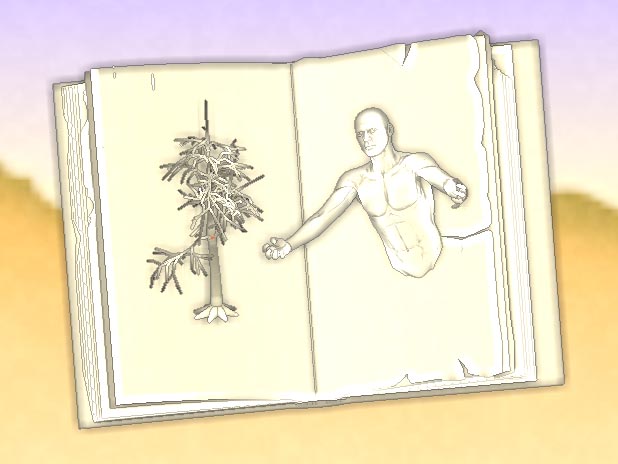
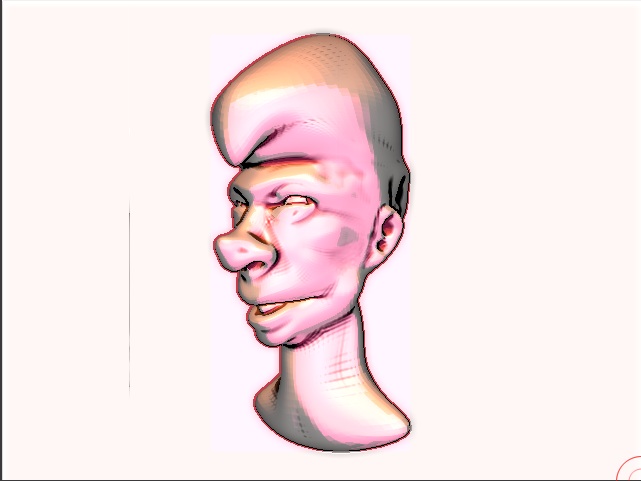
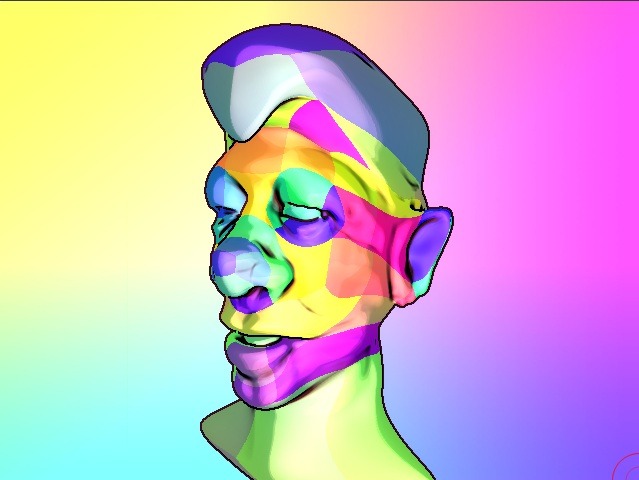
I think a few factors play in…I wanted to try the bike cuz it was a bit more complex than a head and see how they looked. I coulda spent days tweaking and having fun with each one. You are right…I didn’t fill in the back ground for yours for this test mostly because I started with some others first and baked each layer and didn’t want that to effect the final. Since light plays an important part you will also notice some shaders…when multiple objects are placed while having the same material will not show the same detail. Turning it away from the light…rotate em around and you will or can see sometimes significant changes.

what does that mean? find one you like and tweak it to your liking for that particular scene, becareful where you place the objects relative to each other and the lighting, play with colors and curves to get the desired look. It’s fun and can sure load up Zmats in a hurry with versions you like!!:smiley:

aminuts
Thanks for the collage of shaders image :cool:

MTB :cool: image

Abyssis :cool: pastel like

TV Eyes
I like both images - to me the second looks like more of a drawing. I hope you don’t mind - I downloaded the second image to add notes to and posted it here.
Just like the tools the drawing artist has - pencils, color pencils, pastels, ink, color ink, ink pens, stumps, papers, etc.

A note - you mention “There is clearly a size vs details problem” - I have been doing some different models and after using different shaders I found that sometimes just geo divide the model a couple of times yeilds a better result.

All the drawing shaders, etc that have been posted and linked to have an artistic style of their own.

Attachments

tv eyes notes.jpg

Hehe, this is fun. However I have to get back to the work at hand. :wink:

The possibilites for many variants of stylized looks is very enjoyable.

Attachments

Picture 2.jpg

GREAT! I thin you could increase do a sharp gradient…
can you choose the number of gradient steps and add more irrégularity to reach something close to this :
part.jpg

Too bad it impossible to simulade this outline irregularity…

Hey Sebcesoir, which one???

If you use the shader I posted, I broke it apart into 4 parts so that you could have a fair amount of control. I like the image you posted, I’ll try to sumulate that when I have some more time. Feel free to try it.

As for this thread, I just had an idea and had to try it, variation again of my shader. Not in 50’s file though, just default Zbrush and Pixolator’s dinolight. :wink:

Attachments

Picture 4.jpg

Pixolator’s dinolight (doc) - near the bottom of the page

http://www.zbrushcentral.com/zbc/showthread.php?t=13928&page=2&pp=15

Jason correct me if this worng

here you go here is bobby !!!:smiley: :smiley: :smiley:

Bobby.JPG

Attachments

bobby2.JPG

well this one started out as a little tute for Spaceman explaining the lines thing but once I got everyones versions loaded in PS I found myself out of control playing instead.

this image contains alittle bit of all the shaders from this thread so far.

[penfun02.jpg](javascript:zb_insimg(‘23357’,‘penfun02.jpg’,1,0))

No wonder I never get any work done!:rolleyes:

cool coloring aminuts

Cool creature Pooop

Here’s The Drawing Book

Attachments

The Drawing Book part1.jpg

The Drawing Book part2.jpg

tveyes, could you please post that material and lights for that cel shaded one you did.

Used Pixolator’s Alpha Century zscript and used the terrian in 50s Kid Sketchbook and Jason’s first toonshader (the file image aminuts spaceman1 terrain is not aminut’s it’s Jason’s) and the other one is aminuts spaceman1 shader

Attachments

aminuts spaceman1 terrain.jpg

aminuts spaceman1 shader terrain copy.jpg

Using 50s Kid Sketchbook and in this image Jason’s new shader I created a second layer and filled the layer with a texture.

Attachments

1.jpg

2 copy.jpg

Thanks to 50s Kid, Jason, aminuts, tv eyes and all the others who posted the shaders so far:+1: :smiley:

using Jason’s new sketch shader added screen shot of the materials
Image3.jpg

Attachments

5.jpg

Well those are looking pretty cool Spaceman. Glad to be of help in any small way, especially with tveyes and 50s_kid mentioned in the same breath. :wink:

Hey Sebcesoir, haven’t forgotten about what you asked. Just trying to find time. Here is a quick one that Ihave spreading/smearing colour. Working at it… :wink:

Attachments

Picture 2.jpg

also using reflection, with this shader gives interesting results.:slight_smile:

OK, Sebcesoir. Getting closer… :wink: The first image has a deafult Zbrush texture, the second, just plain white, no image. Still needs me to find time to hone it. I’ve attached the shader if you want to play a little yourself.

Attachments

Picture 3.jpg

Picture 4.jpg

Interesting examples Jason.

Sorry spaceboy412, I just became aware of your request.

The below model used the same material as my two previous pictures. This time however I rendered a nice soft shaded version and applied my material on top. For example:

  1. Render using a nice soft shaded material such as Pixolators dino material. Be sure to also fill the background with that material.
  2. Set Layer > B Blend (Bake Blend Amount) to 99 and press Layer > Bake.
  3. Press the Escape key to exit the next render.
  4. Press Render > Preview and disable Render > Shadows.
  5. Load the material from below into the material slot(s) you are using.
  6. Enable MultiplyMode in the S1 channel of that material.
  7. Use 1 light at around 0.5 to 1. Note: the lighting angle is reversed with this material, use the light icon to determine the correct angle.
  8. Do a best render.

Lizard-head-Toon.jpg

Very nice TVeyes! :wink: Cool idea. Mind if I play with it as well?

Great modeling and a very cool effect,
reminds me of some imagery in the " Appleseed " cg movie.