Hi Andreseloy
I will try to do a step by step, you will catch on quick
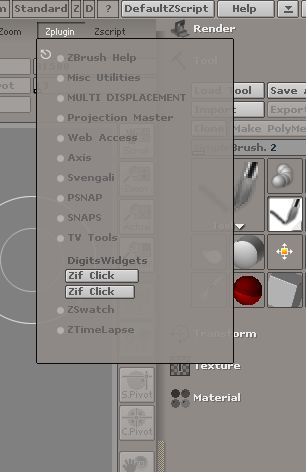
- Start off, press “NEW” to create a root sphere on the canvas
- hover the mouse close to where your sphere is and press “Shift d” to create a new child node on the canvas where your mouse is at.
By Default and unless you change the settings Zif Click has a Snap to Grid feature that will make every new node align itself with the nearest Grid intersection. The default value is 10 pixels. This will help you create straight rows.
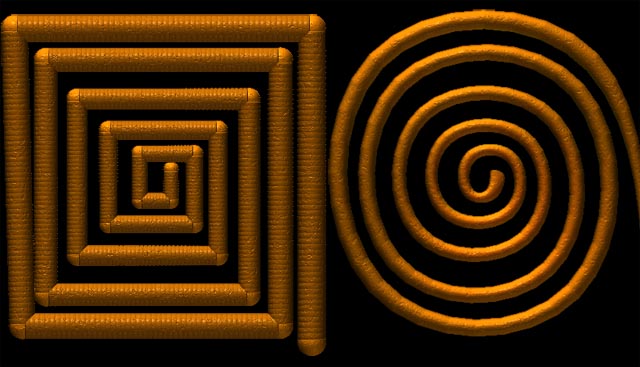
- Keep “Shift d” ing new spheres going around and around your start sphere. If you need to adjust or fine tune the placement of the nodes you can select the “Move” setting and use the Arrow buttons to adjust them.
Here are some of the Short cut keys that might be useful
KEYBOARD SHORTCUTS:
‘d’ – Shortcut – Select Node currently under the mouse cursor. This is how you select a node and associated child nodes called a “BRANCH” for further manipulation.
NOTE: Any time you select a node by using the ‘d’ keypress the script maps and displays all child nodes for that Parent in colors.
• Green – Selected Node’s Parent Zspheres
• Yellow – Nodes that have more than 1 Child
• Orange – Nodes that only have 1 Child
• Blue - Nodes that have no Child
Thus when you select a node you are selecting a BRANCH of your Zsphere tree.
Functions such as DEL below and COPY/PASTE work with this Selected
BRANCH. Select your whole model tree by selecting the root sphere.
‘SHIFT d’ – Shortcut – Place a new node on the Selected Node with the mouse.
Pressing ‘SHIFT d’ will activate the mouse cursor. Place the mouse cursor over the spot on the canvas in vicinity of the node that you have selected and click. The new node will be attached to the Selected node. The new node then becomes the Selected node and the user can continue adding nodes by pressing “SHIFT d” and moving the mouse around.
CTRL ‘d’ – Shortcut – will move the currently selected node to the spot that you have selected with the mouse.
So the workflow goes like this: ‘d’ to select a node, SHIFT ‘d’ to place a new node or CTRL ‘d’ to move the selected node.
‘f’ – Shortcut – Move Selection forward thru selected branch nodes.
‘b’ – Shortcut – Move Selection backwards thru selected branch nodes.
CTRL ‘b’ – Shortcut – Select Parent of currently selected node. This is useful to break out of the current Branch. Example: To reach a node that is hidden behind other nodes select the node that you can see. This will select that branch. To reach the hidden node press CTRL ‘b’, the hidden node will become the active node.
SHIFT ‘b’ – Shortcut – Manually select the Branch associated with the currently selected node. In the example above, after selecting the hidden node press SHIFT ‘b’ to select the whole branch.
ALT ‘b’ – Shortcut – Use the Fwd/Back shortcuts to move the selected node with in the branch. Press Alt ‘b’ to select all nodes in the branch up to that position. Any function that acts on this branch will only effect those nodes.
Hopes this helps. once you figure out how to add nodes it should be easy for you.


 [i]Pajonate
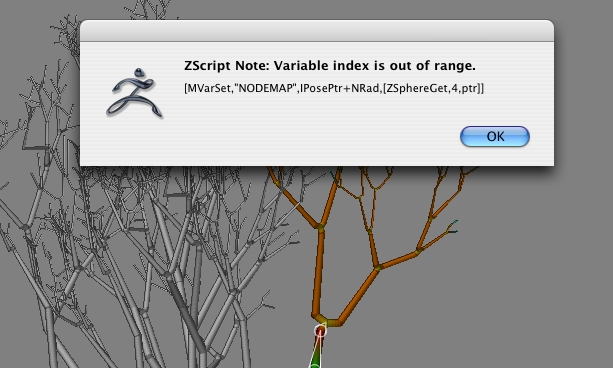
 in the past i have created zifclicktools of at least 800+ zspheres without a problem. but after reading these
