ZBrushCentral

Studying Z

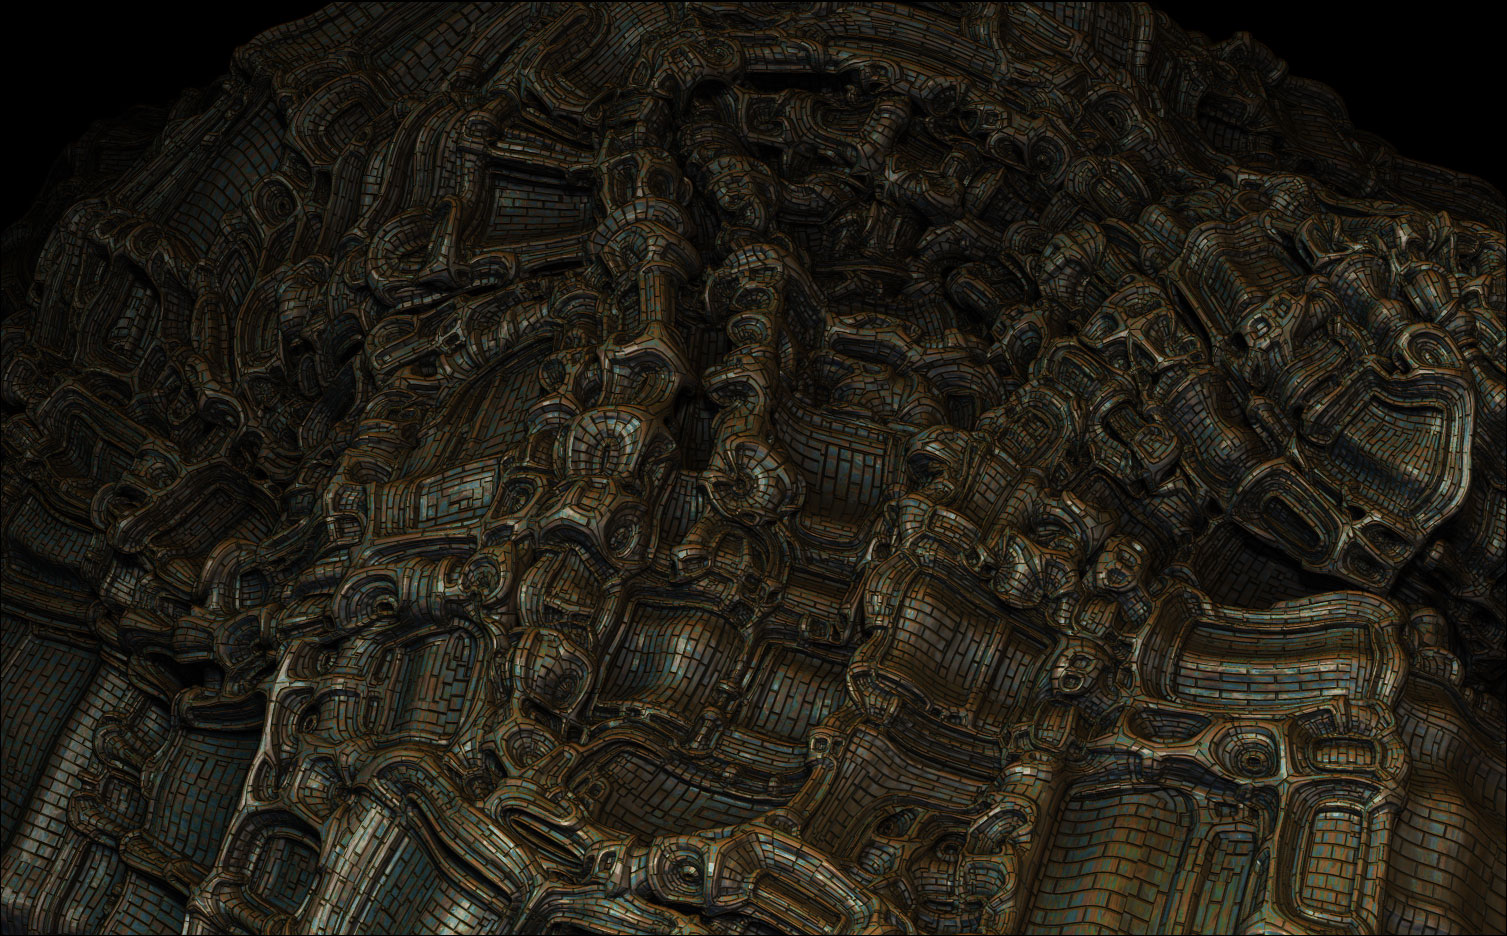
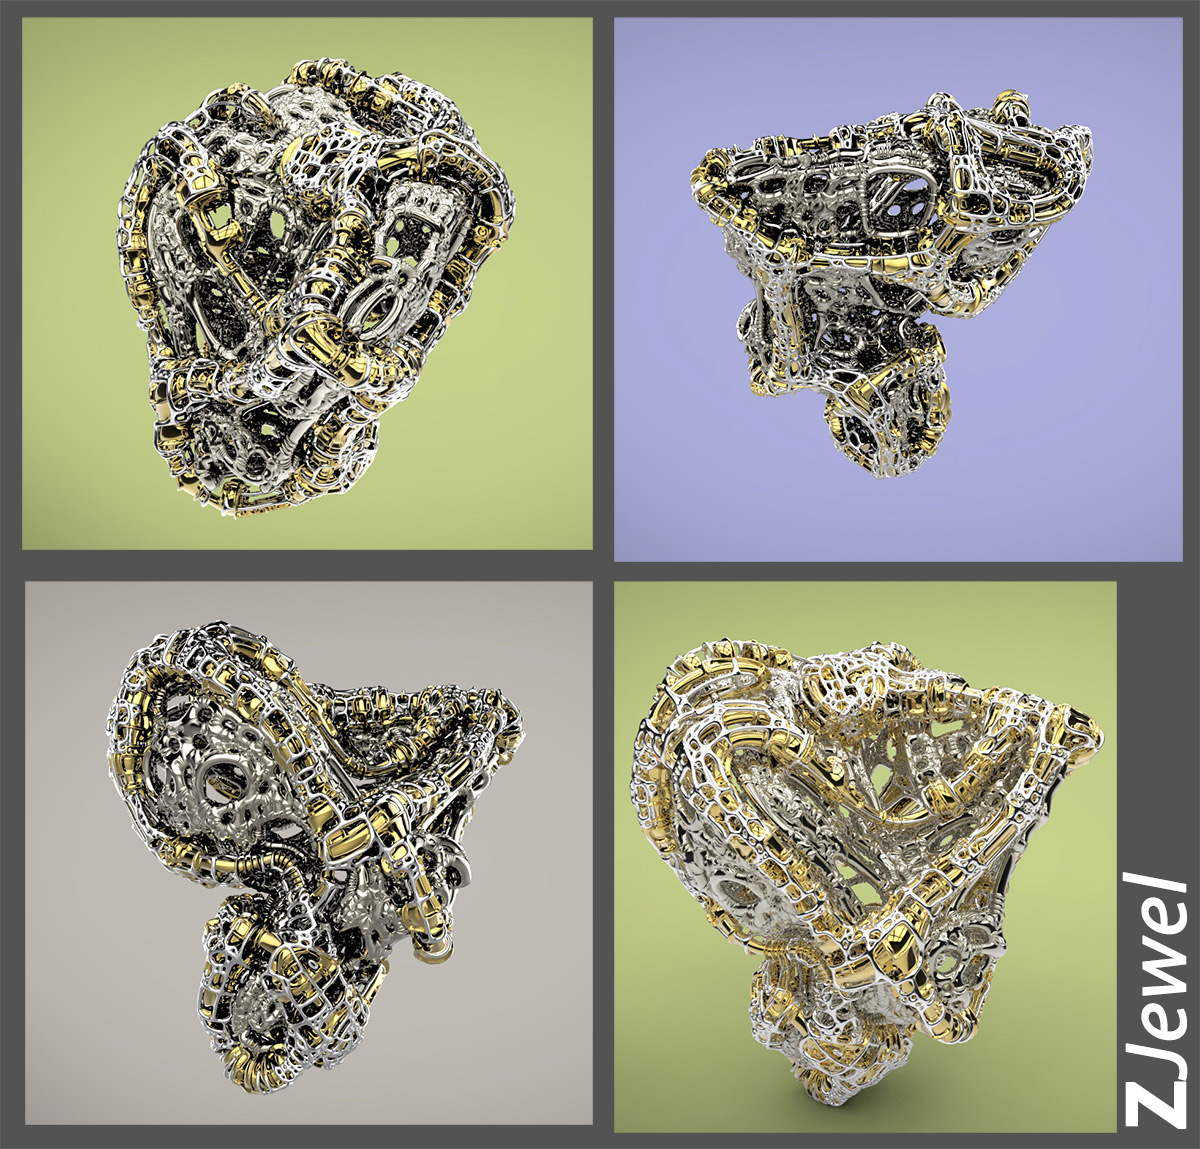
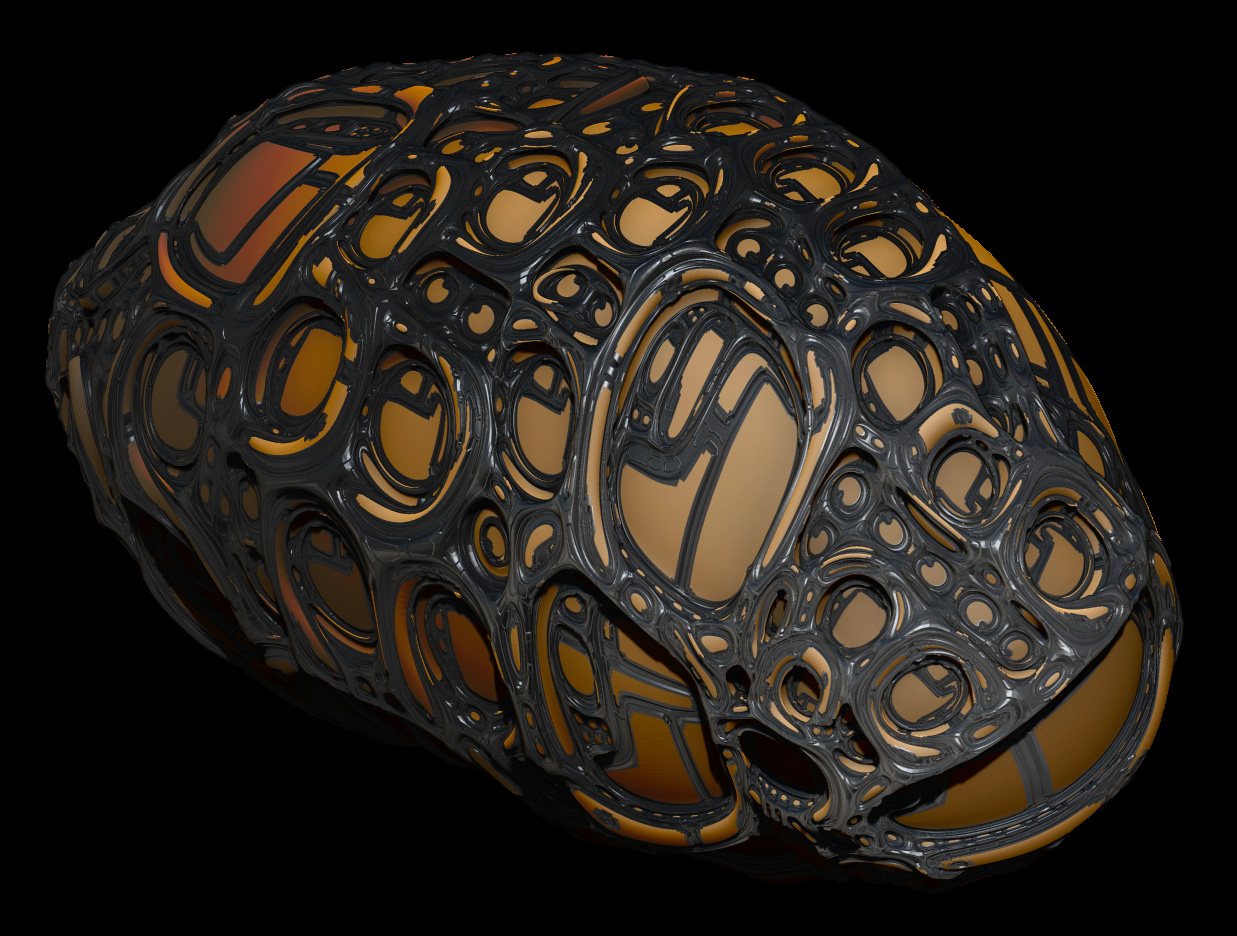
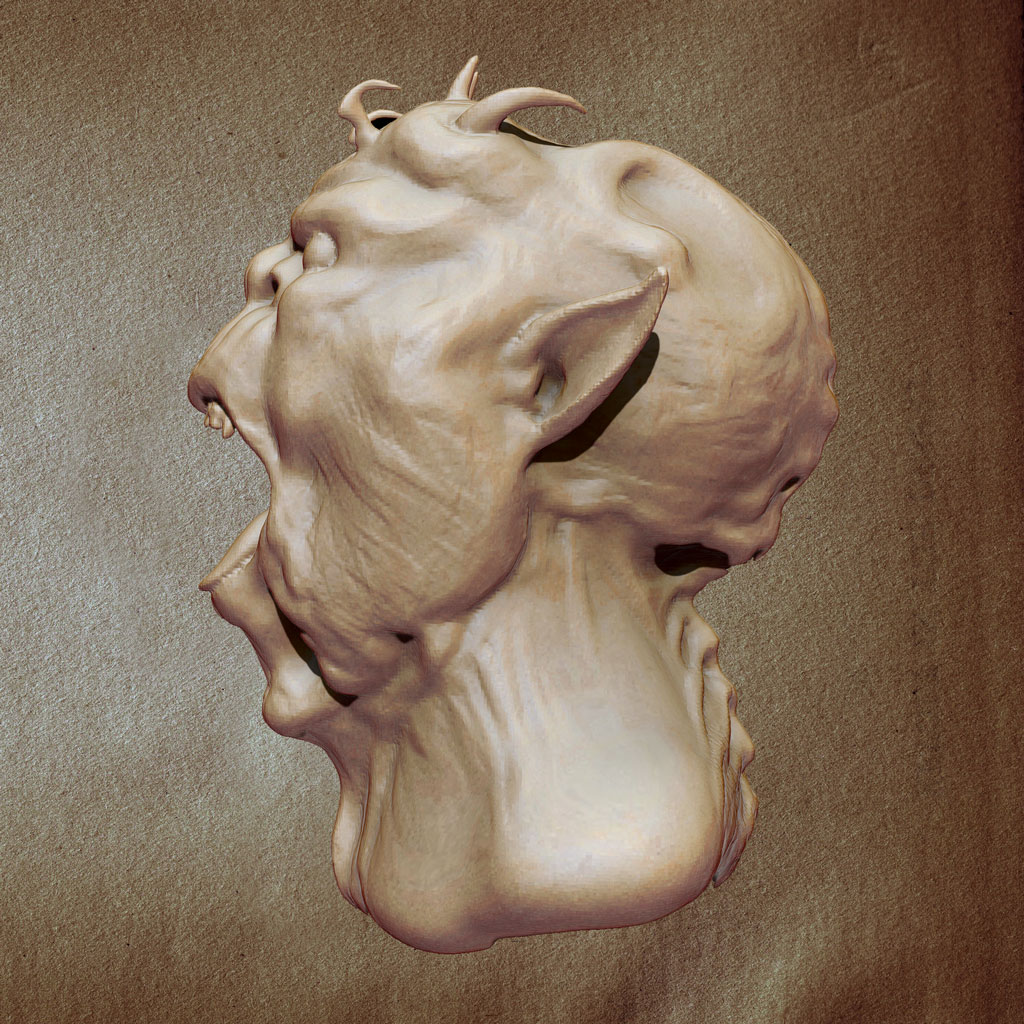
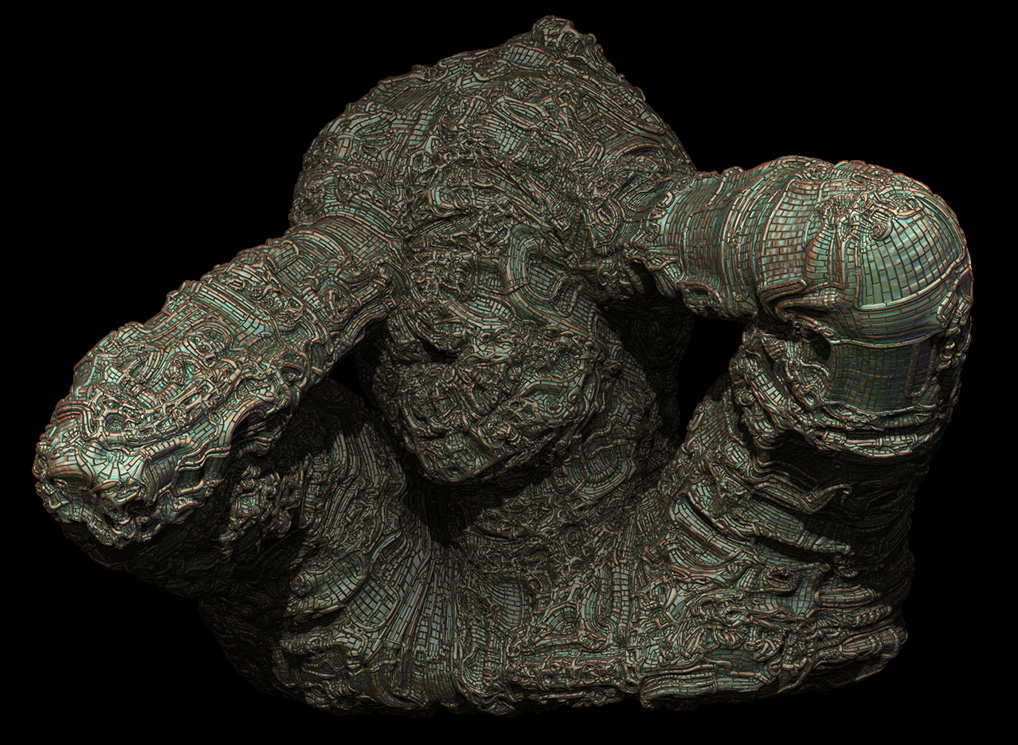
I really like the work you are producing. I am an old zbrush user back from the Zbrush 2 and 3 versions. I am trying to get back into Zbrushing and re-learn all the new tools and workflows the new version has to offer.

Would you mind showing a time lapse or even very simple breakdown of your workflow to create this type of object? I know you mentioned using group loops as well as displacement. I would really appreciate it if you wouldn’t mind explaining a little about it. Again I am re-learning zbrush, so I don’t need a detailed tutorial, I understand most of the fundamentals of Zbrush.

Anyway, thank you in advance for any help or tips you might have. Keep up the great work!

thnx guys.

i am just starting with zbrush myself,
and most stuff you see is trial and error.

but i learned most of it from lvxifer, michalis, MealeaYing’s, and some other exellent threads on this forum.

i even use their diplacement and a.o. maps.

but if i find time i shure will try to create some kind of breakdown with pictures.

grtz p

About the holes.
Excellent idea, unfortunately it works well on hi subdivided meshes.
Too expensive. :lol:
So, my idea is to separate the mesh into pieces. These parts which are close to these holes.
To have hi subdivided details, only there.
Another idea is to create very contrasted versions of these displ maps. To control where and how many holes you like to have.
Still digging these.
On your last one, you tried a low poly version with just bumps something. Great idea but you also need to apply the other map I posted (it is my map, right?) with AO. As diffuse (texture). As zbrush BPR can’t handle maps on the fly, as needed (just applies them) you may like to edit this map in Ps or else. Just make it twice more contrasted. This will do the trick of fake nice details.

Holes can be a problem…
And they demonstrate one of Michalis’s pet peeves (and mine) that you can’t stick the camera inside of them.

Have you tried using Morph Targets to make holes when you are at low rez?
Its very cool…

From what I do know of zbrush, let me take a guess as to your process or steps, and please let me know if I am correct.

Create a base mesh, and clean UVs for the displacement map. The more square the UV shape the better?

Then Apply the Displacement Map to the base mesh to add more details?

Another question would be the placement of the 2D Displacement map. Do you place it in photoshop or directly in Zbrush?

do you mean creating the displacementmap itself?
you can do that in zbrush too.

but i am still figuring out the best way for that kind of stuff too.

puv and guv are indeed square uv’s

grtz p

another loopism object.
no displacements this time.
only 1 time puv>group uv>grouploops> edgeloops
then 2 times same procedure but with guv.

grtz p

I am enjoying number 23 very much – I think that will be my next step at some point, getting displacements onto a string like that. Very cool work man!

1st attempt to something more sculpted.
around 1 hour work.
i only used move brush, clay build-up and some of the badking brushes for horns and teeth.
it’s still a wip in dynamesh,
so maybe i try to zremesh it, and go on with it.
i captured the timeline also: http://www.youtube.com/watch?v=dxy9r0vx20I
quick1.jpg

quick2.jpg

grtz p

I like that sculpture and texture very much. Very cool work man!

thnx, always nice to have response from you.
doesnt matter when.
so yes, that was exactly what i did,
i guess i needed to grow it some more steps.
but i didnt subdivide it after anymore.
going to try that too.

grtz p

yep, if you look closely at the “islands”, you will see that the outer edges are smooth rings of polygons, as you move further into the center you start seeing those little corners…
Those corners can cause problems too, when doing things like extruding stuff they form little spikes that can mess things up, sometimes you can fix that by using Polish Features with just the thing you are extruding visible, simply clicking it is sometimes enough but not always.

Still learning and experimenting
Another loop-displacement creature.
a bit inspired by The Scream from Munch

stress.jpg

Grtz p

Amazing!
:+1:small_orange_diamond:+1:

Great piece, I am loving your new work! :smiley:

Cheers, David

Very interesting style! You have something very unique going here, looking forward to seeing more from you. :slight_smile:

Now a more abstract work.

grtz p

nice work, and good texture
congratulations;)

A loopjewel.

rendered in keyshot.

juwel1.jpg

grtz p

Well… This is insanely beautiful!