thnx, glad you like it.
another loop-displacement experiment.
grtz p
thnx, glad you like it.
another loop-displacement experiment.
grtz p
GRIN!
Very very cool!
thnx.
more experimenting with the loopstuff.
this time i first selected loops (lassomode) from a zremeshed sphere.
works great.
then puv, and grouploop stuff, displacement, inflate, etc…
and some photoshop, mainly dof with the lensblur-filter and the dephtmap from bpr renderer.
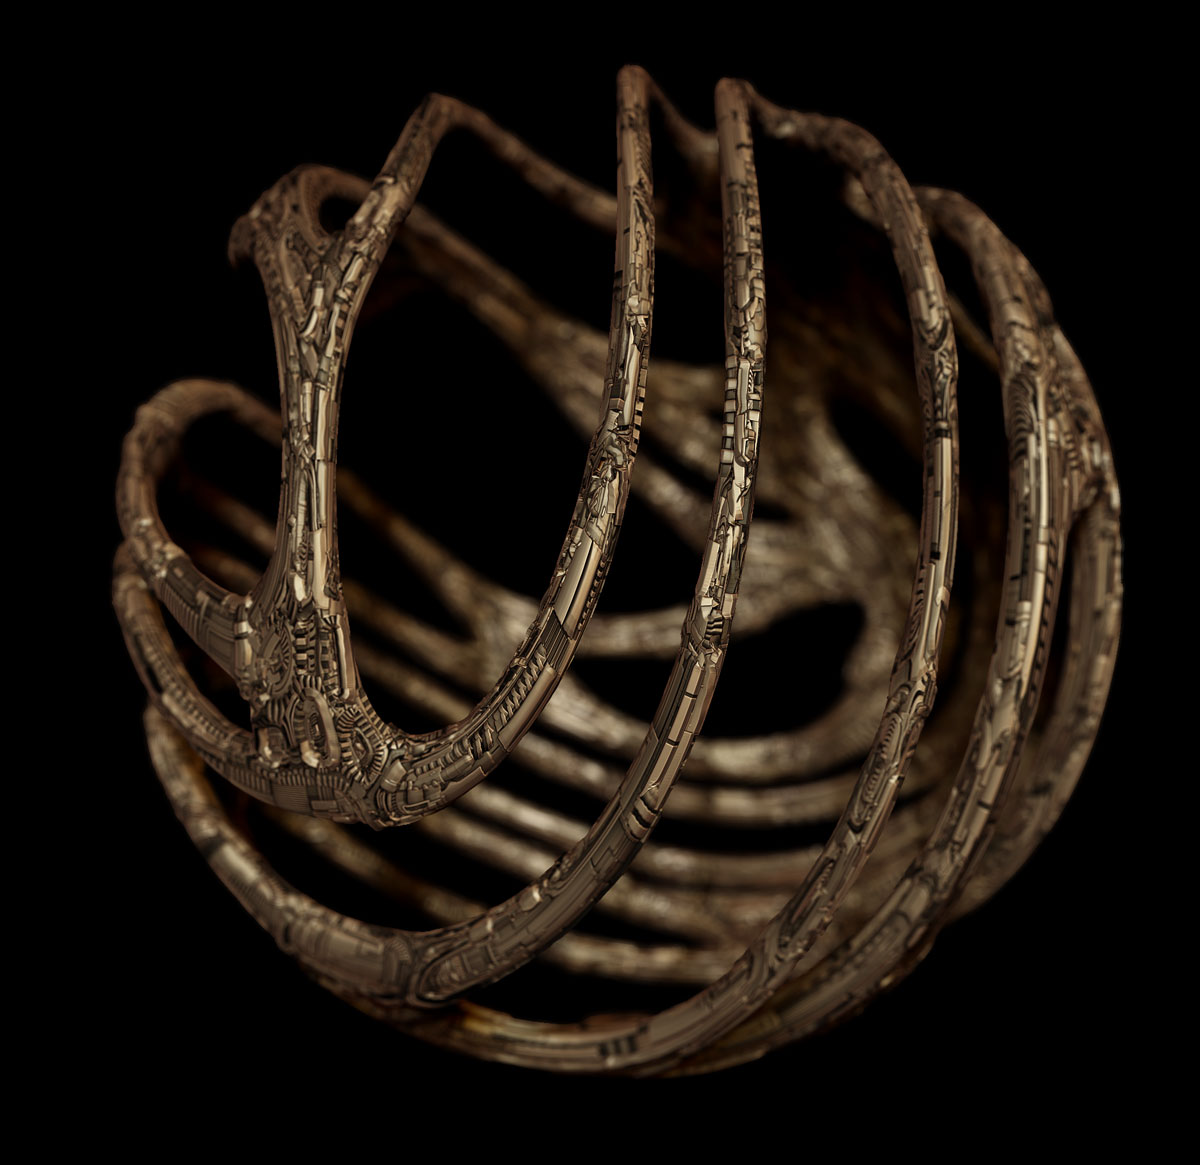
grtz p
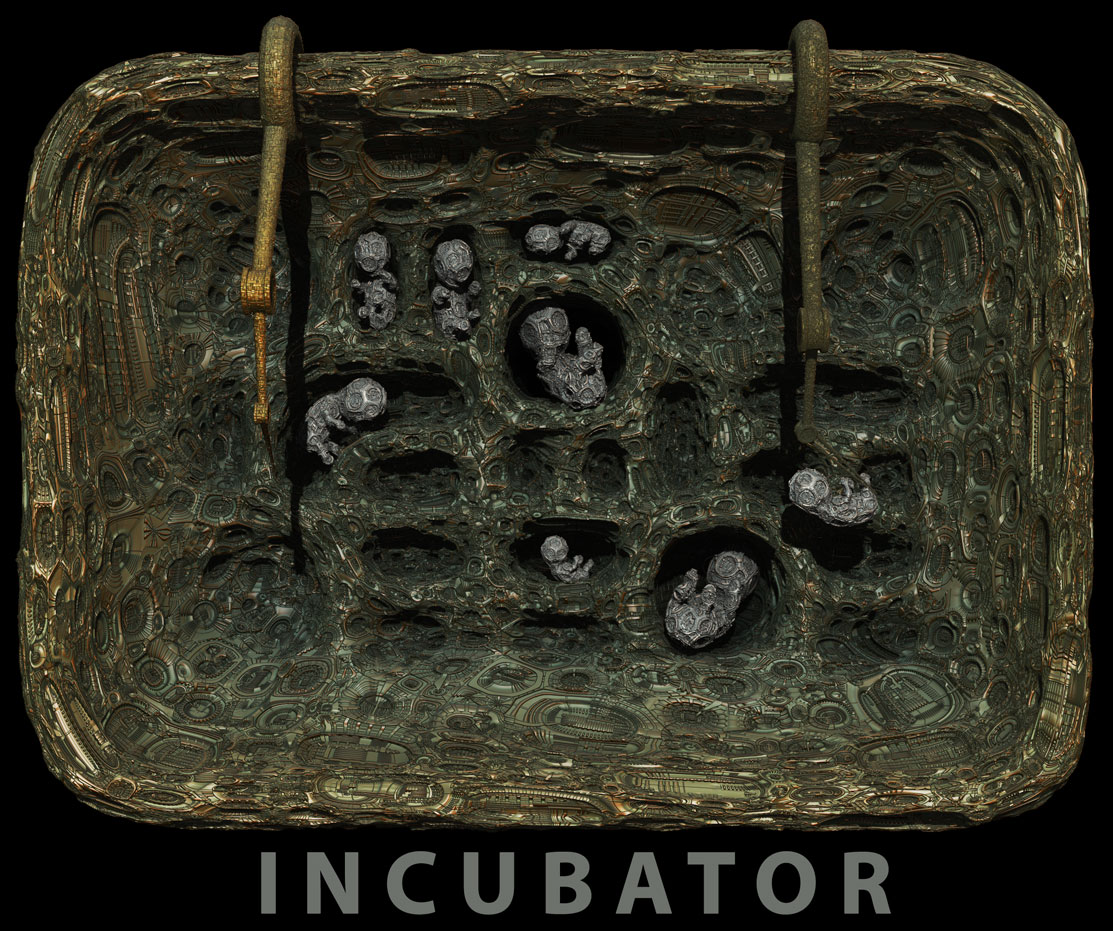
Very nice piece … i like this one a lot!  I missed the sphere, Castle and incubator … also great!:lol:
all the Best, David
Those are PERFECT!
I love them!
thnx.
glad you like them.
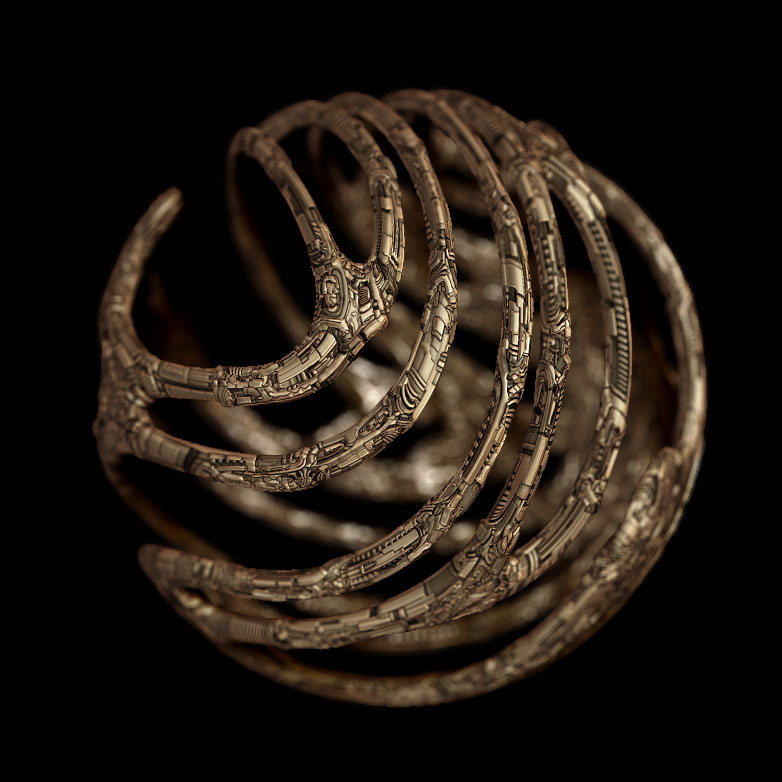
i made this one in, say 10 minutes.
selecting polyloops with the lassotool in a remeshed tool is very easy and fast.
i actualy learned it from michalis latest work.
now i am trying to figure out how to create the dispacement maps,
but i am a bit lost.
i do not have blender (for michalis workflow) and i know, it’s free, but how to find time learn that soft too.
i also upgraded the c4d-lite version to full (lite is part of adobe after effects in latest creative cloud),
so i want to try it there, as i am learning to use c4d too.
now if only i knew how to port michalis workflow to bake this displacementmaps in c4d,
but i can’t find it.
maybe i better try it for now in zbrush itself.
grtz p
thanks for the info.
i try the plugin
only problem, i have no tilde key on my dutch keyboard.
in fact i have the tilde, but only with a combination of other keys (alt + some other key)
see what i can do.
i am now trying some other (non loopmania) things in zbrush.
grtz p
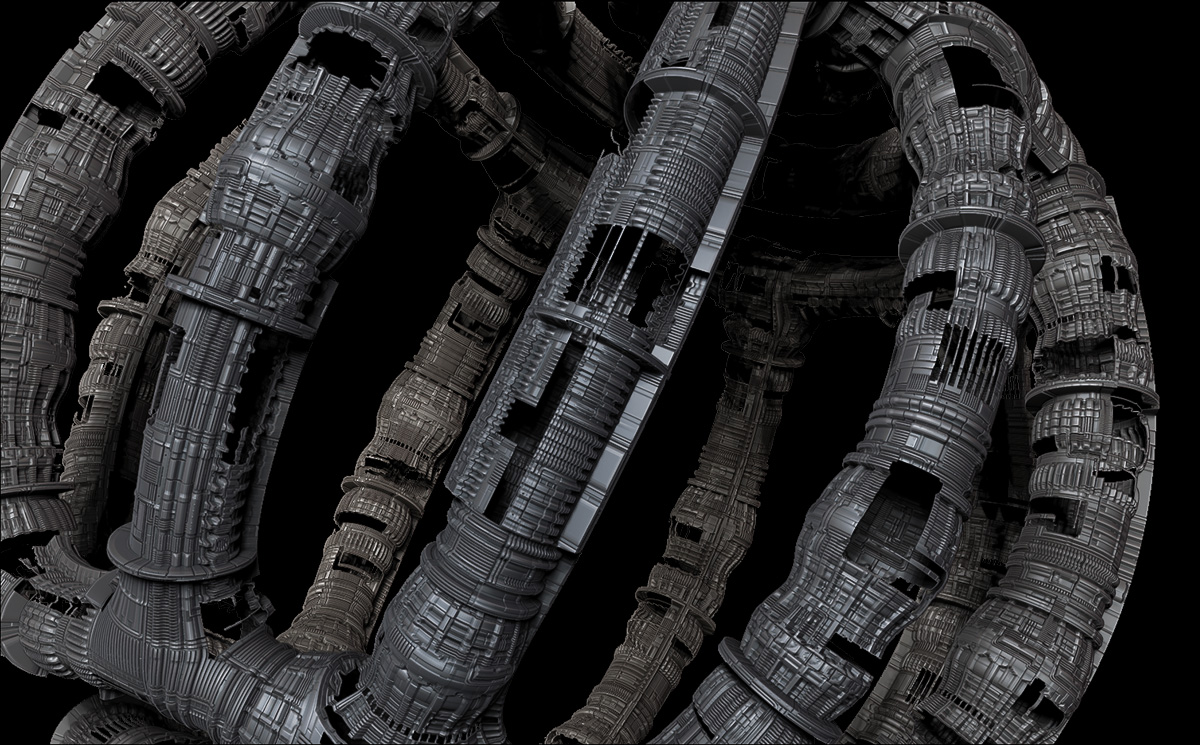
this is a test with a self made displacementmap.
i used the simplebrush-dragrect trick with some alphas in a 2.5d 4k document.
works fine, but i made the map to dense i think.
also photoshopped to combine two renders and other passes with different materials from bpr.
grtz p
Its great!
Marcus might be able to help you with the keyboard problem, for me its a matter of holding down Shift.
When you use this it looks like you are using Scroll but your image is now wrapped so that it comes back on the other side of the screen.
OK, I missed this last one.
Great, great indeed.
All these rectangular or so holes, and these very nice details… how?
thnx,
i used the same displacementmap and loaded it as a mask.
then hidept, made it two sided view, and bpr rendered.
grtz p
Thanks,
I didn’t quite understand, I suppose you mean: Polygroup by mask, click on them and hide, delete hidden etc etc. Right?
eh, no
i first use displacement map and apply it,
then i do the tilething with my uvmap, but do not apply the map (i guess this is what you call bump)
then i take the same map and use it as texture.
do a mask from color intensity, and do hidept.
then in visibility i enable double, so you see the back of your polygons too.
this keeps the displacementbump on the backside too at rendertime.
i am not on my computer, but wil later this evening make some pics about it.
grtz p
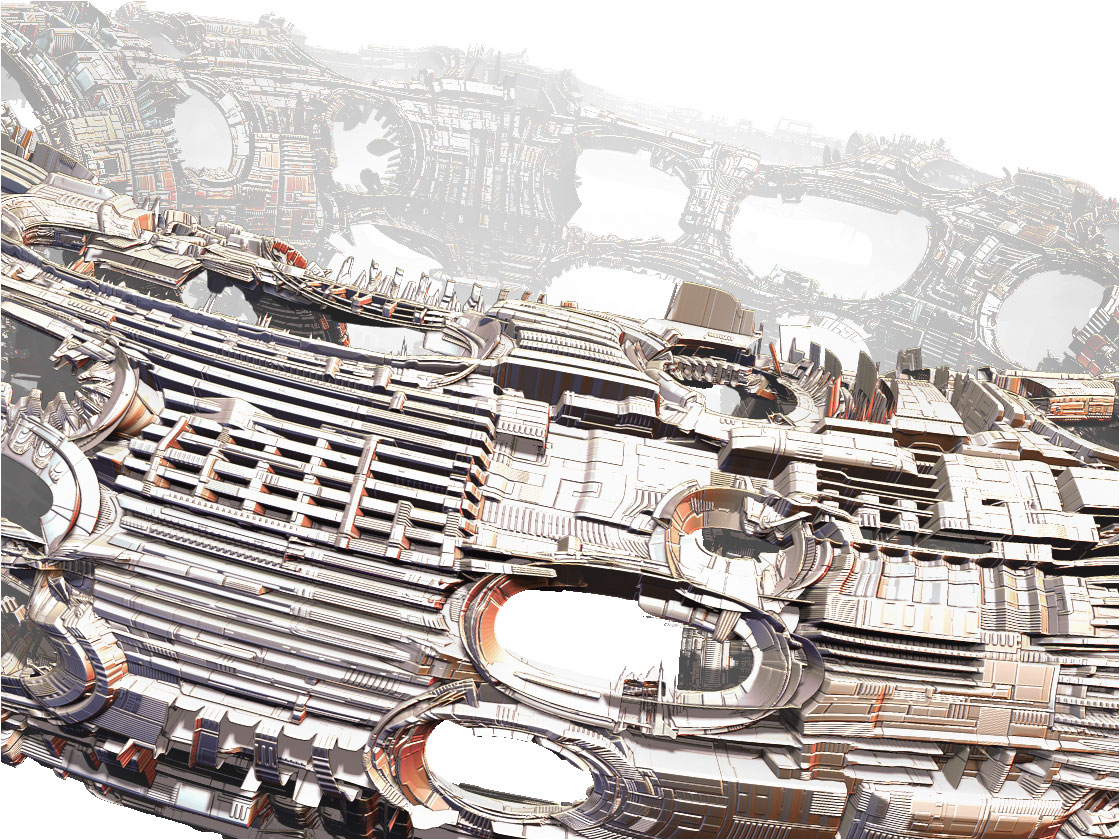
ok, i did a new one with this workflow.
i think it’s nothing new or so, and you propably know this stuff already.
so, after guv or gup uv-ing, tiling, export-import (for baking the tiling),
and after subdividing to, in this case, 9milj polys, i apply my first displacement (to make it real geometry).
i then tile the uv’s again with 2 or 3 steps, but do not export-import. (wouldn’t be impossible i think with that high polycount)
i load the same, or in this case another displacement map (yours) and enable displacement (not apply this time)
i apply that same map as a texturemap.
now i go to masking>color>intensity
back to texture>new (so i again have a blank (white) texture.
then visibility-hidept, presto, holes in your mesh, but there is nothing inside.
so display properties>double (this renders doublesided, so normals front and back)
and that’s it.
of course this is only a render trick, and not real geo, and not exportable to other render engine.
maybe you can delete hidden, and extract, after hidept, but it will destroy your uv’s at that time.
and re-uving a mesh of 9 and with the extracted back around 18 milj polys is not a good idea, i guess.
i hope this make it clear?
feel free to ask of course.
and my english is, eh, pfff…
oh,
forgot the picture,
grtz p
Yes I see.
The other method I mentioned may be similar.
It works, after you hidept / geometry / modify topology / del hidden. It works.
Now you can extract this mesh.
(BTW, you don’t have to convert the alpha to color map. Under masking panel, mask by alpha. )
yes, that would work too,
didn’t think about that.
zbrush is so versatile.
another one, same workflow.
little photoshop for cartoon style too.
grtz p
Very cool results you get here.  I love the last one.
Keep working. Many thanks for the advises.
Such holes produce wonderful effects on hi dense bases though. Trying to figure out how I’ll make them less expensive.
You can use this method on a second layered “z tool” on top of another. Better than having back faces visible, sometimes.
thnx, i really apreciate this.
you mean with flipped normals?
i guess that whould work also somehow.
i just did a render of a 19 milj polytool.
i mean, 19milj polygons in a 3d soft??
zbrush is really an amazing tool.
i’ll post some renders later
grtz p
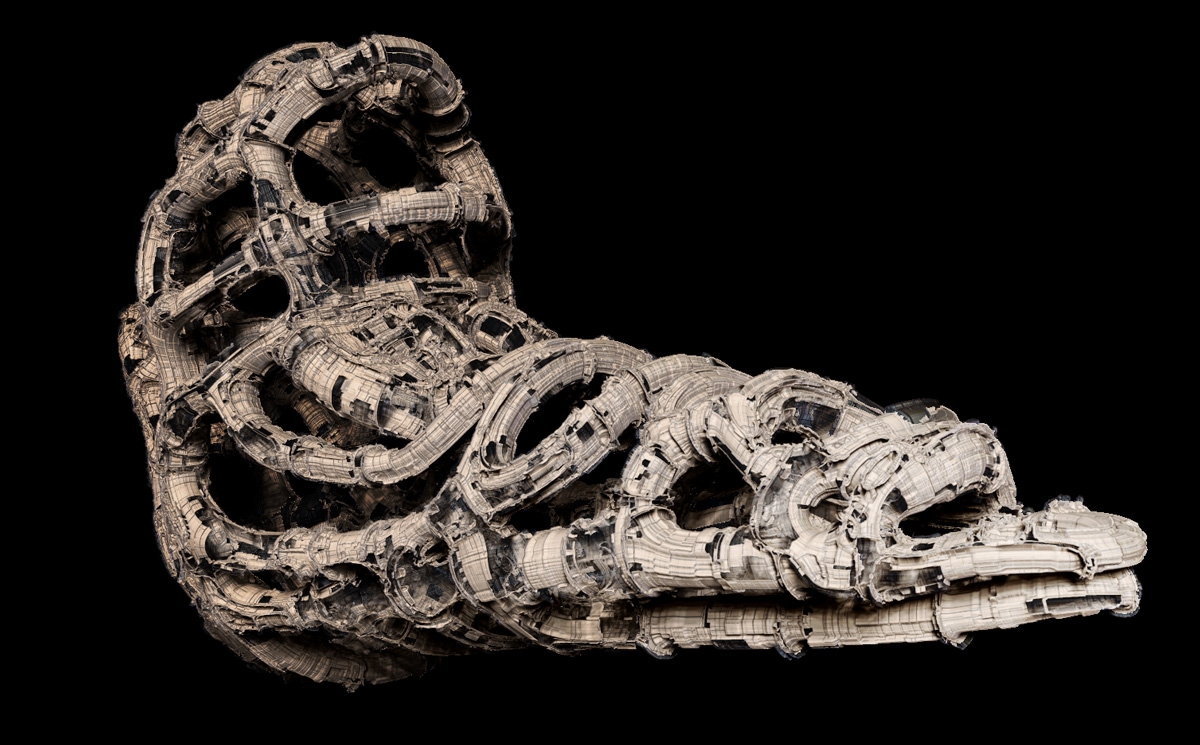
another boring spaceship. 
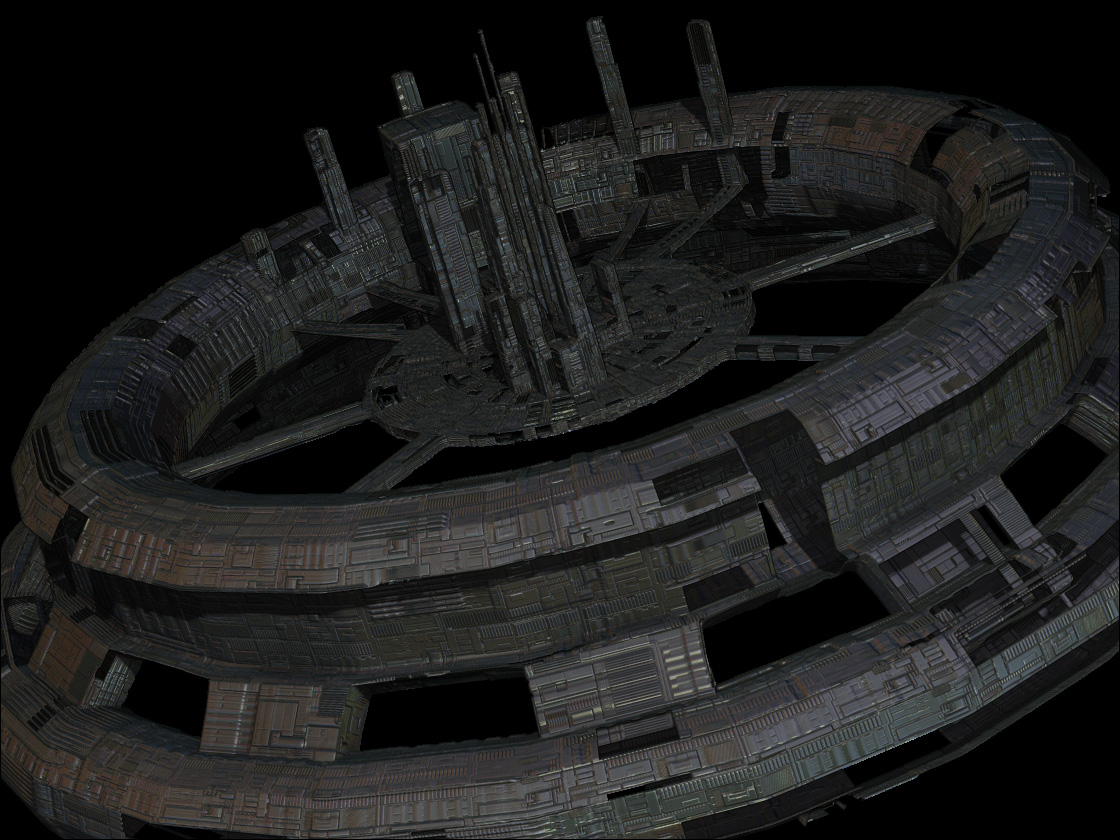
grtz p
the detail and shadow and lighting on #29 just makes the thing look massive. Wonderful and inspiring work!