MY GOD MAN!!!
if its not broke dont fix it , since autodesk have taken over there seems to be
always something freeky with each version ,
i hate instailing new releases , i allways spend the next month pulling my hair out wondering y stuff is changed
who knows maybe auto desk wants to play with peoples heads “sicko’s”
thankyou scott for that mel script , it worked “once” i thought all my problems were over , but now when i run the script it givs me an error ,
there are post saying change the Aprox name to something els ???/
it seems to work once with one mesh but when there are two disp’ mesh’s it dosnt work, i get the error??,
sometimes it wont come up with and error but still wont work ??
i dont know what the prob is , hopfuly some one has figured it out because i like the idear of a one click solution
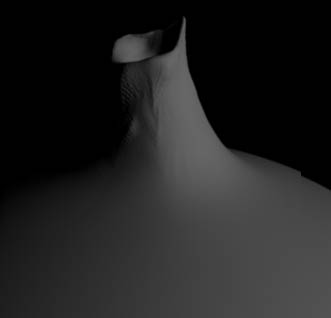
oh yeah , there is another problem i have noticed , its a bit strange , sometimes when i bring back a mesh into maya “2008” the uv’s seem to be brocken up into sets of four polys , the uvs are all layed out the same but when you grab a uv and go to shell it only grabs another few uvs , strange
i dont know if its something that happend in maya or zbrush but i am thinking that it maybe maya “2008” seeing how it has never happend in 8.5
" just another thing for me to loose a bit more hair over in the next few weeks"
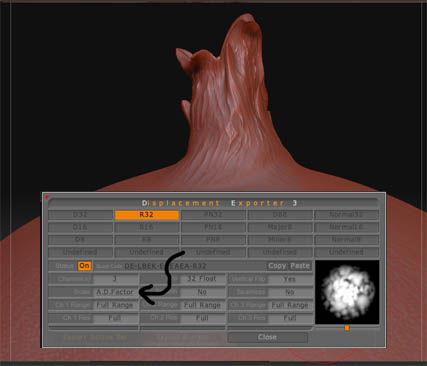
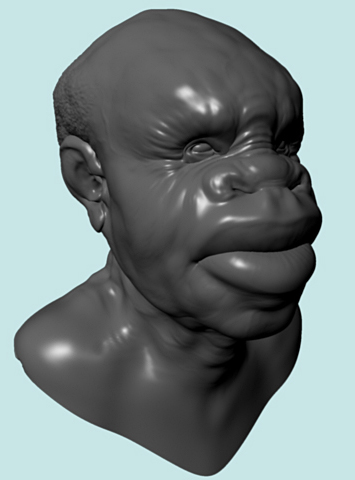 perfect seamless head. i also used this script in conjunction with “zbrush to maya video tutorial”.
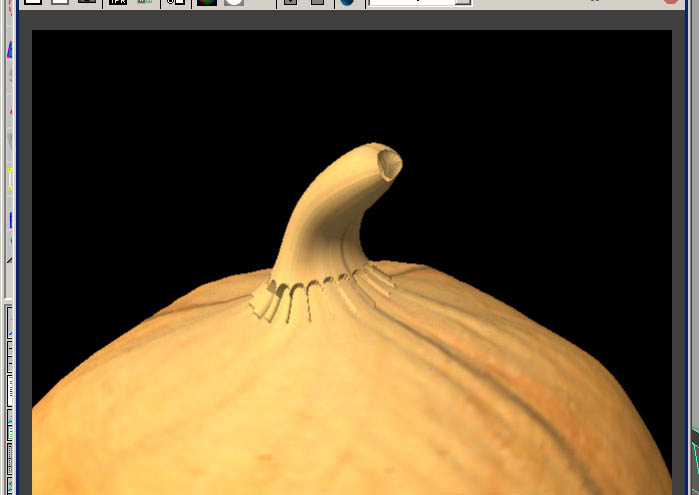 ]
]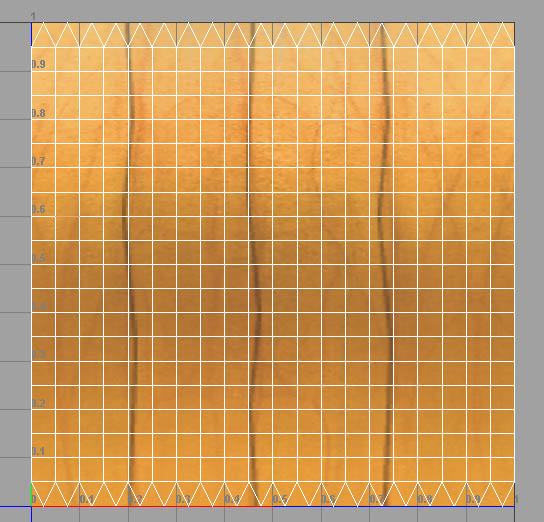 ] (texture from an older revision)
 ]
]