NEWBIE CHALLENGE #8 Wirez
Everyone has seen a Meats Meier wire model … they look damn cool and the techniques are pretty straight-forward. Recently, Bas Mazur found an even easier (and more controllable) way of doing the same thing.
Meats Method
Mask part of your model by applying a texture containing some black, and then turning it into a mask, or by hand drawing some masking. Hide the masked polygons, and then delete them. Store what’s left as a Morph Target, inflate the mesh, then create a Difference object.
Full details, by the man himself, are shown here: http://www.zbrushcentral.com/zbc/showthread.php?t=21455&page=2&pp=15&highlight=wire+style (post #20)
Bas Method
Start by storing a Morph target of your original model. Displace some polygons directly on the model, either in Projection Master using any of the geometry altering tools, or outside of PM using Draw or by Moving polygons. Then create a Difference object. This method is quicker and, I find, gives you more control over the finished effect.
Full details are shown here: http://www.zbrushcentral.com/zbc/showthread.php?t=30049&page=5&pp=15 (post #70)
Original Method
If you’ve worked through the ZB2 pdf manual, you’ll remember the Z Logo exercise. There a 3d Z model was made, starting from a flat plane primitive. Polygons were deleted from it, a Morph target stored, then the remaining mesh was moved along the Z axis, and a Difference object was created.
The Challenge
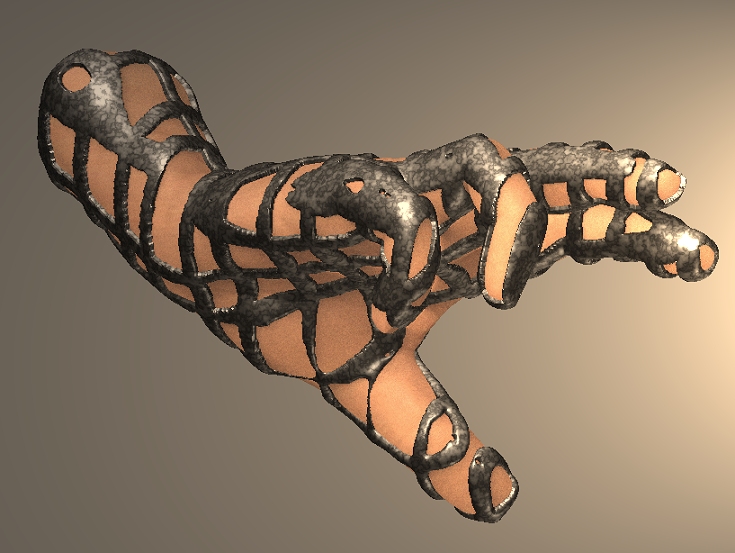
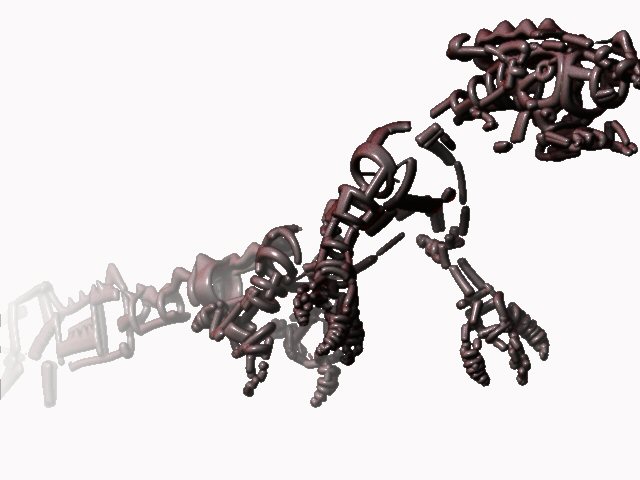
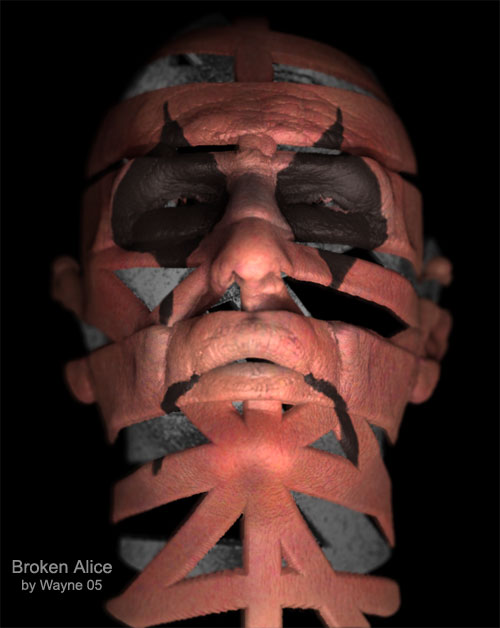
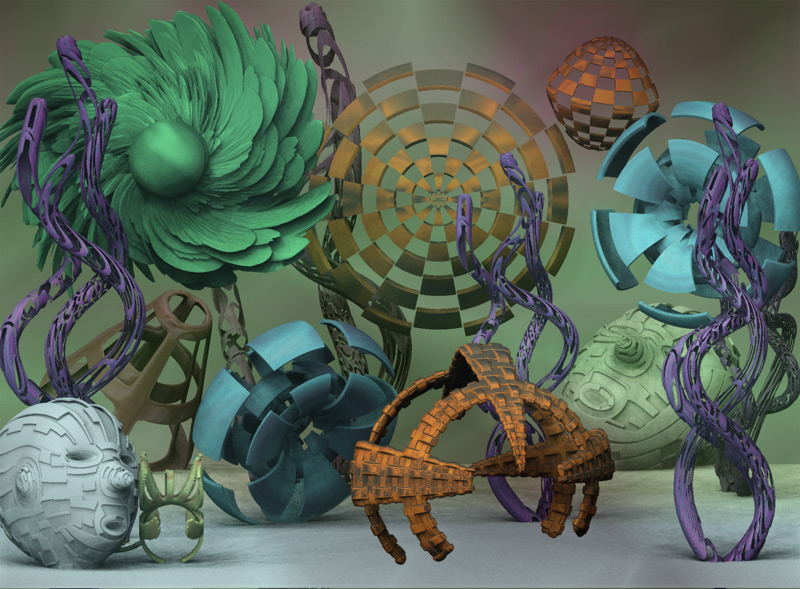
Use any of the above methods (or one you invent for yourself) to create a cool wire model.
Hints & Tips
Avoid using the very highest resolution at first, because creating a difference object will add additional polygons to your model. And you’ll want to be able to sub-divide at least once after you’ve created it.
With the Meats and Bas methods, you’ll get odd polygons sticking out of your structure. You can smooth these with the Smooth tool (Draw with the Shift key held down), using Smooth in the Deformation palette, or by physically moving sticky-out vertices into line. With the Meats method, you can even remove (hide > delete) polygons before you store your Morph target, so giving you smoother edges. With the Original method, you’re guaranteed smooth edges, because you’re choosing which polys you delete in the first place.
After you’ve created your Difference object, there’s nothing to stop you creating a fresh Morph target for it, making some more changes, and creating a new Difference object from that. Or you can Mark the position of the Difference object and then load a copy of your original mesh. It should fit snuggly inside it … that’s what I’ve done with my pic below.
You won’t be able to do these techniques with a primitive (you have to convert to a proper 3D mesh first) or if your model is not at its lowest resolution level.
Scripts and Movie
Two brief scripts for ya … one showing a way of creating hair, and another where I was just playing around. Both use the Original method. However, some of my actions in the Tool palette go off the bottom of the screen. So I also made a brief movie (no sound, divx 5.1.1 codec avi, zip 3mb). This uses the Bas method (Projection Master, Single Layer Brush, Line Stroke) and you can see all the moves.
Have fun. Show us what you’ve got! Back to head modelling in the next challenge.
http://www.pantsofpower.com/hand.zip (movie)


 ](javascript:zb_insimg(‘22760’,‘wc01.jpg’,1,0))