So I know you can increase the control points on a curve using the “curve steps” feature in Stroke>Curve. However, if you have a curve multi brush that has “tri-parts”, like a belt buckle for example, if you increase the curve steps it will break the behavior of the brush. Specifically what I’m trying to do is make a snake type brush (like the creature), to draw out multiple snakes on a medusa type character. I can create the brush, but I can never manage to get the resolution in that curve while having the snake the correct scale. If I make the snake super small then the resolution is correct on the curve. The second I increase my brush size and tap to make the snake large enough the curve gets all faceted and low resolution. If I change the curve steps to something like .1 then I have more resolution but now spines on his back are overlapping. I feel like there must be a setting somewhere, I even tried to play with the scale of my model to see if I could work around it somehow and that doesn’t seem to work. Any help on this would be greatly appreciated, I feel like I have tried everything at this point.
Hi @bradmyers82
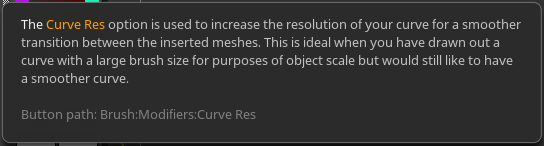
Try “Curve Res” (Curve Resolution) in the “Brush > Modifiers” subpalette of your snake brush.
Hey ZBER2! Thanks for taking the time to look that up. Unfortunately I did try that and it has zero affect. I just made a quick demo to show what I mean. Pretend you wanted a snake that size, the curve resolution is far from ideal. And as you can see I turned up the curve resolution there. This does help with the smoothness of the connection of the part (can’t really tell here but it does do that at least). But it does not actually change the resolution of the curve at all. Again, “Curve Step” would add resolution, but it would change the behavior in the repeating sphere, in this example.
That’s unfortunate! The only other thing that comes to mind is that maybe the head that you are putting the snakes on is too large in size. Try scaling the head so it better matches the snake brush. Ideally, for ZBrush world space, tools should be set to a scale of 2 in “Tool > Geometry > Size”.
Yes, I tried changing the scale of the mesh as well. I was really surprised that did not work. Here is a demo of my playing with scale and seeing the result. Also I played with the dynamic brush scale as well to see if that helped and it did not. So it seems the solution is a setting that either controls the curve resolution directly, or a setting that changes the scale of the mesh directly (I could then make my brush size smaller, thus making the curve higher resolution, and simply make the mesh larger on the chain). Or a third option would be to somehow capture the brush initially at a larger scale when I create the brush in the first place. I tried solutions for option 3 as well. I played with how close I am to the object when I create the brush, the scale of the object when I create the brush and so fourth. Again out of all 3 of the options mentioned above, I simply cannot find a way to change the behavior shown to simply make the curve have a higher resolution with a tri-parts multi brush and the correct object scale. 
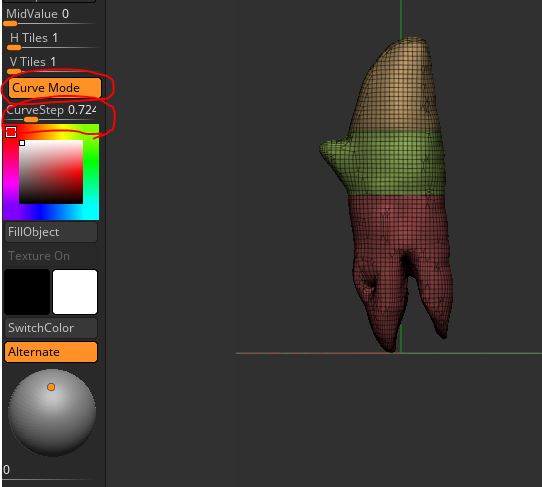
I also want to mention, there is a size option in the Stroke>Curve Modifiers>Curve falloff rollout. This makes it possible to make your mesh taper as it is drawn. So you can effectively make your mesh smaller if you make the curve horizontal in that graph and adjust the offset. So you can use that to make it smaller kind of… but NOT larger as far as I can tell. And as mentioned earlier, one possible solution could be to use a smaller brush size and boost the size of the chain. This method seems to not be possible with the curve falloff rollout. Only works if you need the mesh smaller, not larger Like I need in this case.
(Note: the curve adjustment to make the mesh smaller does an unwanted squeeze but might work in some cases I guess, maybe there is another setting so it doesn’t do this? In any event it doesn’t help us here.)
Maybe your best bet would be to ask the developers to see if they have a solution. Nobody knows the software better than they do. You can Start a conversation with Pixologic support and mention this topic.
Thanks ZBER2! I didn’t know about asking there. In fact this is something that has stumped me for years, even though I’m pretty knowledgeable with most things in zbrush. So I was hesitant to even post online because I’m simply not sure who to ask since this is a super specific thing I don’t think a lot of people even understand the issue. Anyway if I get an answer I’ll be sure to post back with a solution. 
Yes for triparts its possible .use dynamic brush scale .by default its set to 1 drop it to something low. and your brush of triparts needs to be same size with zbrush default ones so use them as reference using mesh from brush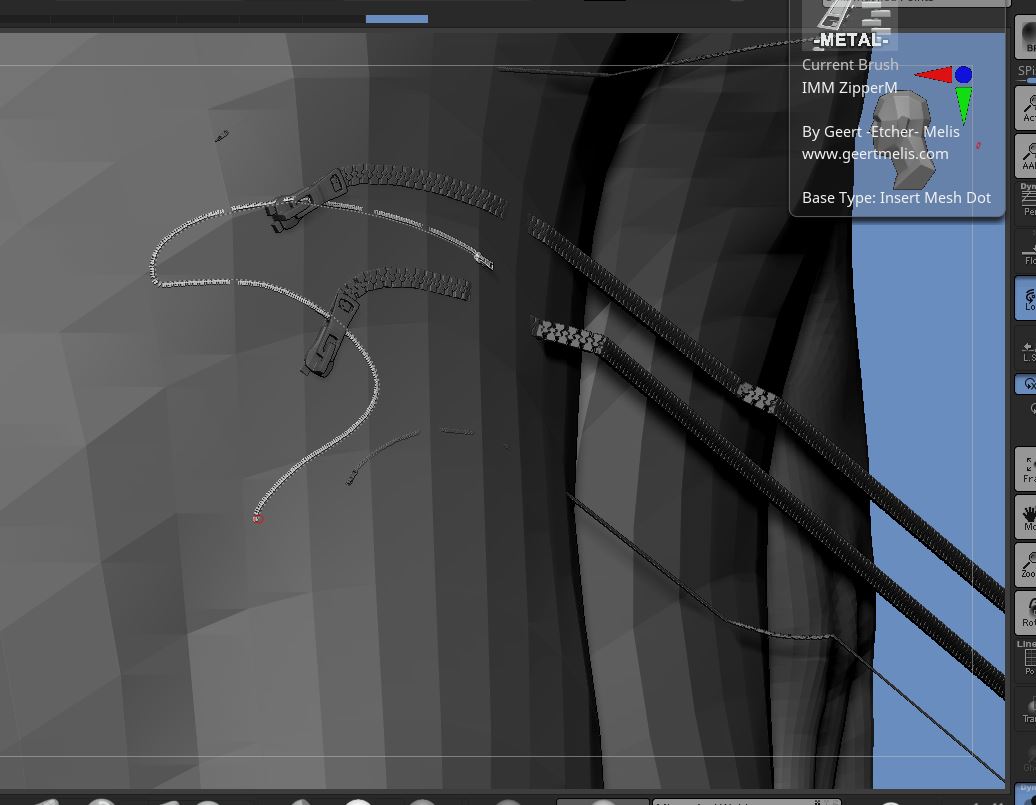
again if i know what ecactly you wanna do i can help better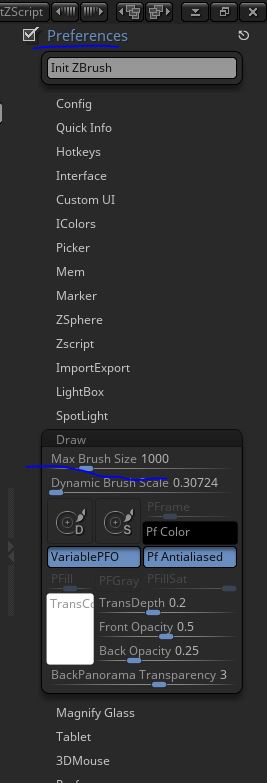
Hey Vahidahmadizb2016 thanks for the suggestion. Unfortunately I don’t believe this works. If you can recreate the simple test scene I have I believe you will understand exactly what I mean. Just use that default female head in Lightbox and create the simple chain like I did.
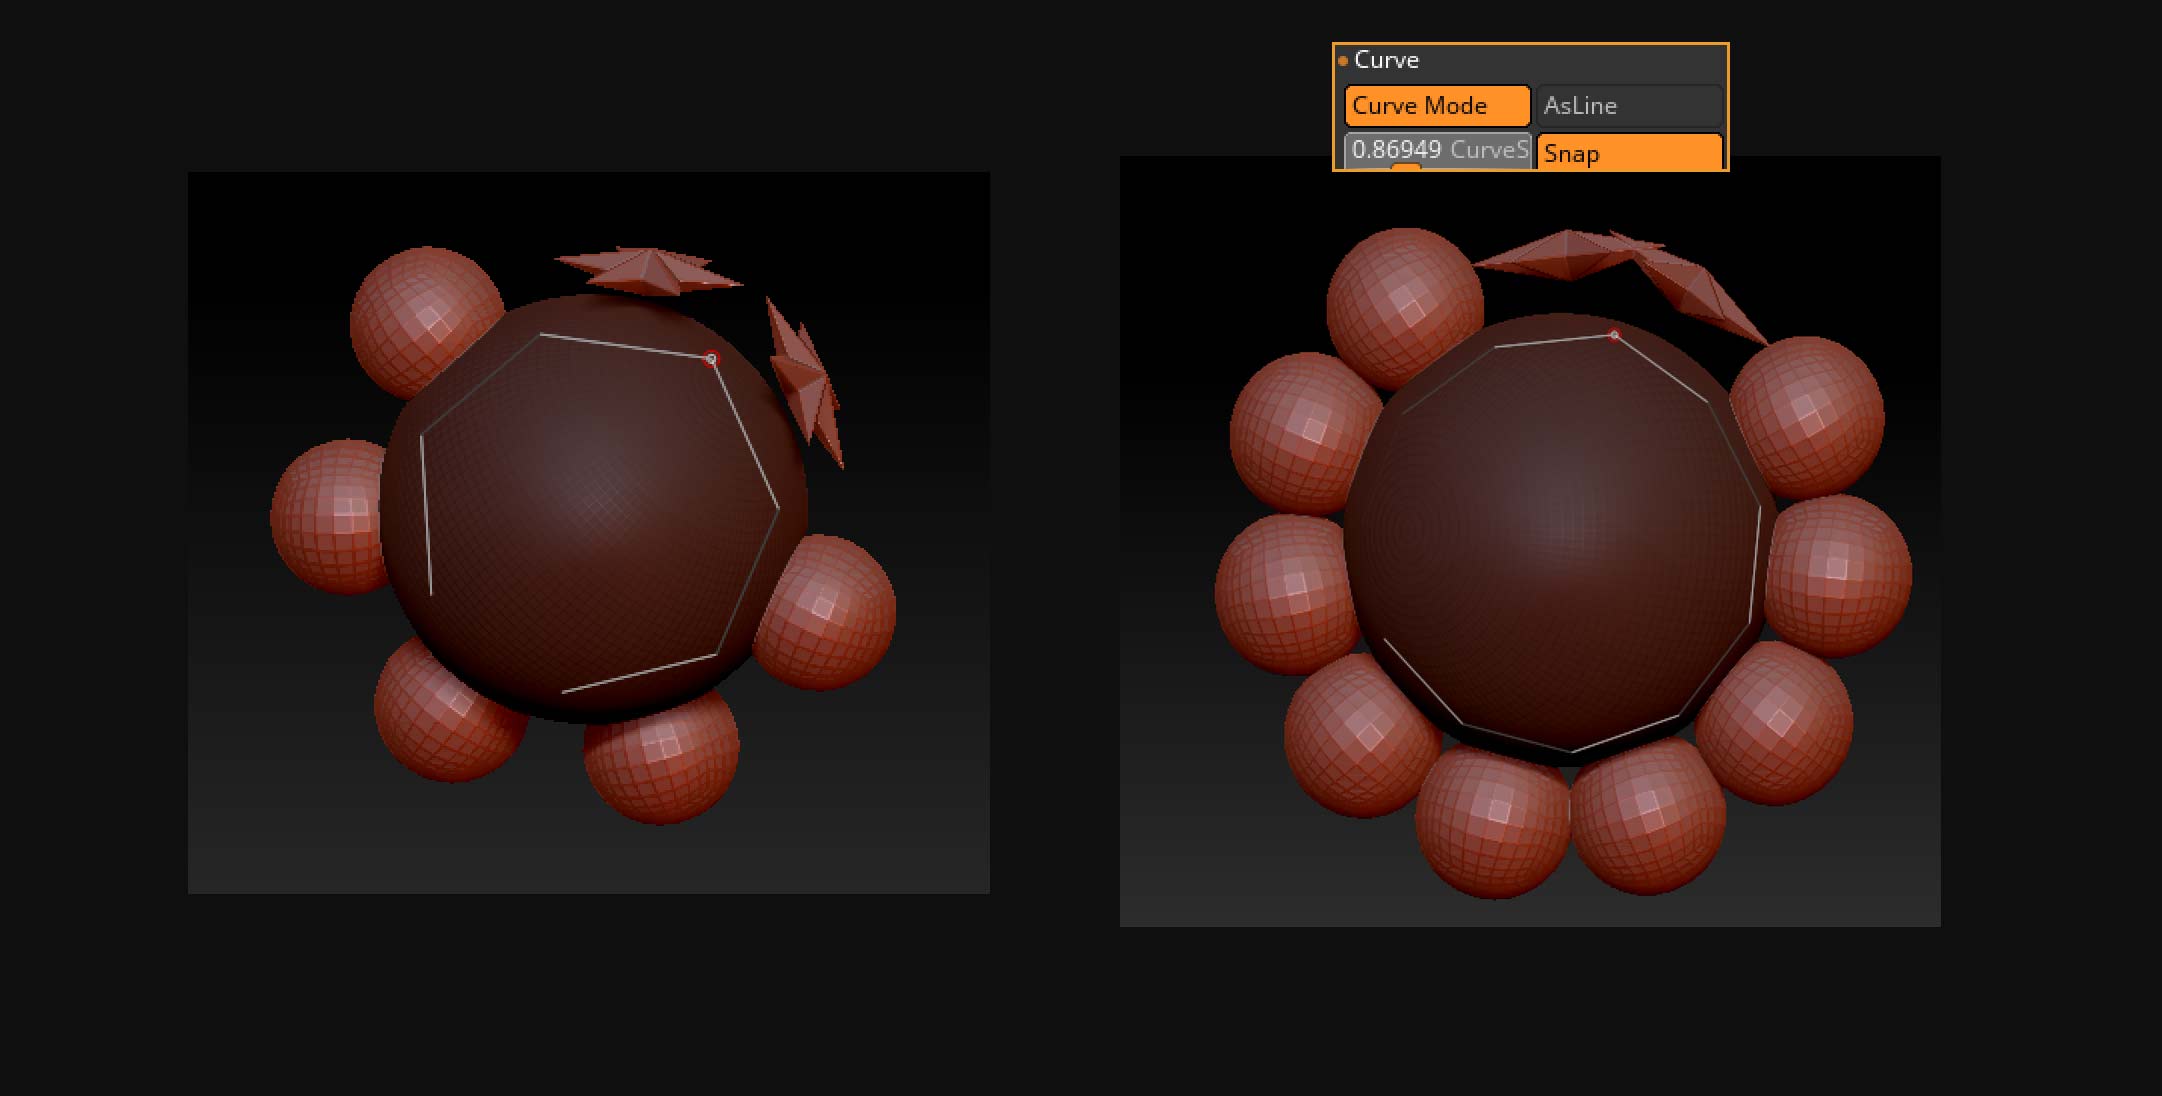
What you will find is if you want the scale to be something thick like I have it in the demo, you can’t get a higher curve resolution than what you see here. (the control points on the curve will be around 10 and lets say I want 60).
Here is a test:
I just want to say, the dynamic scale trick works great when you have regular brushes and you want them smaller then 1 in size. So like if you need the dam standard to make a tiny mark around an eye and its just not getting small enough with your current scene scale. But unless I’m missing something, this dynamic scale has zero effect on the curve resolution it creates. It seems to be creating the curves resolution based on the appearance of the size of the brush which also effects the size of the objects. So if you change one, the other changes with it, and hence no effect has actually taken place no matter what your object scale is, dynamic brush is set to etc. Again, this is not the behavior I expected and unless I’m missing something really simple it seems like this is a strange case that might not be accounted for right now in zbrush. (I hope I’m wrong and there is a simple solution, lol. XD)
Hi @bradmyers82 ,
First of all, let me apologize to all the posters in this thread. I’m doing a drive-by here, and have not read through the thread completely. I’m sorry if Im going to suggest something that has already been covered.
Ultimately, the results you can achieve are are going to be bound by the size of the mesh parts in relation to each other. At any given size you draw out your stroke, there will be only so many intervals possible. Increasing the curve step value beyond this will result in mesh overlap. In other words, the size of the spheres in your example will determine the maximum possible curve resolution. If you want your stroke to be very flexible, it’s important to not make overly lengthy sections. Shorter sections will be able to fit more intervals around the same distance, and bend more easily around a surface. So your internal mesh section will work much better if is something like a tuna can, rather than a soda can.
The example you have chosen here to illustrate your issue is tricky, because you wont be able to enable the “stretch” option in the Brush> Modifiers menu without distorting the spheres. This option generally makes it easier to achieve good stroke results, and would probably work well for your “snake” example.
The problem is that the curve stepping is controlled by the brush size as well as the curve
step slider. Generally what you want to do is establish the desired size of your stroke first, and then finesse the spacing with the curve step slider for desired spacing.
A little goes a long way here. You will probably want to type the value with small changes rather than drag the slider.
I hope that is somewhat helpful.
Thank you!
Thanks for the reply Spyndel.
I see now what you mean. I was trying to make a snake brush with 3 spines and that was the biggest problem. I do still wish there was an option for curve resolution in a rollout somewhere, but I see now I can get far better results simply by how I’m breaking up the brush into smaller segments as you just mentioned. So in this case its super important for me to only have 1 spine in the chain and for some reason I found making the head bigger was helping as well. Mostly, I think making that center part as small as possible is key here.
I also will mention for others, if you need to dial up the curve steps to something very low for curve resolution you can stretch out the first or last link acordingly because these will get sorta smooshed in the process of increasing curve step. I landed on a curve step value of .7 for this test.
Anyway here is a test… I think end of the day its best for me to make a snake brush without the spines and just manually make a few after the fact as I don’t want so many repeating elements. In this instance, alternatively I could just make a regular non-tri parts brush for the body segment to follow a spline, then dynamesh a head in after the fact. But it was good to sorta test out what is the most logical time saver in this instance even if it was a lot of effort to figure this all out.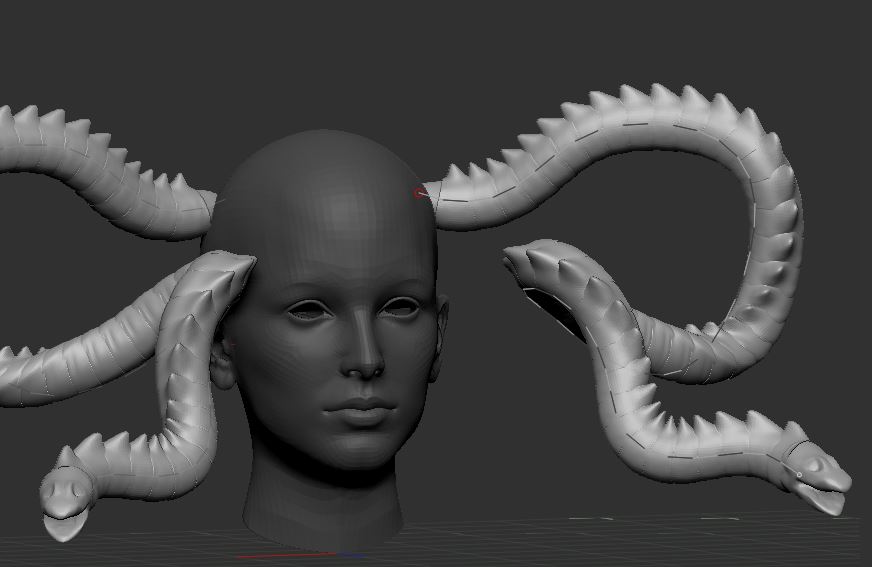
Hi @bradmyers82 - not sure if this helps but perhaps there’s another option.
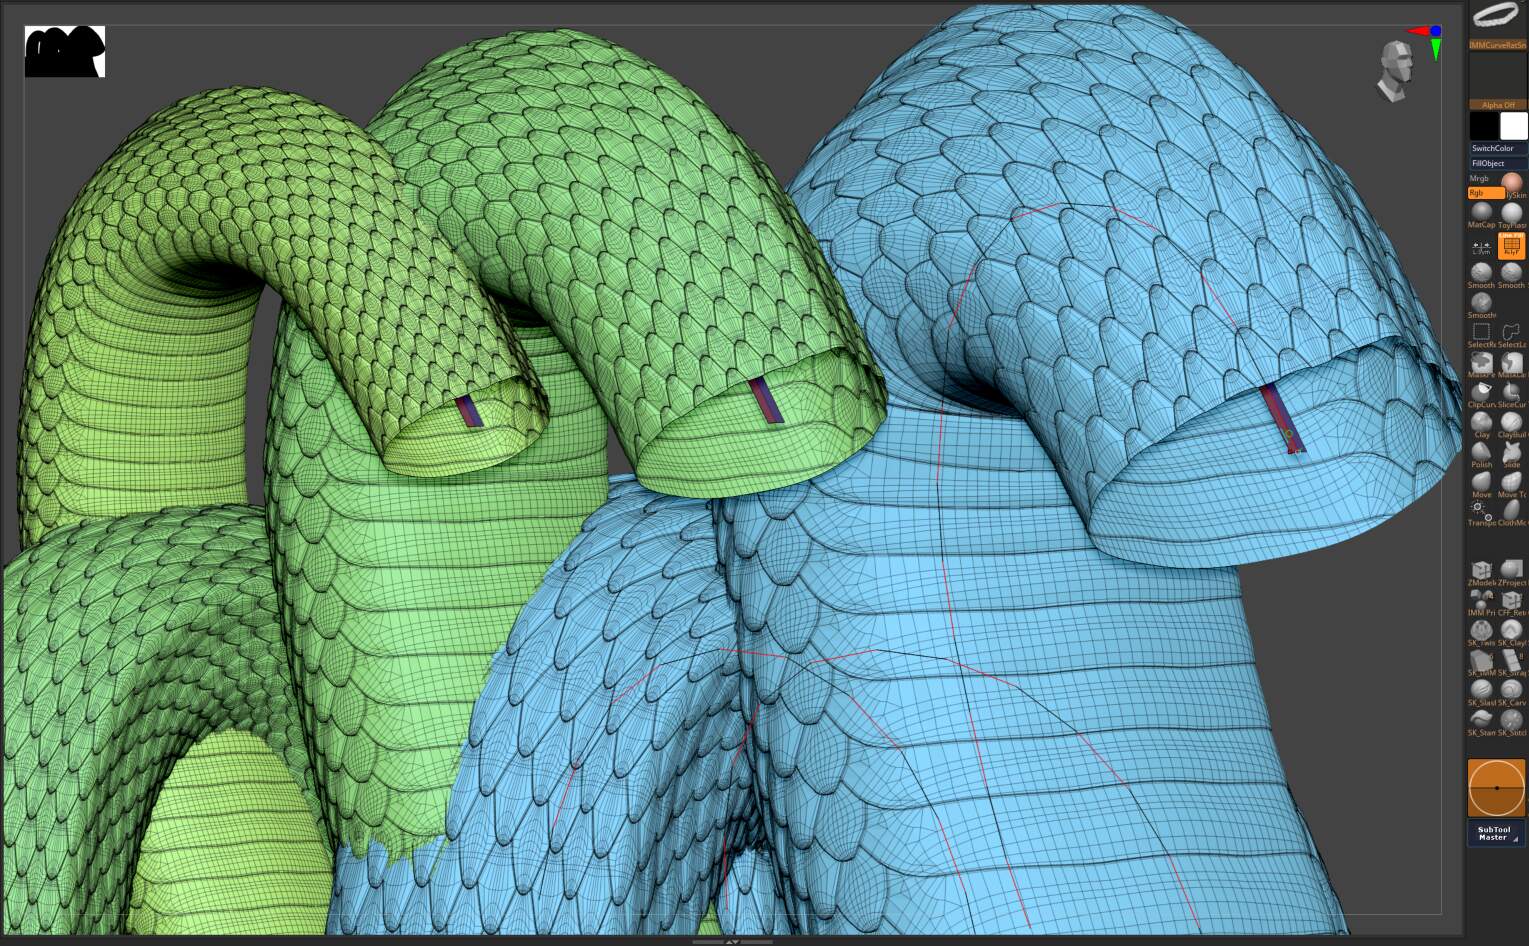
Here’s an image of a snake I modelled in a complex twisting pose. The curve was based on Zspheres reduced to two polygroups and framed by polygroup. The snake body is a profile turned into an IMM brush applied to the curve. The three difference scales are brush size 12,24,36. Modifiers include Weld Points, Curve Res 25, Bend Angle 90. The stroke curve function also includes a profile thickness along the entire length (not shown) so the neck is thinner, body thicker and tapering to a fine tail.
Anyway the point is that I can get a very large body diameter on the curve, in fact so large that it folds on itself (under the bend in the right most example). There are even tighter curves elsewhere in the long model. However the mesh remains cleanly connected and can be smoothed or further sculpted. Also, adjusting Depth: Imbed can help to have a large diameter profile follow a tight curve by having the profile ride on the top of the curve rather than having the curve run through the profile centre.
I think one reason it worked so well was that the profile was constructed so that the verts on the leading edge matched the verts on the trailing edge. Then no matter how it’s drawn out or scaled the weld function works perfectly. Helps to have Preferences:Geometry:Zmodeler Welding Tolerance set to the lowest possible too. You could try this easily with your central body section (green) by projecting it onto a clean low poly cylinder shell, align the leading and trailing verts and then turning into an IMM brush.
Anyway maybe this helps. Good Luck.
@tobor8man Hey thanks for sharing your insights! The main issue I was having I believe was having this all work with a brush with tri-parts, when its just a repeating central part I can just make sure it tiles in such a way totally clean on lower curve step values, or better yet simply adjust how long that central body part is so I can just use a curve step value of 1. But I think you are right here, the best way to approach this is to just not make it a tri-parts brush. Because you can always make that base body as a perfect (non-triparts) brush, and simply dynamesh a head and tail in after. Even those spines can be done after for more variation and better control. I was hoping I could just make a brush and sorta get all these parts connected in one quick brush stroke, but seems there are better alternatives to this anyway. Like if I want only 4 spines on my snake, its better to add them after the fact, then clean up 30 made with a brush that already has it captured in the brush. Ultimatly, I was just trying to do this as fast as possible and ended up going down this big rabbit hole. lol. I appreciate the advice tho, its most likely how Im going to solve this after all.
Honestly, don’t understand the reason to change into more finicky controls