ZBrushCentral

ZModeler Extrude linear to world axis

Hi there,

try to use ZModeler to simply boxmodel.
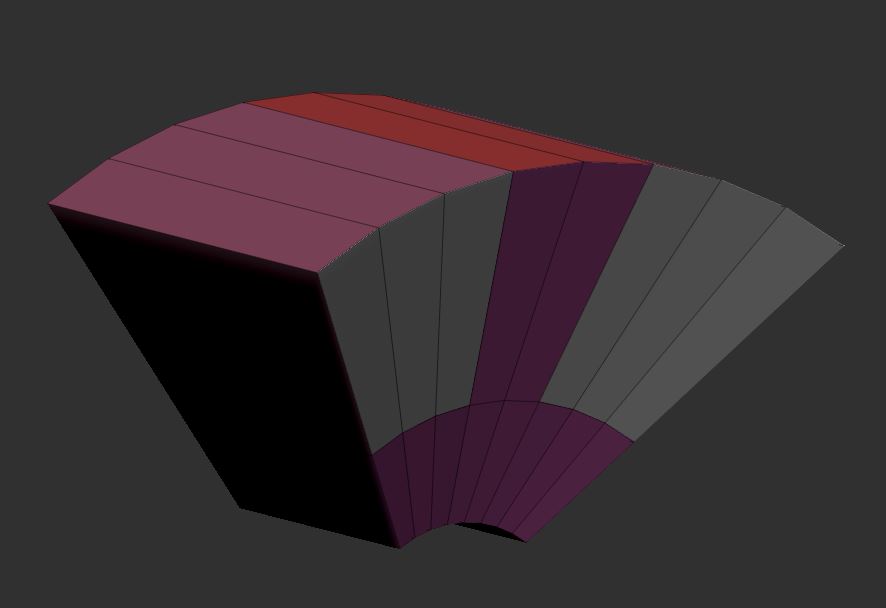
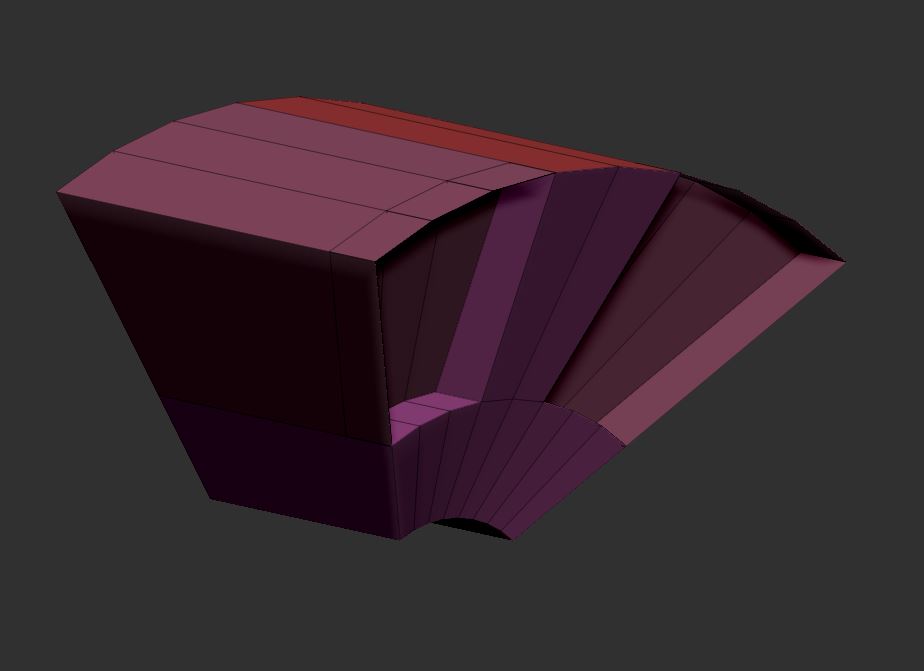
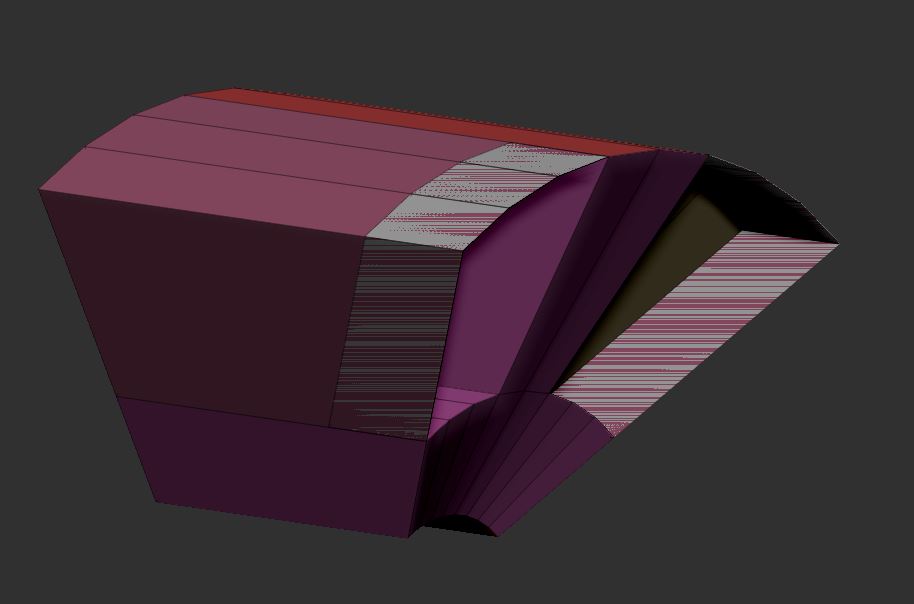
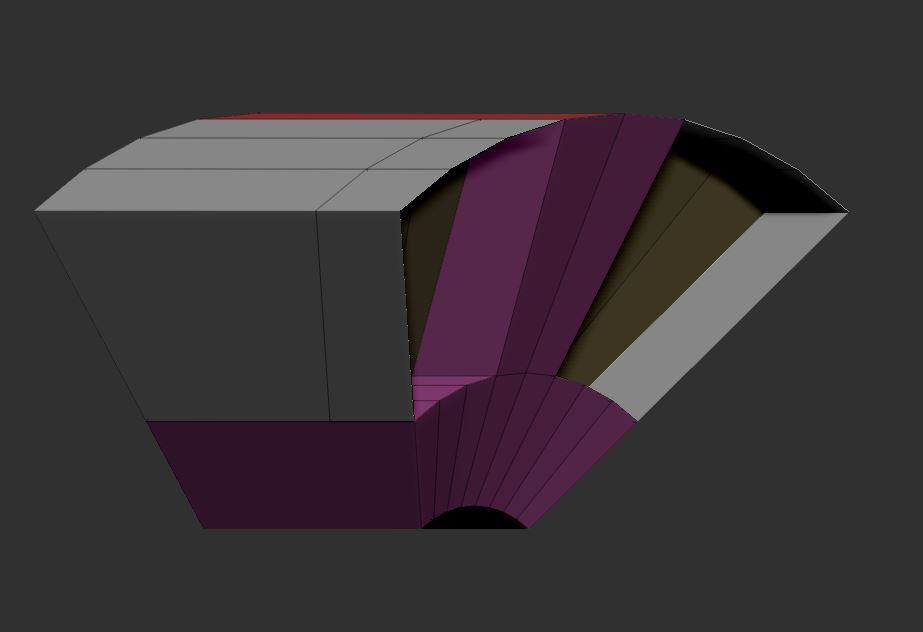
Get a hard time to just try to extrude two polys in z-axis.
The extrude seems just to extrude in object axis,
even when I normalize the gizmo to world axis.
extrude_inside

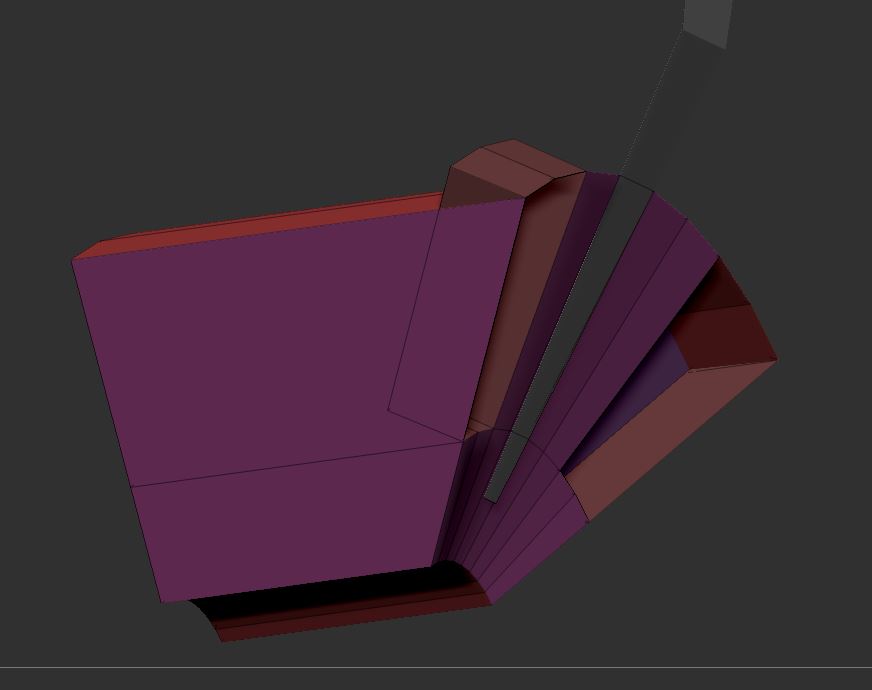
There´s a workaround to mask the polygons and simply
move them with ctrl-on.
But the result is so so… The push outside works here better,
move masked area_outside

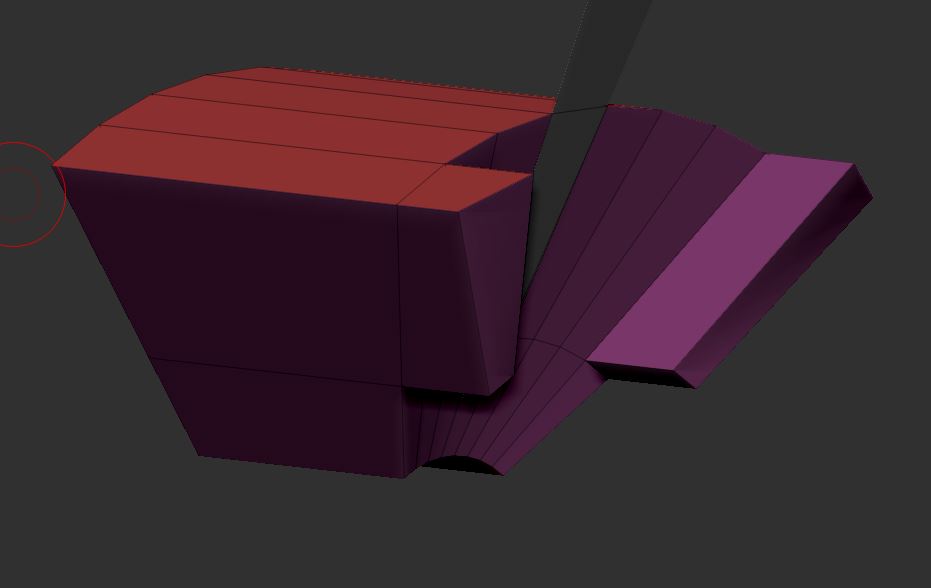
like the push inside either.
move masked area_inside
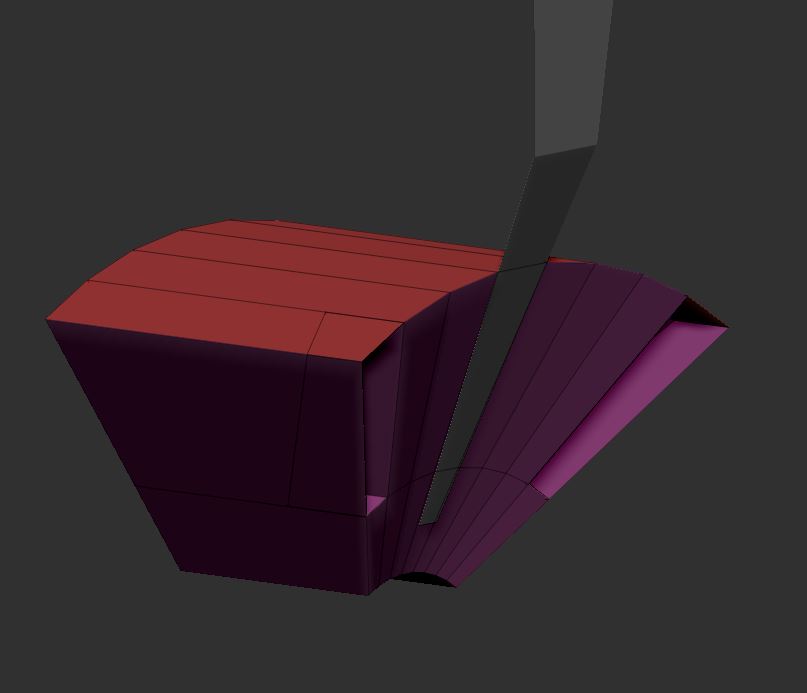
It leaves me with some unwanted additinonal faces around.

I just want to push the polygons inside with no suroundings left.

When I use qmesh, one side snap to the end.
qmesh
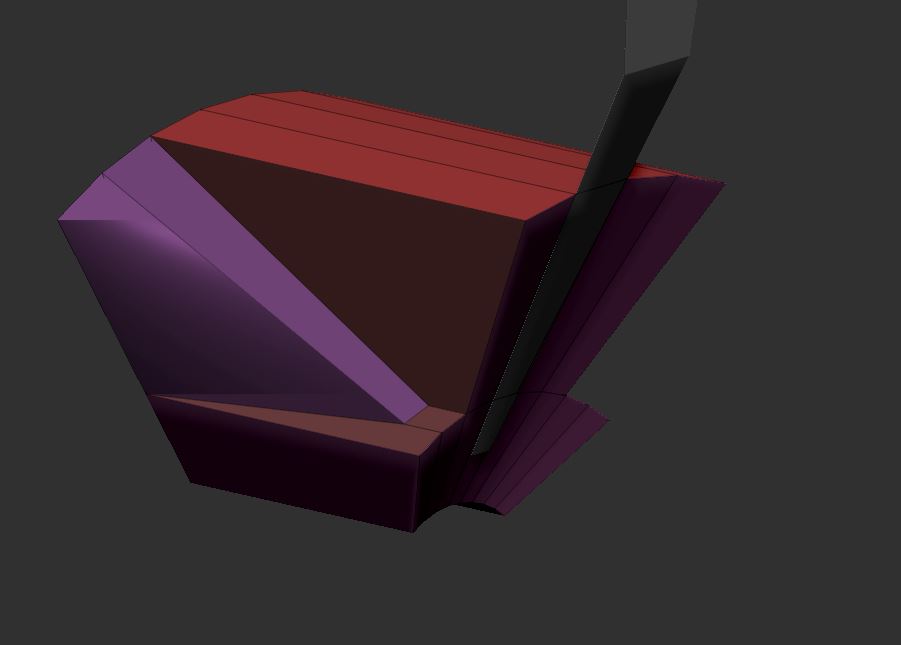
Just want to push the polygons a step parallel to the front inside.

Would be nice if there´s somebody out there,
who have an idea to fix this isue, just with the help of ZModeler.

Thanks a lot.
Regards.

Hello @DarkStar ,

Both the QMesh and Extrude actions will extrude along selection normals. In order to extrude along global axes, instead use the ZModeler> Transpose function. This will auto-mask all geometry except the target geometry, allowing you to Ctrl-drag to extrude it in any direction the Gizmo manipulator is oriented. The Gizmo manipulator can be returned to global axis by unlocking it and clicking on the “Reset Orientation” icon.


Re: QMesh and snapping. Qmesh depends on surface topology for snapping. If it’s not “pushing in” and snapping where you want it, it’s because your topology does not have the edge lines to support that snap.

For instance in the first image where the snapping works the way you want it it’s because you have clearly defined edge targets that the edges of the selected polygon can cleanly snap to on all sides.

In the following image the operation you’re trying to complete does not have this, which is why you’re getting the results you’re getting. You can try to collapse that section of geometry from another direction that may provide a valid snap target, or you can redraw your topology to accommodate the snap that you want.

:slight_smile:

1 Like

Hey Spyndel,

I am not in the office to check in detail what you recommend,
but even from the reading it makes a lot of sense, when I think about it.
I used either the transpose tool to box-model the simple form so far.
I really fall in love to simply box-model the basic shape of whatever
have to be done to achieve a clean topology with polygroups.

So thanks for your reply, I will check in detail, if I continue working on it.
Regards!

So I have give the transpose tool a shot.

transpose_00

With the transpose I can move the selected front polygons a step behind
with automaticly created geometry for second row, while holding the ctrl-tab.

Well, one step beyond.
Unfortunately it will left the edges from of the front polygons where they used to be.
So I still get that unwanted typesetting box character again.

transpose

There is an additional row of faces created.
Which i can select.
transpose_02

But I even when I pick the faces and delete them,
the geometry will stay the same.
Because the origin faces are not effected and stay the same.
Means, they don´t have intersections.
What you see through, are just the faces from inside the box.

transpose_03

I guess you´re recommended solution included a transpose operation,
which automaticaly trimmed and delete all unneeded surounded geometry, right?!

Thanks again to find my mistake in applying the tool.