ZBrushCentral

zmapper screwy map for maya

:cry:
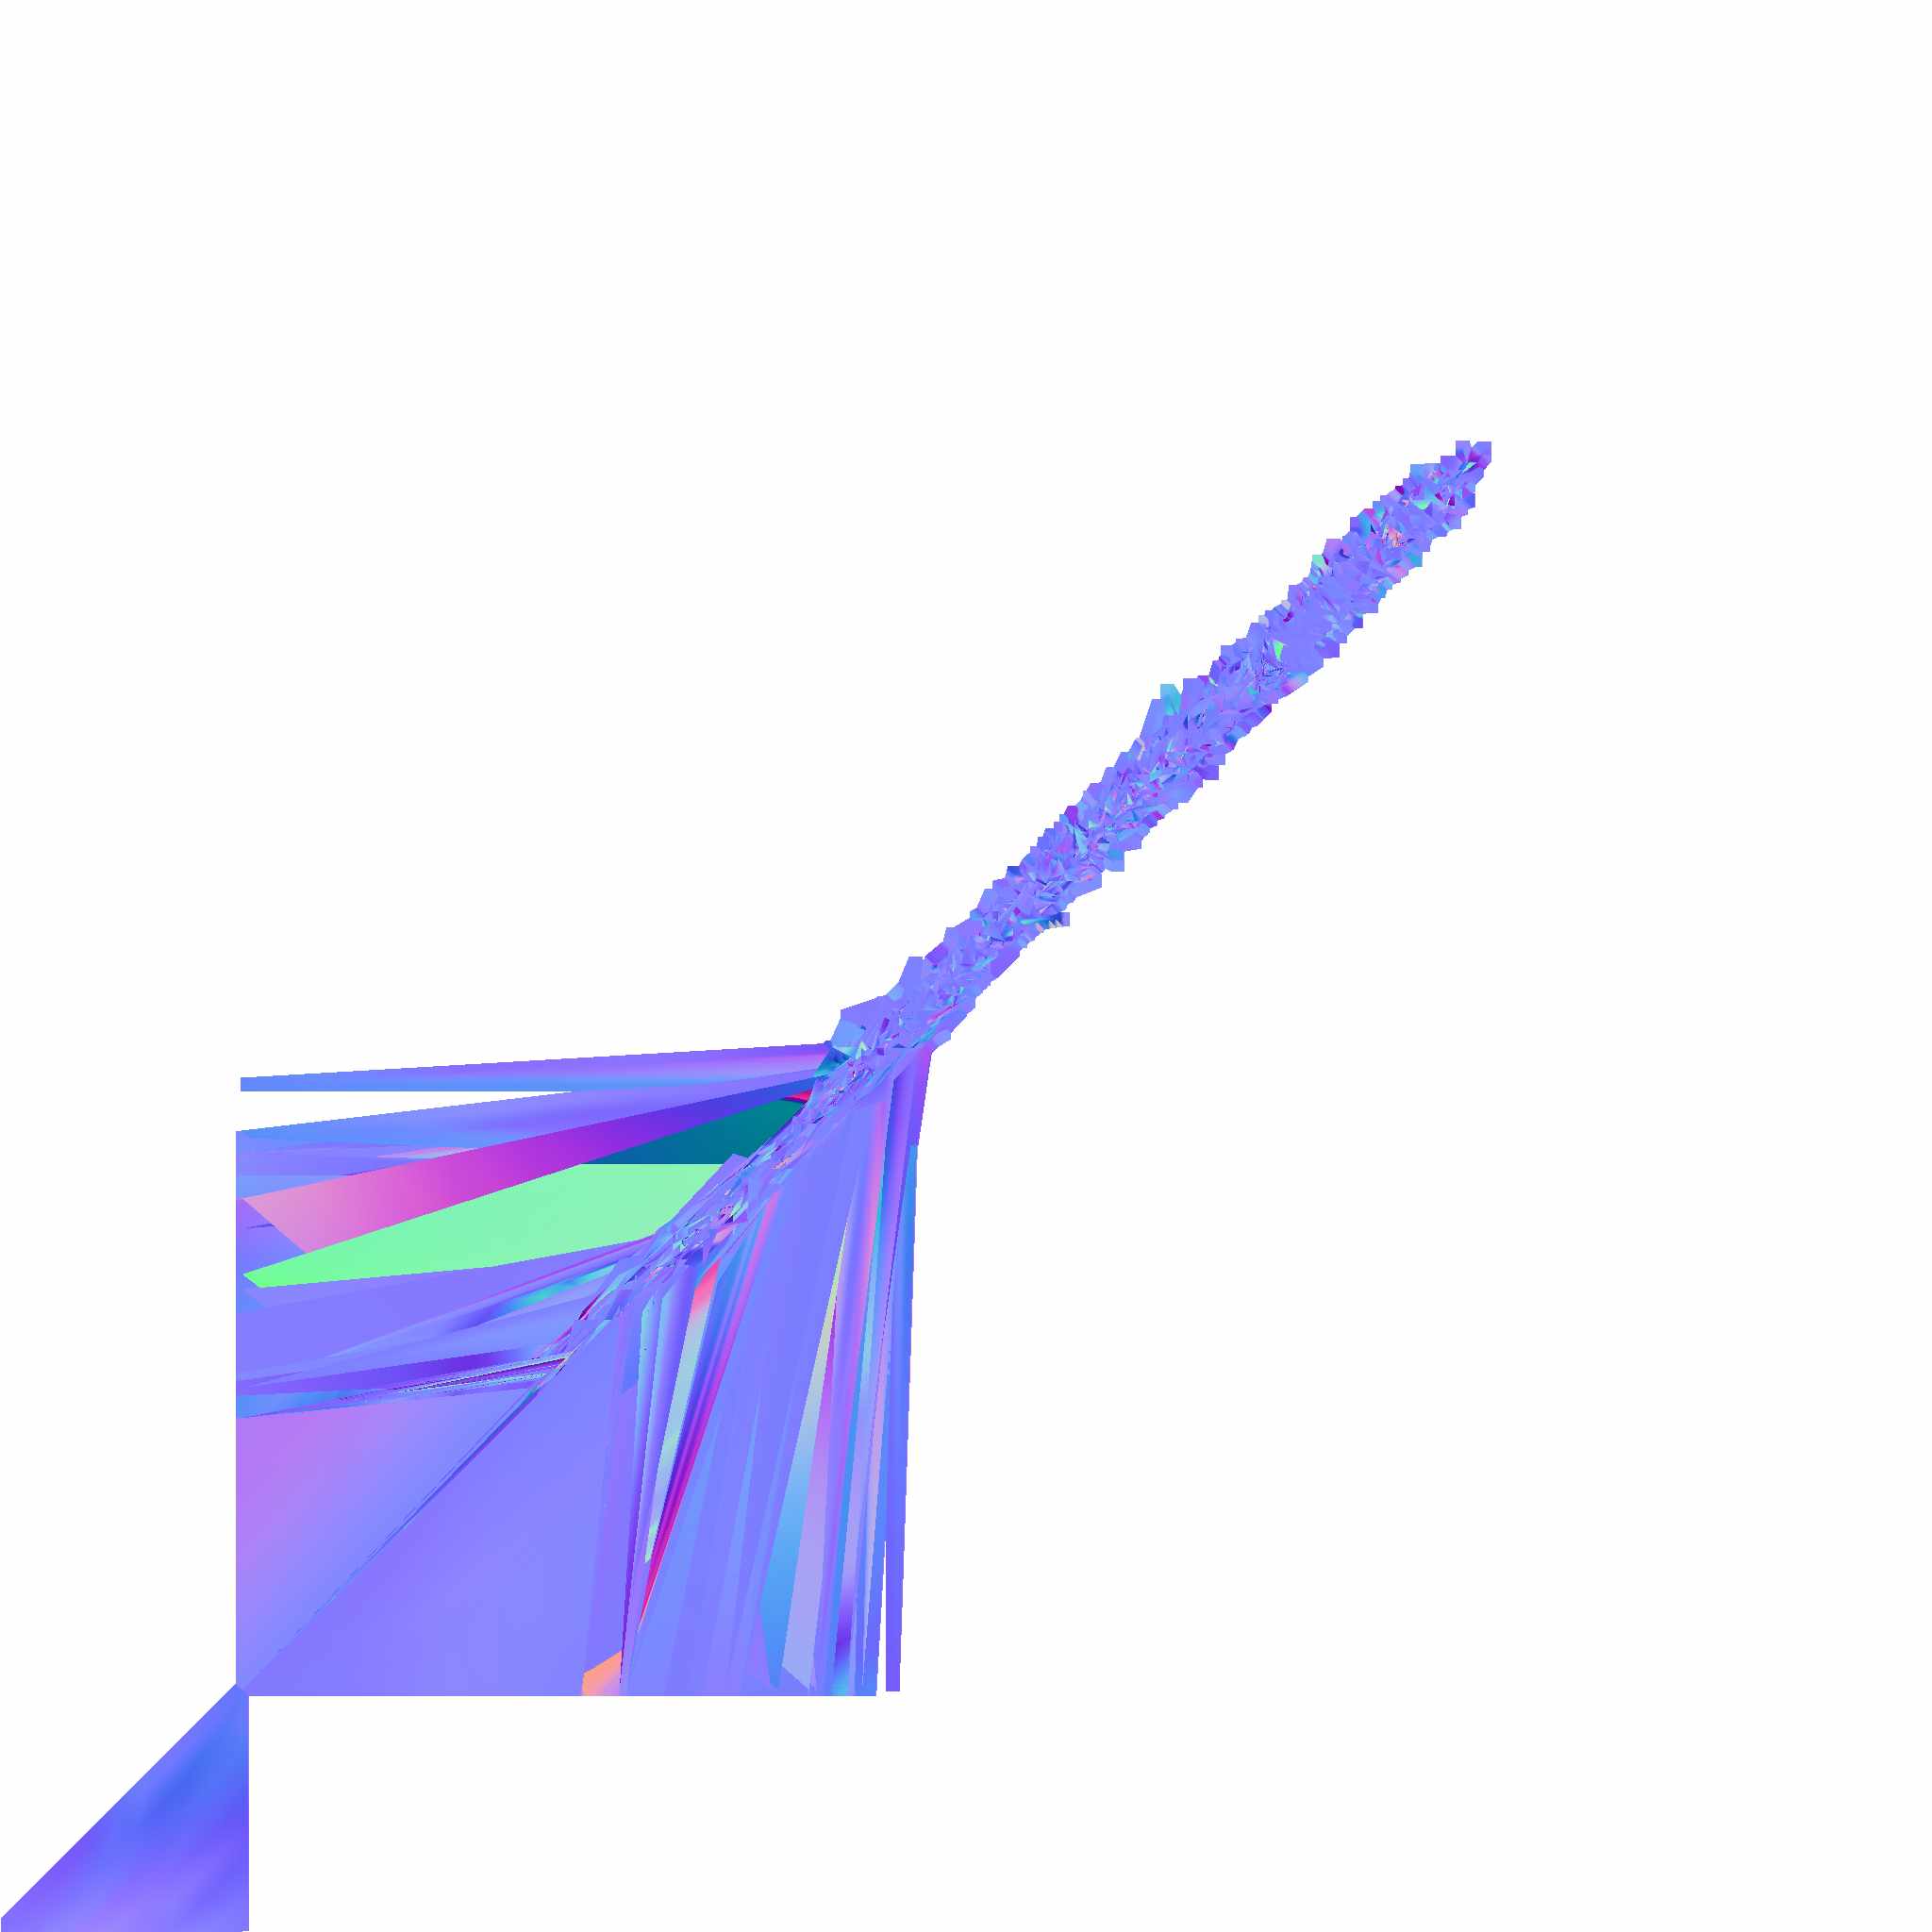
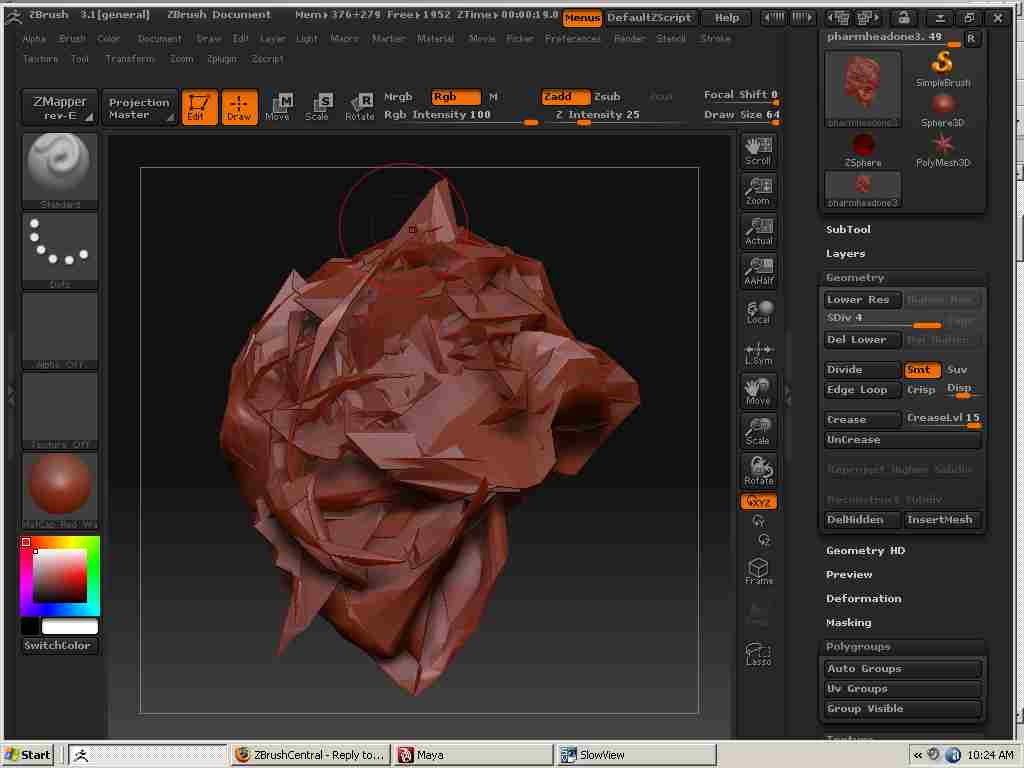
Hi I’m having problems with Zmapper creating maps that are wrong and look like this(file-mikedisplacementmap). I have read the tutorials and I don’t understand why my maps look all screwed up. I provided the screen capture of the model and the rendering views as they appear in Zmapper . Help me please! I trying to out put a displacement map for weeks now and I just can’t get it done. I used the Maya preconfig setting in Zmapper

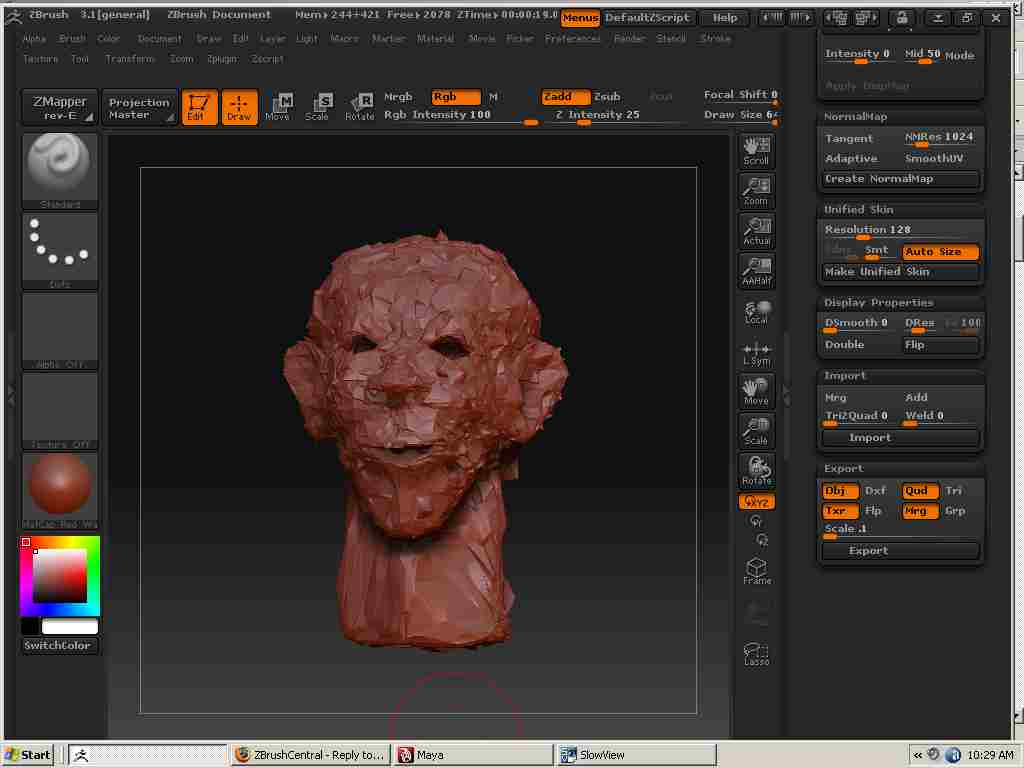
[attach=132369]mike2.jpg[/attach]

[attach=132371]mikedisplacementmap.jpg[/attach]

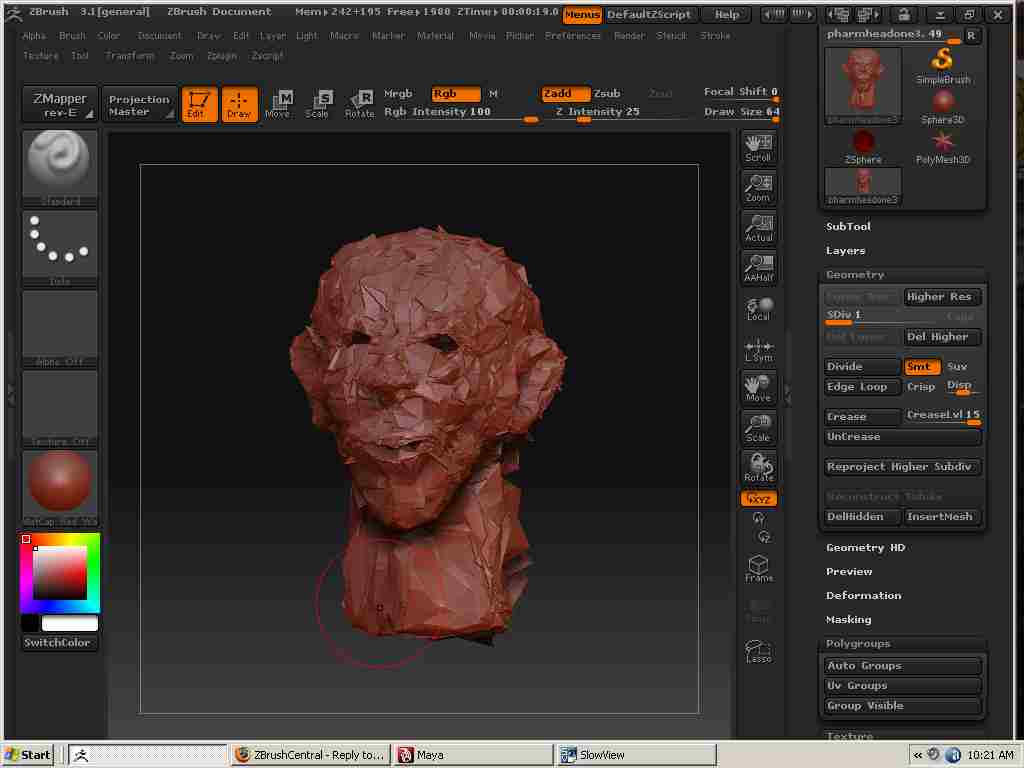
[attach=132373]lowrezmike.jpg[/attach]

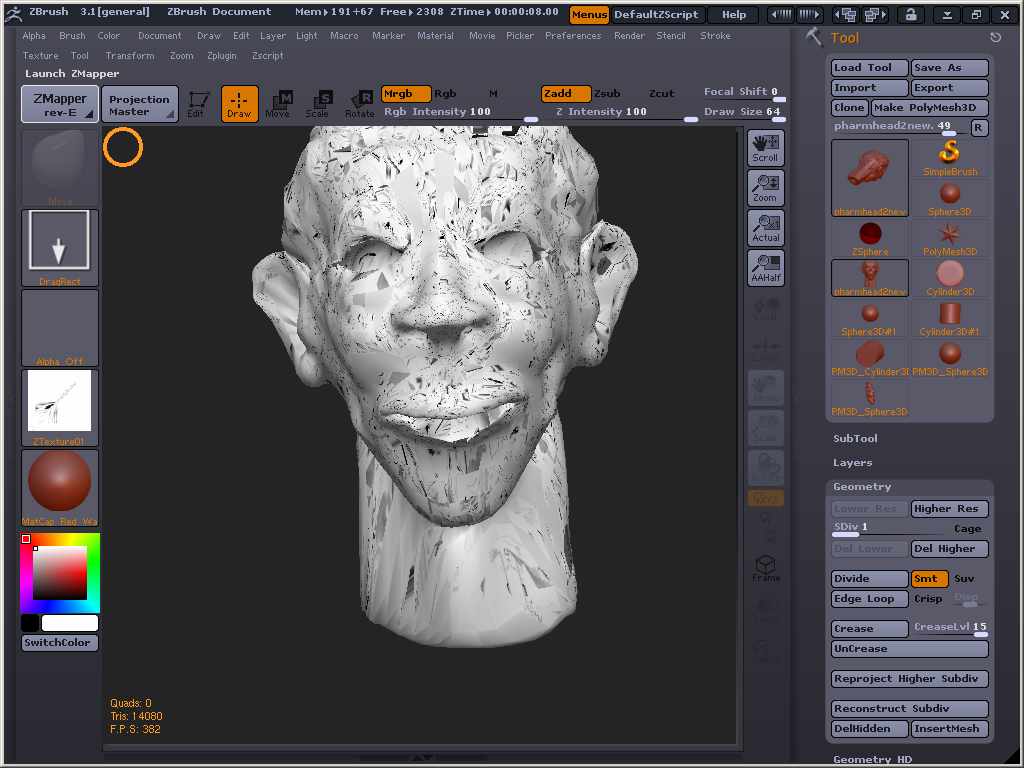
[attach=132374]mike1.jpg[/attach]

Attachments

mike2.jpg

mikedisplacementmap.jpg

lowrezmike.jpg

mike1.jpg

Check for any overlapping UVs. in zmapper there is a button under morph modes “morph uvs” that will show you if there are any mistakes in the uv layout

Ok! you are right. now how do I fix this problem. All the tutorials haven’t mention I would have the uv problems.

you either have to export your model on the lowest subdivision, make new uv’s in whatever application you like (make sure not to change the vertex ordering when importing/exporting, or else your ) and then re-import the model with the new uv’s back into your z-tool.
If you’re not planning to texture it in something like photoshop, meaning that you don’t need to have a sensible looking uv map to paint on, you could always use the AUV or GUV tile buttons under the “texture” tab to give it an automatic unwrap from within zbrush. (be aware that you might get some funky uv seam errors in your normal map by using the AUV/GUV depending on what zmapper configuration you use)

Thanks for your help. I exported the model back to maya8.5 with a low sub-d one and did a spherical map an then exported it back to z-brush. The model is now looks like this. I read several thread concerning import .obj files into and out of maya. When I imported the obj file back into zbrush I clicked the msg button on and off each time while importing in the obj object and they both appeared to give the same results. At the sub-d 4 the model blew-up.See attached images. Now what do? Also I plan to use vextex painting features in my to texture map my charactor.

Attachments

msgoff.jpg

msgone.jpg

mike6.jpg

yeah, that looks like what I mentioned about vertex order when importing. When you import to maya, make sure that the checkbox for “make duplicate object” or something like that is unchecked, otherwise maya will rearrange your models vertex order. Then it should be easy pickings from there, just export it and import it back into zbrush with the default settings.

One thing though, if you want to use something like spherical mapping or similar, take a look at the uv’s in the UV editor before exporting from maya to check that you dont have any overlapping uv’s, like in the nostrils, eyesockets etc.

When back in zbrush, you can just hit the “UV check” button in the texture tab to see if there are any bad UV’s, as they’ll turn up red in the texture the uv check puts in your texture slot

hope that helps :slight_smile: