Hi all,
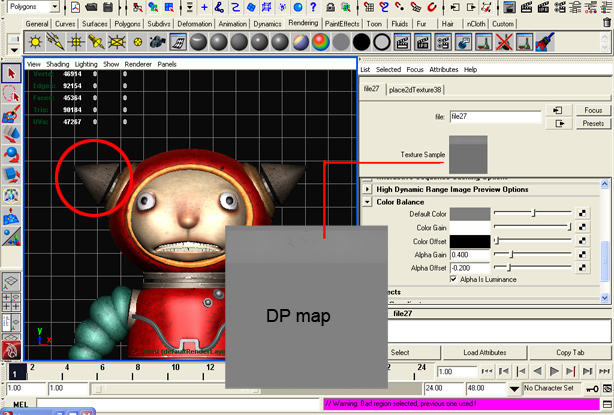
I created my character using maya 8.5 and sculpted the facial detail using ZB3.0. Exported out the displacement and map to maya’s displacement node. So far so good. But one thing i notice is dat , due to the gray color for the DP map, my model appears slightly " bloated".
I have adjusted the alpha gain /offset accordingly ---->
alpha offset = -1/2 alpha gain
I have the displacement uncheck ( attribute editor)
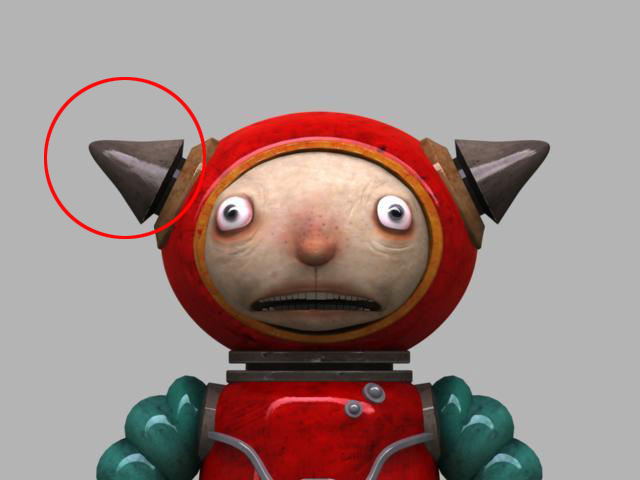
For part that has sharp point, it appears fat n rounded due to the gray I suspect. Tried various of tones, but some how I cant get the places which I do not need DP to be even. The map add DP effect on areas which I did not sculpt ( in ZB)
Can anyone know how to avoid this? Meaning for places where I did not sculpt, it has no DP effect. I attach 2 pics , hopefully these help get the message across.
Thanks.
Attachments