I also managed to reduce my rendertime from 18 minutes to 38 seconds with my next product, an elaborately sculpted gothic furniture piece.
- Important to start a new scene in max
- Set Units to meters
- Import your lowpoly
- Scale it to life size, my model was 1.4 meters high
- XREF isn’t needed, “select all vertices and scale only in that way” doesn’t seem to matter, since Zbrush will reset your scaling changes.
- Export this scaled model to your Zbrush scene that contains your hipoly model
- Import the scaled lowpoly and attach it to the subtool of the highpoly
- Deformation —> Unify XYZ appears to make your models to “jump together” and re-sized to same size
…Here helps if you corrected scaling earlier, imported a life-size lowpoly model, reprojected details onto it, so your hipoly and lowpoly models are relatively close in scale. This usually happens when you build a rough lowpoly in a modeler then create a hipoly from it in Zbrush, then retopologize the hipoly with Zremesher, resulting in a quality lowpoly model, which you take in Max to UVW Unwrap.)
- Select your hipoly subtool element, create a displacemap from it
- Export the lowest subdiv level of your highpoly
- Import the lowest subdiv level of your highpoly in Max, you will notice that the scaling changed few centimeters
- Notice your Units were set to meters in step 2. DO NOT re-set your Units now its too late, begin new scene again if you forgot.
- Set Renderer to Mental Ray, use basic settings for render first, no lights, no textures just Arch&Design as Wayne Robson shows in his video
- Notice how fast the rendertime is, mine was 18 seconds with default FG no lights, one plane for the floor on a 3.35Ghz E8500 Core2Duo 6 years old machine!
- Add diffuse texture, one light, set MR to more optimized settings: 38 seconds. Still fantastic compared to 18 minutes of my earlier finished product, see on above pictures.
UNITS SETTING WARNING
Do NOT set your units late, when you already imported your lowpoly and scaled it into a fresh scene for the first time!
Always set your units first, set renderer to Mental Ray, then import any lowpoly.
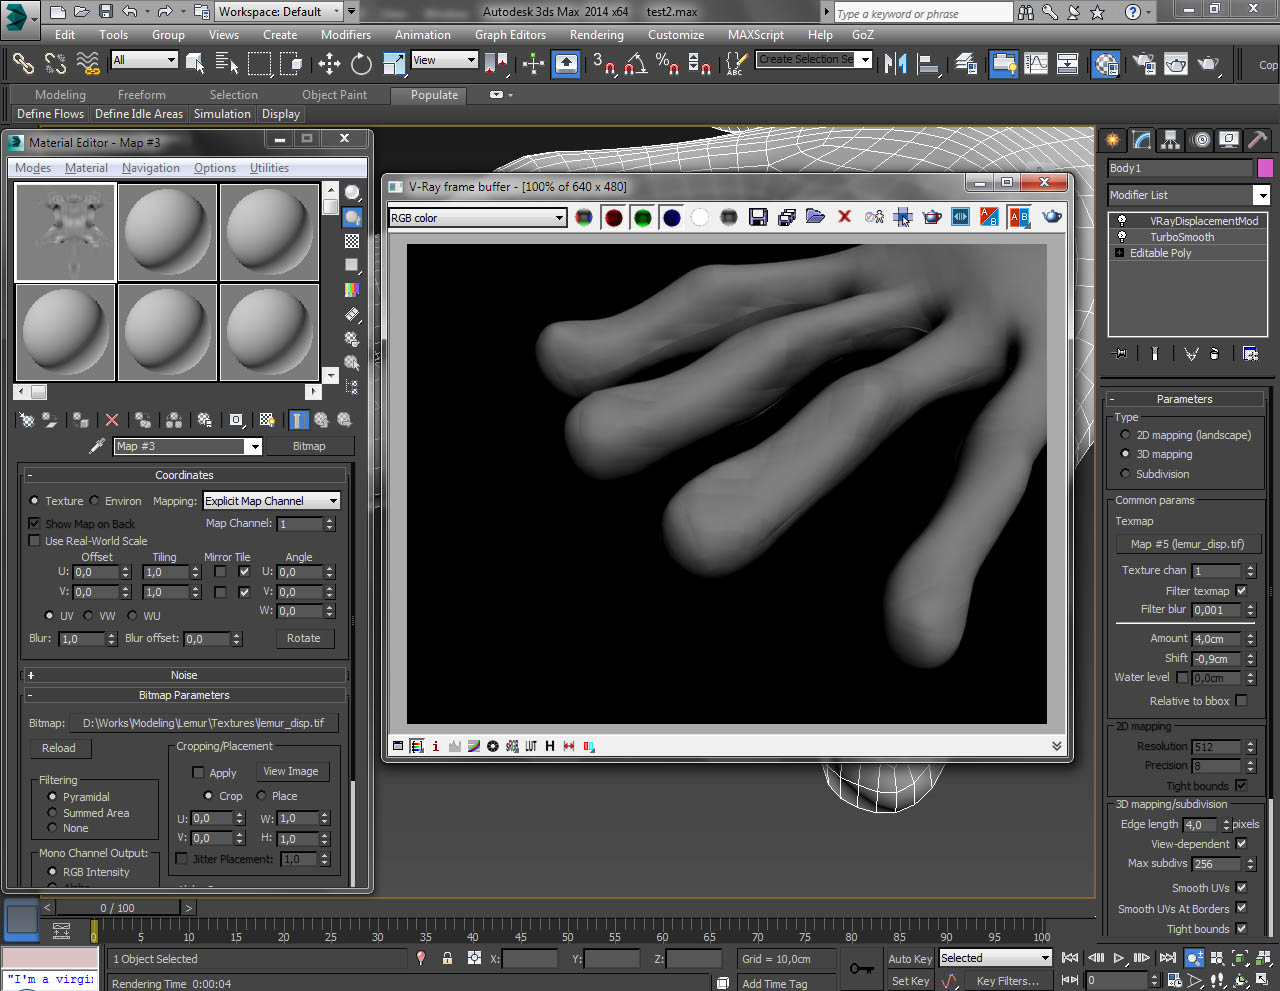
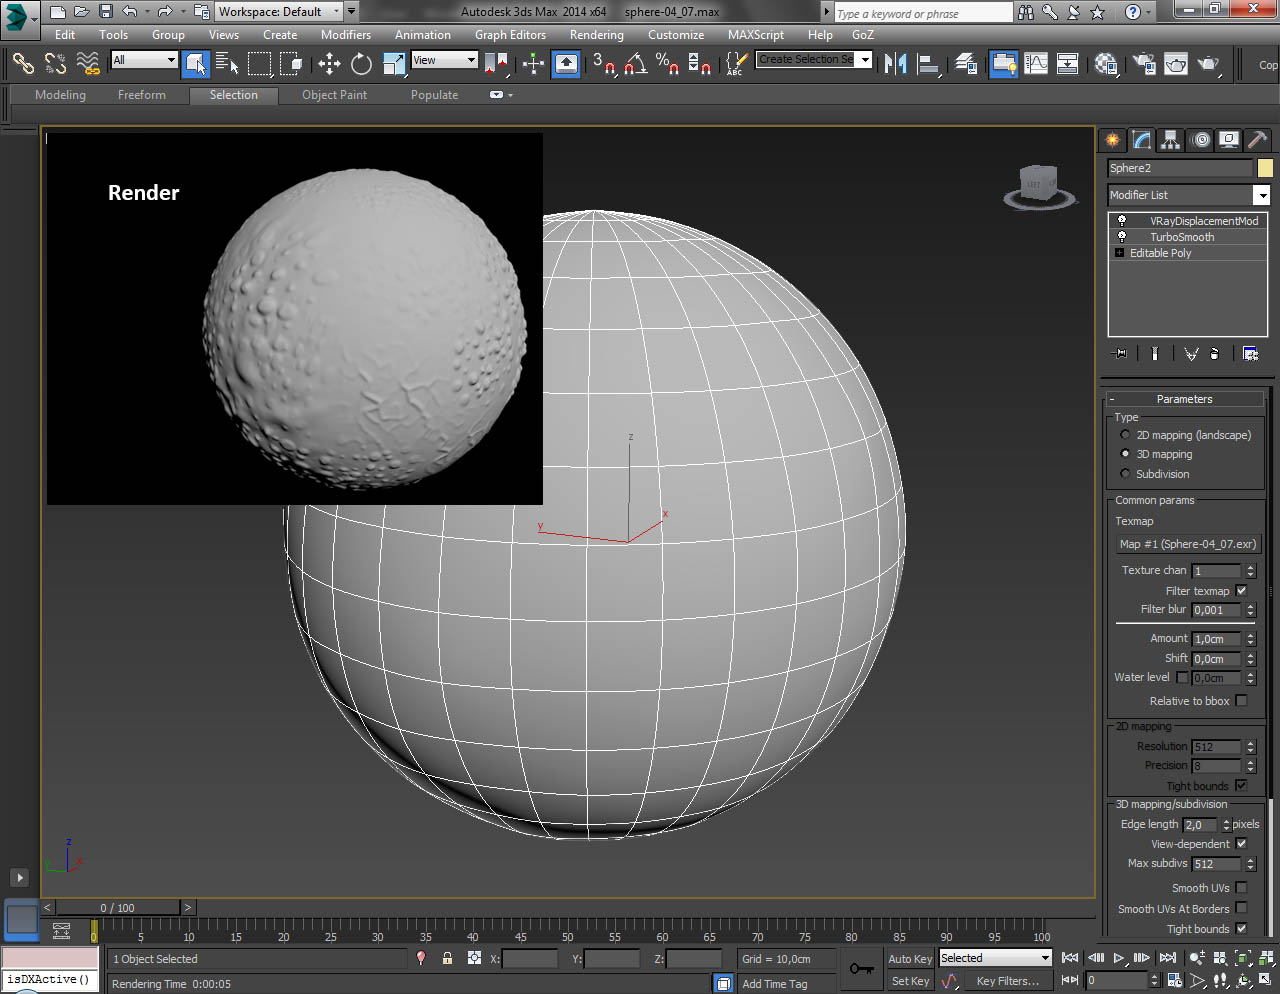
This is important, because you must see in the Renderer SHADOWS & DISPLACEMENT settings , with the “View” checkbox unchecked Edge Length: 0.002, or with view checkbox checked Edge Length: 2, also Max. Displace must be 0.02m or something similar if you do a furniture, those are usually 1 to 2 meters in height, approx.
So its important that Max + MR is set to Meter Units (or what units you prefer) FIRST and then Max + MR must detect the correct displacement scale and show it in the Max. Displace field!!! This is the key for lightning fast render.
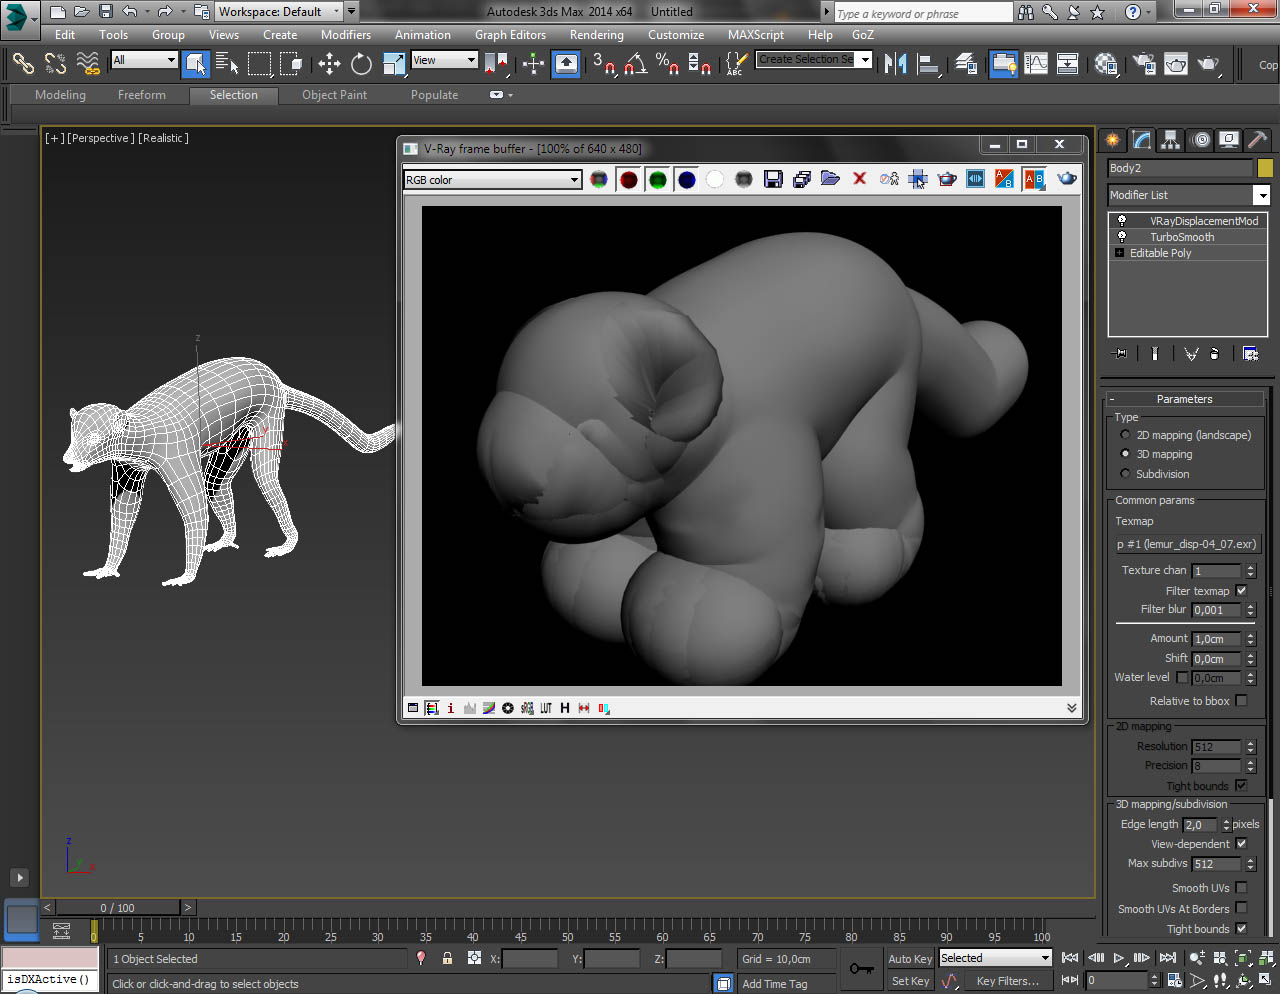
What happens If you set UNITS late or use old scene with different units:
You mess up Max’s “Max. Displace” value detection and Max’s internal displacement scaling and Max will take to render your MR scene FOREVER possibly using up all RAM then exit with “Not Enough Memory”.
So this is a great help = remedy, if you are stuck. Valuable Trick&Present Tip for you, have fun! 


 Wow, can’t believe I finally mastered displacement rendering, what a stupid ignorant lamer I was.