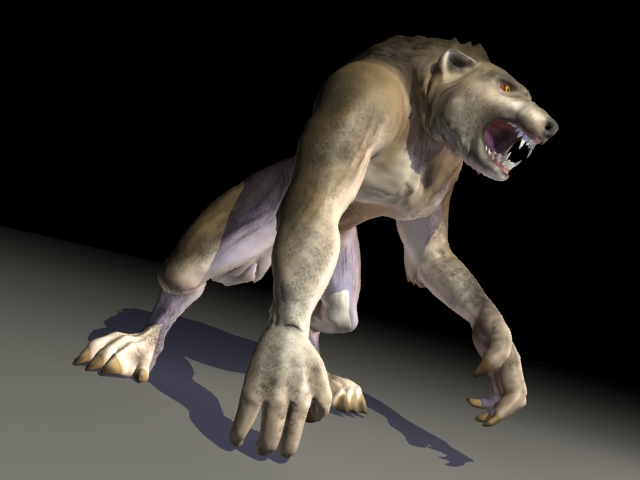
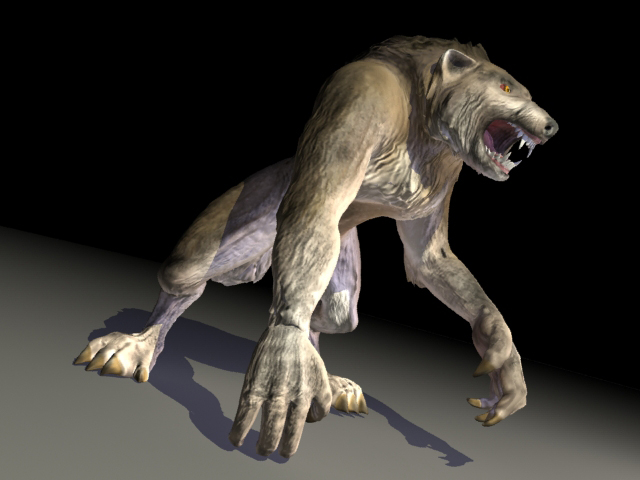
Does anyone know of a good tutorial for capturing Zbrush detail on a low-poly (60k) character in 3DS Max? I have a model with a lot of sculpted fur, however when I bring the normal map into 3DS Max, I haven’t been able to even come close to reproducing the level of detail from Zbrush. I have primarily been using normal maps rather than displacement maps, however I’m certainly open to the best overall method. I have to keep in mind that the character will be animated and morph targets are going to be applied.
I have generated the normal map in Zbrush using tangent and tangent/adaptive. I tried adaptive by itself but the subsequent map didn’t look anything like a traditional normal map.
I’ve applied my normal bump at about 1.0 with the bump setting at 50. Since normal mapping is a light trick, I also included 3 point lighting using omni’s. Unfortunately, I’m still not seeing any real detail from zbrush. When I increase the bump amount, my detail looks really distorted. I must be doing something wrong but I don’t know what that might be. I see plenty of models brought over from zbrush to 3ds max that still retain some amazing details. I believe my normal map is 2048 x 2048.