Thanks Jason, but it seems there is a missing ztool:
Unable to open file; “head scarry looking head 21”.
Yes im getting the same error message
repaired i think i zipped up the tool within the alien autopsy.zip.
this is why i don’t usually do z-scripts;)
Thanks for the quick fix! I can’t wait for the videos!! 
thanks again jason its greatly apreciated and way more practical to do deformations and fine detail on it now thanks again!!
Ok topology is revamped totally. This is a long one peeps just watch the first video it has an intro at the beginning explaining everything.
Video topics include the following
Sculpting a critter out of a ball
Subtools
Mesh combining
Mesh mirroring
Re-topology
Mesh projection
Lowering Resolution
Really helps gathering questions from that chat channel then making the video. Sort of like a field study of artists in the wild 
[ ](javascript:zb_insimg(‘61528’,‘zbrush3_retopology2.jpg’,1,0))
click the link to the houseoftutorials.net in my signature and its on the zbrush page
(again thanks goes out to peter for supplying such a great server to allow me to do all this) I will be relinking houseoftutorials.com but waiting for the traffic to drop a little.
Wow, 4 videos! You are awesome Jason.
WOW wait till you see what else I figured out.
Changing the topology without redoing the entire topology over again.
insane!!!
say just adding a new object to a pre exsisting object and using the old toplogy as a template. this way you dont have to make the whole topology rig
bonus video added that will add somthing new into the mix
http://www.houseoftutorials.net/nolinking/zbrush3_topology3.wmv
Holy Cow!!! Thanks a million!! These are great! 
Yawn- Stretch- Reaches for coffee- Takes a sip- Pushes the Magical Dreamweaver Button.
And presents to you
My workflow
Developing my workflow was Key before I start sculpting alot of creatures and things. Some people develop a workflow as they work. I think backwards so I try to establish workflow and tool knowledge first that way I can just sit back and be an artist and not a techy that knows how to sculpt;) Enough blaber on with the show.

Intro / ZSphere Model Topology Change / The Sculpt / Eyes / Pixol Painting / Teeth / Finishing Touches
wowowwww thnxx dudde…i collecct them all…sooonn
Jason,
Thanks so much for your interest and energy in supplying us Noobs with such excellent tutorial info. I have a question, though: I have always been taught to avoid any but quad polys and to avoid anything greater than a five point spur. Yet, these demos all include tri-poly’s and six point spurs. Should we strive to eliminate these on our own or are these strictures unecessary?
Thanks!
~S.~
Once you start to see where a triangle will not hurt the over all sculpt then Its exceptable. Thats my opinion. I sculpt with triangles all the time. But the triangle will be in a location with a harsh change in direction. Lets say a tip of the horn for example. And the back of the throat. But I would never try to put it in like a cheek area, nose or anywhere skin lays on bone mass. Because you wont get a smooth surface. If you are new at modeling I would say try to keep all quads except for the two situations above until you get to know why a triangle are bad. Then when you start to learn what flows well I say use that triangle 
Of course let all the modelers out there start beating me down for telling you that but I’ll stand up for triangle.
the 5 and 6 point stuff if you look at in topotools it actually gets converted automatically to a quad and a triangle data. Thats why this topo stuff is a very exciting way for the artist to be a artist again. If you see the combo is in a bad location thats when you change the 5 point to a directionial change poly and aim for a hole in the mesh to flow the line into.
Thanks, ‘Doctor J’ !
You da’ man.
You are able to differenciate ‘Tradition’ from ‘Rendition’.
Question: Do you construct a character differently for illustration than you do for animation or do you have a single approach that accomodates both? Clearly, a layered approach to capturing a 2D idea does not require the mesh discipline that animation requires.
Also, in the section on subtools and eyes, when you slide your cursor down to the color palette during the section where you extend the color of the eyes, what exactly are you doing? Are you picking color from the canvas or selecting color from the palette? How, exactly, is that done?
~S.~
For illustration we as artists have to worry about color more than anything. And of course balance. So when I constuct a character for Illustartion, its those things I worry more about heres an example

Where the red dots are is where a edge loop goes that way I can mask the area off using the polys themselves as a template. And I can seperate the armor color at a very sharp edge.
So illustration, its no holds bar on the amount of polys unless your rendering it outside of Zbrush. But its that flow I try to make.
Animation Is all about Joints and Bending areas with exception to the face. so I add better flow to the joints on polys then I do the larger areas. Animation is very strict when it comes down to triangles on joints THEY ARE VERY VERY BAD. They dont bend at all!
I would have to say the following is good for illustration and bending
- Always the best flow in the face!
- Even spaced polys are the best to sculpt on!
- Elbows, Leg and Finger joints at least 3 edge loops at lower levels that way they divide flexable.
- Creative flow on non organic objects really trips people up.

oops think I missed somthing also. With illustartion your target audiance is THE most important thing when it comes down to your final composition. If that composition has a character with hands and they are not attached at all to the mesh (example) does your target audiance know that? How you make your end product with a character (eyes attached to mesh or floating inside mesh) Seperate subtools on every body part on the character. As long as you can puzzle it together in the end and make it believable than thats all that matters. I also believe in post work compositions for color overs. Taking a black and white render and painiting it photoshop really can give it more of a traditional art look.
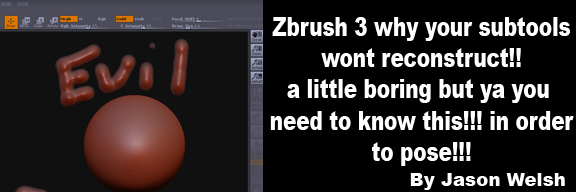
wow really did not know where to post this.
Since the first video effects everyone here in the community that makes subtools. I guess its a Zbrush thing;)
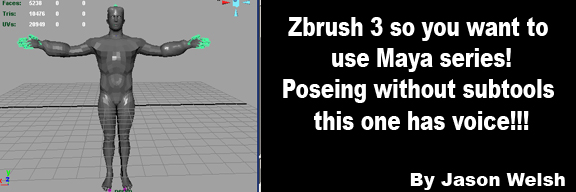
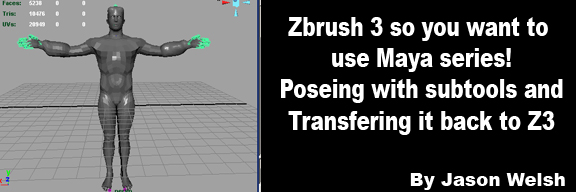
So here you go. These videos shows how you can use a 3rd party app to pose your characters
Way smoother than transpose!!!
for more info you can read this post
http://www.pixolator.com/zbc/showthread.php?t=47743
http://www.houseoftutorials.net/page2.html
enjoy the ride!
The downside is weighting out your character but WELL worth it. The third video has a link just below it, to help you with weights;)
Attachments
Jason,
You da man! These tutorials are VERY timely!