ZBrushCentral

Zbrush 3.5 cannot render fine details in Maya 2010

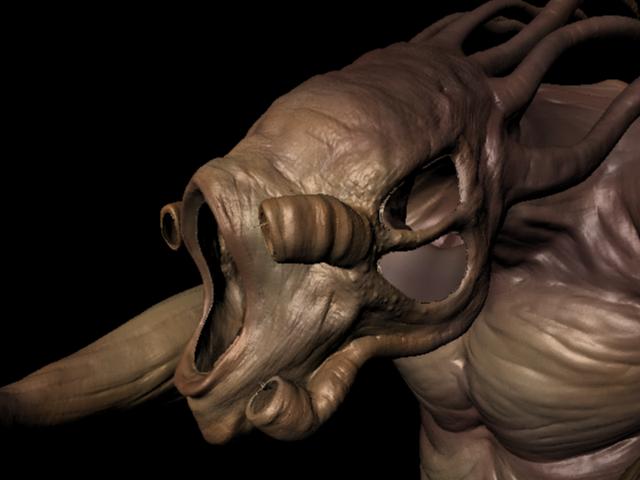
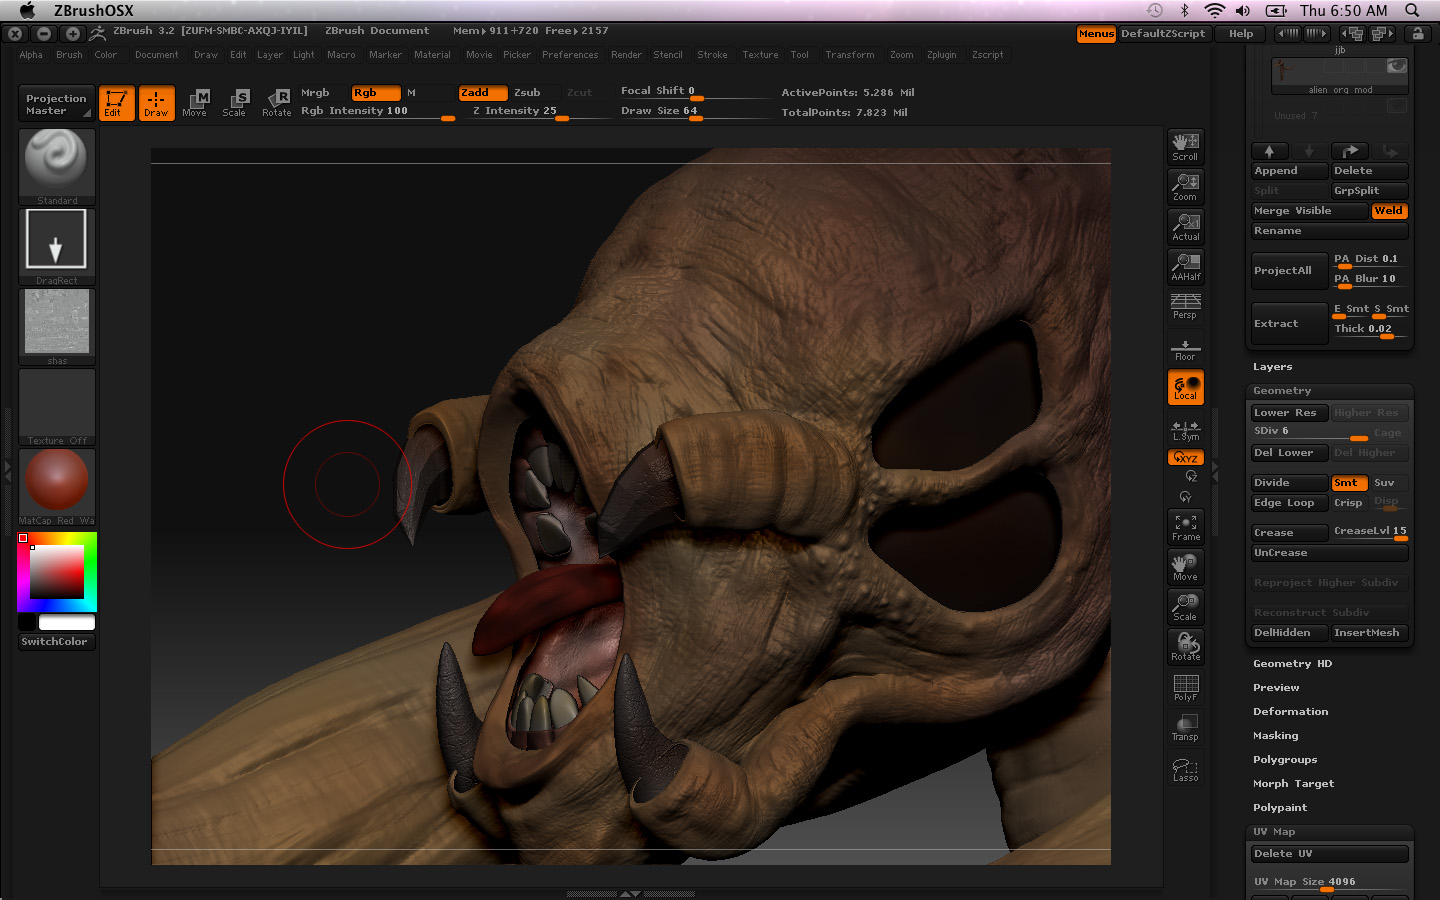
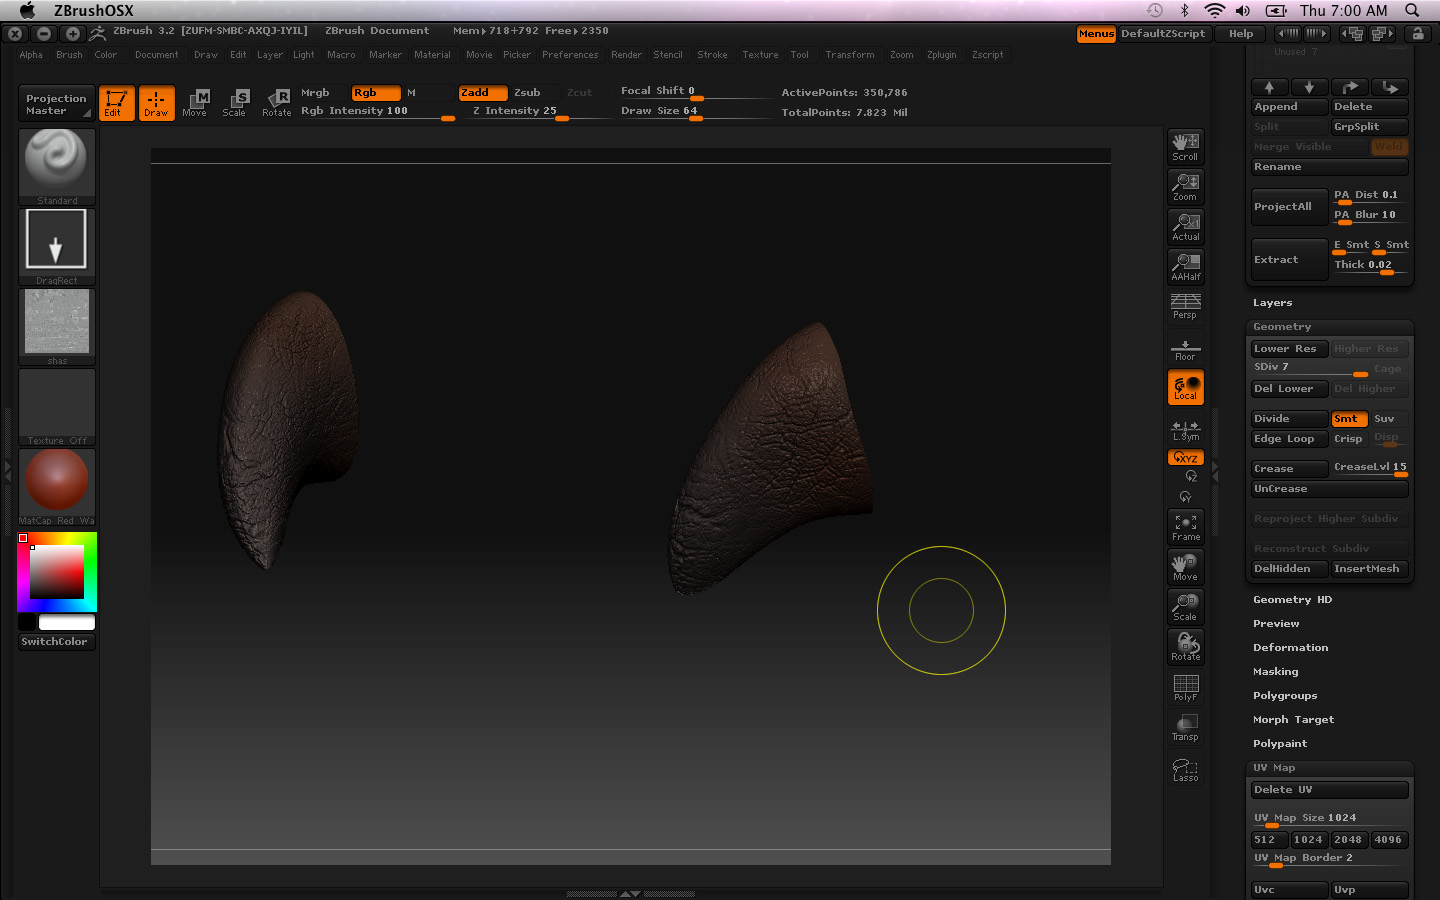
Hi guys. I am hoping someone can help with this. It seems that after I created my disp map in zbrush 3.5. with Smth UV adaptive and flip V turned on, and bring it back to maya, the finer details cannot be seen.This is the model i did in zbrush and the render image in maya.
I dont know what im doing wrong here. I taught with zbrush 3.5 it should be easy. When i used to do it with 3.1, at least i could get the fine details in my alpha and stuff out. This one the details cannot really be seen. Anyone have any ideas?

fena.jpg

Attachments

Screen shot 2010-02-04 at AM 06.50.23.jpg

this is a more obvious eg. All i did was aet my texture and the settings of the disp map ( I tried all kind of setings dint work)

feass.jpg

Attachments

Screen shot 2010-02-04 at AM 07.00.40.jpg

i have similar problems too, but try to export it as maya file it includes the displacement and textures with the right amount of alpha gain etc. maybe that’ll work for you

yup thats what i did…still doesnt get the details out. I tried exporting ma files and using that go z that is supposedly to help.

Did you try create a disp map at different subdiv levels? Did you export a 32 bit map? A standard map probably won’t capture all the detail you need.

hi brettSinclair
do you mind sharing how do you go about creating ypur disp map. Because I did try creating 32 bit maps with a few settings. Just wont work like how we use to do it using Disp Exporter 3. Thanks

hmm.

Well there are a few ways. If you stored a morph target for your model you should switch the morph target then generate the displacement map. If you didn’t just export the mesh from zbrush as your new model. for maya you need 3 channels clicked on, Flip v on and 32 bit on. Then click the create and export map button.

The new displacement exporter isn’t as complex as the old one so I’m not sure what to say really. Though in maya are you setting your alpha off set to negative half of the alpha? That could also be another issue? Another issue could be the scale of the model in maya compared to zbrush. I generally end up playing around with the alpha settings in maya till i get what zbrush has.

I dont think its the scale issue coz i dint touch that. The only solution i found is to download xnormal and generate yr disp map to normal map using that and than put it in ur bump. But that doesnt give u exactly like z brush. Anyone else have this same problem. I cant be the only one.lol

I had to experiment with the exports and when I did it is never the same looking as was in Zbrush. It almost looks like melted paint than the quality detail. Hmph.

Your renders look like you’re not restoring your base mesh prior to creating the displacement map. This is critical because multi-resolution rules dictacte that any change made at one level of the mesh affect all other levels when you change between them. Dividing a model causes it to contract, and when you return to level 1 that contraction is carried back down. If you immediately create your displacement map without restoring your original base mesh this results in values that are too strong for your model. As a result, your renders end up looking bloated and fine details are lost.

I have explained many, many times how to restore the base mesh. Just do a search for posts where I’ve said “restore +base” and you’ll find several step-by-step instructions. :slight_smile:

Hi,

I have the same problem. I have a level 7 poly. I changed level 1 and export the obj. I set the uv map size to 2048. At the displacement map menu I used: adaptive on, smoothuv off, flip v on, 3 channels on and 32bit on and leave scale at default 1. I clicked the Create and export map to get tif. Then I used the obj and the tif in maya. Import obj, made approximation editor, turn off default displacement on obj.shape and assign material to obj. But the result was a very low detailed render. When I changed the displacement scale to 100, then I get a very over displaced result. So my question is how can I find the appropriate scale value to get the exact poly which is in zbrush level 7? How can I determine it without guessing?

here is the two pictures:
scale 1
scale 100
I want it like this at the top right

thank you very much

What I suggest. SInce till today there is no proper tutorials teaching us learners nothing. Just go back and use 3.1 and doit the old skool way and prey to god that Zbrush 4 has a displacement exporter or something to solve this ridiculously frustrating problem

thank you very much

Just wanted to say the the zBrush 3.5 displacement seriously S**KS.
I wasted so much time trying every single setting and it doesn’t work.
It is a shame.
And I had a workflow in the older zBrush that was working very well.
:td: :td: :td: :td:

Thank you for your help