ZBrushCentral

ZB4R3_How to Export Polypaint texture to another zbrush object ?

Hello,
I have a little problem with texture saving/exportation within ZB4R3.
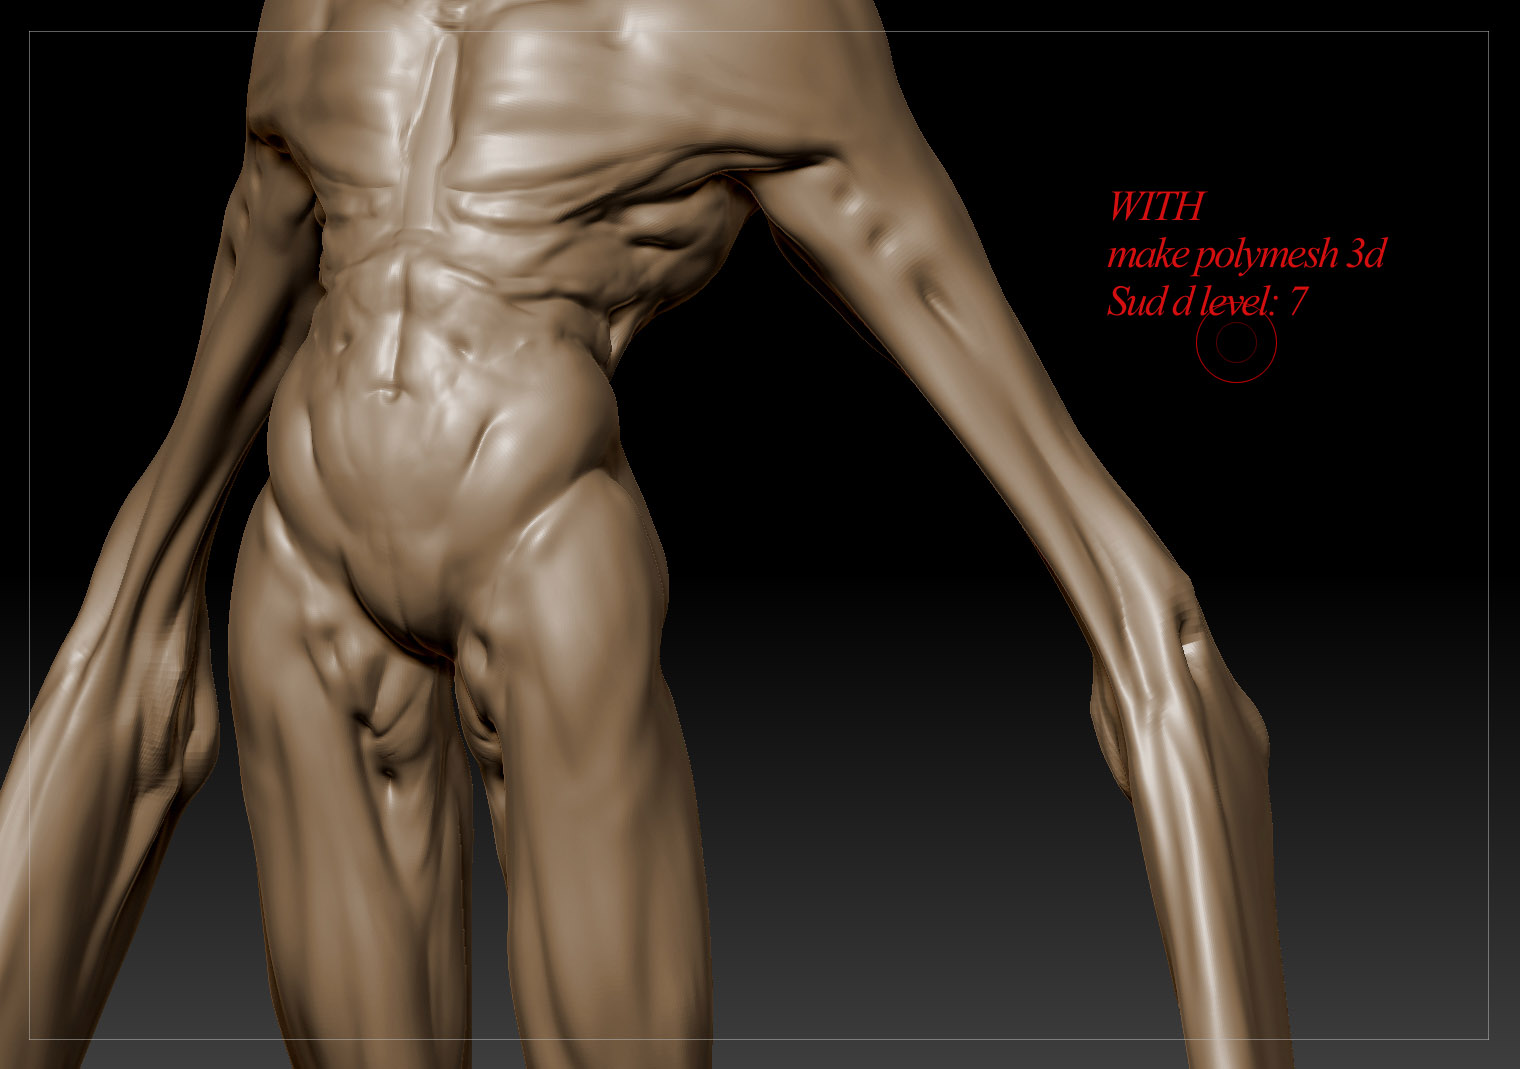
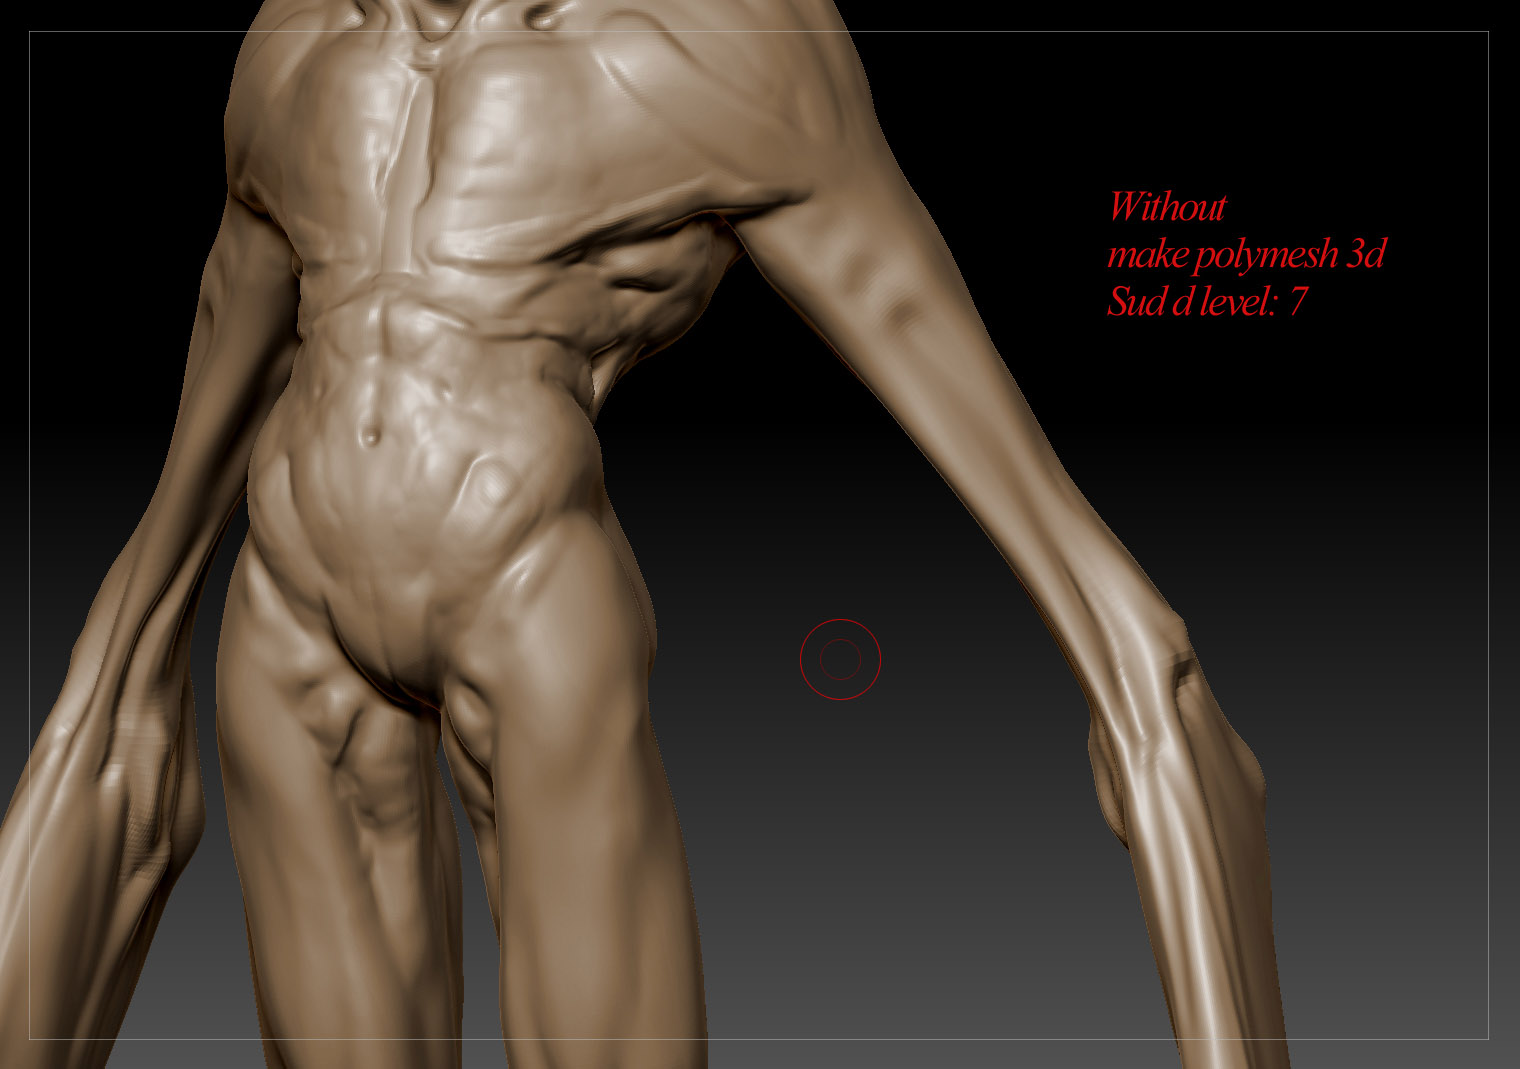
I have a model transformed into a polymesh 3d (button make polymesh 3d). As a result, all the lower subdivisions disappeared and I’m left with the highest one (7 if I remember well)

I try to replicate one of Neville Page’s technique to create a monster face.
For this, I need to polypaint on my face model and create a UV map and Texture map and then use this texture map on the head to play with masking by intensity, etc, to create random shapes for the head…

The problem with this method is that my model is quite heavy (only the highest sub division available) and the program can’t handle this. So I have to force it to quit.

I have a copy of this model (let’s called it B), with all its level of sub division, but less detailed in terms of sculpting. The difference between the 2 models in terms of sculpting, is the body. Less detailed on the B version. The head are the same, a round shape with nothing sculpt for now.

What I would like to do is make the polypaint and uv + texture map creation on this B version and then save and export the texture to appliy it on the A version (the high detailed one).
How can I do that ?

Someone can help ?
Thanks.

You shouldn’t have to hit the polymesh3D button. That’s normally there to create a polymesh from a deformed/initialized primitive object. If you’re importing an OBJ or already have 7 subdivision levels of sculpting, then it should already be a polymesh.

Because the mesh was subdivided a few times, as long as the topology has not been altered further then there is a good chance zbrush will be able to recreate the previous levels. Try Tools: Geometry: Reconstruct Subdiv (run it a few times if you can).
If it’s successful, then you could just go ahead and UV that version (it should be far less crash-happy).


As for transferring the UVs and detail, I would try UVing the original mesh, and subdividing it enough to have the same number of verts as the existing sculpt. Delete the lower levels (might want to work on a duplicate/backup tool, just incase), and use UV Master to copy the UVs, then use UVMaster to paste them onto the existing sculpt. This would depend on having the same vertex order though.

Project All should be able to help transfer polypaint from one mesh to another if not. UVs may not even be required.

Thanks for the help.
I will try and test what you said.

As for the polymesh 3d, it’s the only way I found to have good details on my sculpts. But it has to be made at the begining.
Let me explain.
Without that, all my sculpt doesn’t seem to react properly. When I sculpt, it’s like nothing is happenning really. As a result, it always seems to be blurry and not detailed at all. No possibilities to have sharp details… even with dedicated brushes…
Any other way?

I’d have to see more of your workflow, or images/videos of that problem as it’s not an issue I’ve come across. If you’re already sculpting on a tool then it should already be a polymesh, so clicking the button shouldn’t do anything other than make a copy of the tool in it’s current state.

For (old) examples, you can click on my signature and see some past works…
Basically, I start with a zsphere or base mesh and start sculpting on it. When doing that, I use brushes and so on, subdive when needed, etc… but it’s like applying clay on water or play with sand on the beach… The result is blobby, no crisp and sharp details, you feel nothing…
And it just pisses me off because I would like to have detailed things as I can see here…

I first tried to transformed my sculpt into a polumesh 3d today, and apparently, the sculpting process is more accurate and when I sculpt, I can really see results… But my guess is that you need to do it from start; just after the adaptative skin or import of basemesh…

Regarding my previous problem, I tested your tip to “reconstruct things”. It worked. So I can go on with my sculpt and apply this Neville Page techniques…

Thanks again…
I will try and post a screen capture of 2 monster sculpt. One without the “make polymesh 3d”, the other one with it.
The difference is really here…

Adaptive Skin previews will need to be turned into polymeshes, which can either be done with the Polymesh3D button or the Make Adaptive Skin button (the latter should give you a polymesh that has a few subdivision levels depending on the density, while Polymesh3d will just give you the current level). Imported DXF and OBJ objects are already considered polymesh objects so the only thing that button should do is create a clone in the current state with no subdivision levels. I’ll have to wait and see what the capture looks like I suppose.

Cheers that the reconstruction worked though : D

here are the screenshots…

Attachments

With_zbc.jpg

Without_zbc.jpg