ZBrushCentral

Z4 Beta Testing By: Cameron Farn

Cameron J. Farn was born and raised in Calgary, Alberta, where he currently works and resides. He is the lead creative designer for F&D Scene Changes, and has worked on many diverse projects spanning from cinema to commercial design. His feature film credits include 3D Modeler for 2008’s Death Race; and head of props and fabrication for F&D for Kathryn Bigelow’s K-19: The Widowmaker. He served in the same capacity for F&D for the Broadway production of the multi-Tony Award winning musical Wicked and its touring productions. Mr. Farn produced numerous 3D models and digital images for Cirque du Soleil’s Las Vegas presentations of “Believe” and “Viva ELVIS”. In addition, he has worked on over a dozen F&D created theatrical attractions, floats and rides for Disney theme parks around the world, including the U.S., Japan and Hong Kong. Mr. Farn’s first public art sculpture, “Tempus Fugit”, a 40-foot tall art installation, is set to be unveiled near Calgary in October of 2010. Currently, Cameron is working on a multi-character sculpture project titled “World of the Red Sands.”

-Here are some of the sculpts created in Z4 hope you enjoy…Check out each page, and please post all your questions and feedback. I’ll respond as soon as possible with tips, tricks and vid’s. “Z” hard.

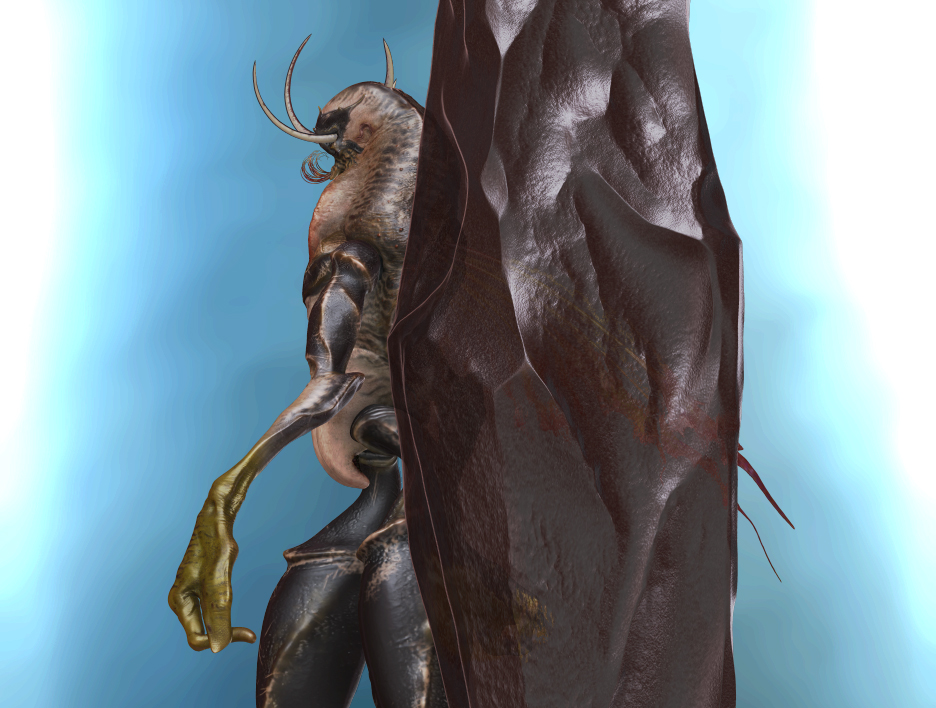
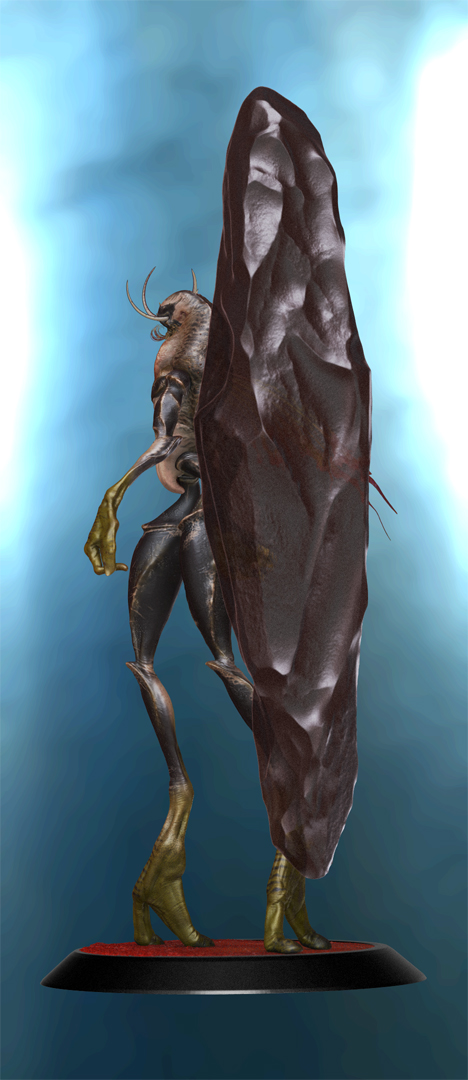
Page1: Final Renders and Photoshop compositions.
Page2: Example of Transpose Units in Action.
Page3: Step By Step “Quick Character Concepts in Z4”.
Page4: Screen Shots and Spotlight Images.
Page5: Spotlight in Action movies, on TheArtofCJF Channel

-PS Compositions using the new BPR and generated maps
SoftBack1.jpg

Check out the Spotlight movies on TheArtofCJF Channel … take care and have a great time.

Attachments

SoftBack3_bust.jpg

SoftBack2.jpg

Bk_Grnd_Bust2.jpg

BPR_AO9.jpg

BPR_Depth9.jpg

BPR_Mask9.jpg

BPR_Shadow9.jpg

TransposeUnits0.jpg

TransposeUnits1.jpg

TransposeUnits2.jpg

TransposeUnits3.jpg

TransposeUnits4.jpg

TransposeUnits5.jpg

TransposeUnits6.jpg

Step-Title.jpg

Step1.jpg

Step3.jpg

Step4.jpg

Step5B.jpg

Step5C.jpg

Step6.jpg

Step7.jpg

Step8A.jpg

Step8B.jpg

Step8C.jpg

Step8D.jpg

Step9_11.jpg

Step11A.jpg

SoftBack2.jpg

ring_eye01_MvElas.jpg

Sol_Step07_AppendShpr_ReMsh.jpg

Sol_Step08_AppendShpr_ReMsh.jpg

Sol_Step09_Zsphr_leg.jpg

Sol_Step10_Zsphr_leg_Remesh.jpg

Sol_Step11_Sculpt.jpg

Sol_Step11_Sculpt_close.jpg

12.jpg

16.jpg

23.jpg

25.jpg

14.jpg

Step12.jpg

Step8E.jpg

Step5A.jpg

Step2.jpg

SP0.jpg

SP1.jpg

SP2.jpg

SP3.jpg

Great work and thank you for so detailed workflow description!

1 Like

Thanks a lot, that was great man! :+1: :+1: :+1:

1 Like

Thank you for all these amazing images and information, its almost too much, lol! Can’t wait to get my hands on ZB4!

1 Like

Nice work!!!

Thanks for the insight. Can you tell me whether Transpose Master Has been enhanced, to make posing a smother experience?

Thanks again, stunning model.

1 Like

Hi Cameron! This is a fantastic new creature.
I love the design and the render is awesome.
Really awesome modeling and texturing work!!!:+1:small_orange_diamond:+1:small_orange_diamond:+1:small_orange_diamond:+1:small_orange_diamond:+1:
Many thanks for the great step-by step explanation. :slight_smile:

1 Like

Very cool and unconventional!
Reminds me a bit of Barlowe’s work, but taken to another level.

It’d be pretty interesting to make an entire movie with such creatures, but I’m afraid we couldn’t really relate to their emotions and thoughts without losing their otherworldly qualities…

1 Like

hey cameron!

wow oh! wow. thanks a lot for all these great pics and your walk through.
ohh! and btw. awesome creature.

-r

1 Like

Very cool critters Cam.

1 Like

eof3D, thanks very much glad you’ve enjoyed it.
Santis, my pleasure.
AgentSmith, your welcome, better lots than not enough. if you need any clarification let me know.
theMARK, thankyou, there have been some nice enhancments in the way masking works, its been opened up in terms of its settings in the prefference pallete. Play a little and explore which settings work best for you.
Moni-Poroni, your very welcome it was a lot of fun work i hope it helps in getting you up to speed with the new tools
LY, thanks very much, as far as emotions go, I would treat it as another level of the design. Working motion, color, and posture into the character can help to sell an emotion as well as interpreting common facial expressions and working those forms into the angle of the eye droop in the mouth or flicking of its tounge hairs, its all fun.
rasmusW, thanks very much.
brettSinclair, nice to hear from you how have you been.

damn this is good stuff… thanks…

1 Like

dagoned, thanks very much, im glad you like it, Z4 is wonderful, have you recieved your update yet?

Here is an image of whats coming next. Cresent Eyes Sand Sail. So far its made with shadow box, a twisted and remeshed rope from a pair of primitives. A stone made from a remeshed sphere which was shaped with the clip brushes. And the mast is from an initialized primitive cylinder. All the fun is still in the works but I will be posting progress shots upto and including new poses and final scene. As I put it all together feel free to ask any questions or request info on any aspect of the process you wish, I hope you enjoy the day to day portion of this beta thread. Take care.

Crescent_Eyes_desert_sail01.jpg

FANTASTIC! Great work here, really. Unfortunately, I have an Absolutely silly question here, but seeing as there are no video tutorials up yet, your the only person I can ask! Once you orient, and/or adjust images from spotlight, how do you paint it on your model? I can’t figure it out!

1 Like

Doggy 7, to paint, make sure you have a model or test polymesh sphere on the canvas in edit mode. Doc your texture pallete. Import your texture, once you do this you will see several new icons become activate. Scroll over the icons until you reach the ADD TO SPOTLIGHT button and press that baby. Spotlight will activate instantly. When the spotlight ring is visible move it over your texture by clicking the center circle. Make it the acitve texture by clicking between the center circle and the outside ring (this is also the area you grab when you want to move the texture around the canvas), a red outline will appear around the texture. Whenever the spotlight ring is visible it is considerd that you are in the image editing mode. Scale it to the size you wish by selecting the scale icon from the ring and rotating clockwise or counter clockwise. Select the spotlight radius icon from the ring and using the same intuitive action size the spot light radius. Press Z to activate the spotlight. You will see your texture disapear accept the area within the spotlight radius. You are now in painting/sculpting mode. Make sure colorize is active, set your RGB Value to 100 to start with (ADD off SUB off). Use the standard brush to begin with as a test, but you could use any brush with any alpha, and place a stroke over your test sphere or model, your texture will be tranfered to the surface. When you want to sculpt using your texture, activate ADD or SUB, set the value low to begin with. You can also combine RGB and ADD or SUB as well as any material selection if you choose, however for this test keep it simple. While the painting/sculpting mode is active you can move, rotate and position your model by ckicking on the canvas, and then continue to paint. Don’t forget that you can also have symetry active to paint, and or sculpt on both sides at the same time. Once your done with your texturing press Z to go back to spotlight image editing mode and save out your spotlight from the texture pallete. Press Shift Z to deactivate.
Test your workflow on a simple sphere, once your comfortable open your model, open your saved spotlight images and go for it. Don’t forget to save out your project as you go, have fun.

Transparency examples.
fullboody10Transp.jpg

Attachments

fullbody10Comp2.jpg

wow! I got it working! Thank you so much for that incredibly detailed explanation, that was much more than you had to do. I really appreciate it.

1 Like

Love these crazy alien designs! Great coloring.

1 Like

amazing stuff. Thank you so much for sharing. Still waiting on my license to appear in the emails haha cant wait!

1 Like

These creatures are awesome! The walk through was great and much appreciated.

If you have a chance could you explain how to remesh and reproject things, I have a feeling this is an important part of the process to getting a great sculpt and at the moment I am clueless :frowning:

once again, awesome work!

cheers

1 Like