ZBrushCentral

Yet Another Hand...

Hi all!
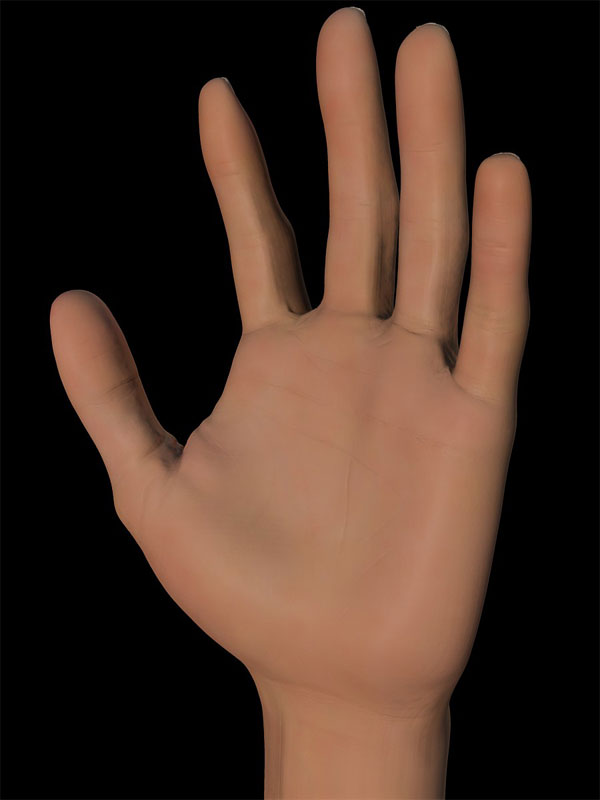
Well, it’s not a very original subject, but I tried to model my left hand just to practice with this great software. Of course I used the excellent tutorial by Francois Rimasson and followed his guidelines.
I started modeling with ZSpheres and wanted to keep them all along to pose it in different motions once the modeling done, but I had some bugs and had to convert it to adaptive skin…so maybe I’ll try to animate it later without the help of Zspheres.
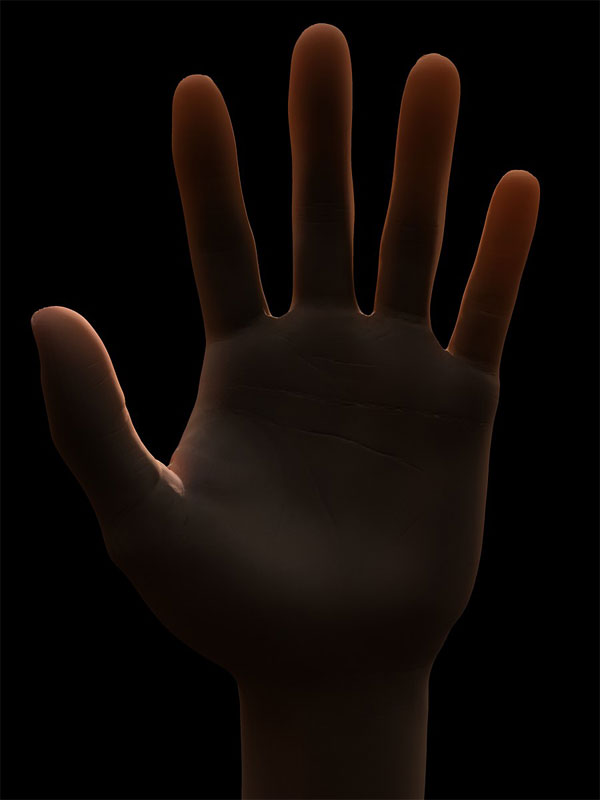
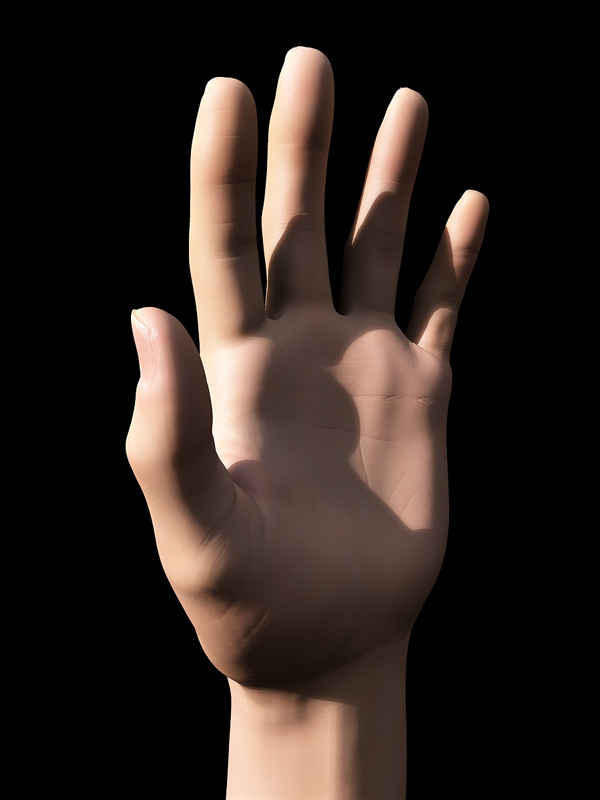
Anyway, I tried to sculpt this hand with the more detail I could reasonably achieve, with Projection Master, Pinch and Smooth tools and a lot of different alphas. It was also my first try in making a color map for the skin, which I painted entirely in ZB.
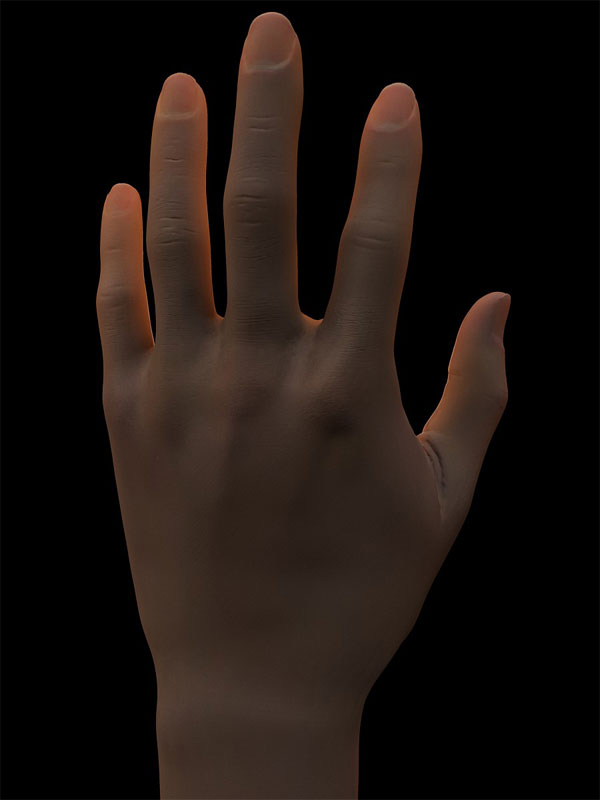
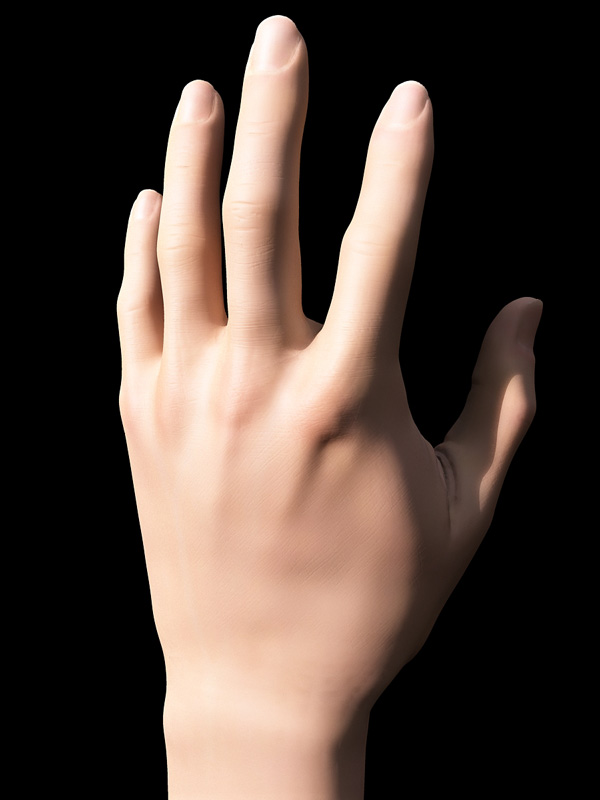
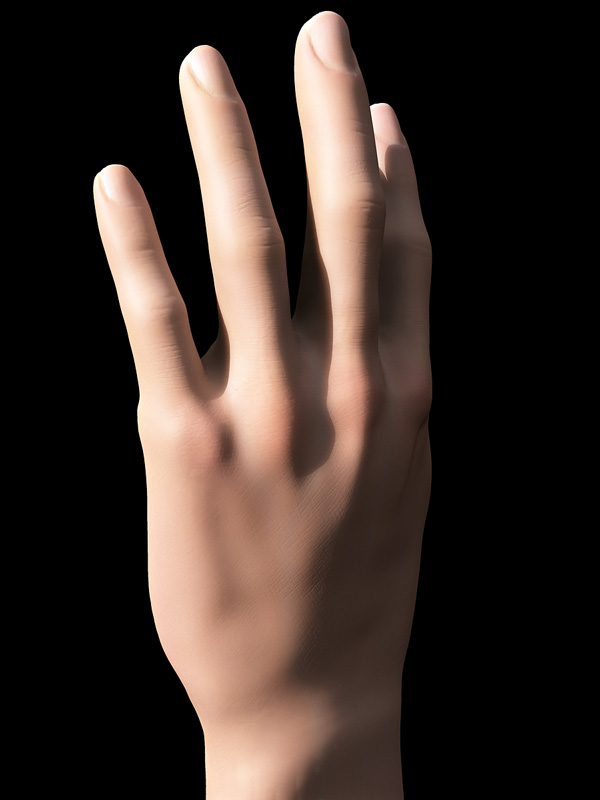
I generated a displacement map for the medium frequency details and a normal map for the finer details. All textures are 2048x2048.
I rendered it in 3dsmax 7 with Mental Ray 3.3 and its new sss fast skin shader. One HDR image and a spot for the ligthing with Final Gathering.

Comments & Critics are welcome!

[main16_800.jpg](javascript:zb_insimg(‘3327’,‘main15_800.jpg’,1,0))
big one

As you’ll notice there a lot of banding on the second image, but i don’t know what to do with this 3dsmax-MR related problem…i read a lot of posts in this forum, but still no answer…

Attachments

main17_800.jpg

main13_800.jpg

main15_800.jpg

I made a short video, you can get it here:

Rotating hand

Next will be some feet ? :wink:
Pilou

These are remarkably good! My favorite is the 3rd with the backlighting… makes it look so real! Great job!

Thanks for your comments!

Pilou: this time I m modeling a full character :wink:
wenna: Mental ray new sss shaders are really fast and so easy to use that it would be a shame not to use them !
Maybe I’ll try some renders with Vray and its wonderful displacements feature. But I don’t kwow if sss is easy to set up with this renderer…

Here are new renders, I tweaked some more the skin shader to get better specular reflections.
I also got rid of the banding issue by setting the blur offset of the displacement map to 0.001…why not :rolleyes:
You can see high res versions of these images and a quick animation on my website

[main32_800.jpg]main34_800.jpg

Attachments

main33_800.jpg

Great art, and so real

Now you’ve gone and done it!

Great reault. a little addition of fibermaterial (hair) to break the light up and woohoo!

Absolutely gorgeous, any zsphere or wires you can show us?
Also, the lighting is superb :bulb: could you share the render settings? :+1: :+1: :+1:

superb work. especially love the last one of the first post, the backlit one. keep up the great work! definitely agree with frenchy pilou, next: FEET!

:+1: :+1:

Thank you all for your comments!

hawkline13: here are the shots you were asking, nothing really special. I used the XYZAdjust2 script to adjust the resoltion of the adaptive skin.

[zpheres01.jpg](javascript:zb_insimg(‘4858’,‘zpheres01.jpg’,1,0))

For the lighting setup, I used a HDR image for the ambient lighting and a spotlight with Final Gathering.

Jason: If I’m not too lazy, I’ll try to add hairs and maybe try to render all of it in Zbrush, I’m just beginning to discover the power of ZB rendering :wink:

ChekbooM

I downloaded the XYZadjust2 to check it out I think it will be of great help.
I just noticed the finger nails, and the luminosity. Really nice. :+1: :+1:

Excellent, I can almost see the dermal ridges. 50.

Fantastic model, the kind of think I think I’ll be able to do in, oh, twenty years or so. :rolleyes: Could I ask what the poly counts in the low-res (rendered) and high-res (used to create normal maps) models were?

Thanks,
Ken