I followed the instructions here:
http://www.pixologic.com/docs/index.php/ZBrush_To_Softimage_XSI_16-Bit_Displacement_Guide#Detailing_the_Model
Thanks,
NJ
Attachments
I followed the instructions here:
http://www.pixologic.com/docs/index.php/ZBrush_To_Softimage_XSI_16-Bit_Displacement_Guide#Detailing_the_Model
Thanks,
NJ
looks like something might be up with your UV’s… can you verify that your texture isn’t upside down? in the guide you followed, on one of the images they have v-flip set to “false”, which would export an upside-down displacement map.
also- what are your displacement options set to in XSI? i haven’t read the full guides on the wiki, but it was written for version 5, since then Softimage added Fine displacement instead of parametric or L/D/A.
First, create your displacement with the displacement exporter3, and use DE-LCEK-EAEAEA-R32 az quick code. It will export perfect displacement map.
Second, in XSI, set your displacement following this:
All in all, I learned that XSI prefers the R32 type output. It’s floating point, therefore if the Scale is in auto mode in ZBRUSH it will be very precise (32 bit floating point can represent ANYTHING you displaced). Experiment, and post your results here, I’m curious if I helped
the problem though, is that you end up with enormous displacement maps. a 4k 32bit displacement map, for example, is over 150mb. if you’re just rendering out a character on a turntable, this is fine- but if you’re working on a film where there are a lot of displaced objects in the scene, you can potentially find yourself out of memory very quickly.
Personally, I use 32bit displacement when I’m making turntables or just showing off a model, any other time I use a 16bit and enhance the look of it with a normal map.
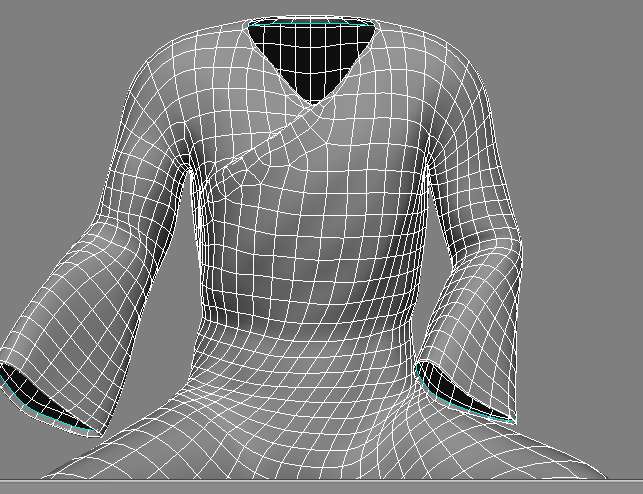
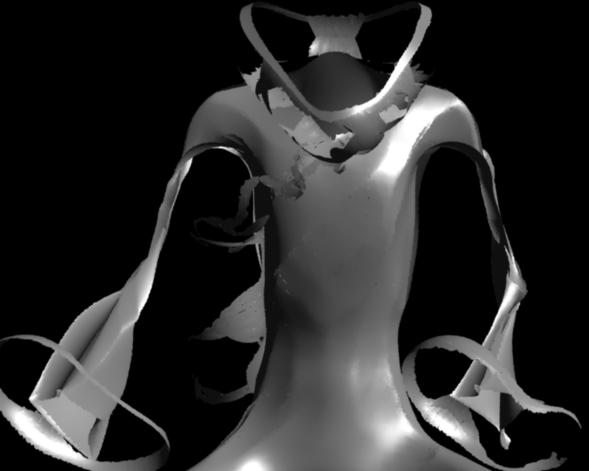
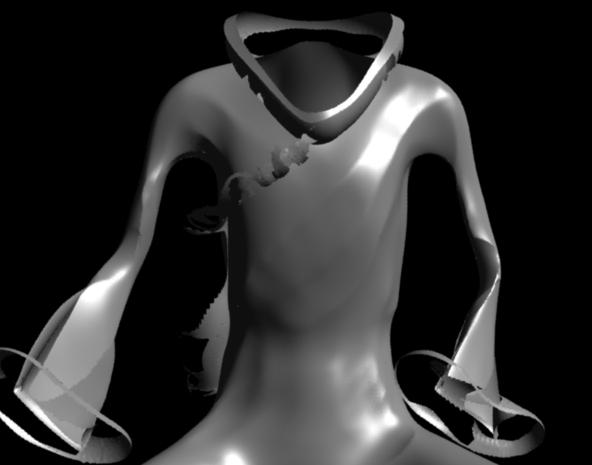
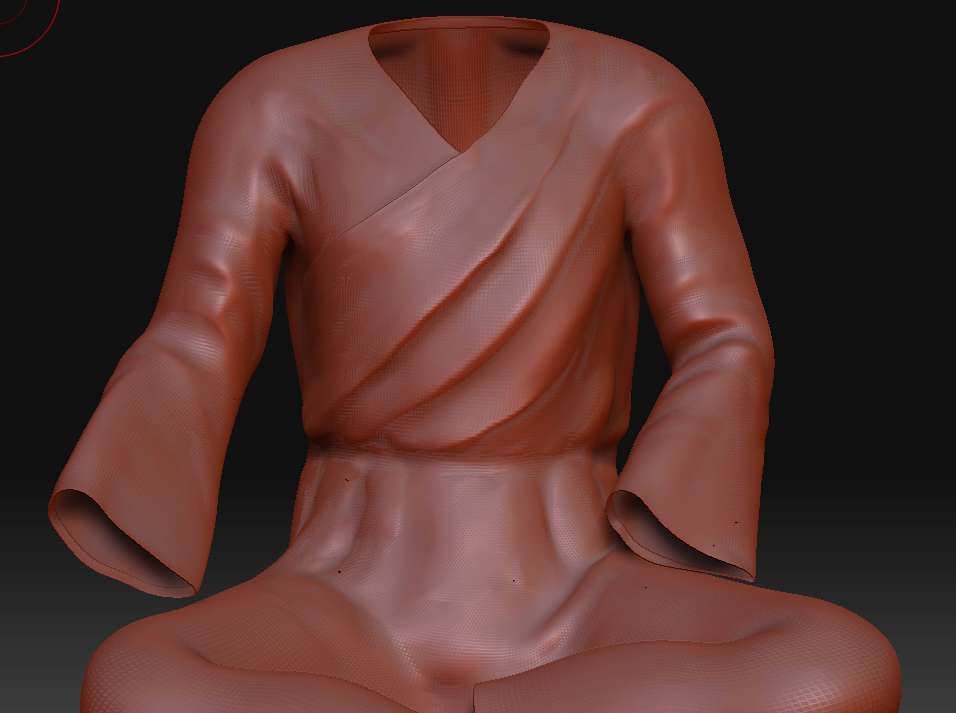
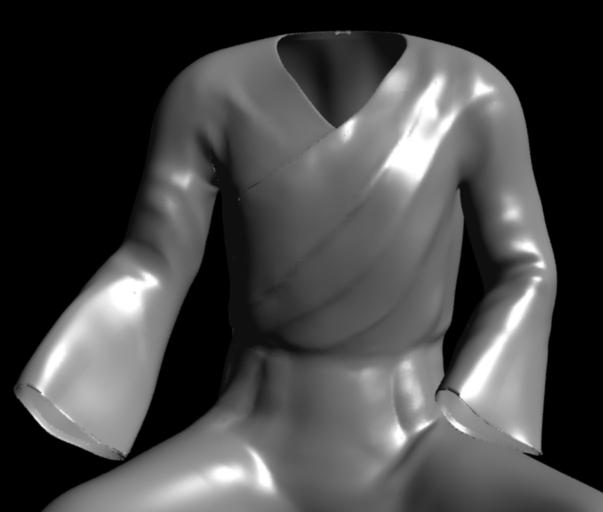
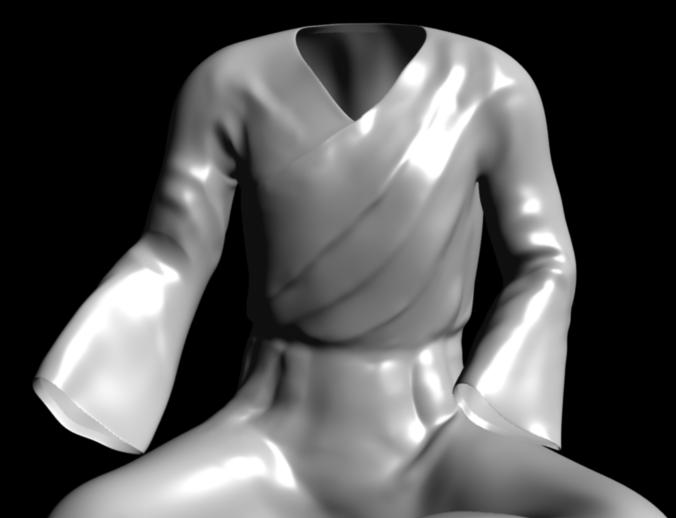
Jester, thanks for the code. I tried this one before : DE-LBEK-EAEAEA-R32, which was close but not as good. Yours looks better, but it’s still not good enough, really. Check out the tunic edge by the neck where it covers the chest, and especially the cuffs. This area was not touched for the displacement map, but it’s messed up. Also i had edge crease on so the cuff shape was kept when subdivided. My map is 2048, btw.
Pics:
I have a few questions still:
Eldee, I can’t see how you get the 16 bit map to work – clearly you can see how it turns out for me. Plus it’s obvious now that the uvs aren’t to blame, and it was flipped ok.
many thanks for your assistance,
NJ
I forgot to tell one more important setting…you have to set subdivision (render) to 1. No upper, no lower. For some reason, XSI makes bad displacement. If I didn’t mention, you have to use FINE setting for diaplacement, and set your min max levels according to your ZBrush level. If you used 4 level of subdivision in ZBrush, it’s completely unnecessary to use 5 or 6 as maximum levels.
I use Auto only, because A,D factor kills somehow the details (at least that was my experience). With Auto it will use what is needed as distance encoded in the image. With Auto I had lot more details in the map. I never used 16 bit displacement, because I had banding all over the surface, but if someone knows a good quick code, I will appreciate it 
As for the speed, it depends on lot of things. It is possible, that reading your map takes a lot of time. Generating the displaced geometry can take time. And XSI is good in managing high polycounts. I myself suggest you to use a relatively high poly object for static rendering enhanced with bump maps.