Open zbrush
Load ztool at subdivision level 1 ( cage displacement will apply to)
Go to menu item zplugin>multidisplacement 3
It drops down showing the options
Leave all options as they are (do I need to mess with any of these?)
Click on >EXPORT OPTIONS
GOING FROM LEFT TO RIGHT:
Change default D32 to R32 this will gray oout all the regions in the status because it is set to off.
Now turn the “status”> ON
This reveals all the options for exporting.
On my system I had to hand type the code DE-LCEK-EAEAEA-R32 by clicking in the box.
Made sure verticle flip>on
Smooth >ON
Chanel 1, 2,3 >ON
CLOSE THE WINDOW.
Go back to zplugin menu item and go to>CREATE ALL
Export to desired location.
GIVES ME INFO CREATING TILE>>>>
And it makes several displacement maps for me. (WHAT DO ALL THE ORANGE NUMBER MEAN–ARE THOSE PREVIOUS DISPLACMENT MAP TRIALS??
IN XSI:
New scene
Fille>import>nagivate to your .obj file AND LOAD
DISPLACEMENT TAB ( when loading object file look at top): Find displacement map you exported ( file should end in R32)
>SET SUBDIVISION TO–2
LEAVING ALPHA DEPTH FACTOR AT—0.5
VIEW DEPENDENT REFINEMENT—CHECKED
(ALREADY FLIPPED VERTICALLY IN DISPLACEMENT EXPORTER SO LEAVE OFF)
Finish.
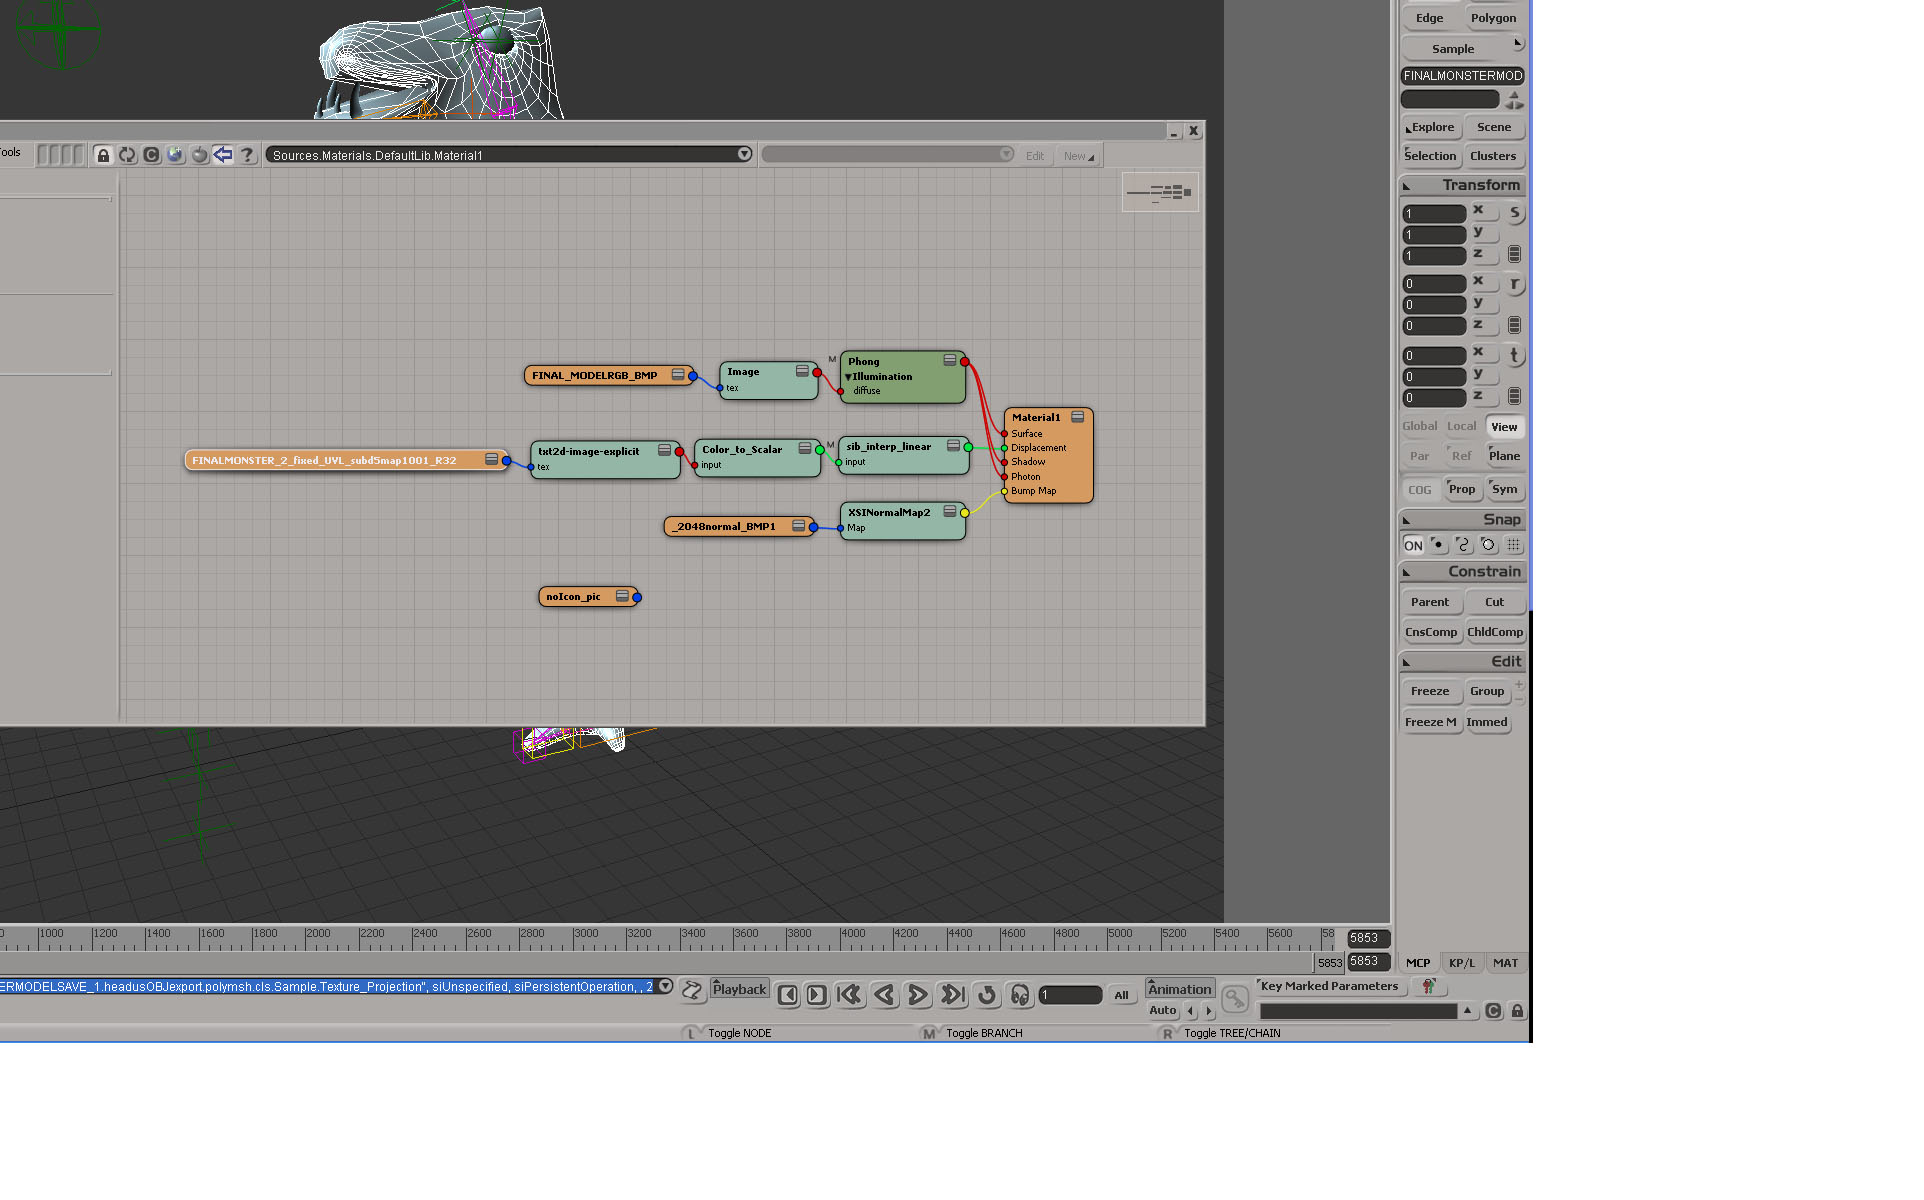
Now hit " number button 7" to bring up Render tree
View nodes which should include ( fdisplacementmap, txt2dimage explicit,color to scalar,sib interp linear all plugged into material " displacement" (green) input.
Now you are going to edit the SIB_INTERP_LINER ( which is a change range node). DOUBLE CLICK on the node, it will bring up a property page, type in under NEW RANGE START–2, AND NEW RANGE END -2; CLOSE THE WINDOW
NOW SELECT YOUR OBJECT
GO TO: selection explorer>geometry approximation>“GEOMETRY TAB”
Set mode to—fine
Set max Displacment—2 ( IF IT ISN’T TWO THEN YOU DIDN’T CHANGE THE VALUES IN THE CHANGE RANGE NODE).
View dependent—ON ( should be checked from the import portion above)
CLOSE THE WINDOWS AND CROSS YOUR FINGERS.

Now if you need to modify… who the hell knows…that part to come.
 It’s because the 32 is a floating point representation…I do not know…Maybe some techie guy can enlight us
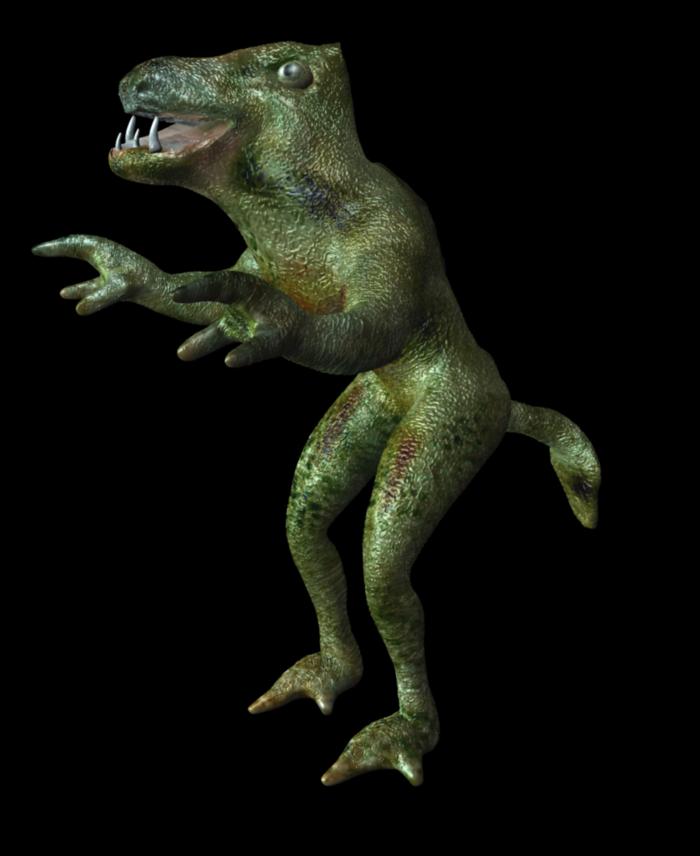
  See the attached image.