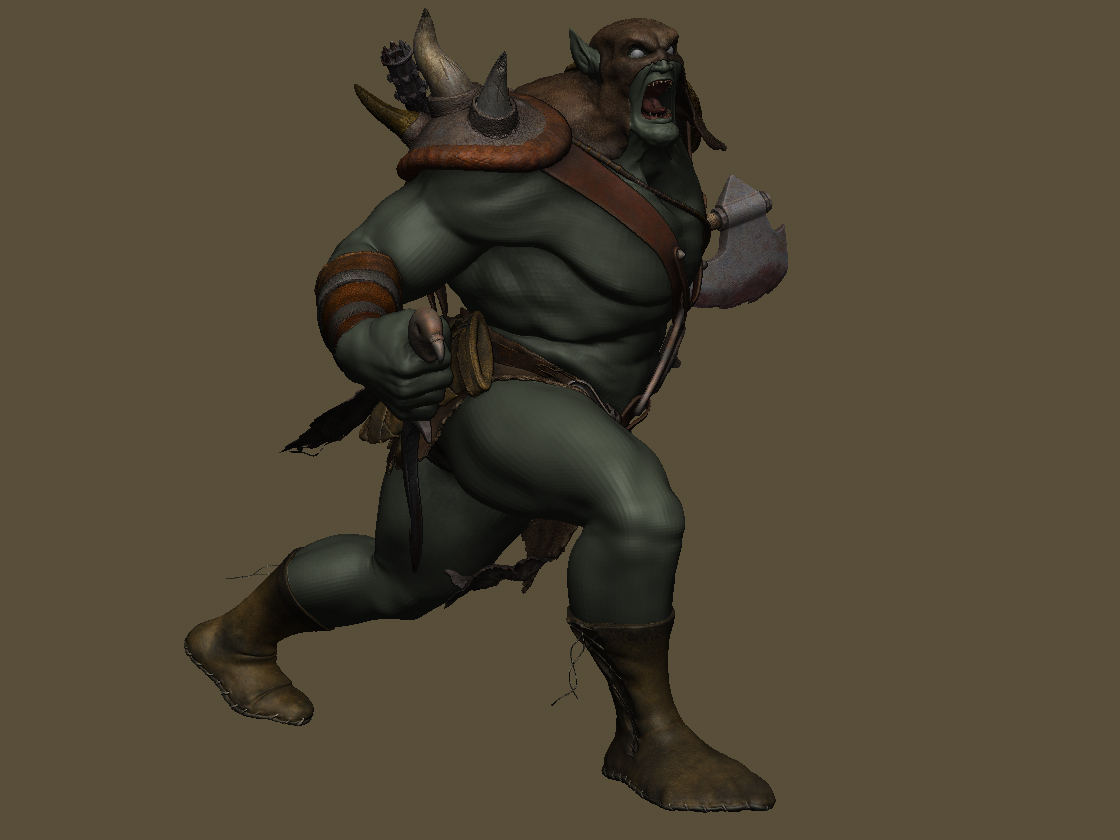
I have to agree also, you put an amazing amount of detail in each seperate object. Model-wise and texture wise. It’s a bit of a shame that a lot of that detail will be lost in any image that contains the entire character and is not Poster-format 
Sweet skull! I also really like the stitching details on the boots.
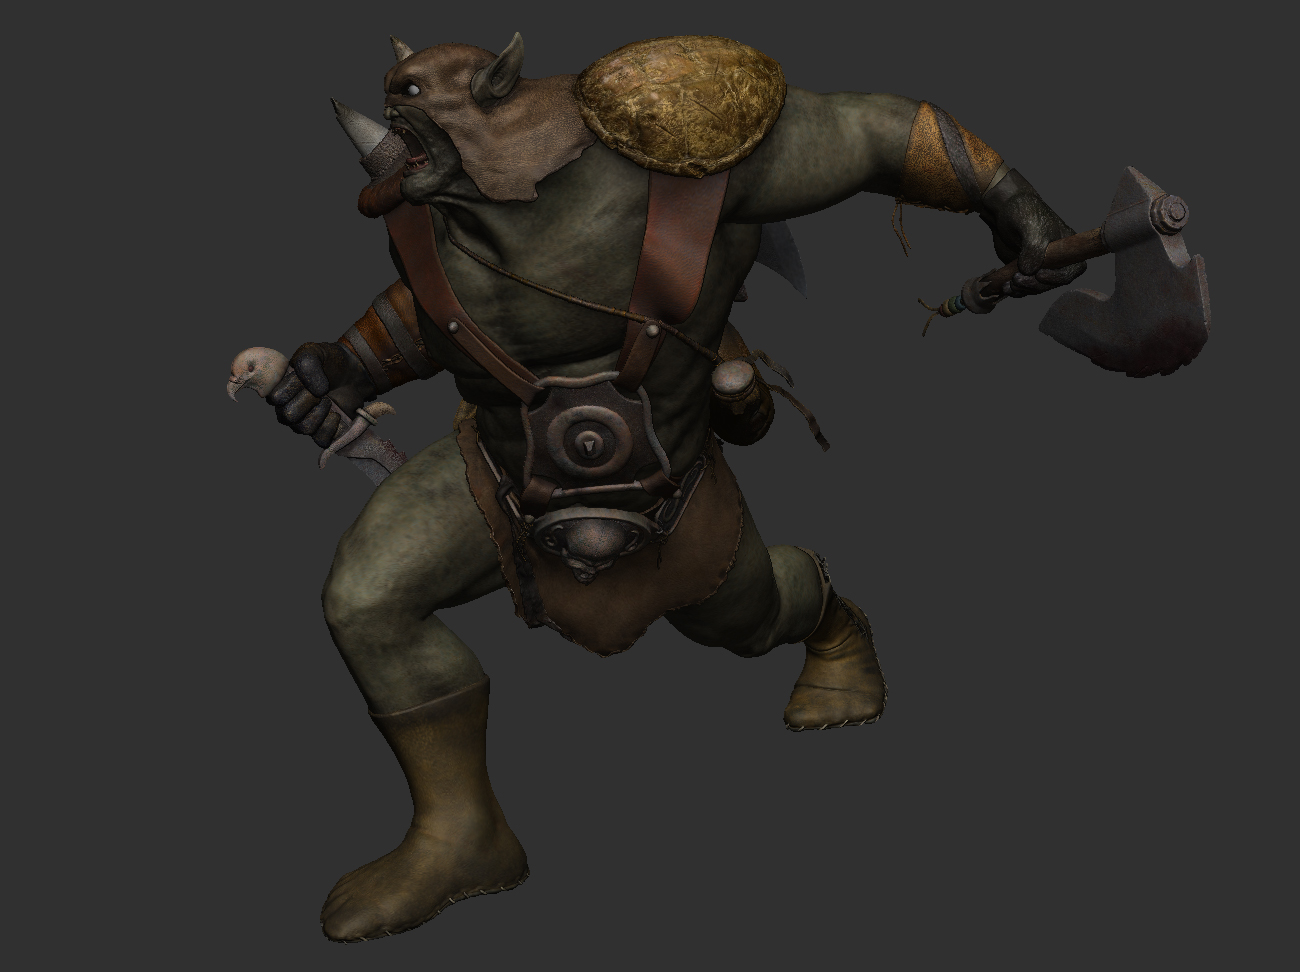
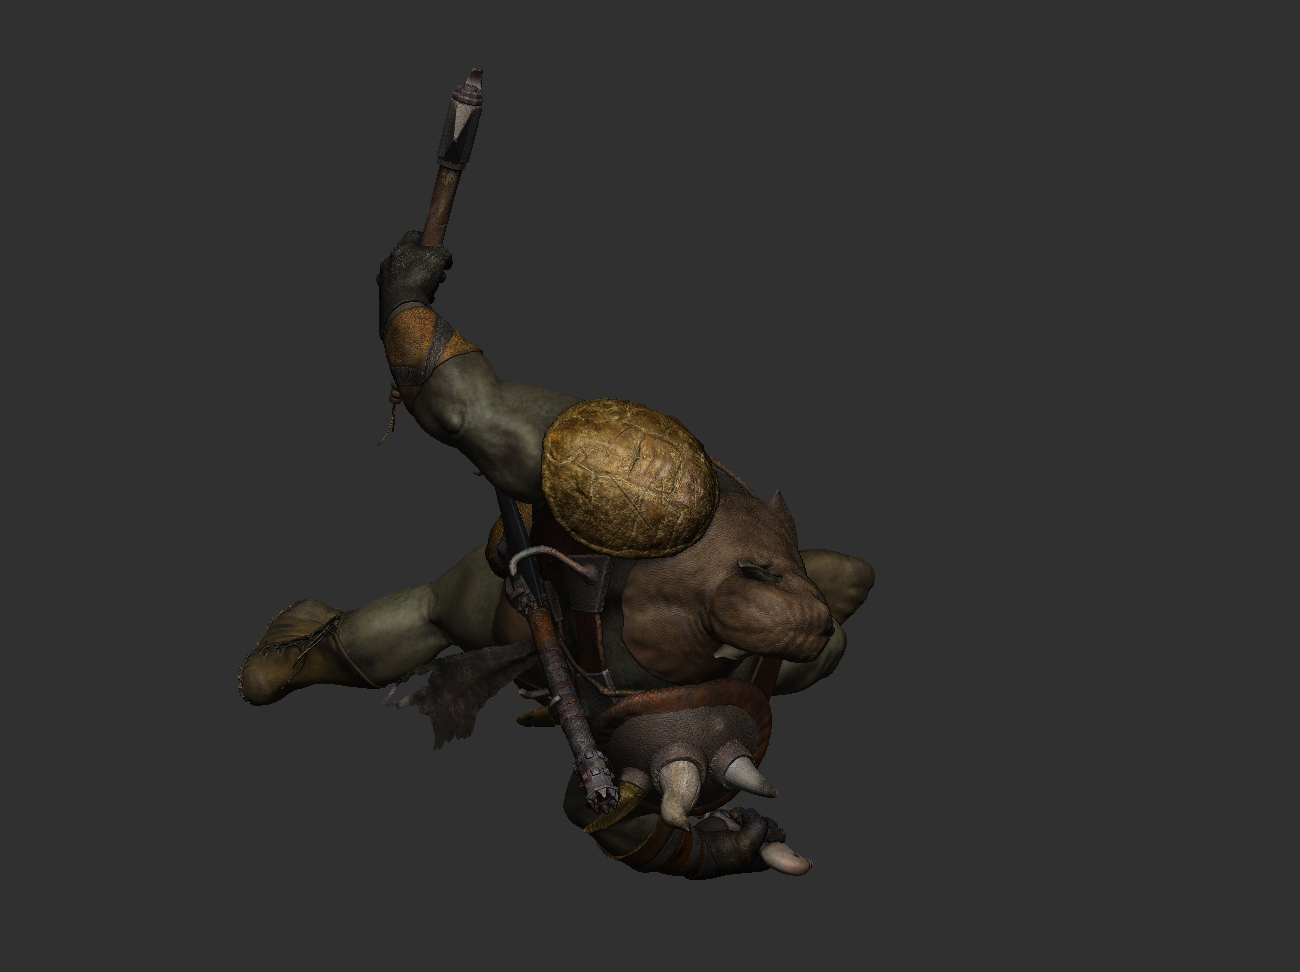
@midost - thanks much. The stitching was a pain at first since I was still really learning these tools when I first did them, but it is actually quite easy now that i know what to do. The model will not really stand up to very close scrutiny since I reduced the subdivision levels so much due to massive file size, but from a distance I am fairly happy with the details.
@The Namek - Thanks much. I will eventually place this character in a scene that will not show much of the close up details - that part is true, but before I get to that I will be doing a few VRay renders with this character that is decently close up and will do some “framed” shots of details. Also, I plan to do low poly versions of some of the gear for my portfolio so that will show some of the details off as well.
Back to work …
This guy is coming a long nicely, keep it up.
@mutte696 - thanks much - updated my last post with my version of Finkles Skinning knife. I have to say that and the skull were my favorite parts of this project so far - the shapes were just plain ol’fun to make:).
Only the body and sheath for this knife to go - should be able to post some tests tomorrow night if I can carve out enough time tomorrow.
Nite all.
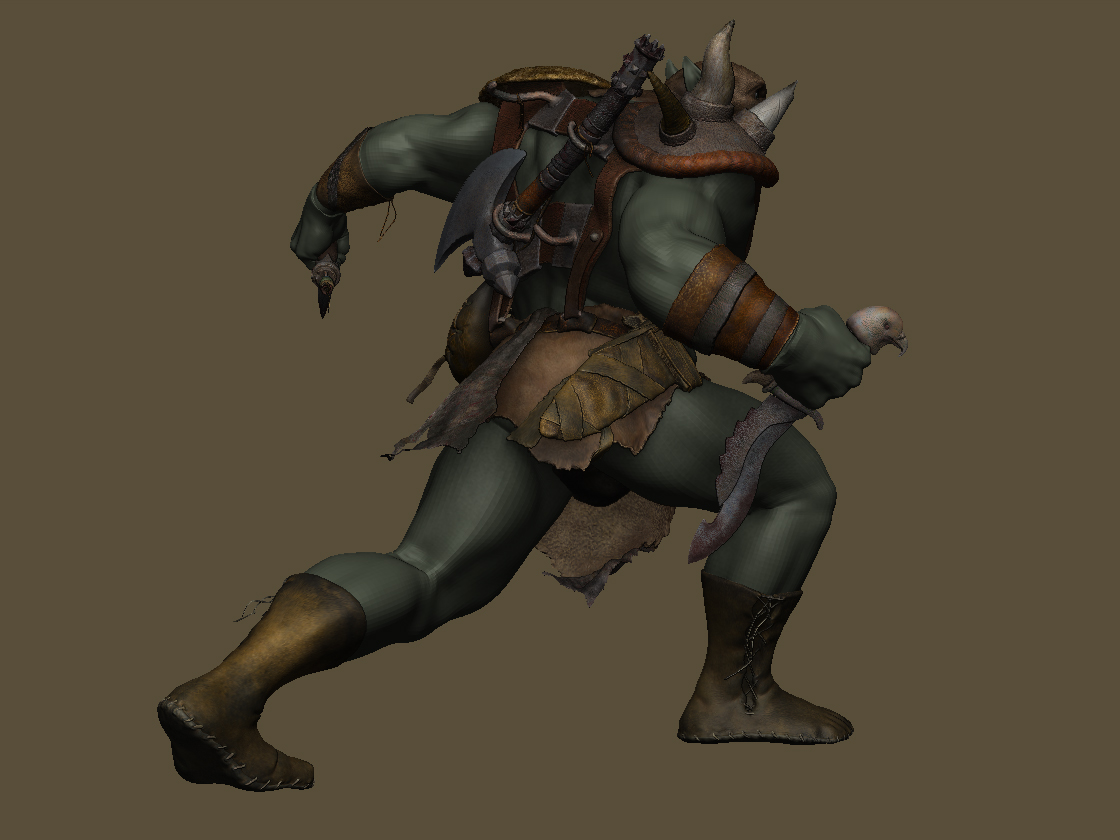
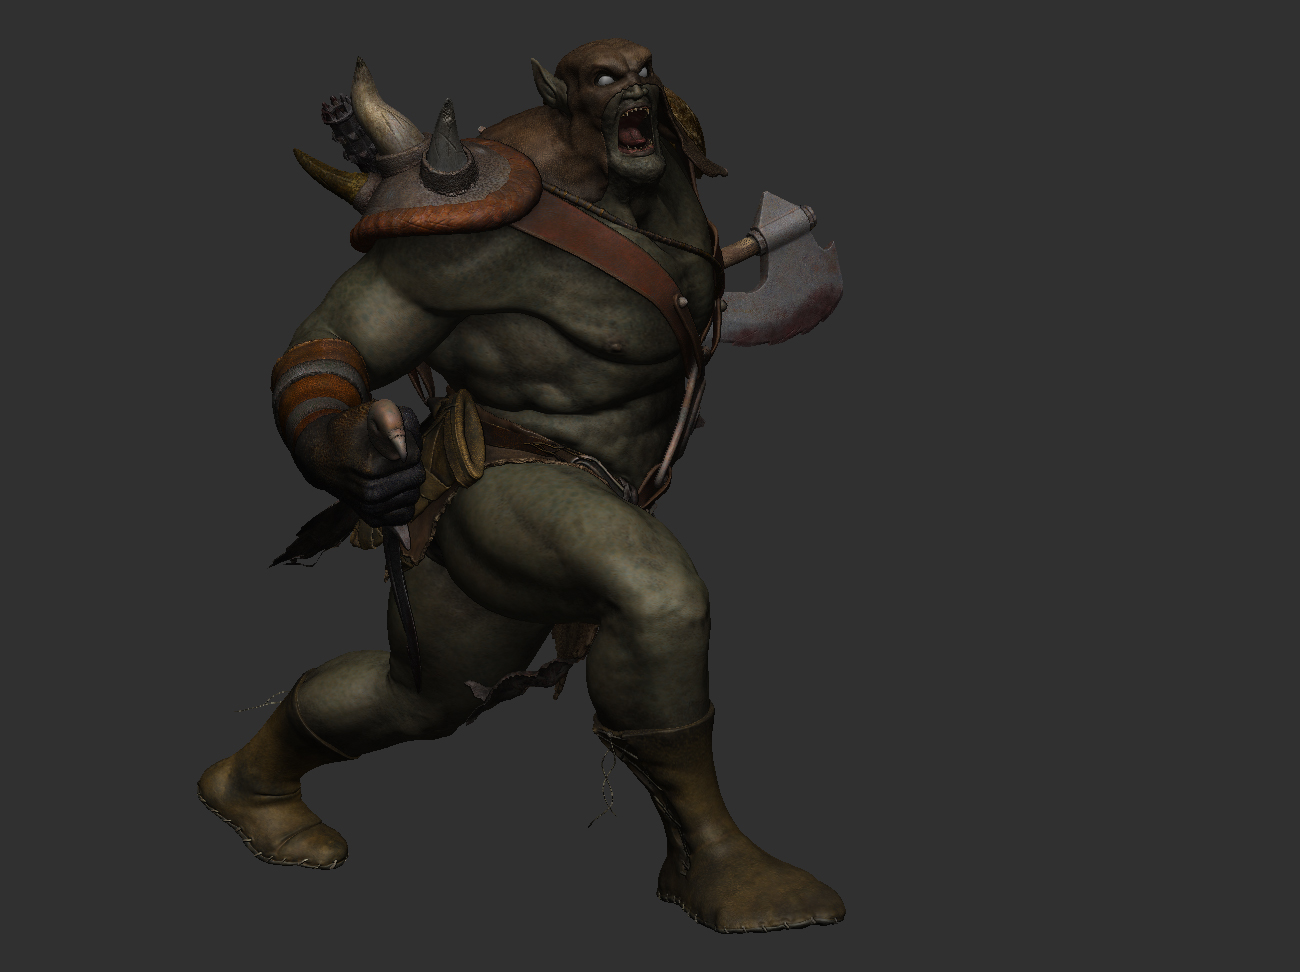
Ok, so where are we … all items are wrapped up other than the main body (and gloves since they are part of the body at this time).
I should have been finished with the body, but I have spent so much time learning materials and the associated 3.5 R3 bug of not being able to assign materials very easily if a tool has more than a couple subtools that I have not started the body yet.
Here is what I have left on the body:
- Got some excellent critiques privately from a few people that will help me as I go forward the body sculpting since this is just a roughed in version presently
- Set up UVs for the body since I plan to texture this as a base before polypainting on top of that
If anyone knows a reliable work around for assigning materials to subtools that does not include texture creation let me know - I am unable to get that to work in an efficient manner so am in search of another work around if possible.
Really in search of any critiques I can get at this point before I wrap it up.
Oh ya, did a bit of rework on the waterskin - one of my crits was that it had no weight so I (hopefully) improved its weight appearance. Let me know what you think.
Attachments
Great!!love it!!really cool character! 
nice!!!
I like where it is going …
nice work.
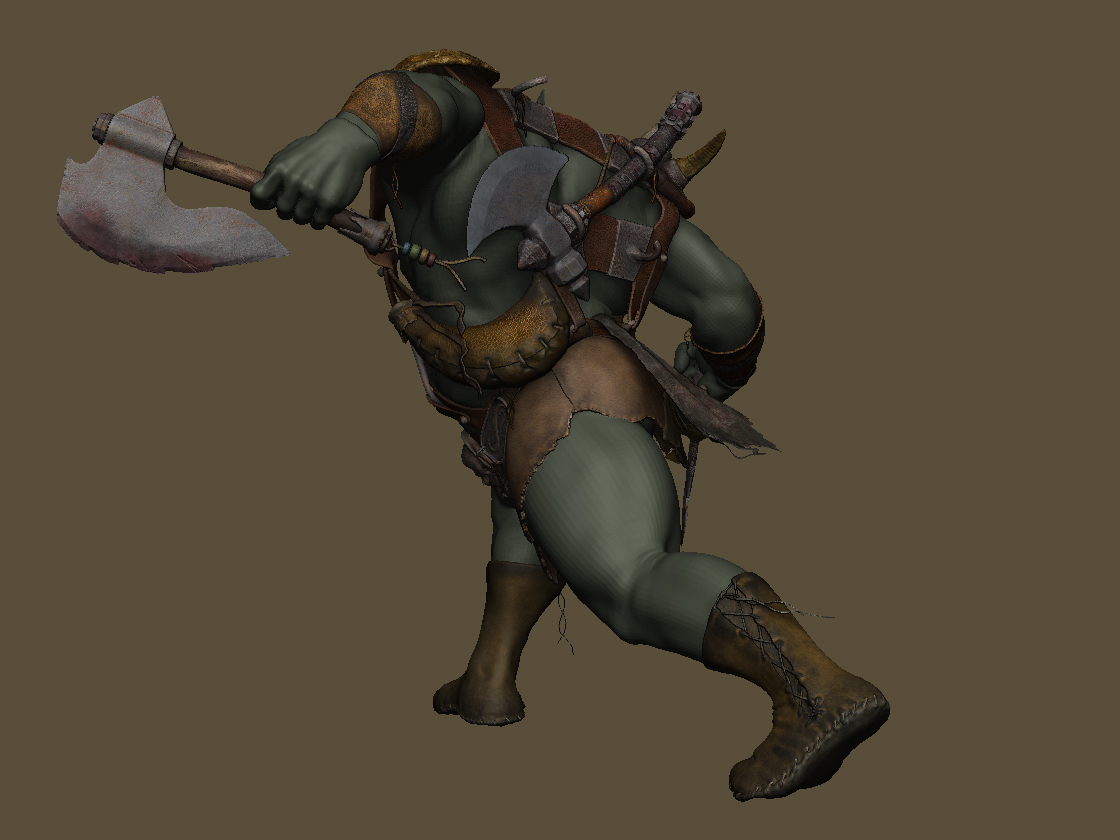
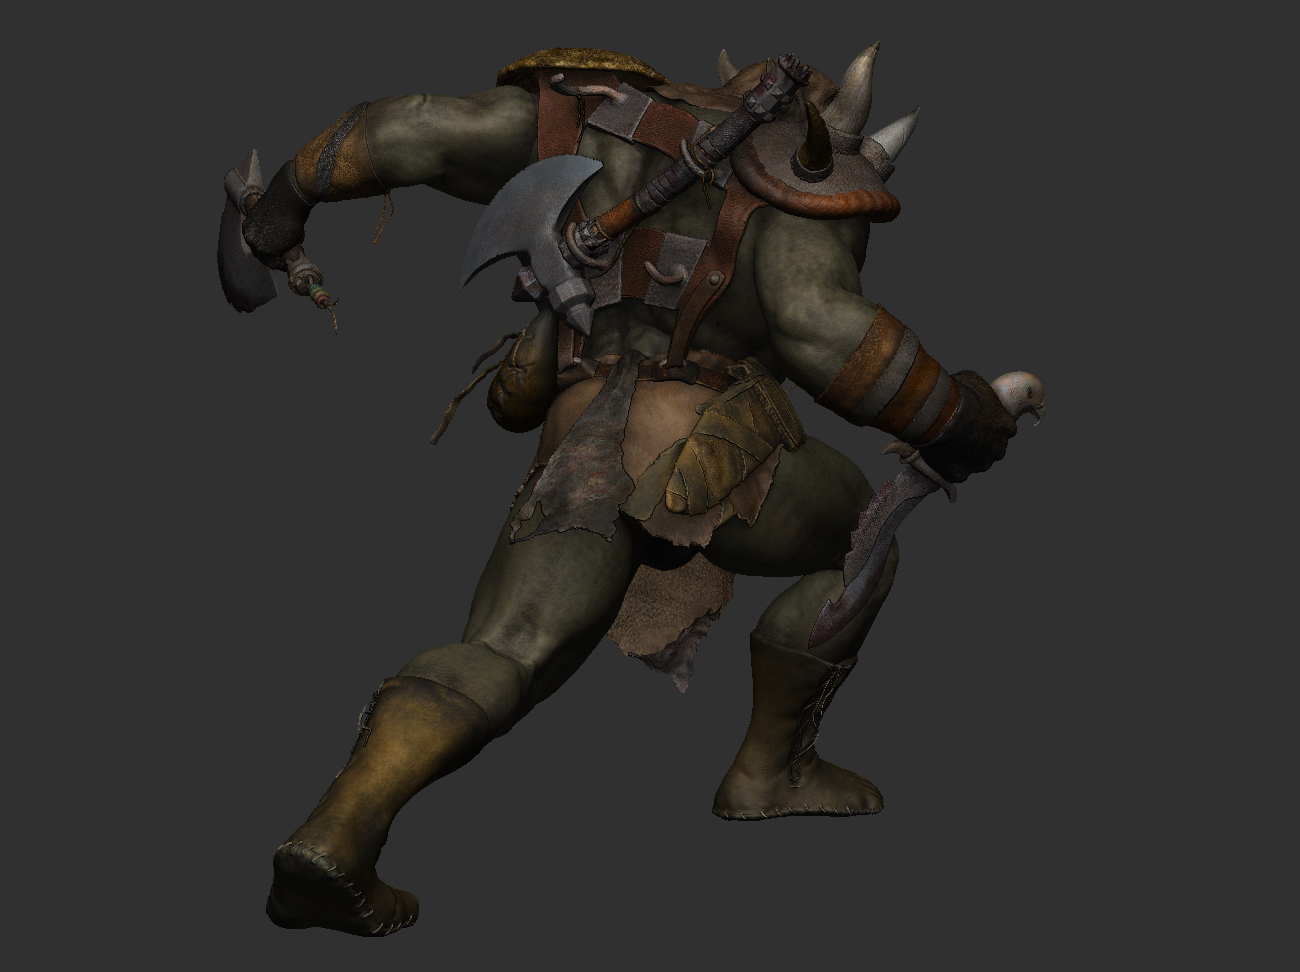
Well, here is what is left:
- add materials
- learn how to set up lights in ZB
- depending on how the items look with the materials and lighting I may be adding additional grunge, scars, etc.
- create a small background or turn table or something for him to be on - small environment
- since I have other projects pressing I will probably postpone my Max VRay renders since I have yet to get displacement to work properly - so this means I will be setting up fur and rendering from ZB for now
What I fixed on the body:
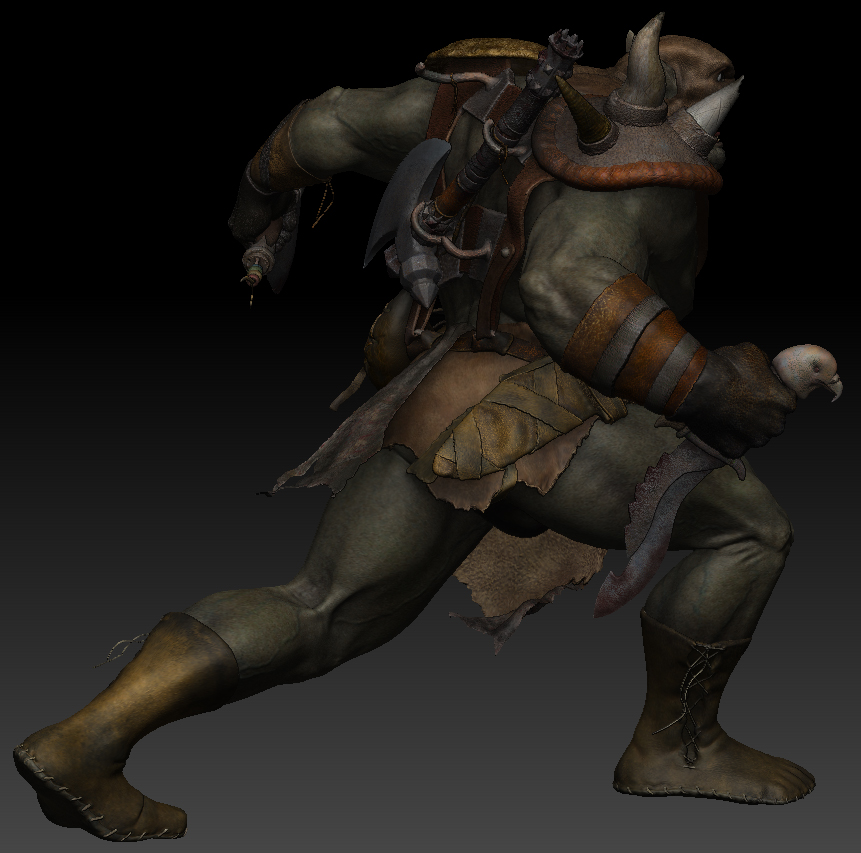
- added a stylized subtle connective tissue between muscles, tendons and bones
- adjusted bone structure on the knees and elbows - significantly on the right arm - thanks PoopShoter for the critiques
- added fat to his abdomen area
- added more defined muscle structure and then smoothed since I view him more as a strongman rather than a bodybuilder like the inspiration piece by Blizzard
Anyone have a work around for the material bug for multiple subtools other than the texture creation? Have had trouble getting even that one to work all the time.
C/C always welcome.
Attachments

I was dozing and I woke up realizing that I could easily use DM to export my model to Max for my VRay renders without delay - wow - too many projects going at the same time making me not think straight, LoL.
This is not an animated project like my normal ones so there is no need for displacement … /smacks head.
Should have my completed VRay renders tomorrow with fur and feathers.
Nite all.
you’ve put a ton of time and effort into all of this, so it’s great to see such enthusiasm- though I have some crits if you’re interested in hearing them:
overall, it’s looking really flat to me. I think it’s due to a general neglect of secondary forms… looking back through your WIP’s, it looks like you get a pretty decent basic form sculpted in, maybe tweak it a little bit, and then bump it up to millions of polygons and start stamping it with alphas. The detail is wasted when the secondary forms aren’t there to support it.
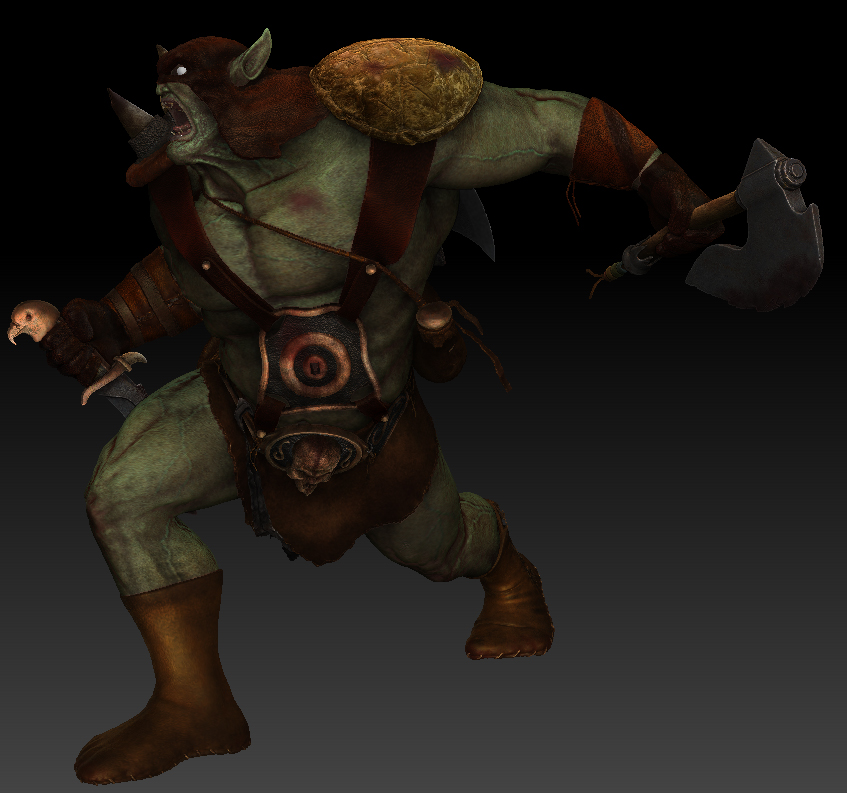
Take the right leg as an example: anatomically, it’s mostly correct ( or rather, in the realm of reason for a fantasy character), but it’s missing all of the character that makes a leg interesting to look at. Variations in muscle tension and tone, the interlocking nature of bone, cartilage, and tendons, etc. The net effect is a very soft looking (almost gesture-like) leg that doesn’t really look like it’s under any tension or action. The lack of definition also makes him look a bit more couch-potato than hardened warrior.
Functionally, I think his armor looks kind of weak. As I look at a character, I’m constantly examining buttons and snaps and things of that nature, trying to see how it works. I think everybody does this to some degree or another, whether they realize it or not. The armor you have designed doesn’t really look functional. Structurally, it looks extremely fragile in places (the straps holding the stomach-plate on for example). As fasteners go- it looks like you’re using a lot of ‘snaps’ or maybe rivets to hold these loops together. If they’re snaps, they’re not going to hold all of that armor, and if they’re rivets, this guy isn’t going to be taking his armor off anytime soon 
If you look at blizzard character designs, they make use of a lot of buckles and wide thick straps of leather. I’d recommend you do something similar, as it would make the frail looking armor a lot stronger looking. The boots in particular look really dainty. I see where you’re going with the skin-shoes of a hunter, but these look so flimsy that he might as well run around barefoot. Those shoe strings look like dental floss compared to his hands.
Like i said before, you’ve put a ton of work into all of this, and you definitely get an A for effort. I don’t want to be a killjoy or anything, but I remember when I first got started with character modeling, and it took some really harsh crits to get me where I am today, so I’m glad for every one I got, as hard as they were to hear sometimes. And also- I know you won’t go back and change things on this sculpt since you’re already so far into it- and I don’t recommend that you do. Learn from this one, move on to the next, and apply what you’ve learned. Keep up the hard work!
What is the problem you are having with displacement in Vray? Works like a charm for me. You just need to be sure your model is coming out of Zbrush at the right scale, and your disp method in Vray is set to 2d Disp, and NOT Normal Disp.
Trust me, using DM for a bunch of highres subtools is not the most awesome way to spend your time. 
Obz - I will give it another try once I get ready for exporting - I think that scale must have something to do with it because my model explodes or does nothing when I displace. Somewhere back early in the project I set my model to scale of 1 using the SubTool Master and now it is always 1 - that may have screwed something up, but I have been unable to get even basic spheres to work with displacement using VRay, MentalRay or old fashion Max displacement so I am unclear what I am doing wrong.
testure - these are freaking outstanding critiques. These are the type of critiques i have been needing. I found that when I critique other people’s work I rarely missed stuff like this.
I am going to address as many of the items you mentioned as possible today, but really need to move onto another things so might have to shelve this a bit. I started out this project thinking I would have no issues with ZB since I have casually used it on and off for about 5 years and I quickly found that it has evolved so much that I had a new learning curve to get through - on top of that I would have to say that my level of expectation has grown over the past few months so I dove into some of the more embedded parts of the program and used up a great deal of time chasing rabbits in regards to the project, but learned a great deal about ZB just the same.
So this project somewhat became a “learning ZB” project and I have almost started it over multiple times and might still just scrap this and chalk it up to learning because I am very unsatisfied with it overall. While this seems to have taken forever, I really only have about 80 hours or so of actual labor invested - not including the 1000+ or so hours for learning, heh.
Let’s see what I can do to remedy some of that today … maybe i can save it yet … thanks again:).
testure - I did not get much time to work on this today and I will be out of town for most of the rest of this week on business but I wanted to post the direction I am going with the body sculpting.
Let me know if this is the direction you are talking about. I am trying to strike a balance between not having him too defined and having him interesting at the same time. I don’t want him to be “bodybuilder” but rather “powerhouse” looking. I am using various bodybuilders as reference - cutting in the details and then smoothing it about 50%. Also experimenting with various stylizations of connective tissue like is on the side of the right knee as well as over-exaggerating the dips around the tendons like on the lower thighs as the muscles connect with the knee. I want this to be a believable, but stylized character in the final images.
Oh ya, and I am experimenting with various methods of knobby bones where they touch the skin.
Would welcome any feedback from you guys on these experiments before I commit to the entire model.
Thanks again for the crits and I will get back on this when I return.
Oh, and about that “A for effort” … that never held any water with me … results are all that matter so keep the crits coming - straight and true - life is too short for the fluffy words, heh.
Attachments
Due to the nature of a forum testure might not answer, but
since i read his post and your update after the post I have
to say that is exactly what he was talking about.
Basically if you go over each item doing the same thing
(defining the form further and making the masses look more sturdy)
you can expect a great improvement.
Yes, do that before you move on, because I think it is still possible
to gain loads without any tedious reconstructions.
My 2 cents
Koyima
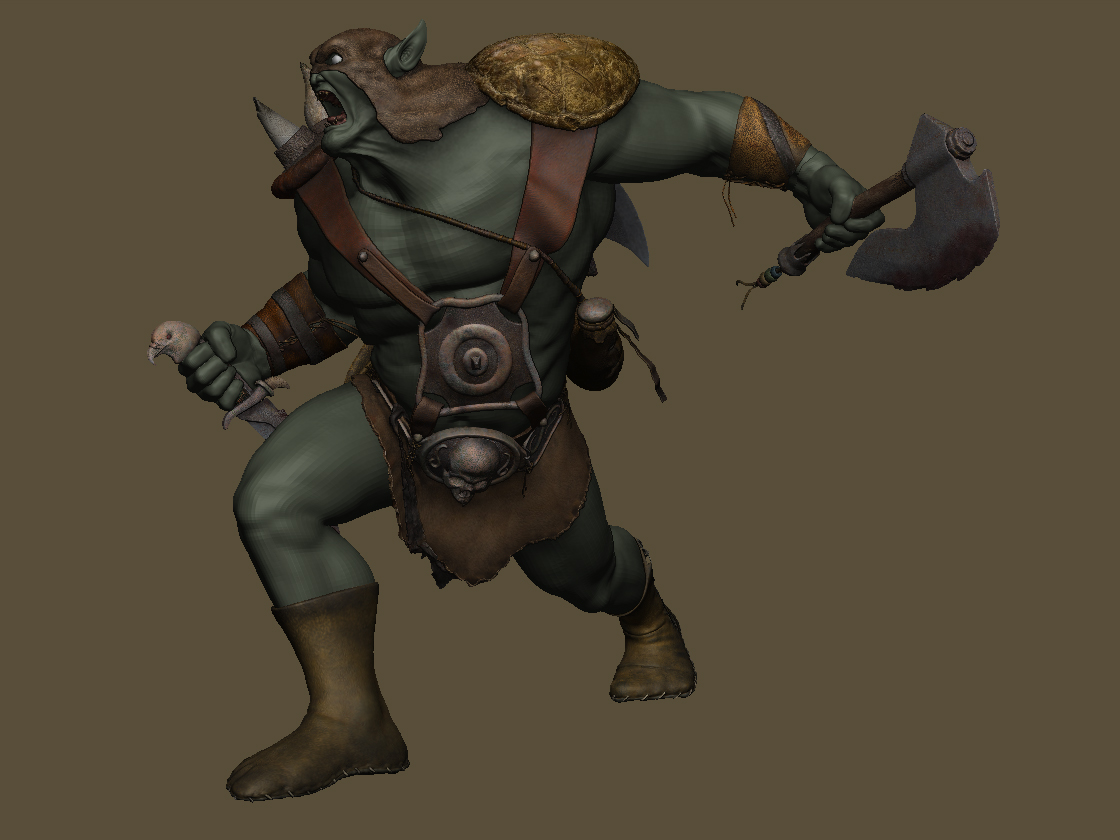
very nice work!! i love the texturing work
Thanks for the feedback and the great crits guys.
These are by no means the final materials - merely some I am working with for testing. The skin, however, is moving in the direction I want it to go though.
I am running into the following bug with material assignment:
I have yet to figure out a way to make more than three materials “stick” to “baked” in textures in a tool that has multiple subtools. So far they all “stick” as in the image below, but once I save, reopen, reload all of the matcaps I am back to square 1 minus the 3 that did stick.
Also, it seems there is some ordering issue as the 1st 3 that are sticking happen to be the 1st few that I worked on.
I have also tried cloning, assigning, baking and then appending with no luck other than the 1st few.
Hoping someone out there has ran into this and has a reliable work around.
Wanted to show more of the model, but after the 1st render I had an issue where the model dissappeared when I moved back into edit mode and I was unable to get it back … and after reopening that would mean that I needed to reapply 71 subtool matcaps and I don’t have the time right now.
The major problem with the test materials is they are so different they give a chaotic feel to the character that I don’t care for. I know he should not be monochromatic, but their should be a “same universe” feel to the entire piece that I don’t get with these tests materials - will work on that once I get past the workflow issues.
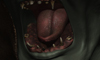
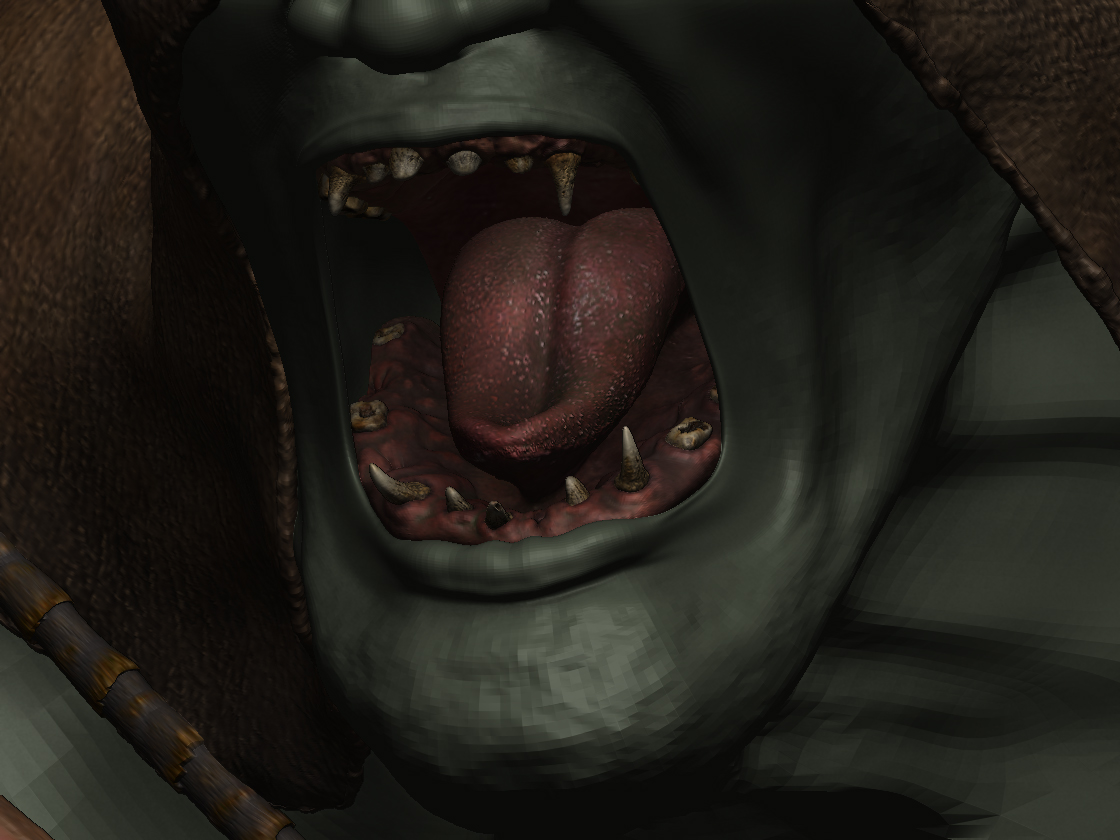
The only materials that I am happy with the direction they are taking are the skin (custom one I am working on that was based in Skin06 that ships with ZB), the ToyPlastic used in the mouth area and the metal on the axe heads (gw_wornsilver I think) - the rest I will work on to more more in the direction of these three. Yes, the eyes are supposed to e solid white based on the character inspiration art, but I am still looking for more of a “glowing” effect which I might have to do post.
Also, tried doing additional lighting, but once I varied from the standard “sun” light it have a crash everytime (even when I take it out of edit mode) so no progress there yet.
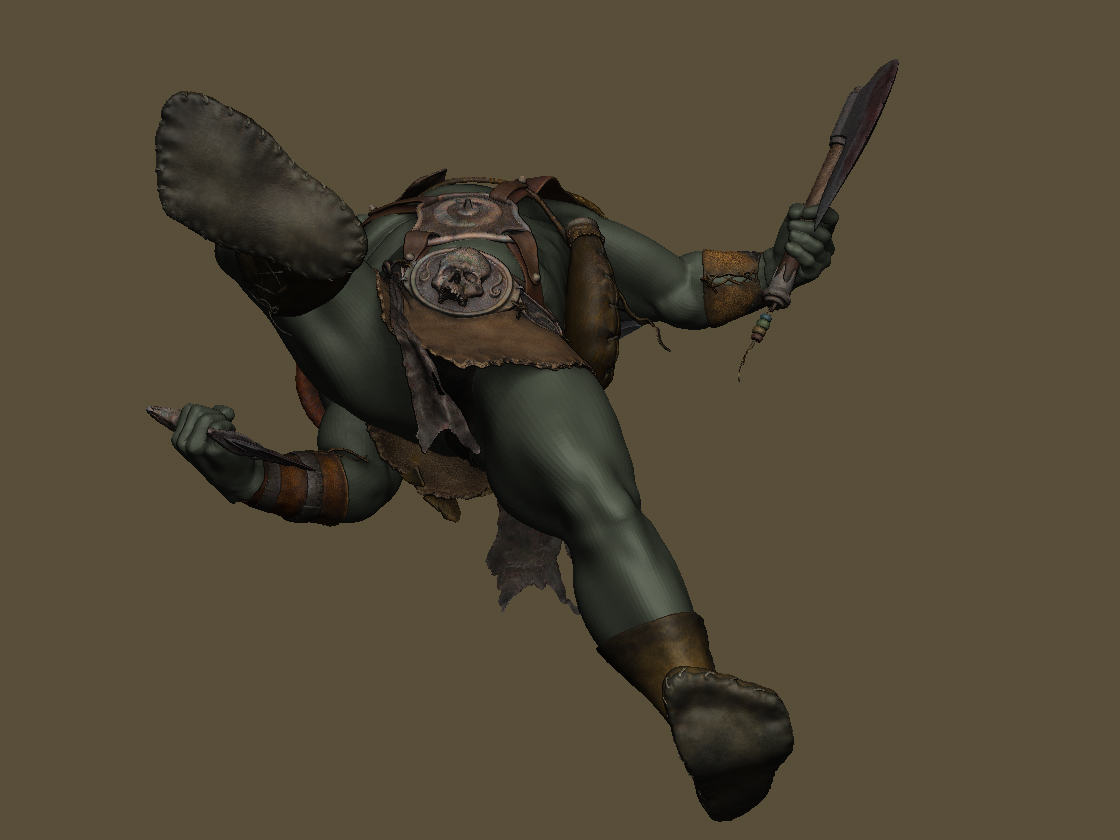
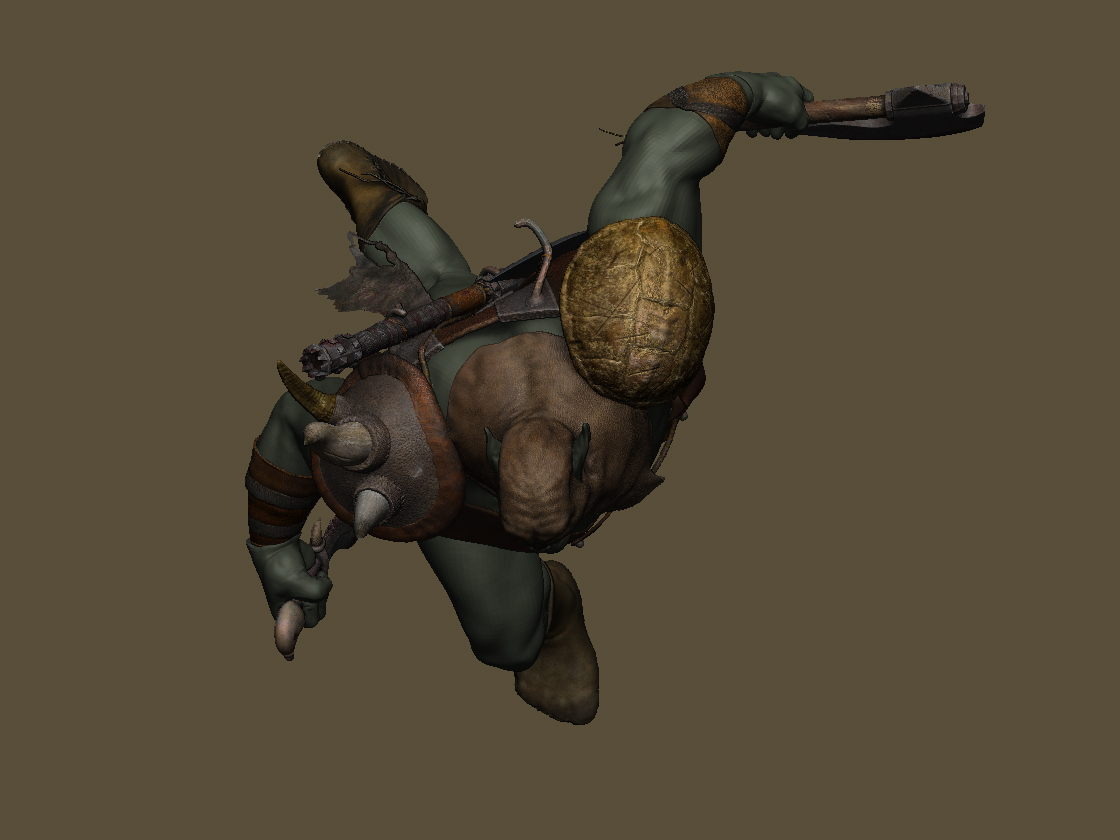
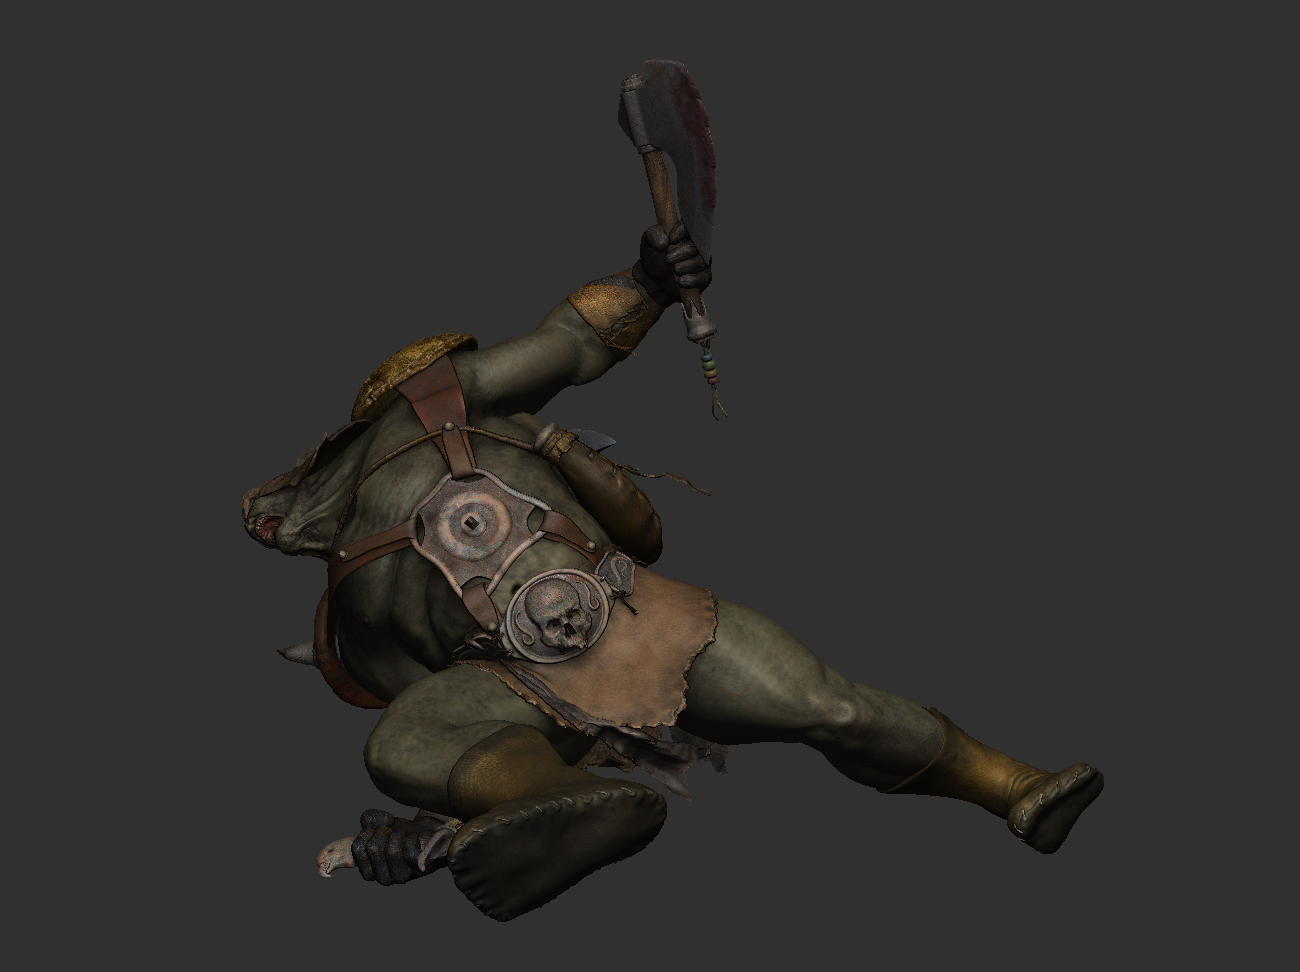
Would like any feedback on the progress I have had in working my secondary shapes - still have not addressed the “buckle” issue on the two front harness straps, but I will eventually - still working through workflow issues. Yes, they are “rivits” on the harness. I plan to leave them all minus the two on the front which would be used for putting on and off as well as adjustment - good catch testure:).

Attachments
Hey John,
To make your mats stick (one of my favorite words btw) there are 3 ways.
load the mat you want and have only that subtool visible. make sure ‘m’ is selected only. its next to between the rgb and zadd button above your intensity slider. then go to color menu and click fill object tab. this will effect only selected subtools
next way is to open subtool master and use the fill button. this will fill all visible subtools
the third way is to have just ‘m’ selected turn off zadd and you can actually paint the loaded mat onto the object in only areas you want.
excellent texture work!!! this is really coming along!!!
thumbs up man