ZBrushCentral

WIP - Tribute to Blizzard

Bnut - Thanks - I visited your lucifer project thread and tried to be as thorough as possible on my critiques there - keep it up!

After a number of internal medical projects in the past years I had found that my external anatomy was suffering a great deal so it was back to the classroom for me - still much learning to catch up on my external work, but at least I am seeing progress:).

Hosch - Thank you for all of your great crits. it is always great to have another set of eyes looks and find the little pieces that could make it a lot better. Since you gave me some good feedback I thought I would try and crit your model.

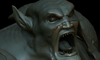
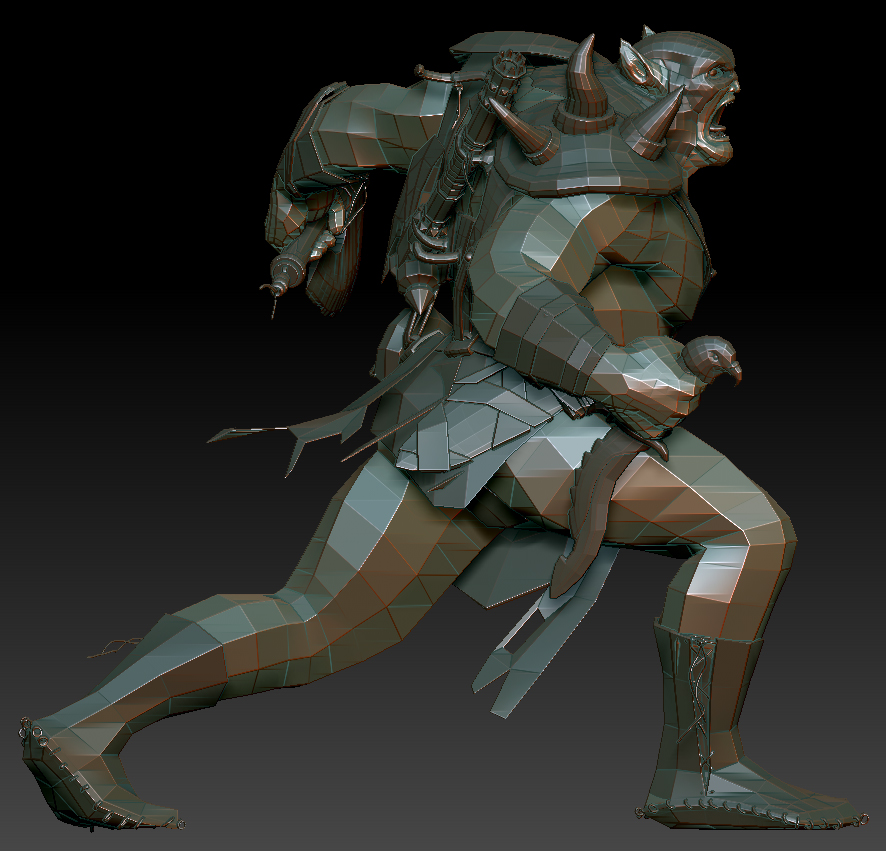
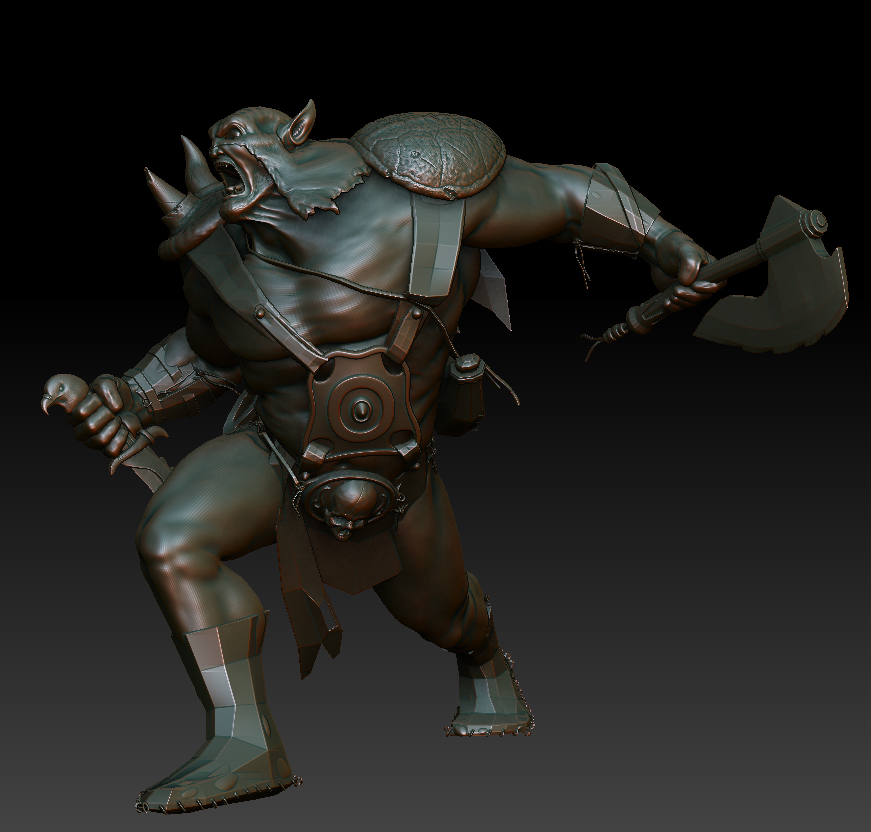
Although I may not have a whole lot to say, I do like how the model looks very proportionate, as if the creatures head is supposed to be that small and the large hands.

One thing I noticed, and I could be wrong, was that it looks like the feet are the same size if not close to the size of the hand if it were flat. Again, that may just be me or the angles I was looking at.

Another thing I would suggest would be some deeper cuts in the legs and chest to show that he is really stretching his muscles out. I enjoy the real exaggerated feel or emotion to characters that I create, so that could be just a personal preference.

Other than that I honestly could not find anything to really crit about. I can’t wait to see what it looks like when you’re finished and it is fully painted…my favorite part of modeling.

Again thanks for you’re comments on my model, will post an update soon.

Bnut - thanks much for the thought into my work. Concerning the stretching, yes, I will be working on that a bit more before I head into the details, but I had not even thought about the feet size issue - you are right I am thinking - since the feet are basically proportional to the legs that would mean the legs slightly small for his size - the hands tend to be about 25 - 50% smaller than the feet /ahem depending on the man, heh - will give this another look once i wrap up this professional project I am on later tonight - but concerning the head - yes, it is undersized as a stylization on the Blizzard Card Game inspiration art. I made it about 50% larger than theirs, but still about 50% smaller than “realism” to help with believability. He is half orc and half ogre so the orcs tend to have a more normal size head with the orcs being smaller in proportion to their body sizes. Thanks again.

Hosch, so I am guessing you either play World of Warcraft or enjoy the art of creating characters similar. I am a fellow WoW player as well, if you are.

Regarding the head size. I hope you didn’t take it the wrong way. I like that it is smaller, makes it feel like a creature, or something in-human, with human features. Wouldn’t have it any other way.

Regarding to you post on m,y thread, I made a lot of adjustments and , and will be posting here in the next couple minutes.

Awesome - looking forward to your new posts - concerning the head - I took it the right way:).

I played WoW since the beta testing until January of last year when I took a “Samson” vow to not play any more games seriously until I achieve some long standing goals in my career with my art work and the books that I am authoring and co-authoring.

My professional career goals are coming along and my 1st published book (I am only a co-author) will be coming out next year and we are honored to have Gen. Tommy Franks doing the Forward for it. It will be a coffee table book with about 30 paintings, a bit of my poetry and a number of interviews and personal stories of and about those that have left so much behind on foreign soil and their families back home.

So, even though I no longer play any games seriously, gaming and the entertainment industry overall has been a large part of what influenced my career decisions since I left the Corps and I want to gradually move my career that direction as my skills grow appropriately.

Hosch, I visited your Website and found some teeth that you modeled and remembers you did mention somehting about Internal Medicine. They look very nice. how do you recommend making teeth for a character? I always started with a box for gums and similar to finger nails I would one by one place them in.

Can’t wait to see some updates soon.

I probably should remove the link to my site until it is done, heh. Almost all of the 25k or so frames of animation I have done are under NDA and I am slowly but surely redoing select ones so I can post stuff on my personal portfolio. Don’t put too much stock in those teeth - they were quickly done as a test for a client to nail down a stylization for his project and, at the moment, that is the only medical thing that I had that was not under NDA until I get these things redone. The ones I am working on will be more toward the realism end of the scale. Same with the aircraft design image - my partner in crime and I are redoing those renders to allow for personal use and that was just a fast render to have something to show another client an idea of render quality.

About your question - IF YOU ARE USING MAX - I have always modeled to the camera angles desired so some models are not anything other than what the camera shows - for a full anatomy model I normally box model my stuff in a simple, old fashion manner such as this:

  1. Create primative as close to the shape as you can get with a primative - such as a short rectangular box for the bottom of the mouth - convert to poly - split down the middle and apply symmetry if desired to reduce time spent getting the base mesh completed

  2. Create REFERENCE (NOT INSTANCE) and apply turbosmooth (iterations of 2 or 3 is fine) change to isoline display so you can see what your model will look like (sort of) when you get it into ZBrush for true sculpting - by working on the 1st model and referencing what is occuring on the refernece you can do a sort of sculpt with the turbosmooth that is faster in most cases that turning on and off the turbosmooth to work and then see results

  3. Use your tools to build a base mesh - making sure it is 100% or as close as possible Quads for sculpting in ZBrush

  4. Then collapse the model (original model without any smoothing modifier on it - not the reference model - that one is trash) making sure your weld threshold is carefully monitored, delete undesired faces such as the bottom and then take it into ZBrush and go crazy on it making it look all bad ass and such:).

UPDATE: Oh, be sure to set your axis to 0/0/0 on your first object that will be the base object such as the character body - facing front and such - not entirely necessary, but it really helps avoid unnecessary problems. Also, set the scale to real world measurements to get started to avoid future lighting issues - again not entirely necessary always, but it is a good habit to get into.

Hope that helps.

Bnut - I took a good long look into your point about the feet and after doing some measurements here is what I adjusted:

  1. Enlarged the overall leg / feet by approximately 10%
  2. Reduced the size of the shin area by approximately 10% after the scale up
  3. Enlarged the feet by approximately 20% more at the end from the heel forward

What is your impression of the sizing of the legs / feet after these adjustments - or anyone else that might have an opinion - please feel free to chime in:).

Thanks so much for bringing this to my attention - he does have a very large frame and that would take big feet to stabilize for sure.

Rexxar_Progress_30a.jpg

Attachments

Rexxar_Progress_31.jpg

Hosch, I think the feet look a lot better/proportionate to his frame.

I really like how you have a lot of variety with him, with all the different pieces of leather/cloth and the axe/weapons. Makes it very interesting to look at.

Thanks for responding to my question. I do have Max, so I will give that method a try and let you know. Normally i would make a simple box in zbrush and move the vertices around until I have the basic shape, but always found that to be time consuming and eventually ruin the shape I was going for.

I posted some new pics of my creature, however after posting and taking a break, I came back and thought his back ribs make him look less believable, so I am smoothing that section out in case you noticed that.

Thanks again for your feedback and I can’t wait to see more.

The process i described is just one of many - I like how there are so very many ways to do things in these programs and, since the result is what is important, it is really up to us to choose our drug of choice for our pipeline workflow.

When I first started using Max and ZBrush it seemed that everything was much more linear - not like now when you can do just about any step in the process at almost anytime in the game - great progress!

Will take a look at your work as soon as I can - glad to see you are starting to use breaks as a part of your process - I have found the breaks to be almost as important as the work itself in making sure I avoid tunnel vision - sure helped me:).

Keep it up, its getting better and better. I look forward to seeing the hi-rez versions of your subtools.

A bit more progress - the belt buckle is basically done minus the final wear and tear layer that I will do to all subtools once I am at the end.

The look I am going for on this buckle is an iron rounded center plate with beaten metal trim/housing and accent pieces along with a metal covered skull all items are meant to be welded with a rudimentary weld.

The skull is not meant to be human, but some sort of humanoid - maybe a dwarf - not sure - I took a few liberties in the anatomy to get the look I was after so it is not 100% correct with a human skull - maybe 80% or so.

The last image is just to show the buckle in place as reference.

As always, I am eagerly awaiting any crits that would benefit the work - everyone is an expert at observing so feel free to chime in if there is some suggestion:).

Rexxar_Progress_32a.jpg

Attachments

Rexxar_Progress_32b.jpg

Rexxar_Progress_32c.jpg

Rexxar_Progress_32d.jpg

Rexxar_Progress_32e.jpg

Rexxar_Progress_32f.jpg

Rocking stuff!

couple o´things.

You could perhaps detail the teeth more, as in where the teeth meet the bone.

second, perhaps take out the temporal area a bit (I know it goes in quite a bit, but would maybe look better here cause it usually depends on the back of the skull to complete the picture, currently it makes it have a pear-shape and that contradicts the dwarf skull objective)

just my two cents, take it for what it´s worth :stuck_out_tongue_winking_eye:

About the teeth - I did not model any teeth - these is just the top jaw where the teeth roots connect - will post image to show the underside there.

About the temporal area - good call - will make that change next - very good call indeed.

ha! Fast and on it! I see what you mean with the teeth, hmm. Have seen quite a number of skulls without teeth (out in the wild… animals like foxes and caribou :stuck_out_tongue: 
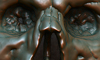
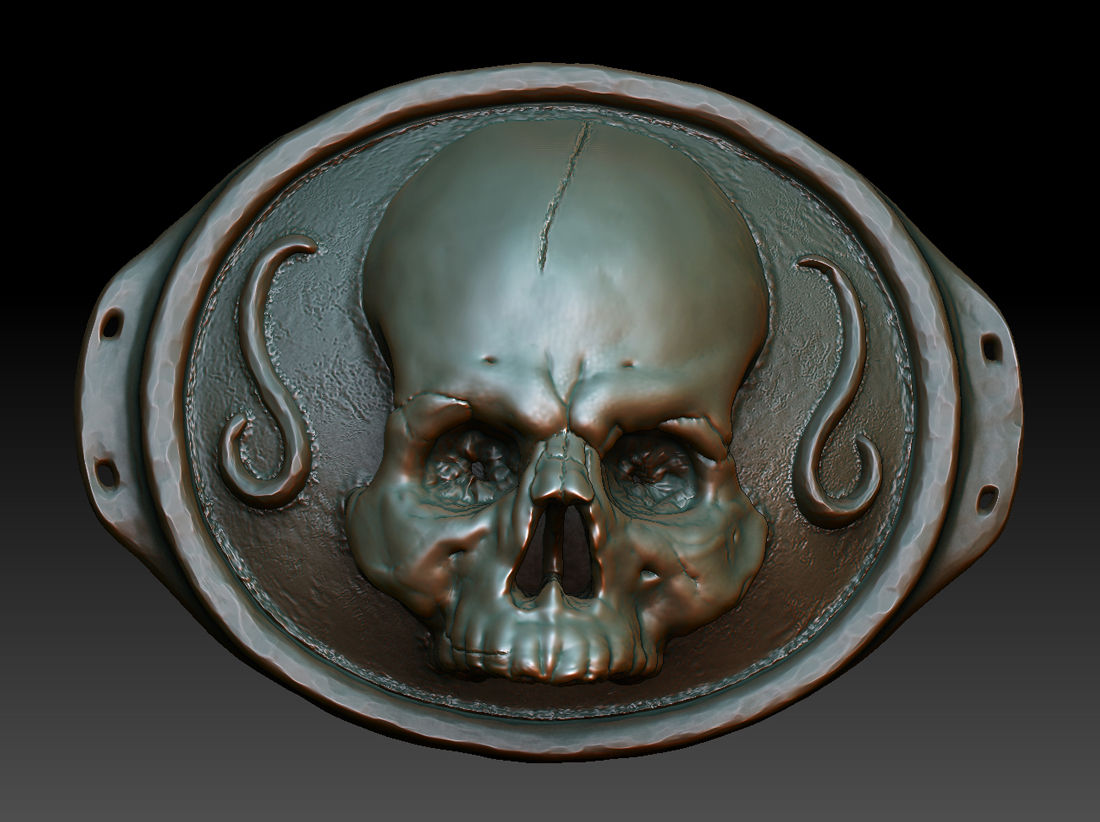
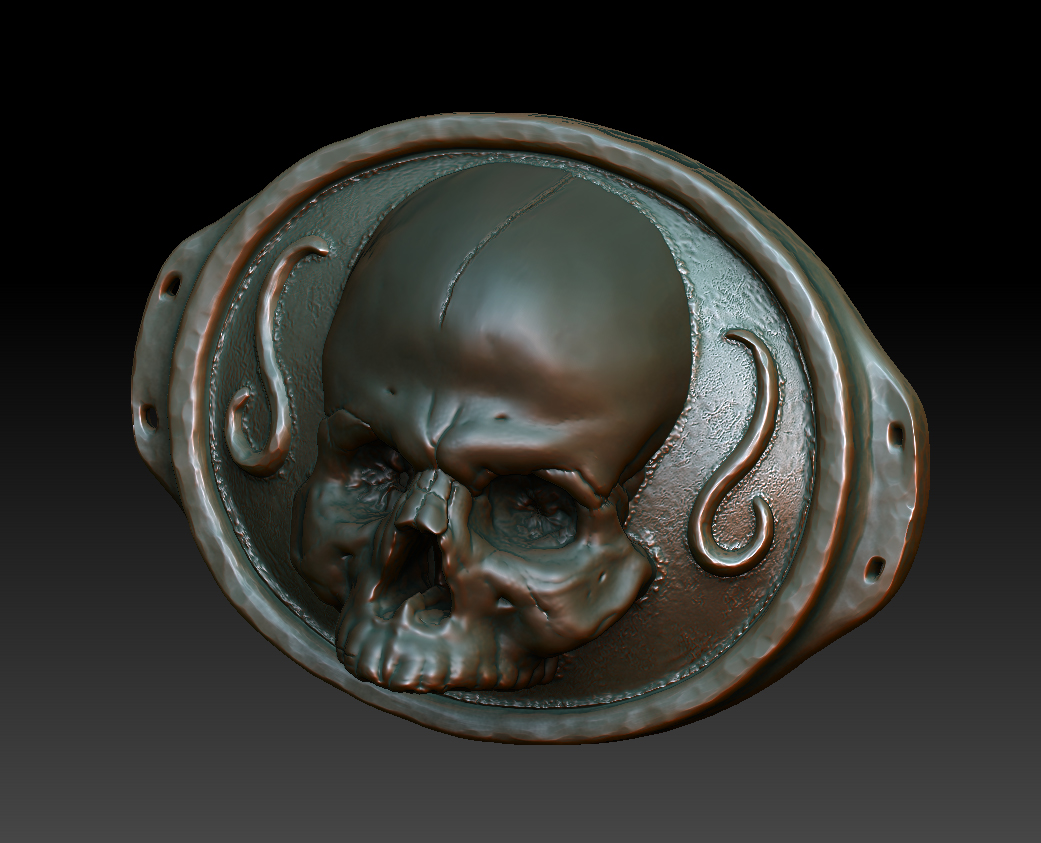
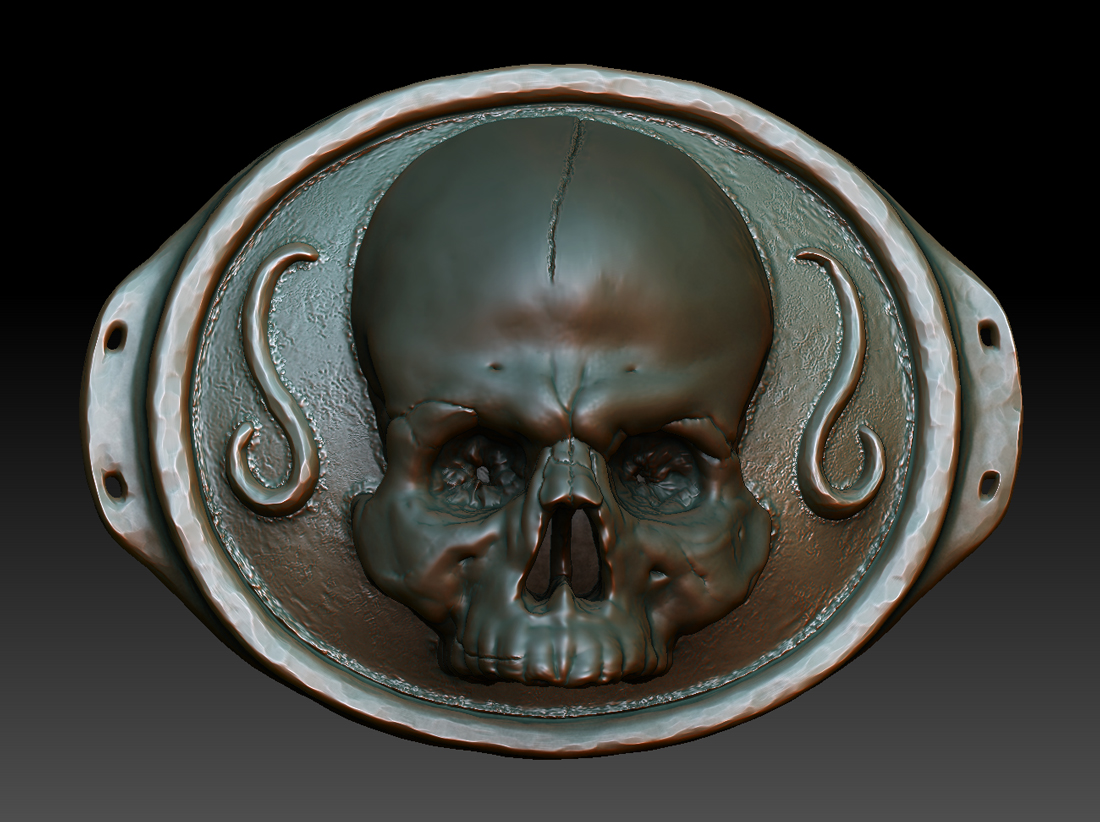
) definately find some ref for that, cool idea with the beat up skull! I think you would be surprised how far up the teeth actually can go, you can probably even angle the holes forward, maybe even leave one tooth in there!

You might have to really tidy up the outline where the skull meets the belt to get rid of the “pearshape” Perhaps as far as bringing in the back of the skull or easier; just bring it out so much that it´s almost roundish/square when looking at it from the front.

keep it up!

Wow Nice… :+1: :smiley:

Yes, after a bit of shut eye it looks different to me. The top jaw does need some more work - will address that when I get a chance. Will continue to look at the outline - am thinking of another method of attachement as well that will show the saw marks or break where the skull was reshaped to fit - we shall see.

I’m loving the belt. I recommend taking the gum sockets, recessing them (more), and putting in some primitively sculpted teeth to really make it pop. It’s a little tedious to get them lined up and formed, but it’s worth the effort.

I have had others have privately recommend the same thing so I am thinking I will do that - I have modeled countless teeth in my time so I will choose a few and stick them in - thanks alot guys - but now it is back to the jobs that pays the bills - laterz :).

Hosch, I tried making teeth the way you recommended…worked great for the base mesh. Thanks for all your help with me on that. I now have something reusable when I make teeth now, which will make the sculpting process much easier.

Your model is coming along real well, I am lovin’ the progress. I do agree witht he others about the teeth needing a little more detail though, would make it pop a lot more. Can’t wait to see what you got coming up soon.