really nice.
whats your render setup for this?
really nice.
whats your render setup for this?
Awesome work! I was really diggin the big guy and you made some great progress on him. Now I think I’m liking the skinny guy more. I’m a sucker for big ears and crazy proportions. Is this for the Animation Workshop shorts? Good luck with the rest of the project. I’ll have to keep an eye on it.
neat. cool style.
Hey guys,
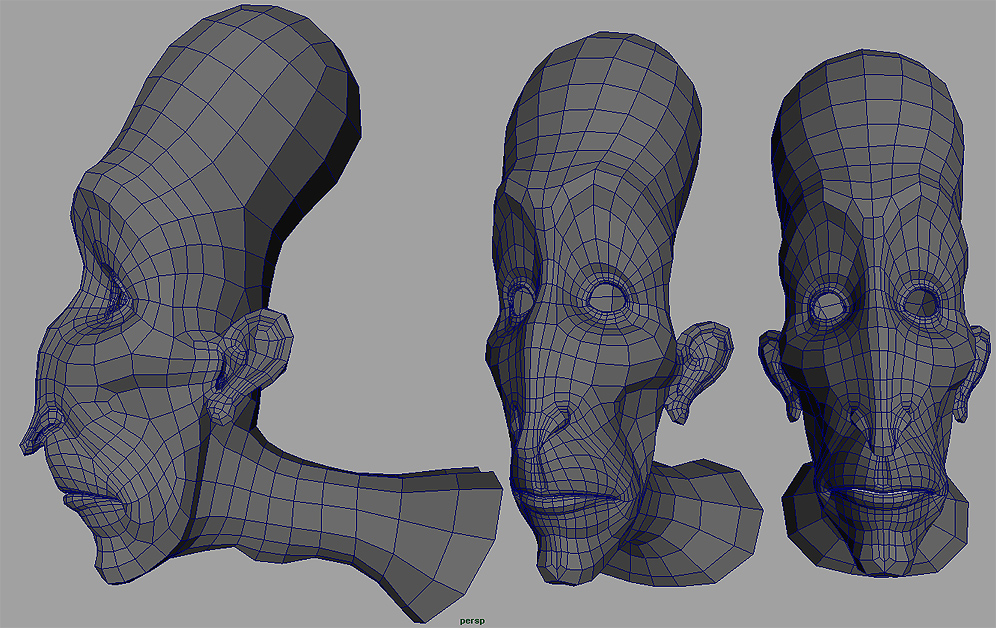
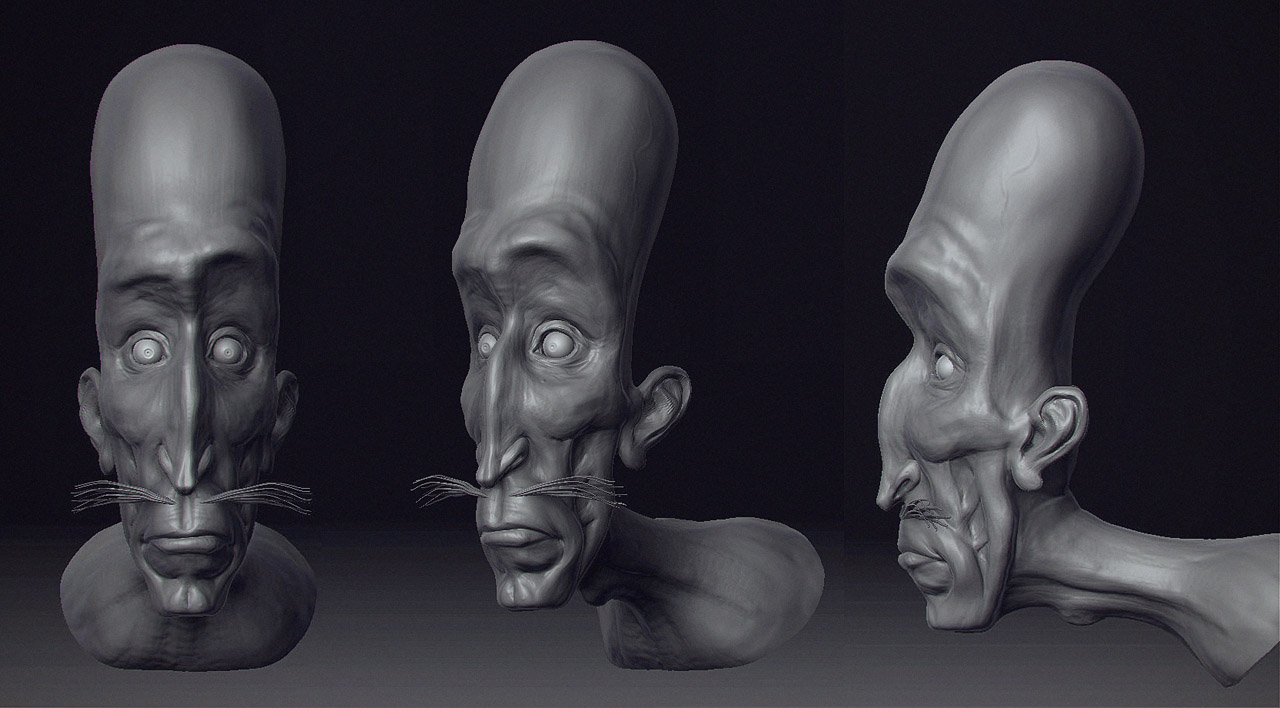
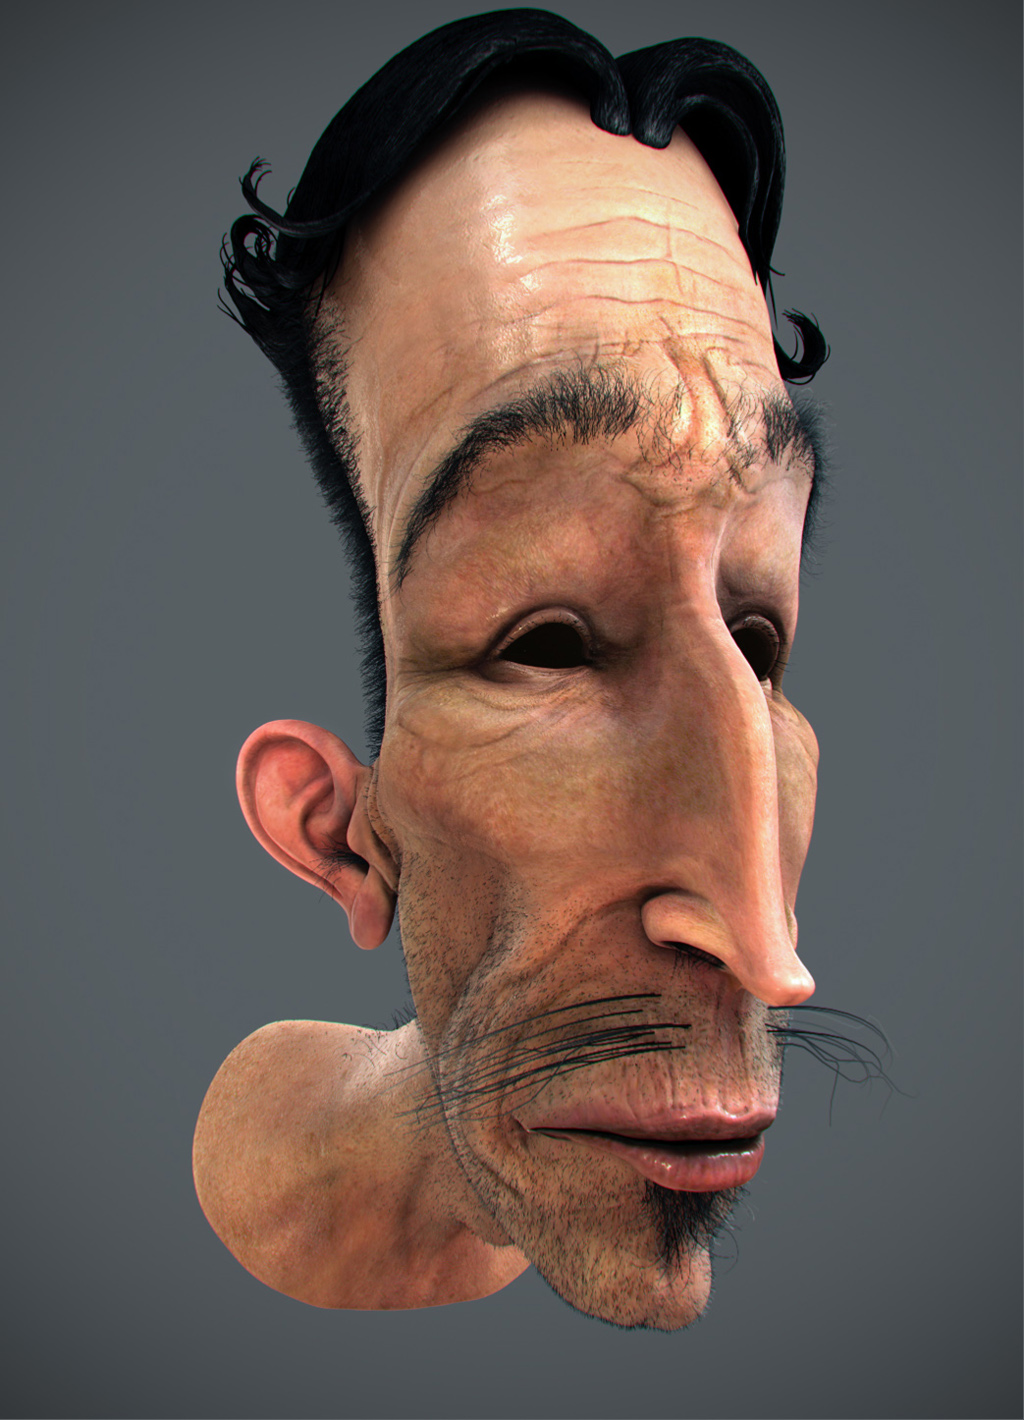
Sharing some WIP images of the character I designed and created for the animatied short “The Monster of Nix” by Studio Rosto A.D. in Amsterdam where I did an internship last year. The short premiered this week at Annecy animation festival in France.
The voice of this character is done by the very talented Terry Gilliam, who brought the “Ranger” to life. So, very exciting to work on!
This guy was created based on a single sketch and lots of meetings with the director. A fully sculpted and shaded version, with lots of hair systems took me about 3 months to finish, a year and a half ago.
Will post some C4D renders soon!
hope you like it,
Tom
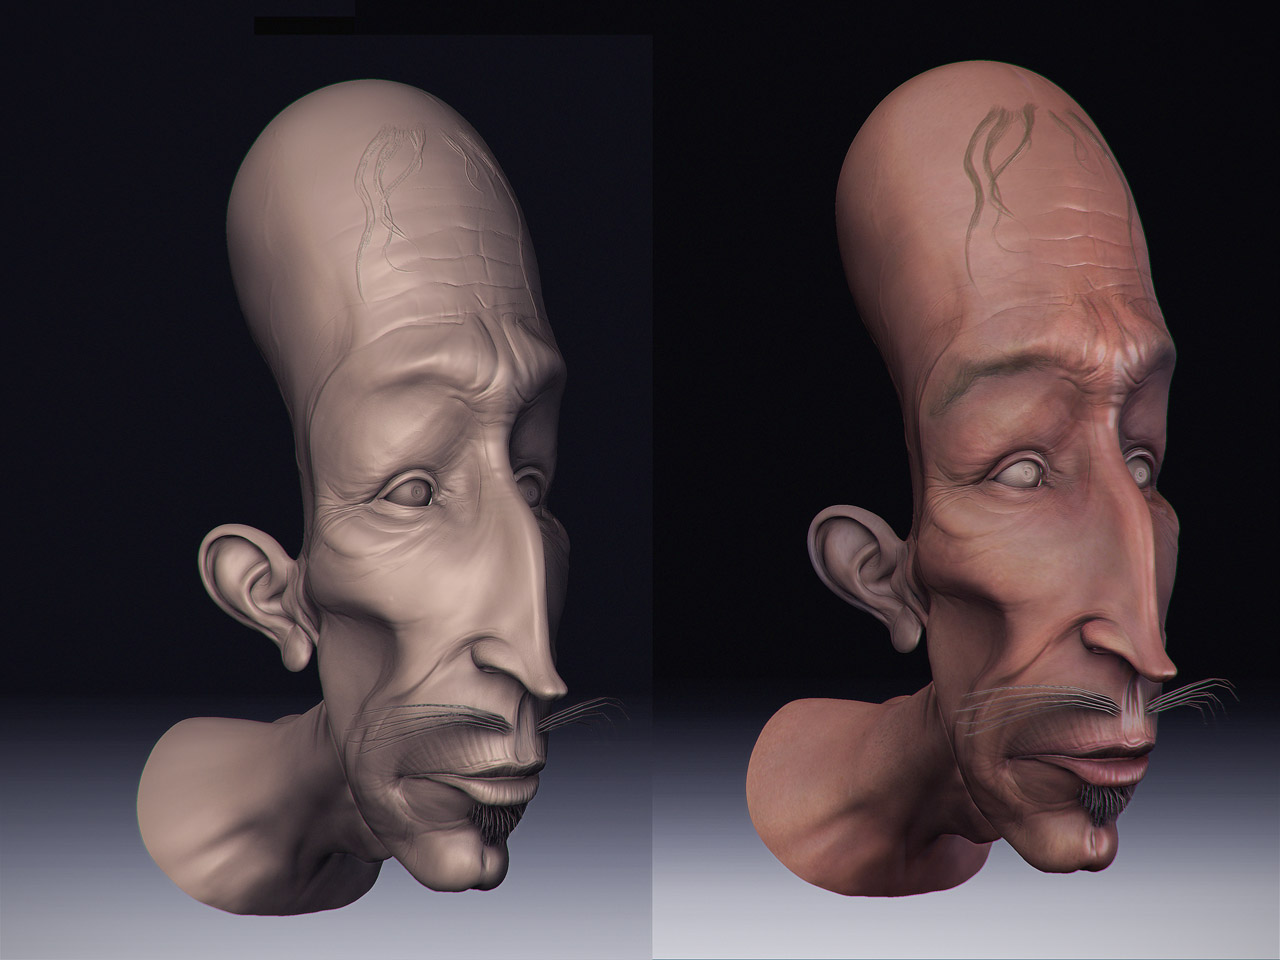
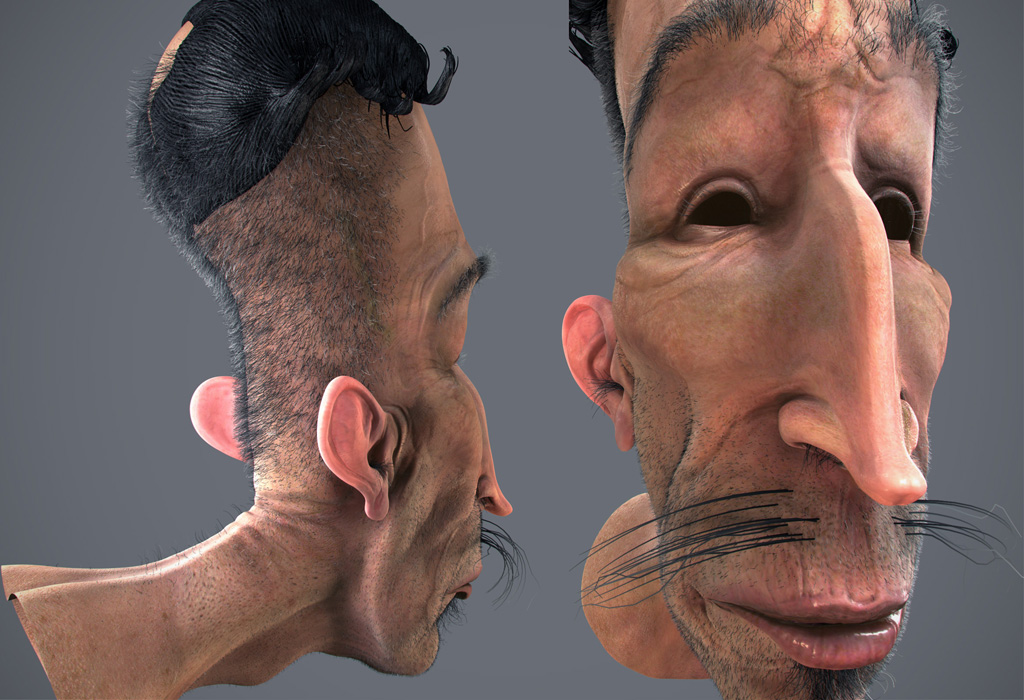
Some more WIP images. Had to learn C4D to create all the hairsystems and shaders. I usually work in maya but was pleasantly surprised by the efficiency of C4D, very fast and stable rendering!
really love the expression on his face. looks really natural. 2 thumbs up.
thnx! here’s another render with just 2 lightsources, no GI just AO. The nose and ears are setup with SSS.
Haha, great shot!
Kind of how I feel sitting in my hot room lately :lol:
Awesome sweaty looking man.
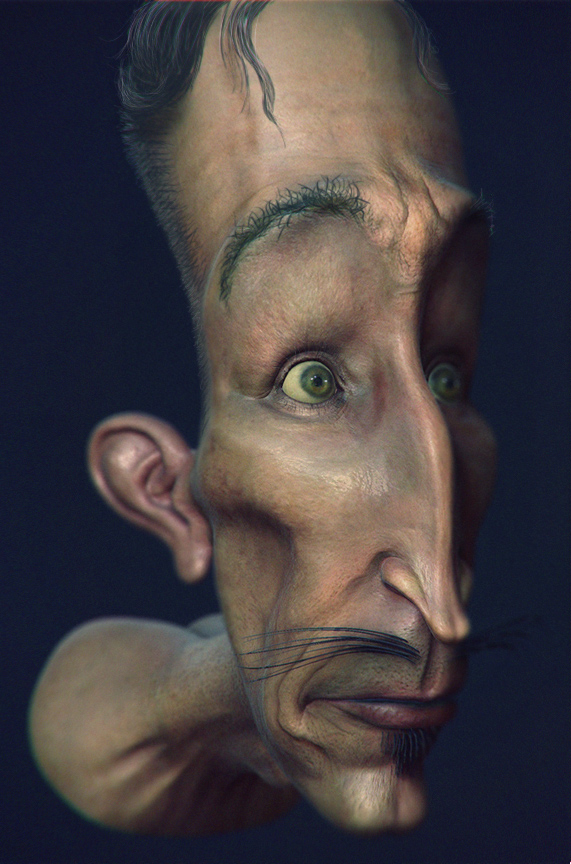
to the chromatic aberration, I’ve got a little tip for you, that might make this awesome hero shot even better (rendervise)
the thing is, the aberration happens in real life mainly in the areas out of focus, and in high exposure spots it makes sort of cyan fringe around the exposed spot.
so, i tend to simulate this with Zdepth pass.
make a copy of the Zpass, and as you make the DOF effect on the shot itself, blur also the copied Zpass then invert it and youve got yourself a perfect mask for the abberation. the more out of focus the image is the more abberation…no defocus, no aberration. this can eliminate weirt looking artifacts like in the eyebrow in the top left corner of your image.
then you can take the brightest spots of your image , and make a perfect blurry mask for em- that can be aberrated just slightly. this gives you a ridiculous amount of control. i guarantee you that this type of controlled aberration looks more realistic, and can add to your image more then the basic approach.
thnx guys, and thnx bukkit for the tip!
I figured this out in the mean time:P made this image over a year and a half ago:D
great job on the skin shader

