Hello Aurick and ZBrush World,
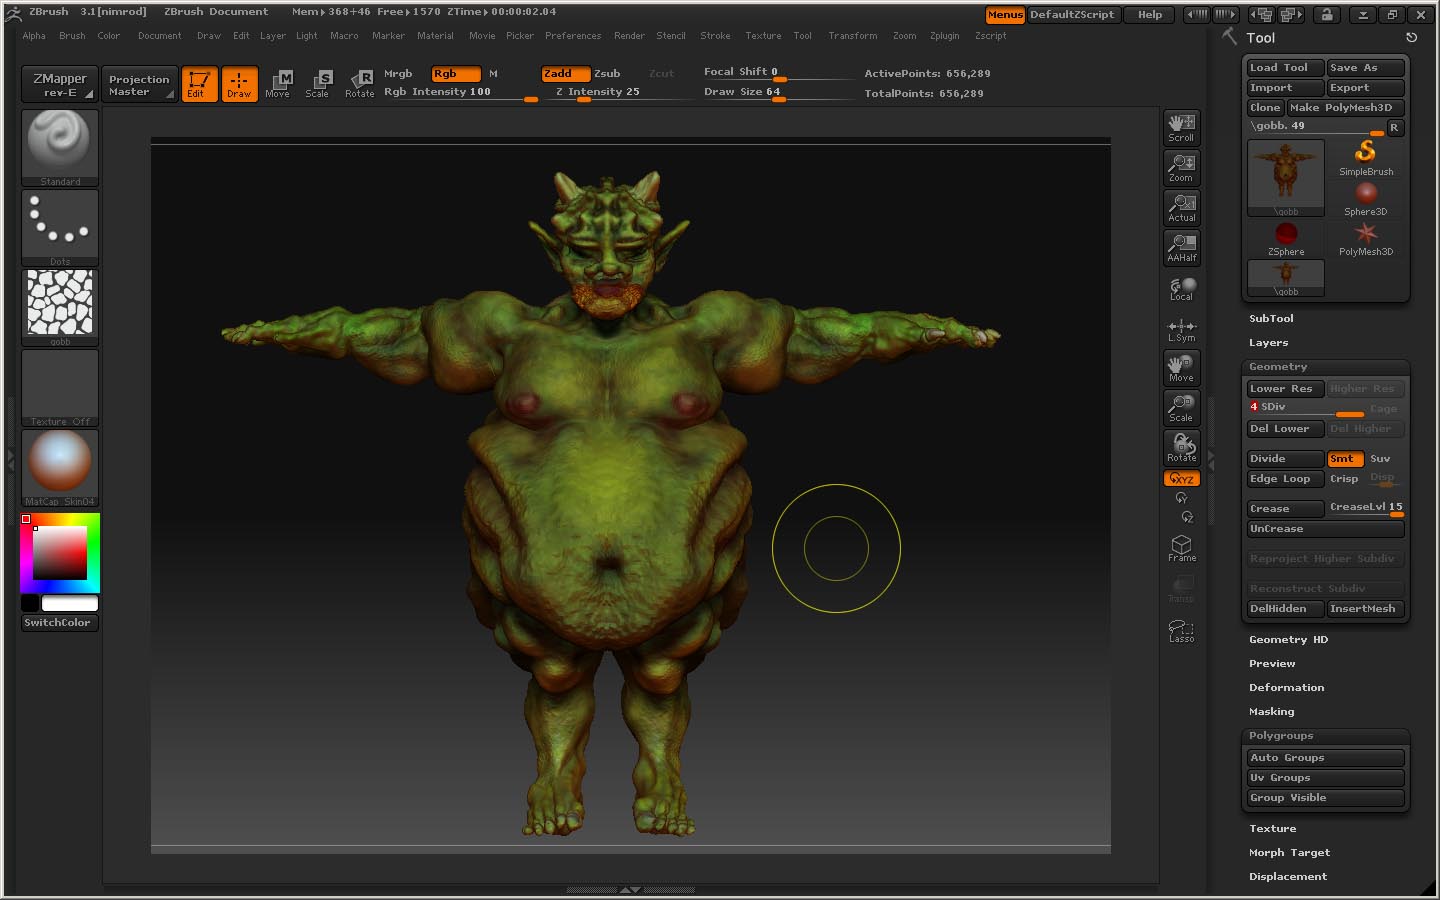
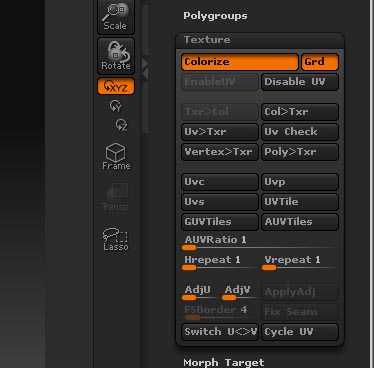
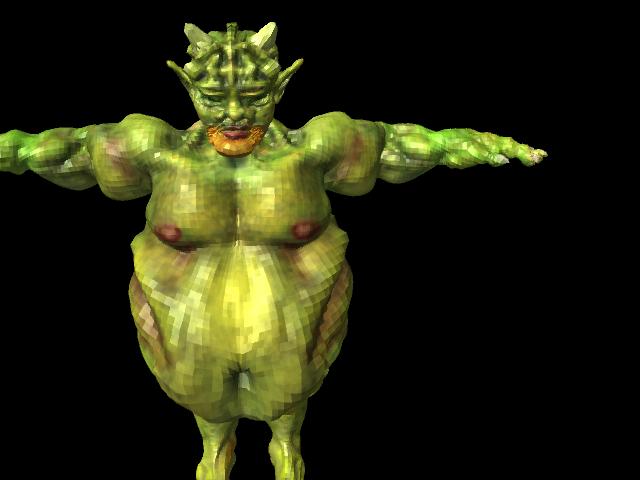
First, I have some images of what I have made. I opened up my original file (I have done no prep work for Maya in this file, thanks be to God I save every little nugget of progress :).) As you can see, in the plain model picture I have been working like a dog on the polypainting here-I don’t want to waste it!! The second picture shows what happens when I pressed the UV groups button. It shows a lot of multiple “patches” as you can see. To be absolutely clear, I do not need multiple texture maps on this thing. (He looks just peachy as is.)
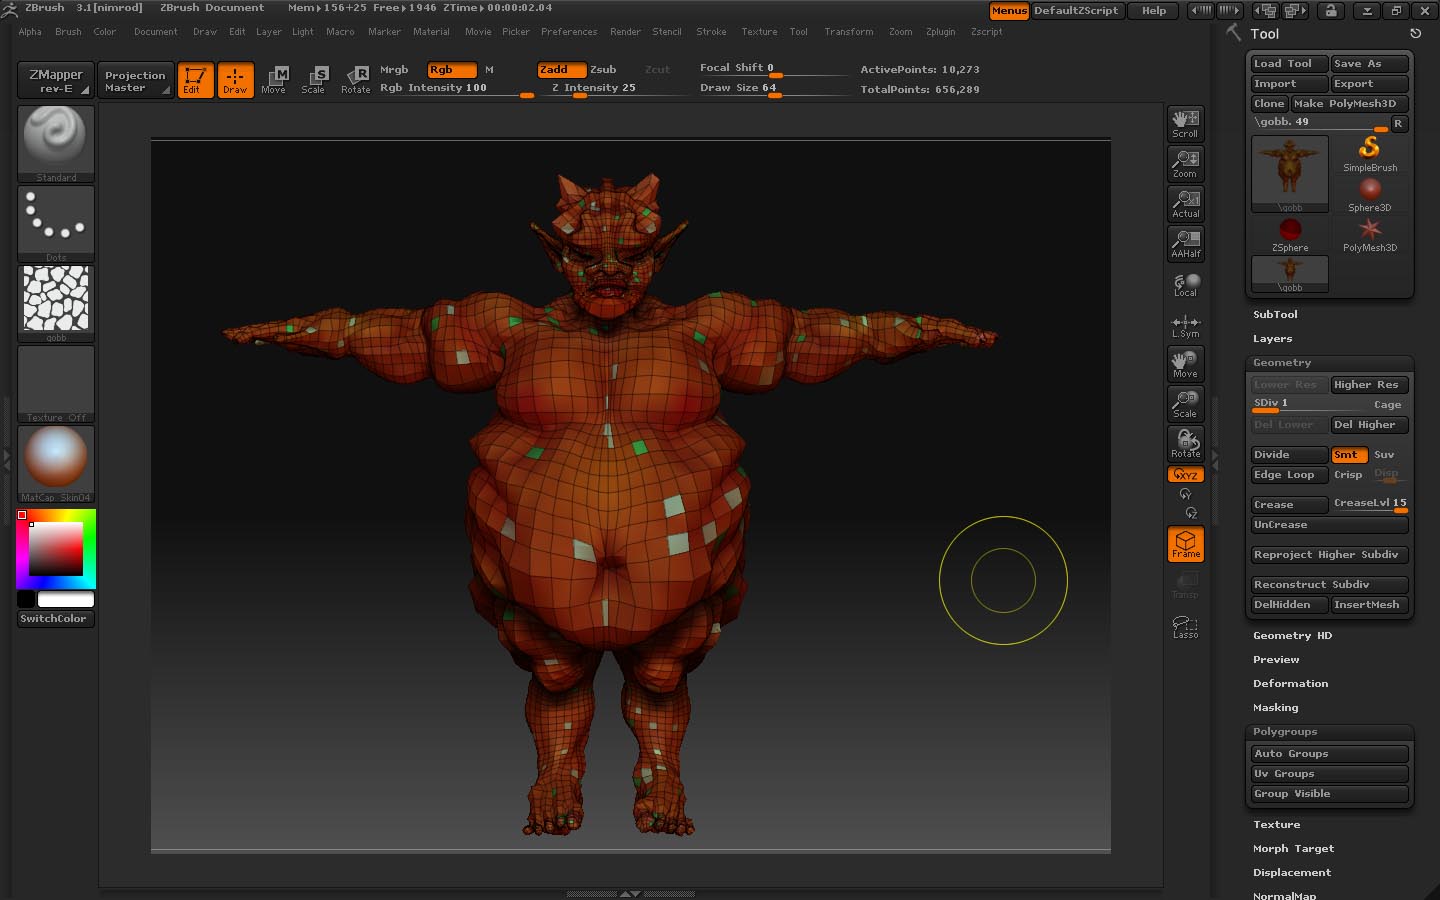
The third picture is what my texture window looks like. As you can see, Enable UV is switched on. I am going to the texture menu and creating a new one at 2048x2048. I am going down to the lowest subdivision level to create AUV tiles, then up to the highest one to do color>texture in the texture menu. I flip the texture vertically like you said, and then I save it as a jpeg. I delete the very low level as it has next to nil helpful geometry. I export level two of my now four level model and open it in Maya 2008. Looks nice, yes? (It is at the level 2 so I can put on a normal map for level 4.)
Now, good sir, for the billion dollar question…What do I do now if I want a normal map? How do I go about that (details, please)? Should I opt for a displacement map or a normal map or both, and if so, how do I do this? Where do I go from here!!!
Need advice,
shadowcat
PS-What do you think about how it looks? (Like I said earlier, I am fabulous at the sculpting and the painting, but always fall down at output [for me this is the holy grail as nobody believes me when I say I can make very cool models if I want to because nobody ever gets to see them on my demo reels. :o
PPS-How do you get the material you chose in zbrush to show up in maya? (I chose mat skin 04 and for another model I used and intensity reflect. Never did figure that out either.
Attachments