ZBrushCentral

when import normal maps in 3ds max some areas are a lot darker?hellp please

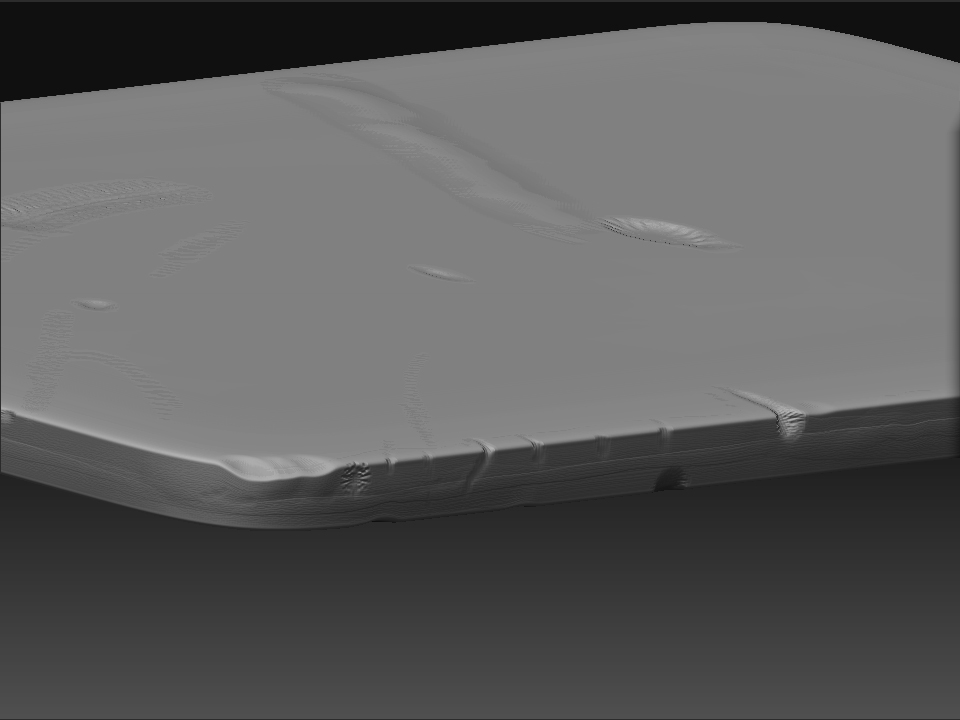
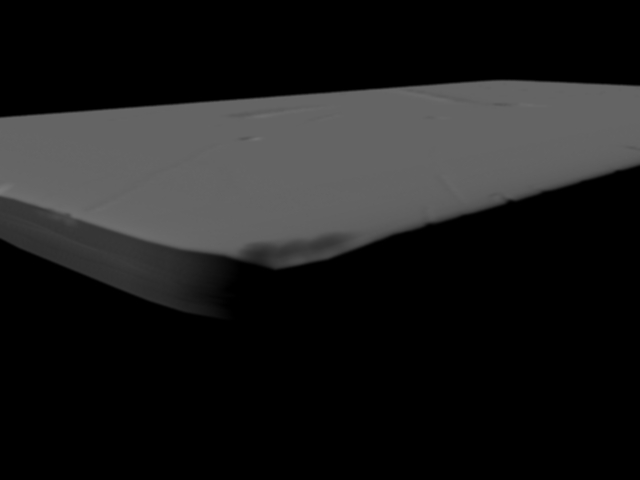
i think i red almost everything in this forums about normal maps at least till the place when i understand everything, and now i think i know how to create them, but i am still having problems. i use them to apply them as a bump map in 3ds max. and to actually see the details i have to turn the amount for the bump map up to more then 60 but then i get some dark areas which i don’t know why are there!
i really would love to do all of my details in zBrush but i just don’t know how to transfer it! and i know that you guys probably will tell me to read more in the forums but i did and i just cant get it working. i will upload 2 images the first one is in z brush and the second is in 3ds max 2009! just so it is easier to understand what i am talking about. i also will upload the obj file that i am exporting and the file from max after i applied the bump map in case somebody has time to take a look at it! may be i am mistaking something in there.thanks everybody and have a good evening

Attachments

dent_zBrush.jpg

dents.jpg

I’ll take a look in a little bit.

thank you very much in advance

I can’t view your max file…max 9 over here. But your obj needs to have a decent UV layout. If you give me the normal Map I can take a look at that too if you would like.

Anyway, off to kill zombies while I think about DW. I check back to ZBC every hour or so when I go outside to slowly kill myself.

thank you for the reply!one day when i can advice other people i promise to spend some time here and help other guys :slight_smile:
i am uploading the normal map and this are the steps that i took:

  1. Build up a very (!!) basic mesh in 3ds and export it to zbrush as an .obj
    2. After loading up your model in zbrush go to Tool-Geometry-Divide and add some more polys
    3. Start sculpting and further dividing as you wish until you’re satisfied
    4. Now switch back to Subdivision level 1 (Hit Ctrl-D)
    5. Tool-Texture-GUV-Tiles
    6. Go to Menu Texture and create a new one (4096px)
    7. Finally go to Tool-Texture-Normalmap and hit “create normalmap”
  2. To export both mesh and texture to work with 3ds you gotta flip the map vertically. To do so go to Menu-Texture-FlipV. Then hit export and save it as .bmp or whatever
  3. Last but not least Menu-Tool-Export save as .obj

the problem is that you’re using an object spaced map, not a tangent. So in max you need to tell it how to adjust for that. In the normal bump slot change the method from tangent to local xyz. Are you using 3.12 (mac version) or 3.1 PC? how maps are created is very different so that will determine how you need to make them.

You can also flip the channel or the image inside max as well.

thanks again. I am using 3.1 version PC! and I did change the method on the bump map slot to local. i mean I did that before i post here in z brush forum. if it is to tangent it does nothing at all. Later on today i will post my file from an older version of max if you could take a lok at it. i am also going to try the z mapper. thanks again man!

hi again this is a link with my 3ds max 7 file with the bump map applied i just cat upload it here because the file is somehow to big

http://area.autodesk.com/index.php/forums/viewthread/24114/#110959

i think what i was trying to do is a bit to big for just a bump map! i tried a displacement map and it looks a bit closer to what i am trying to achieve. may i have to add the bump map on top of it? am i on right path? :slight_smile: thank you very much for the attention once again and have a good evening