I have been using Zbrush alot recently and it has been working fine until Saturday. I am creating some displacement maps from an .OBJ I import from 3dsMax.
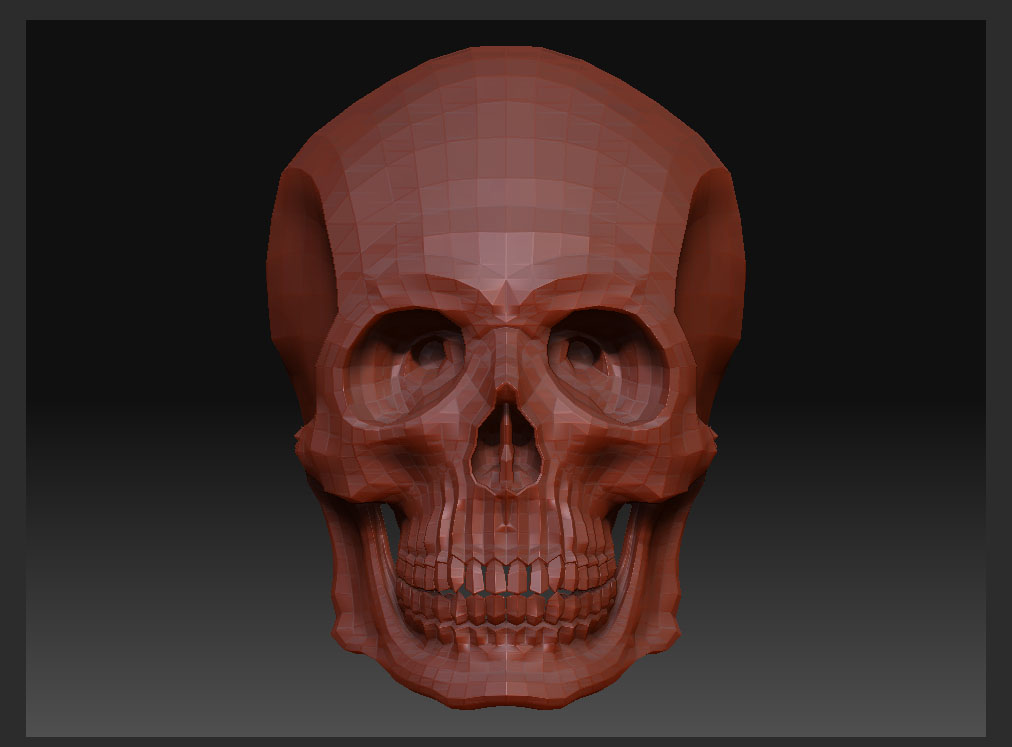
When I bring in the OBJ it looks like picture 1
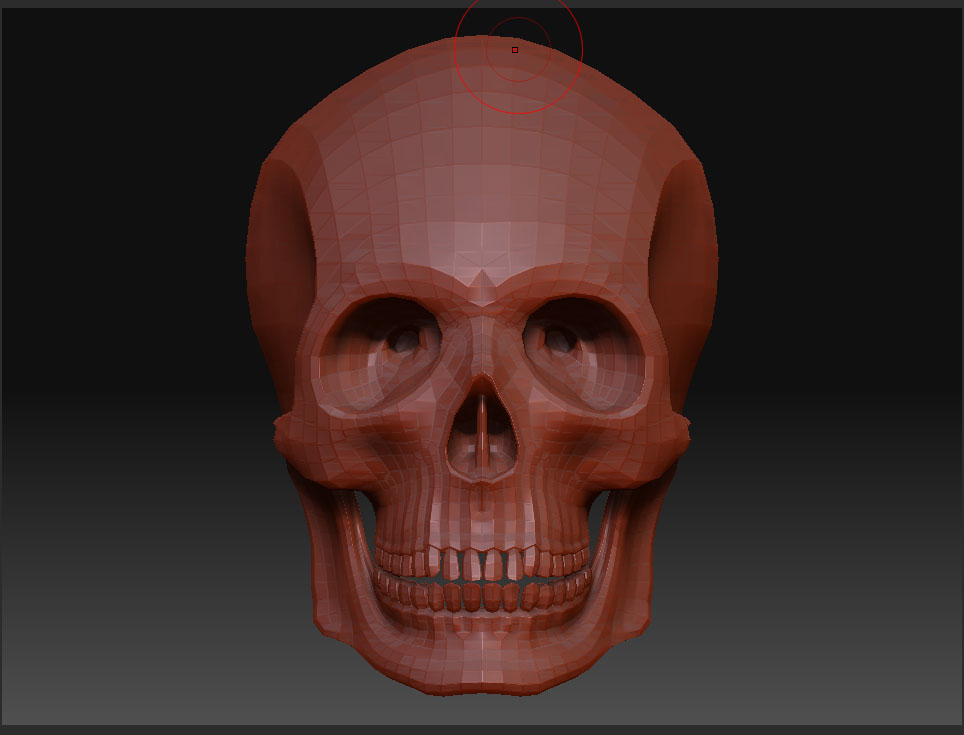
I obviously increase the subdivisions to sculpt and when I am ready to Create my D.map with MD3 I lower the subdivisons back to 1 but my original mesh changes when I do so, it looks like picture 2
This is causing some kind of problem when I use the Displacement Map in Mental Ray in 3ds Max, Its like the D.map is changing geometry that it shouldnt do.
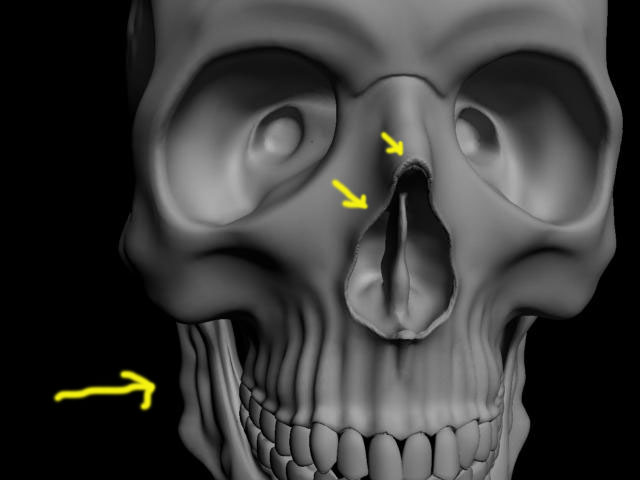
The detail that I sculpt is okay but it exaggerates all the other geometry in the skull and also makes a mess at the UV seams. (pic 3)
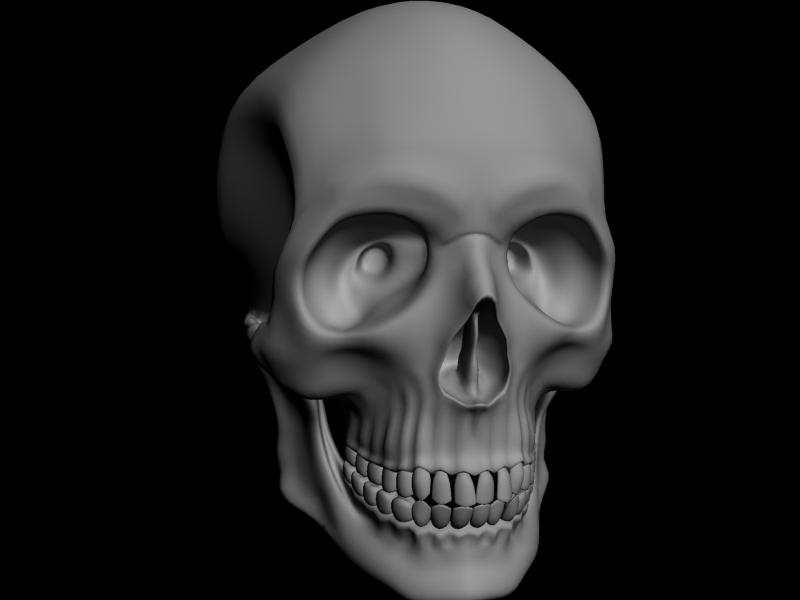
Picture 4 is what the geometry should look like at the nose and jawbone
I think Zbrush is creating the displacement map from a mesh with slightly different vertices (pic.2) than the one I originally imported (pic.1) with conflicts with the UVmap created in Max
the problem obviously lies in Zbrush and creating the subdivsions
Any suggestions?
(I am certain that the displacement settings are fine as they worked for a couple of weeks prior)
Attachments