ZBrushCentral

vector_ride's sketchbook

These are my first submitted works on ZBC.

Head sculpt of Rene Felice Smith modeled in Sculptris. Composited using Normal map materials and ghost light in Photoshop.

Work In Progress
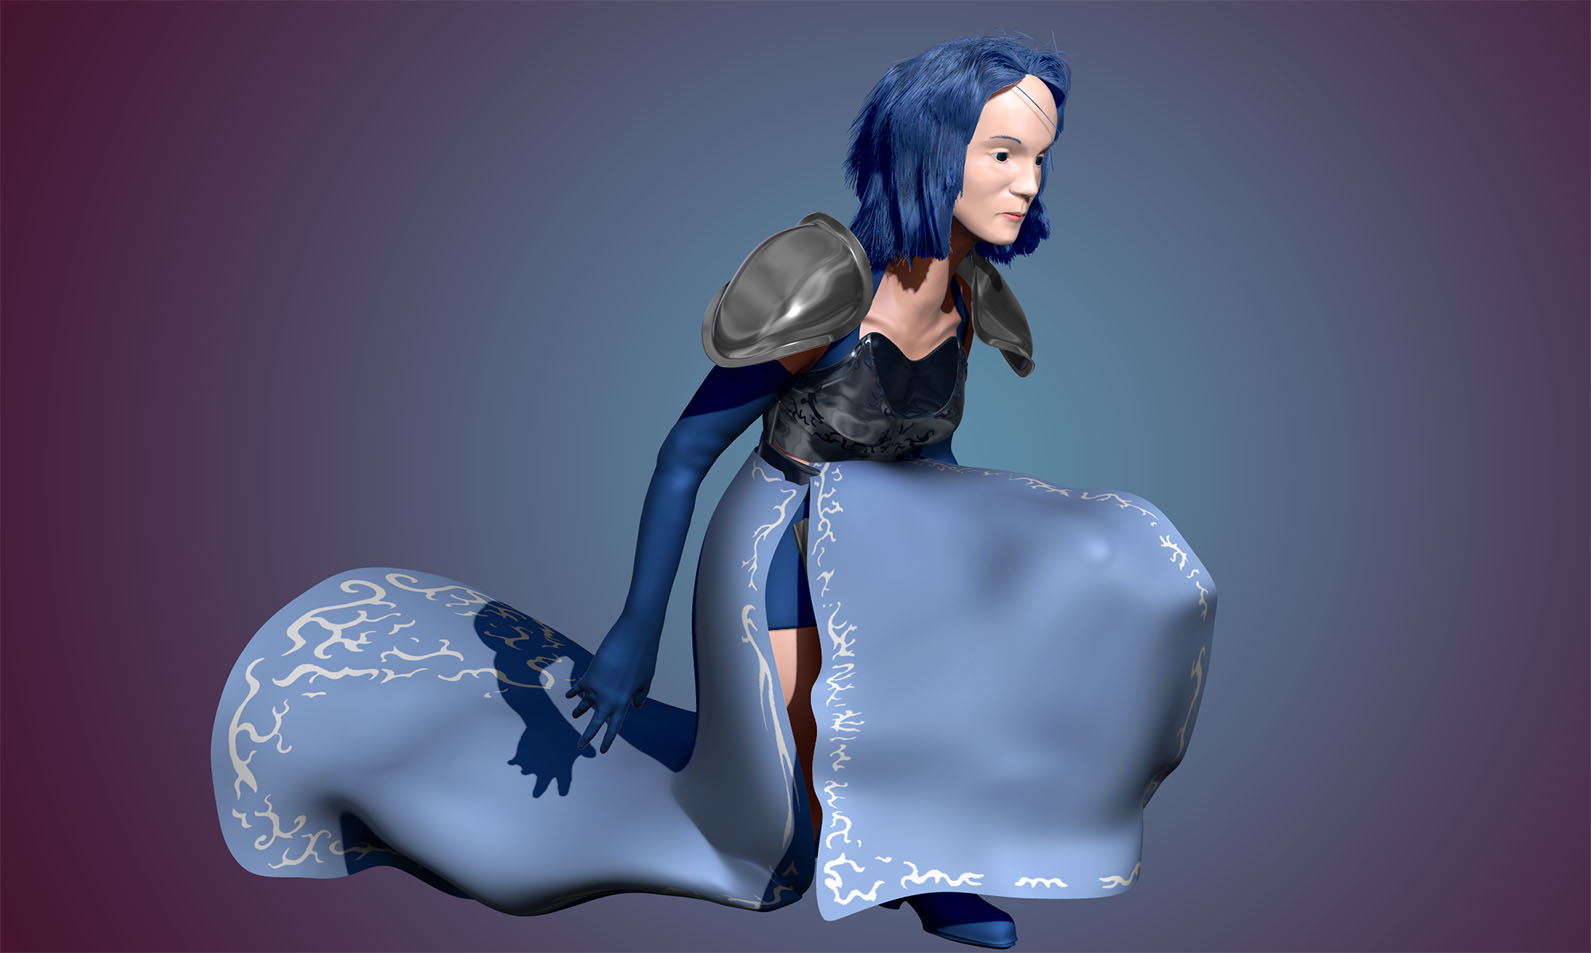
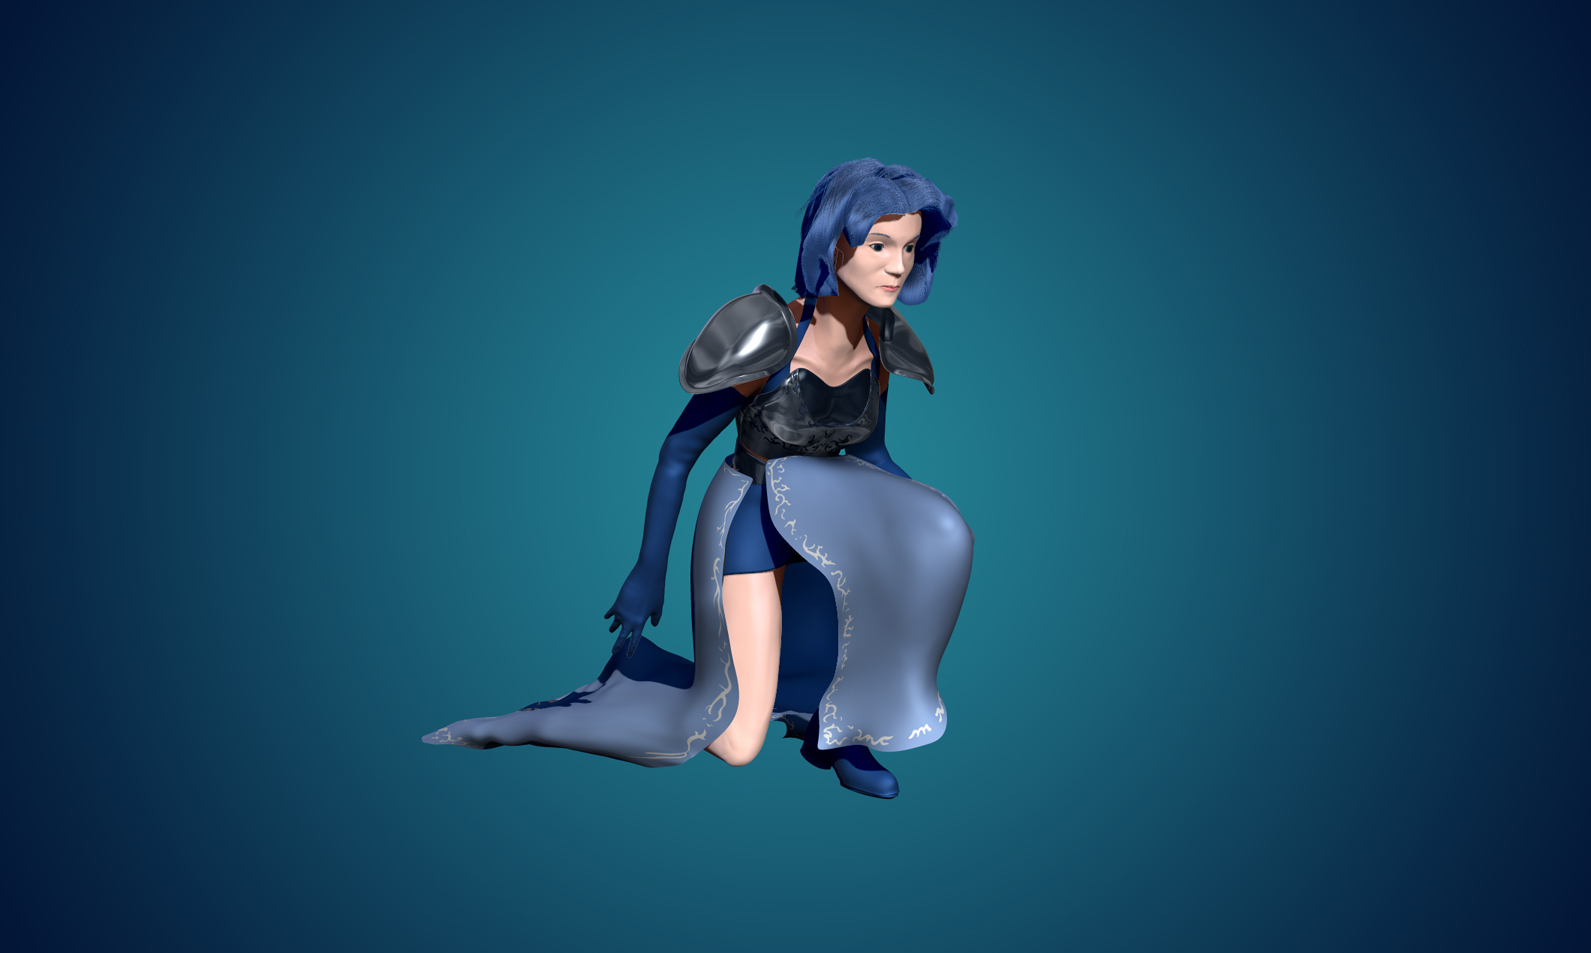
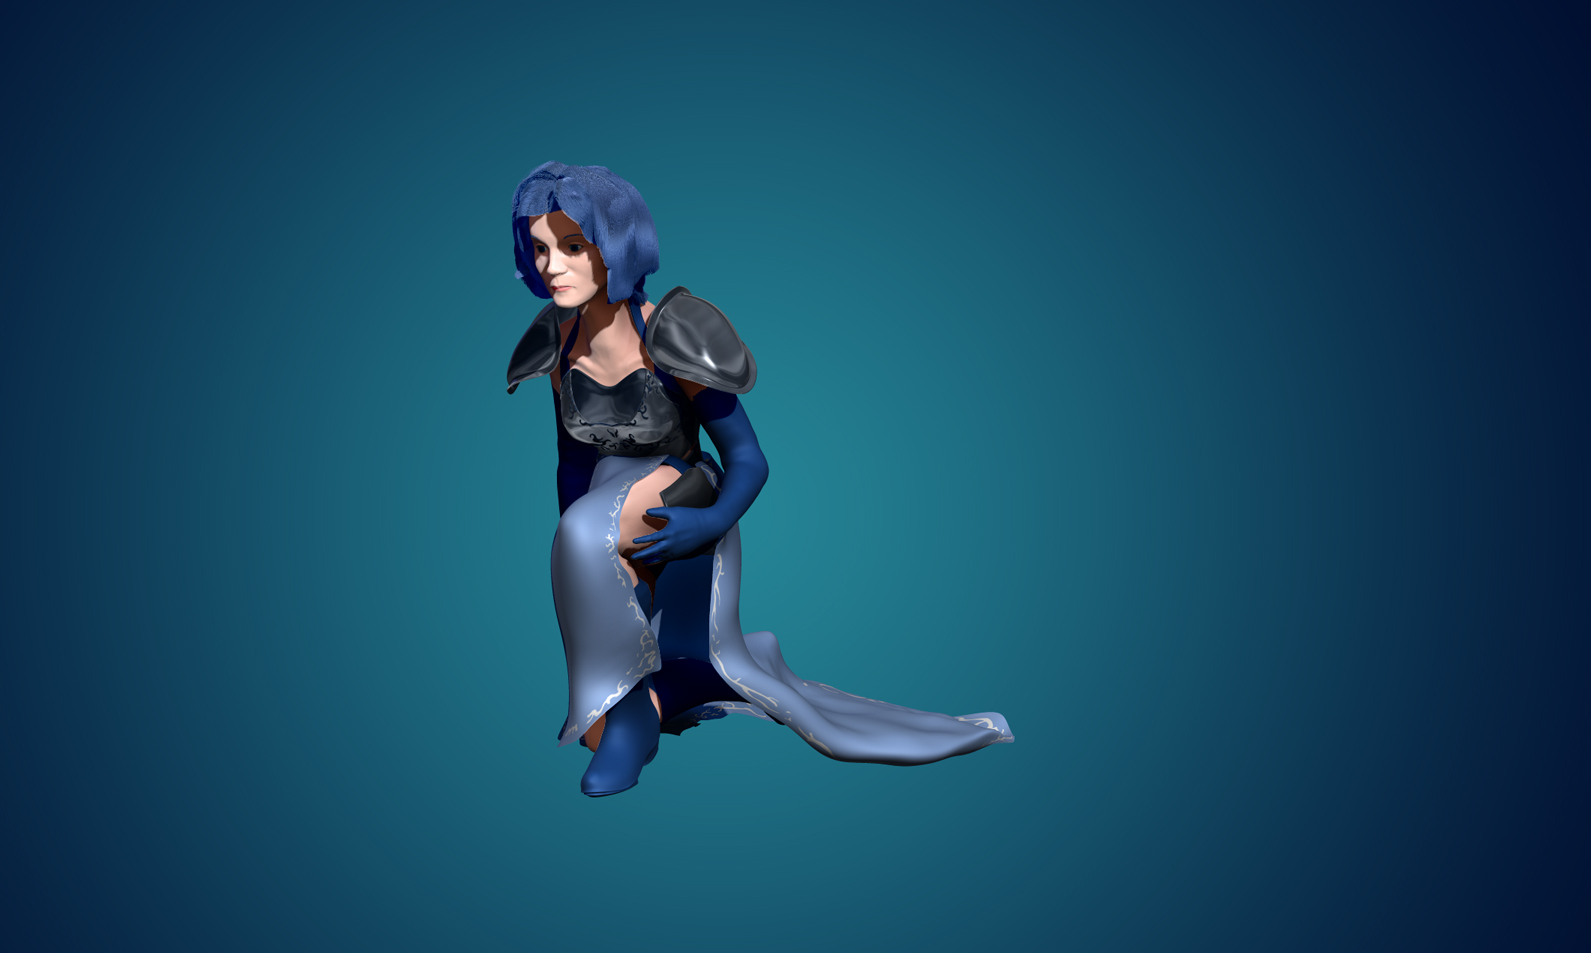
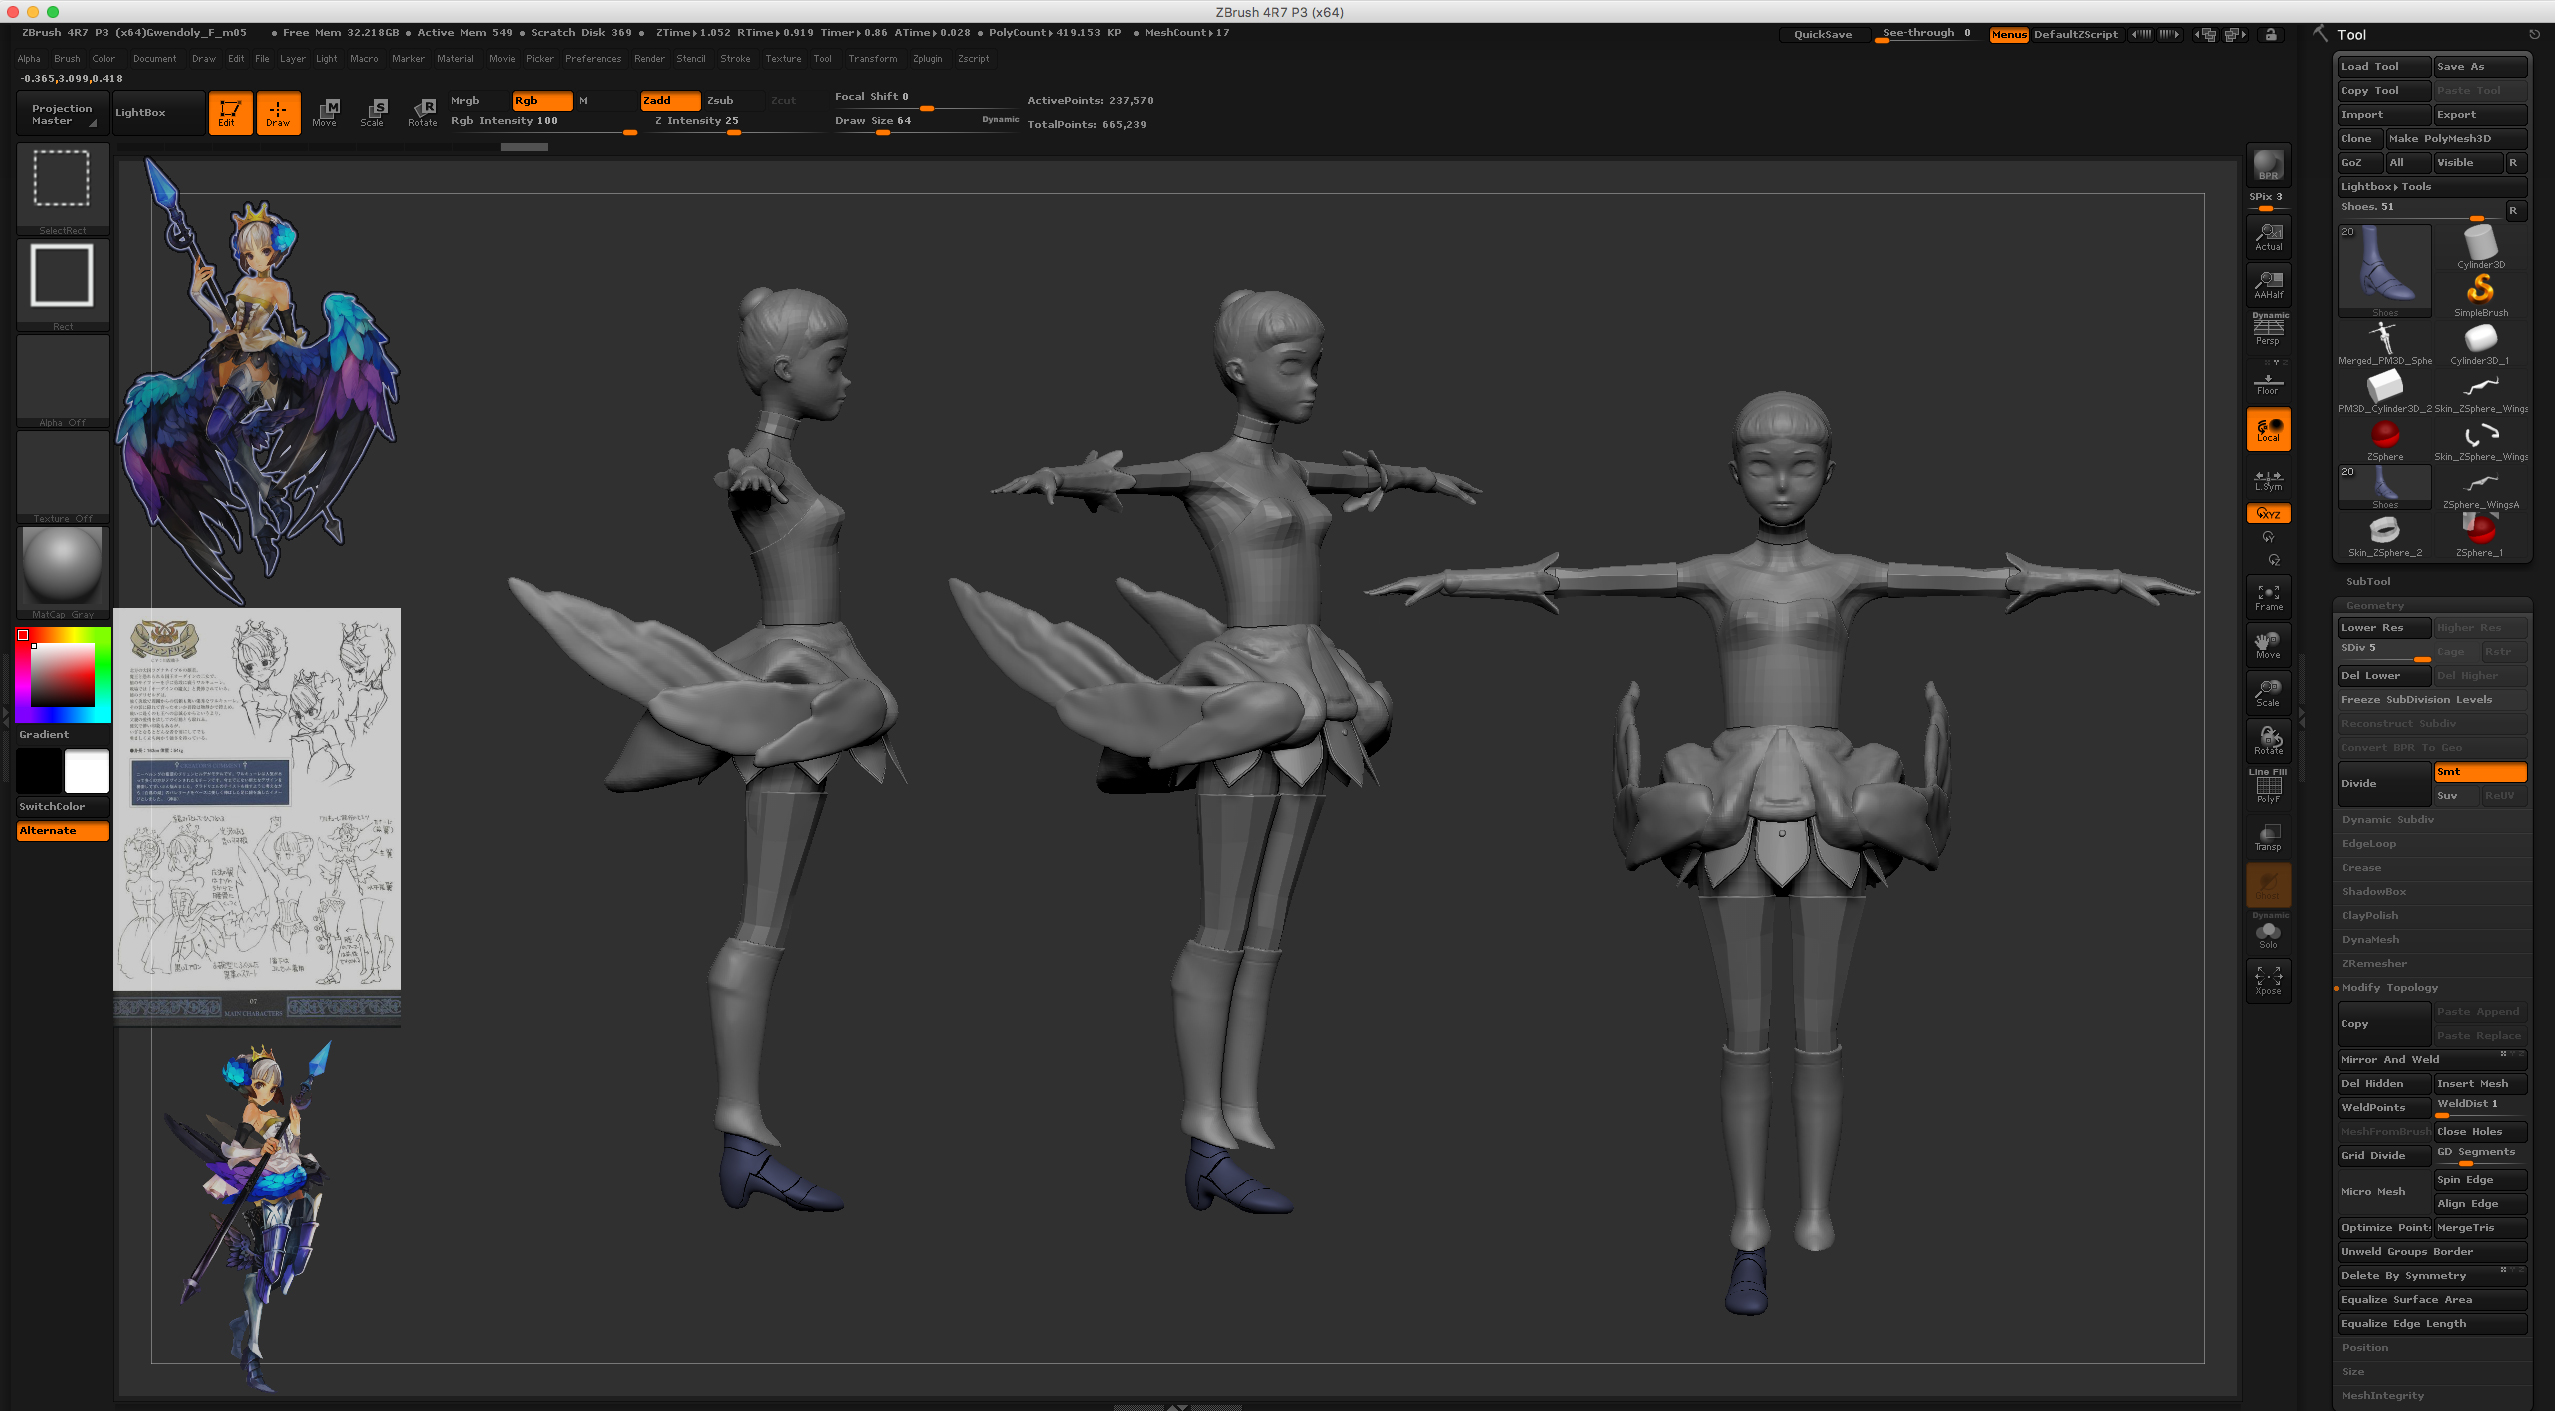
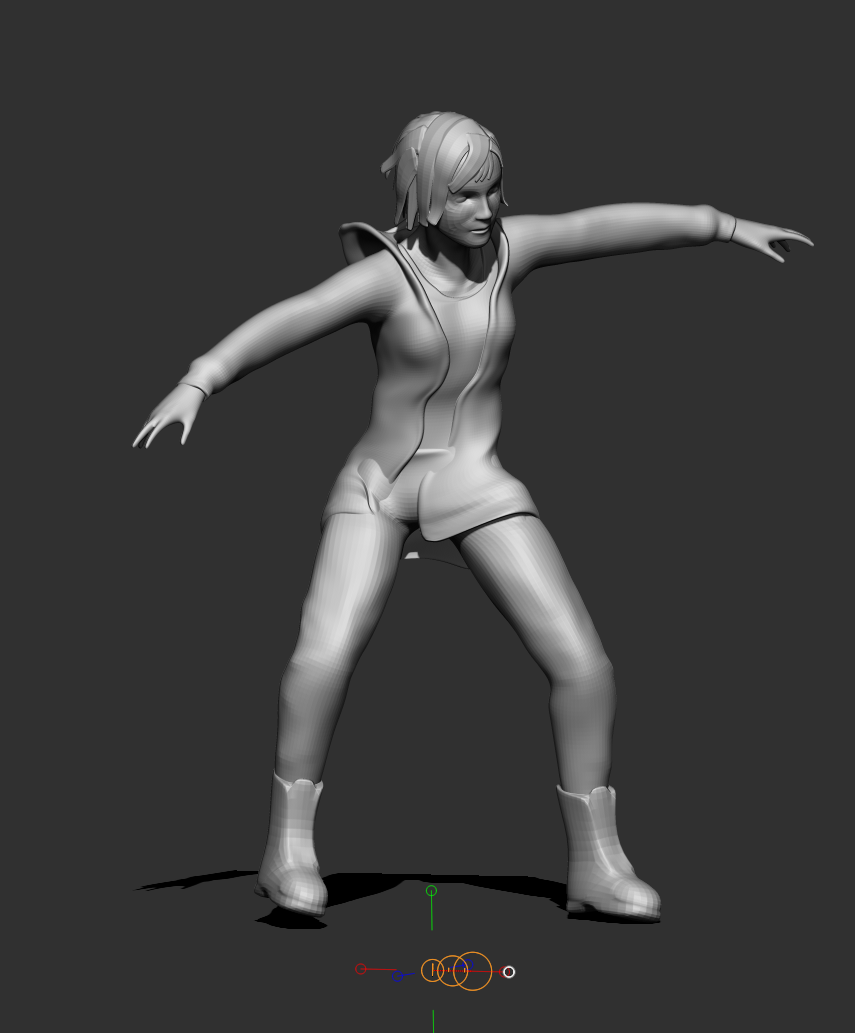
Prototype of concept character modeled and posed in ZBrush.
Compositing of BPR passesof ZBrush in Photoshop.

I used the head sculpt from Sculptris and projected onto the body of my character. I for the clothes, I used a variety of methods found in the ZClassroom (Masking & Extract, Topology Brush, ZSphere topology). Posing the character was done in stages with Transpose Master, first with a ZSphere Rig, and the in stages for fine tuning.
To be honest, I’m more used to rigging characters in Maya and using nCloth to determine the way the cloth bends, but I wanted to challenge myself to doing as much as I could in ZBrush.

Attachments
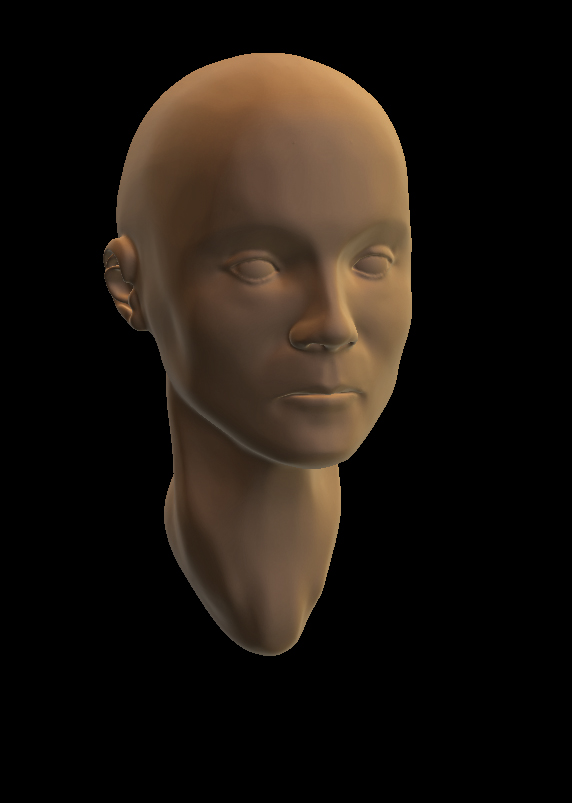
FemaleHeadSculptris.jpg

TsurinaArialConcept_tk01.jpg


Another update. Also trying something with sculpted hair because the character is going to be a crystalized, sealing a great danger from her lands and people.

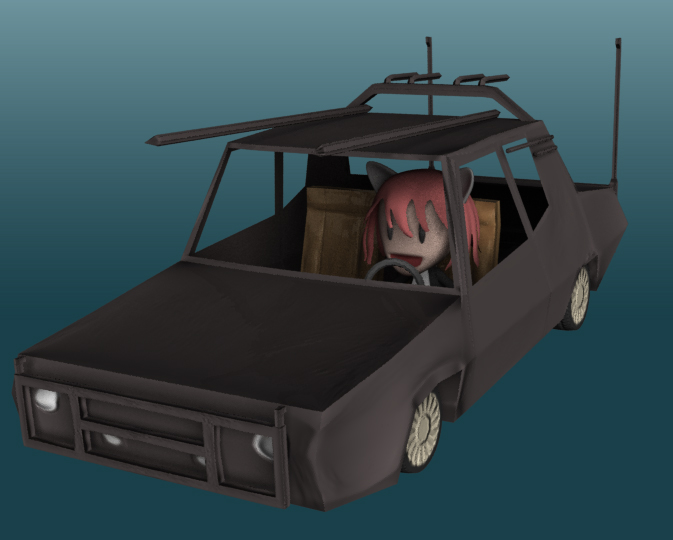
This was just a fun class assignment to model a low poly car in a toony MadMax style. So I chose to use a my 3D walfas prototype avatar I made an animation with.

vroom2.jpg

Haven’t posted in a while and thought I would share a few projects I’m working on.
First one is Gwendolyn from Odin Sphere game. I’m having some difficulty with the wings, so I chopped them into 3 segments. The boots are stylized and I find I’m going to model the right one so I can get the inner part better and then just mirror it to the other side.

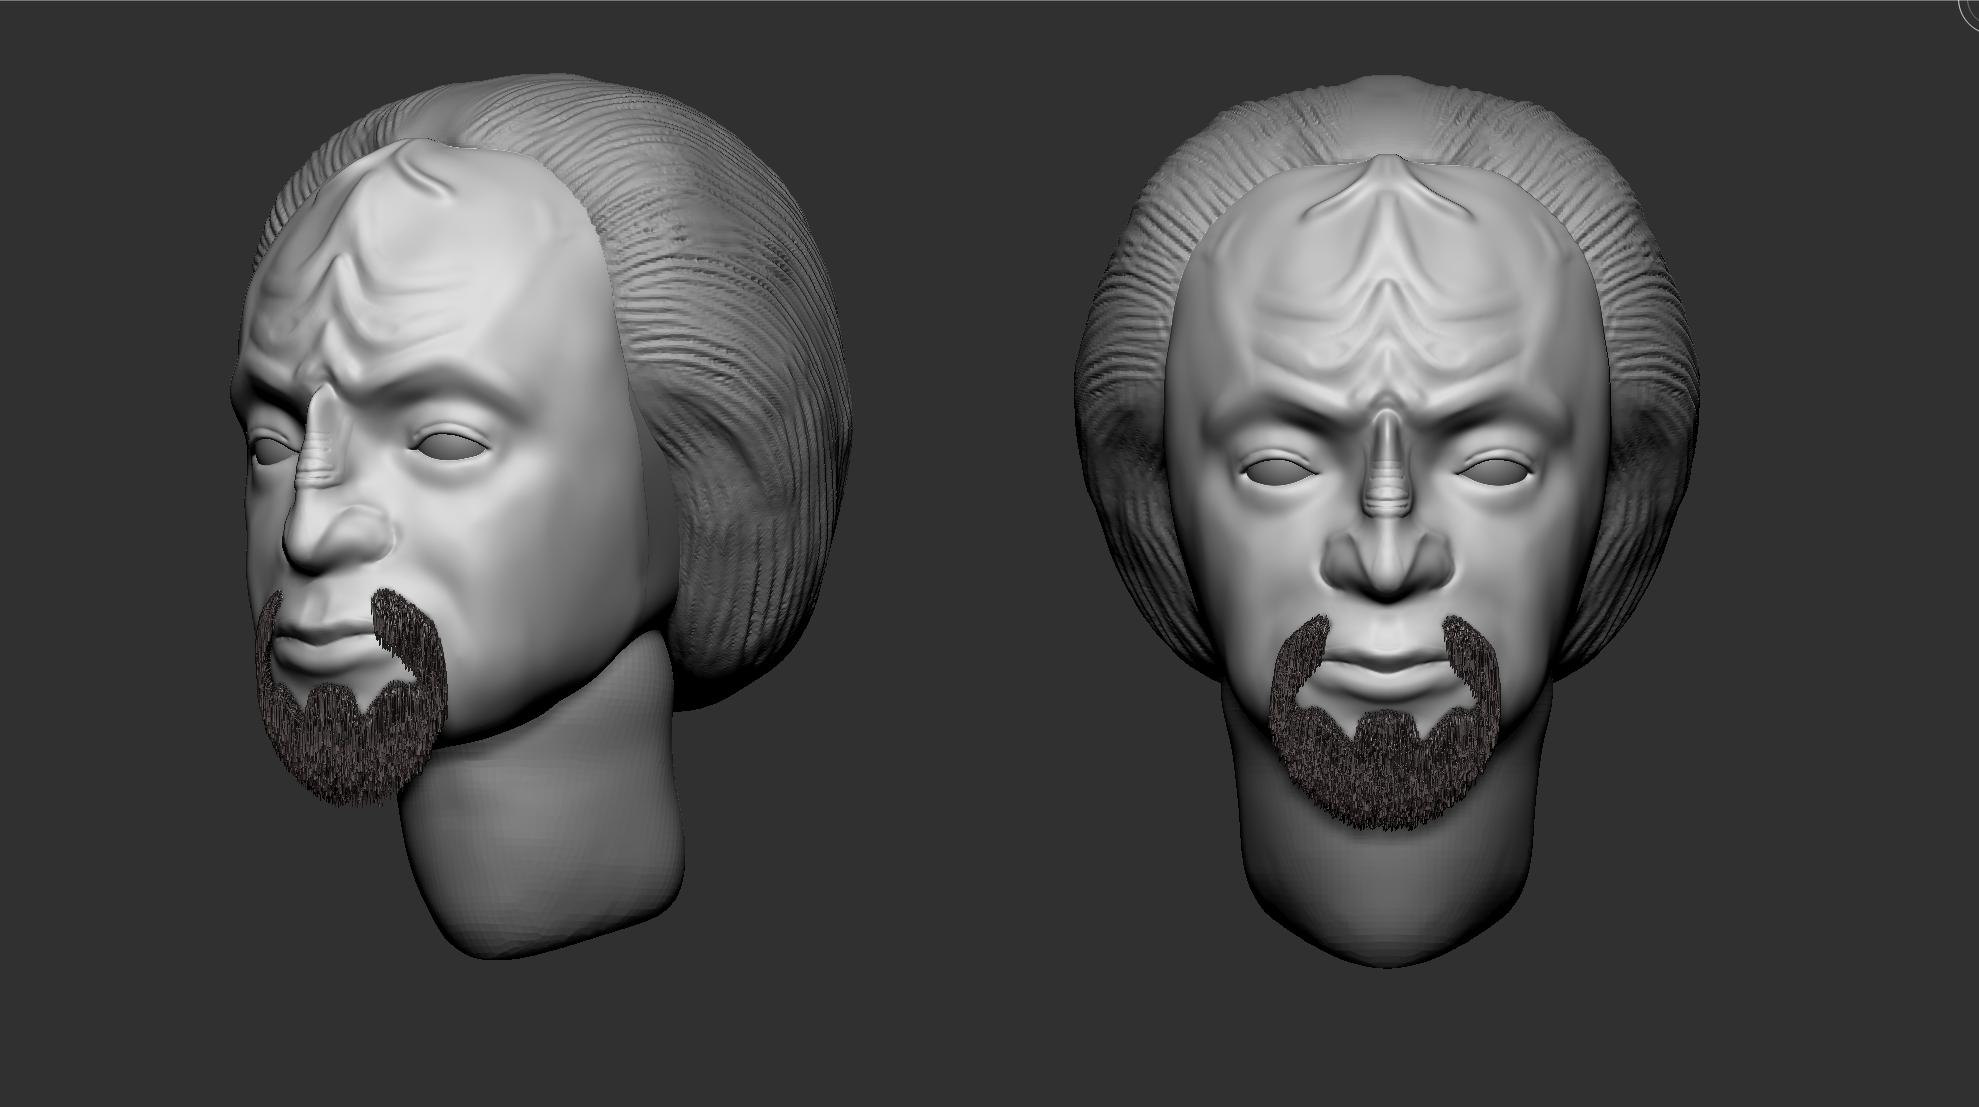
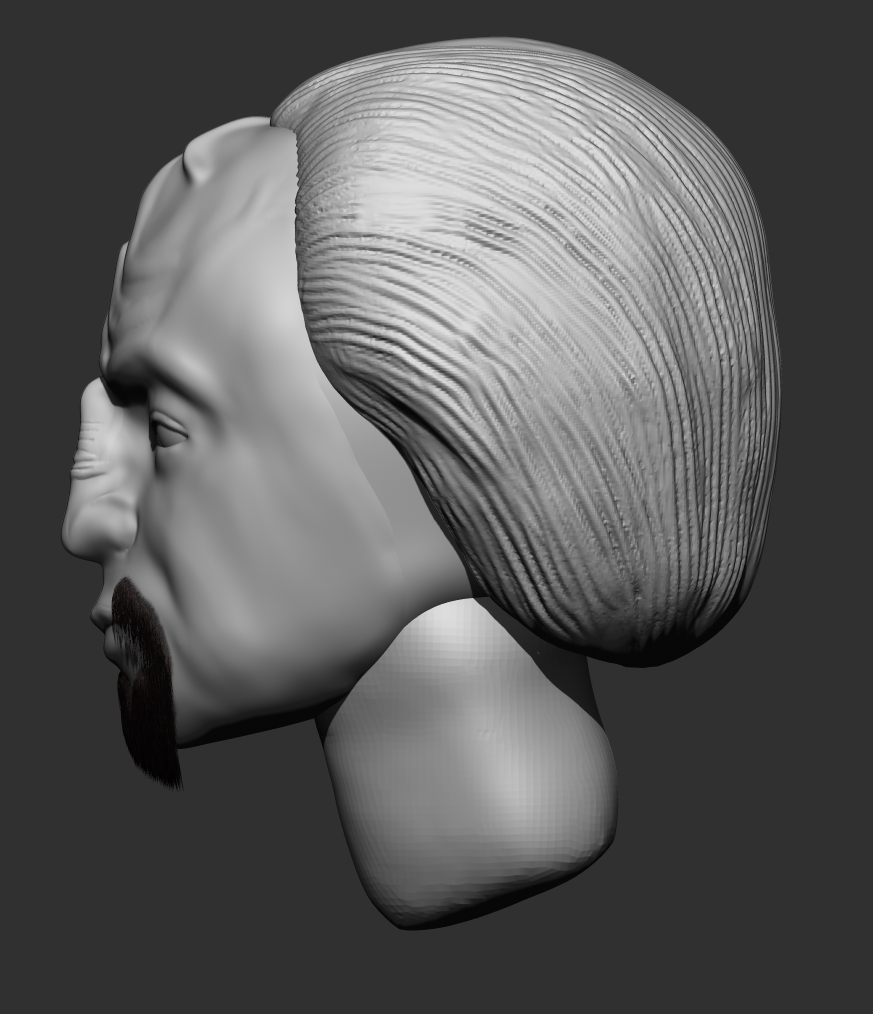
The other one is Worf from Star Trek:TNG and DS9. This was done for a twitter fandom. Most people made memes, I decided to sculpt instead.

I am starting to see one of my problems is that I get so concerned about controlling the shape / topology that I let it control me instead just working on it.

Attachments

Gwendolyn_01.jpg

Worf_01a.jpg

Worf_01b.jpg

Another project I’m testing out is modeling Star Trek TNG Enterprise


Here I have my set up grid with images I scanned from some of my own books, to have top, bottom, front, back, and side main (right) and side Battle Section (left)


Unfortunately, it’s looking very lumpy but figured out I can temporarily use polypaint to make guides that I can see better than using the Damien Standard brush with the grid. I also have a blocked out low poly Zmeshed model in the same scale to help later with landmarks and scaling. I just wanted more practice with hard surface sculpting and it really looks like I need it.

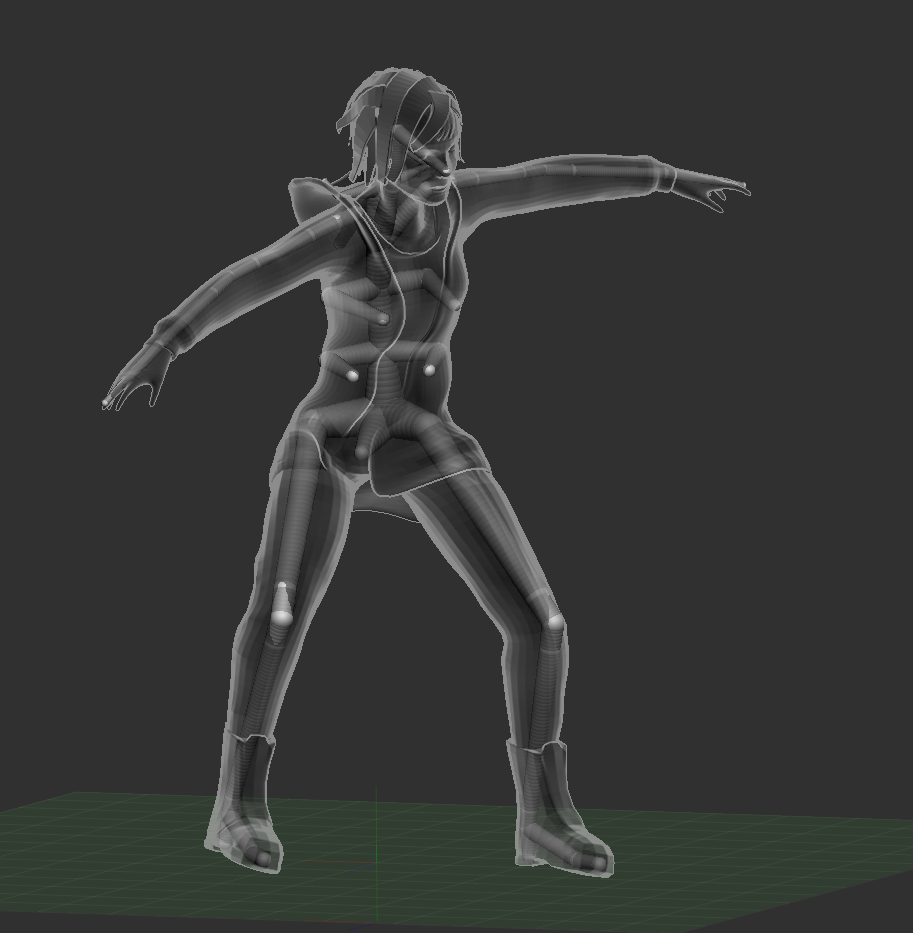
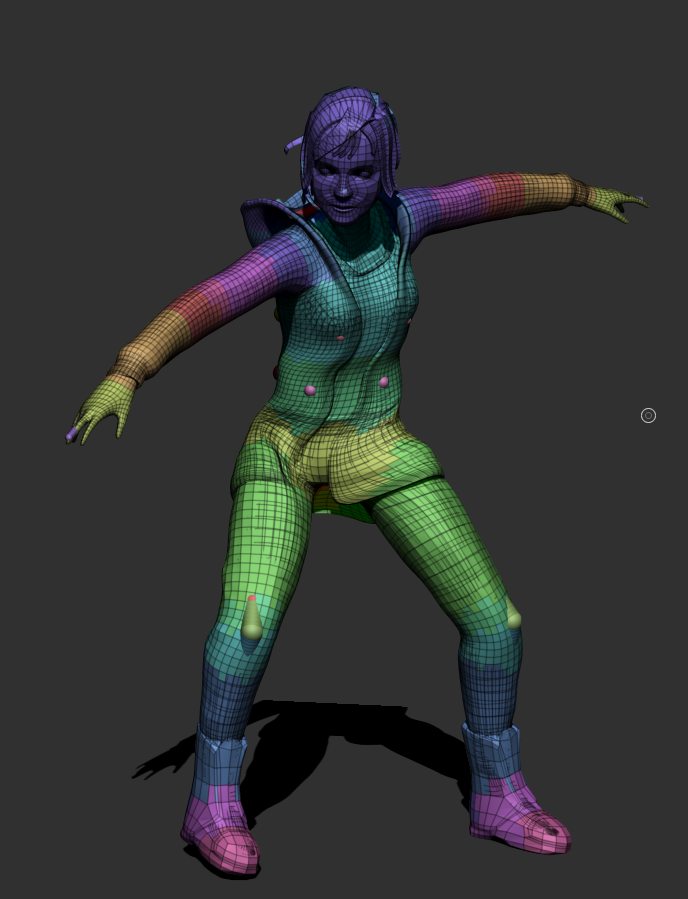
The first two images here are a Zsphere Rig and the pose I was playing with
Screen Shot 2016-09-28 at 2.15.29 PM.pngScreen Shot 2016-09-28 at 2.15.14 PM.png

This is one where I had polygroups active in the ghost figure mode. It kind of shows weight painting, a feature I didn’t know was observable.
Screen Shot 2016-09-28 at 2.24.59 PM.png

And just playing with Keyshot.


I am still working on fixing the geometry and everything, but I was excited to resume using Katie Avril again.

Since you have 3 images for orthogonal views, Shadowbox would probably give you a better starting point for sculpting.

Of course, for all I know that’s exactly how you started. :confused:

As for the girl: Your images show the main reason I dislike posing characters with ZSphere rigging. Of course, exporting to a different program and posing from there also means spending a lot of time rigging and weight painting. I guess there are no shortcuts.

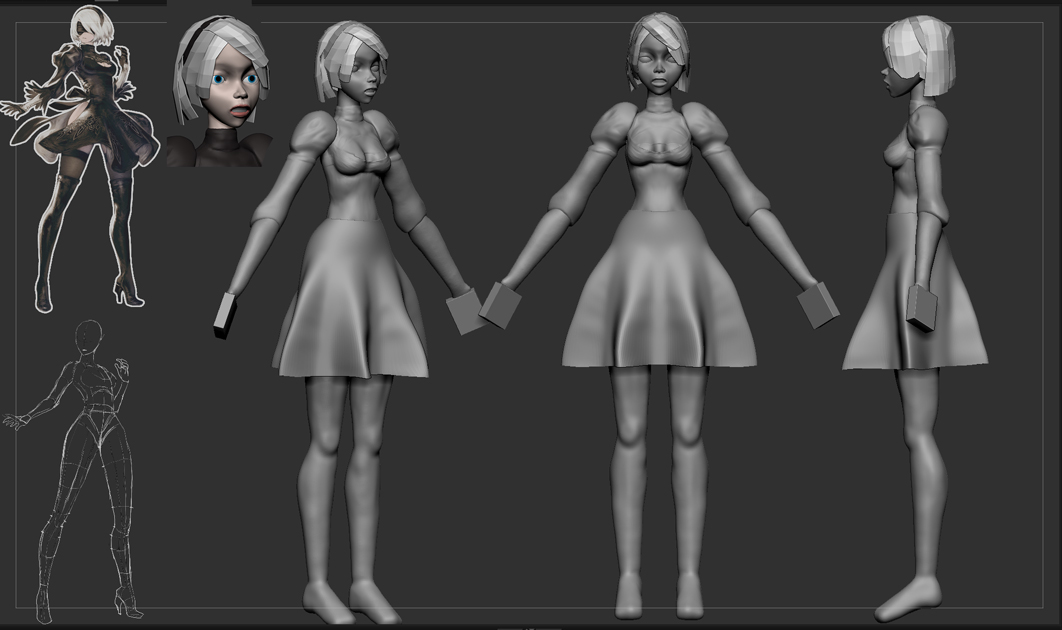
Another personal project of mine to work on adapting an animation style and tweaking it (the nose specifically). Really, want to play with the hair. I’m first working on blocking it first in traditional sculpting before using FiberMesh for the ears and hair.
On the right hand side, are my front and side references.

A personal project I’m working on, from NieR:Automata
2k17_03_19_00.jpg