I have been looking around a lot of the forums on tutorials on Displacements- ZBrush to Maya. After reading a bundle of them I decided to go with this one here: http://www.pixelcg.com/tutorials/Zbrush.html . Seemed simple enough for a newbie.
The troubles I am running into is on the UV’s transferring over to Maya properly. I am doing the process a bit different than the tutorial as I am using the UV Master. Besides that I am following everything else to the “T”. I tried trouble shooting a little but being so new to the software I don’t know what to try. Am I mistaken to think that the UV’s are transfered over with the OBJ file? Is there a way to export the UV’s separately? Also, I thought it odd that I flip the texture and displacement files vertically and not the UV’s. I did try not flipping the textures, disp. but came out with the same result.

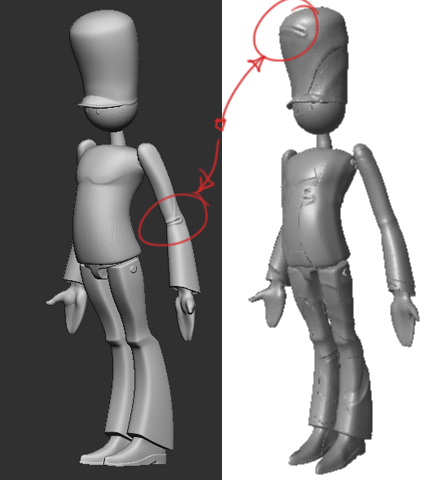
Attachments