ZBrushCentral

UV Setup from Zbrush to Maya

Hello there,

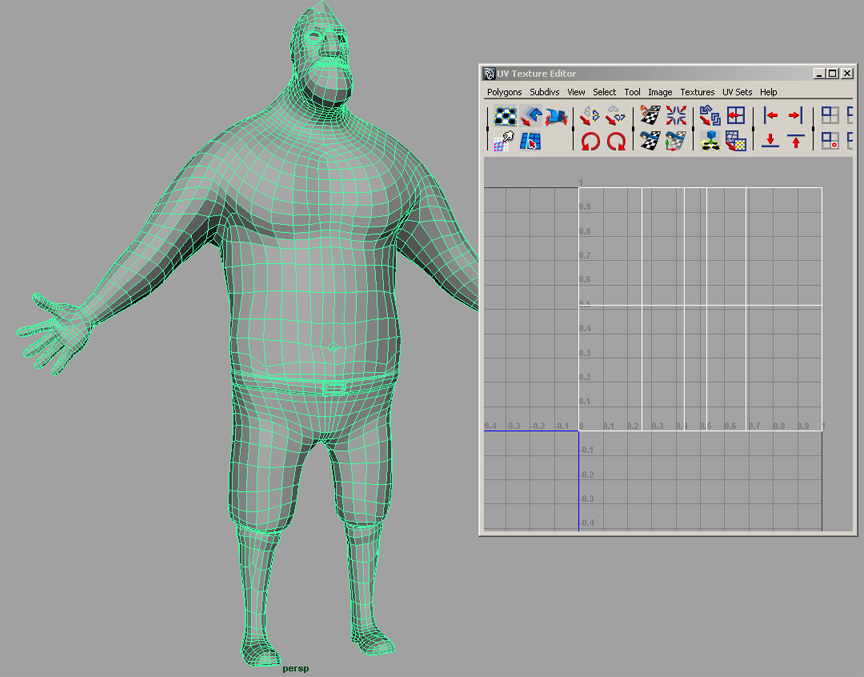
This is a model I created initially from Zbrush. I have a high-res that I plan to bake as a Normal Map afterwards. The problem is, I tried looking at the map in Maya but it only appeared as a few lines (refer to attachment). I don’t know if it matters but the model will be animated.

  1. What am I doing wrong?

  2. Would it be better to do the UVs in Zbrush instead?

Thank you for helping! :slight_smile:

Jeff

Attachments

problempreview.jpg

The UV map you’re showing doesn’t look suitable for such a complex character. If you want to skip the hassle of creating a skinned UV-map, you might want to try Zbrush’s Packed UV tiles (PUV map.)

To create one, go to the UV tab, click “Delete UV” to clear out any old UVs and then click on PUVtiles. Zbrush will attempt to create an optimal PUV map for your object. This map isn’t “human readable” --it’s just a bunch of packed little squares–but Maya can read it just fine and sort out what goes where.

If you want to look at making maps by pelting, take a look at the videos on UVLayout’s web site: www.uvlayout.com. This will give you some idea of what’s involved in creating and flattening UV pelts from a complex object.

-K

To add what Kerwin was saying, you’re probably getting that because you haven’t assigned any UV’s to the object.