Hello,
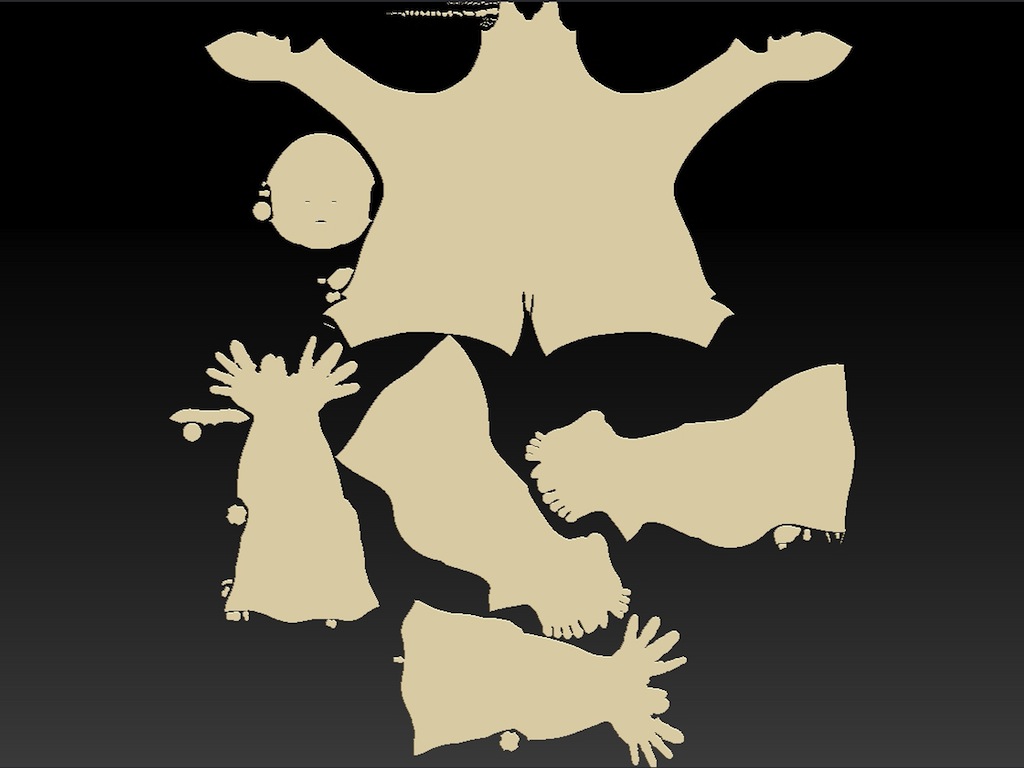
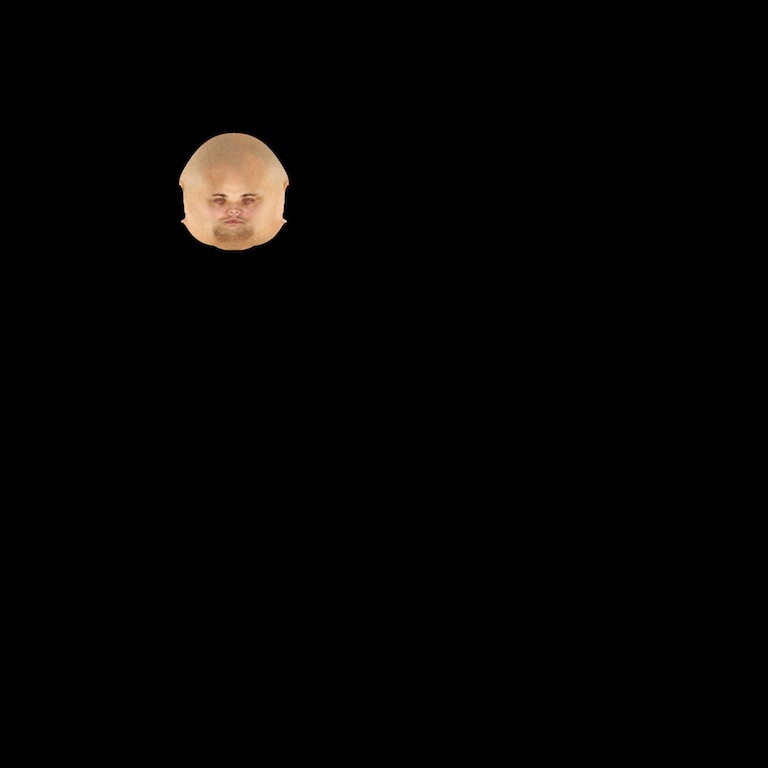
Can’t seem to get the flow of UV Master Plugin. I actually used UV Mapper Pro to bring my model into Zbrush for texturing. I used to use Zbrush to texture models in earlier versions when the Poser Scaler was available but haven’t been back at it until now. This screen shot looks nothing like how It used to in Zbrush for texturing. it looks messy. I accomplished this task after hours of trying to make it work. I’ve used Auto Grouping PUV, AUV, GUV, Keep existing seams, etc. Don’t know why the maps themselves don’t appear to be the right dimensions (4000x4000) when I isolate each group when exporting. I only got as far as the head and this is what I get. Using Morph to UV NEVER flipped the image. It actually shrunk but didn’t flip. Didn’t need to go into the texture pallette to flip the map it already was. I exported the texture to see if that it would give me my dimensions (nope) the document containing the image is. What am I doing wrong here. Please help! Just wanted to add that this is ONLY occurring with Spotlight. When I used the textures from the available texture pallette to texture my model everything was ok using the PolyPainting feature. Can’t use Polypainting to texture my model using High Resolution images
Attachments