ZBrushCentral

UV Groups shows Problems

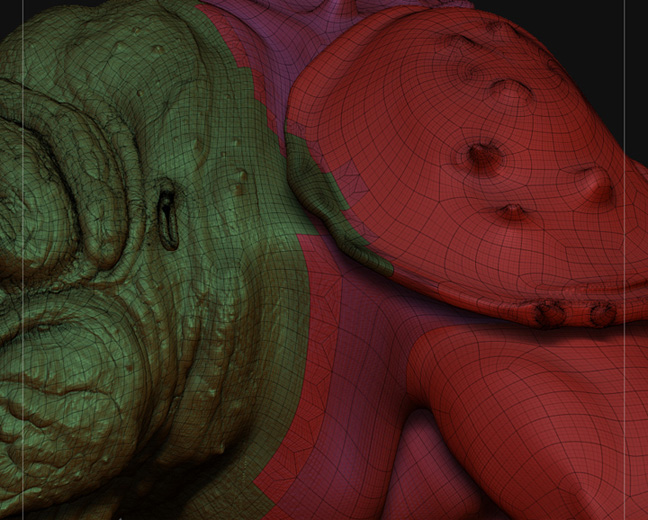
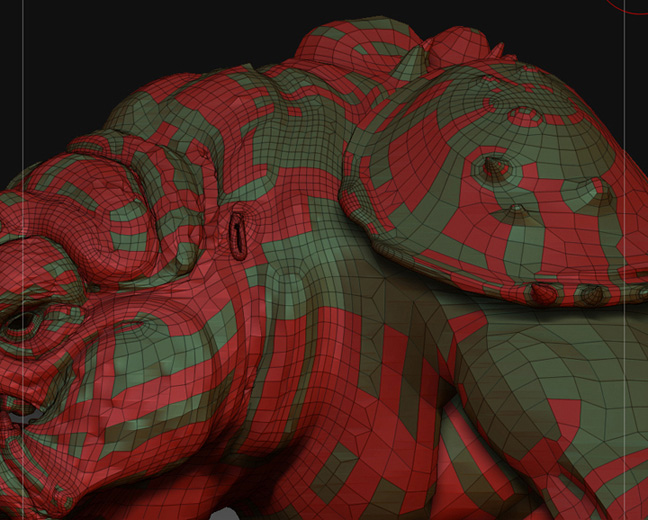
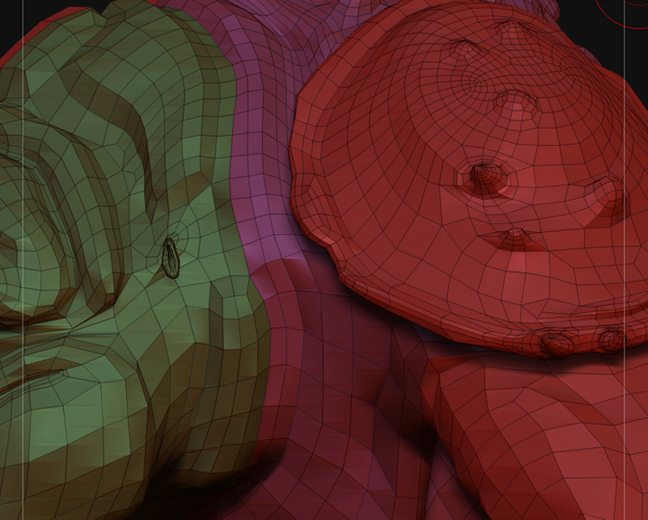
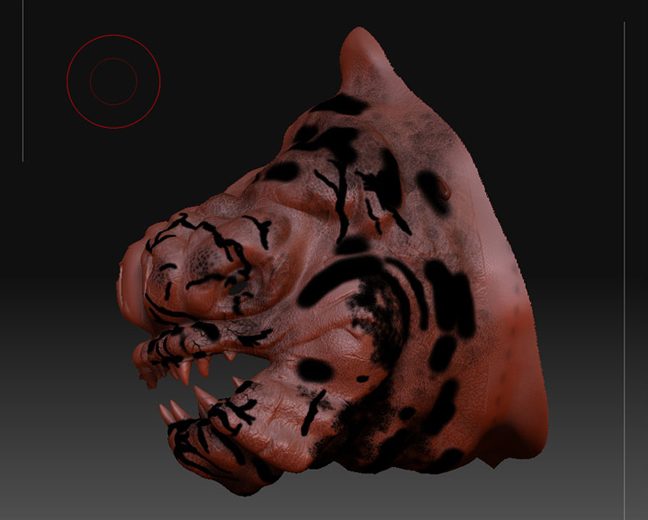
For our character modeling class we were tasked to model the rancor from the Star Wars movie and a toy that the teacher had brought in. We modeled the initial mesh in Maya 8.5, used roadkill to unwrap, and then back to Maya to fix the oddities. We then brought it into Zbrush and sculpted the head. Monday’s class rolled around and we found some problems with my model and another class mates model.

Pictures say a thousand words…
Imported OBJ file
[importedOBJ.jpg]HeatherRan.jpg

Thanks in advance for your help, and hopefully someone knows the answer.

Attachments

afterdetailwork.jpg

afterdetailworkANOTHERcomp.jpg

you’ve subdivided your mesh while parts of it were hidden since that first image… that changed the UVs. i can tell because in the first image you have all quadrilateral polygons, and in the subsequent images there are triangular polygons around the seams between your UV groups. to avoid this, only subdivide your model when the entire thing is visible and/or unmasked.

to avoid starting completely over, start with your model shown in the first image that is all quads, subdivide it to the highest level you need with the Smt option turned off in the Tool > Geometry palette, go to the bottom level and hit the Cage button in the Tool > Geometry sub-palette (this will appear to jack-up your model, but don't fret) and Delete Higher Subdivision levels. Turn the Smt option back on and Divide again until you have all the levels you need, then go all the way back down to the bottom Sub-D level (back to normal =) ). then, to get the detail back on your correct model, load the sculpted model (the one with triangles) as a Subtool of your newly divided mesh, and at each respective Sub-D level use the Project All feature in the Tool > Subtool palette, from lowest to highest (make sure the new model is the currently selected Subtool when using Project All). in the upper Sub-D levels, lower the PA Dist option next to Project All to .05. i don't know about the second student's model... looks like a bang-up polypaint job... lol. need more background on it to diagnose the problem. have fun =)

Thank you so much Invertednormal. Ill go about the process tonight and see the results. I could have sworn I didn’t do that but that IS what it’s looking like. Thanks again.

AS for the other student, when she does UV check and then col>txr most of the black goes away but there is still a little bit left. You think it’s poly paint?

Thanks again