ZBrushCentral

uv and map generation issues

Hey all,

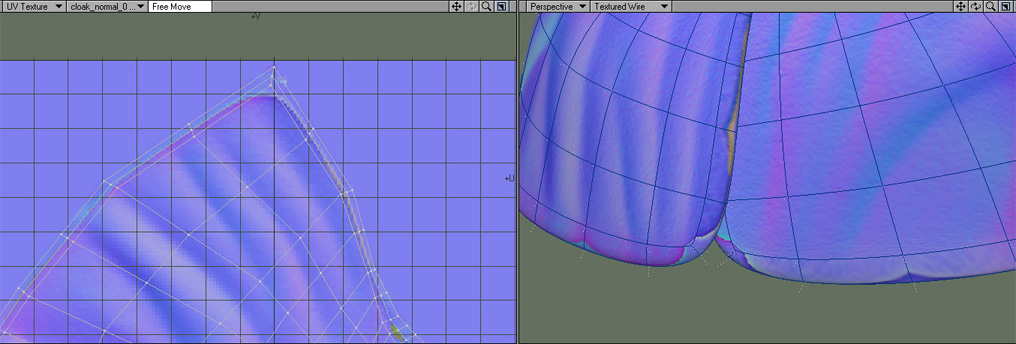
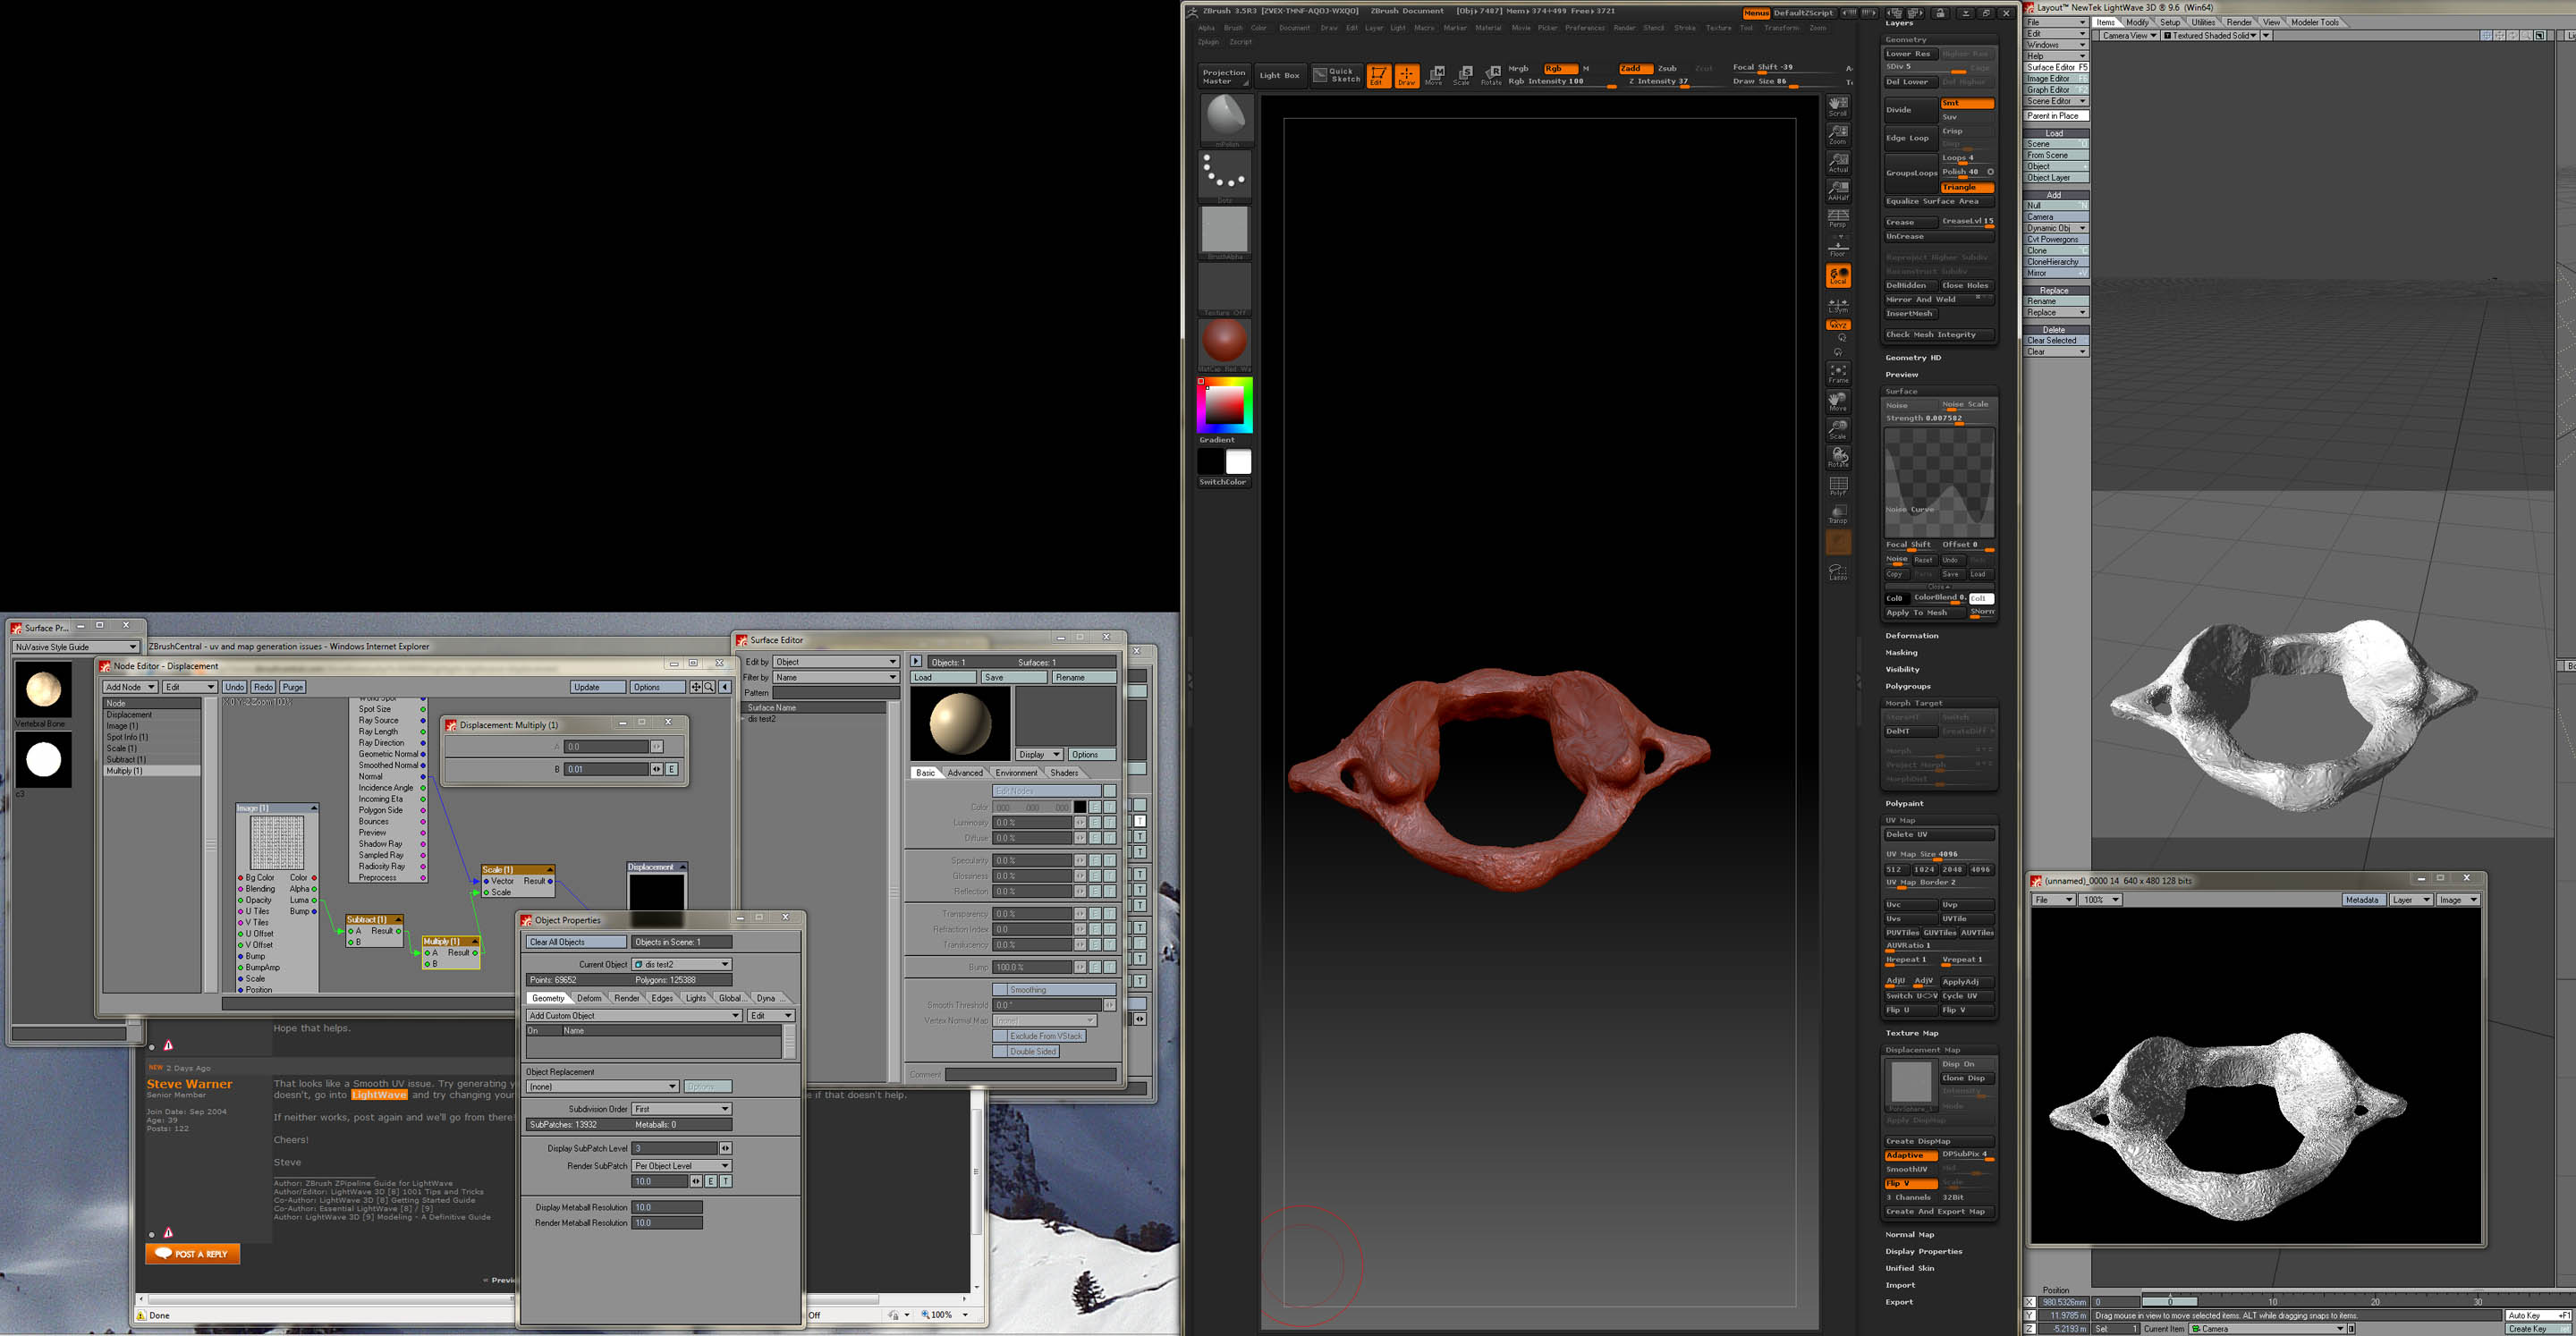
Im running into a weird problem when I generate my maps for my sculpted cloak object. I originally made the basemesh and uvs in lightwave.

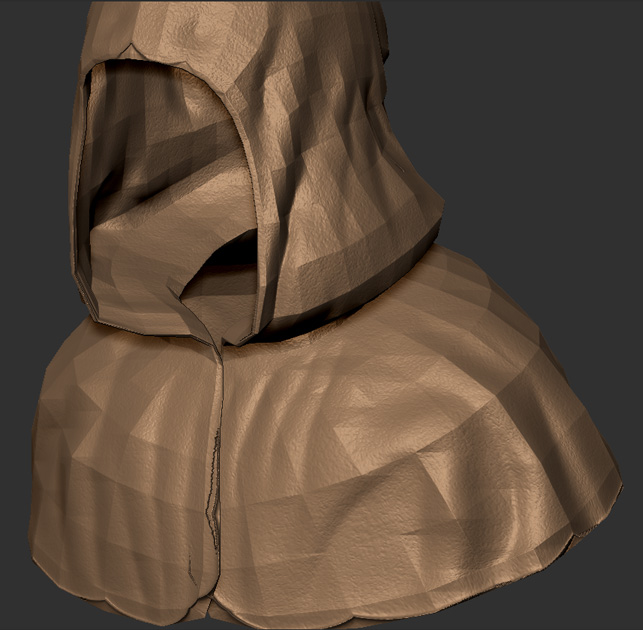
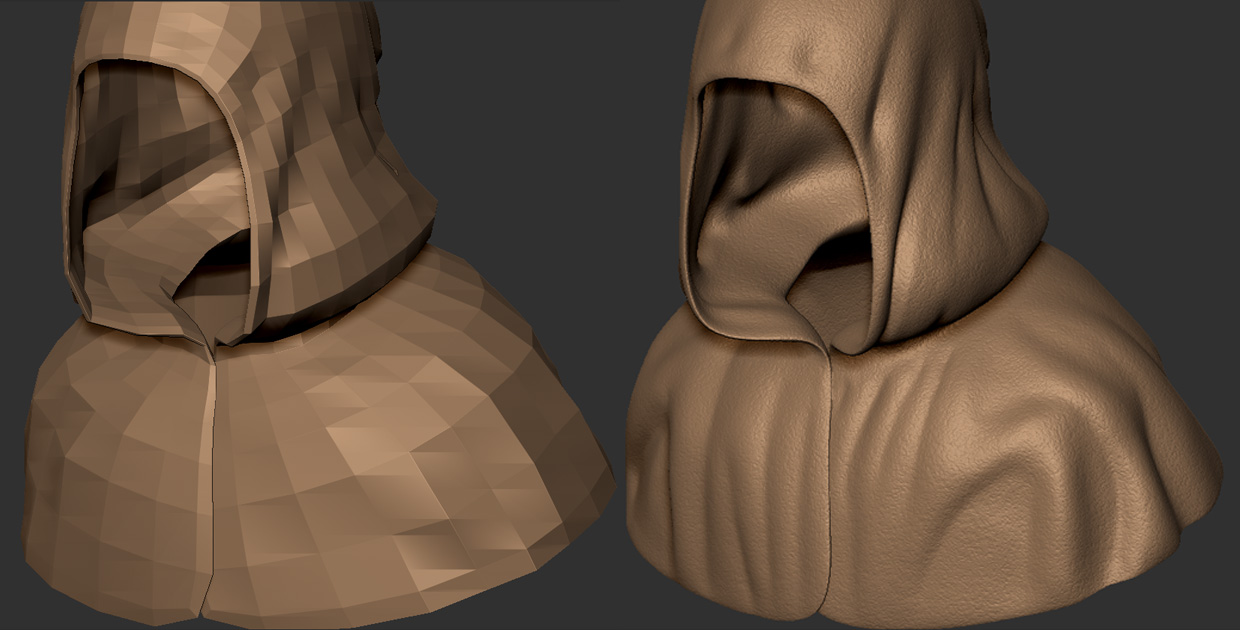
Heres the lowest and highest subD levels.
lvl1and7.jpg

I dont know if this is the issue but, when I was preparing to generate my maps, I deleted the lowest subdivision level (the basemesh level). The high res sculpted model looked too detailed for my original basemesh, so I deleted the lowest level and tried to get a subD level that closer resembled the sculpted detail.
I figured it wouldnt make any difference since I was going to be exporting the new model from zbrush.

Any ideas on what is happening or why? Ive never really run into this problem, or this noticeable.
My last ditch effort will be deleting the uvs and creating GUVs…but Id really like to stay with my original uvs.

Attachments

result.jpg

uv_perspective.jpg

Hi there,

i am a LW user as well and to be honest, i’ve never experienced a single problem between ZB and LW. But i have to admit, that i do my UV’s in UVLayout which works flawless.

I am sure the problem are the UV Maps. Have you done a UVCheck in ZB? Also are the UV maps you did Subpatch UV’s? Another option would be to switch on Smooth UV’s within ZB. Also within LW when you apply the Normal Map in the Node Editor, make sure you set the MipMap Strength to 0.

The deletion of the lowest Subdiv level won’t affect the result in any way. Just to see what’s happening, give the PUV’s a try. I am sure that the result will be ok.

Just a few thoughts to help you out :smiley:

Hope that helps.

That looks like a Smooth UV issue. Try generating your Normal map with the Smooth UV option turned off and see if that doesn’t help. If it doesn’t, go into LightWave and try changing your UV Subpatch Interpolation to Across Discontinuous Edges. See if that doesn’t help.

If neither works, post again and we’ll go from there!

Cheers!

Steve

Steve and anyone else who has any idea how to get this to work. I have a model from lightwave, took it into zbrush, followed all the rules in the guide, loaded the node editor nodes from teh zbrush demo scene and I can’t get this thing to work. Flipped the map on export from zbrush, used zbrush/guv tiles in Z to make uv map, set a morph target before starting, switched back before generating map. I’m at a loss. I can get the demo scene in LW to render and displace so I know that is working.

The only other thing I can think of is that the mesh on the model is mostly triangles leaving LW as an obj. When subdividing, Z makes quads. Would that cause issues?

Any help would be greatly apprediated.

Wayne

Attachments

displacementgrab.jpg

Hi wayneheim,

From your screenshot, it looks like your subdivision order is set to first. Make sure it’s set to After Motion and that your Node Displacement Order is set to Before World Displacement. And of course, make sure your object is in LightWave’s native Subpatch mode (not CC SubD’s).

You can also try the following:

  1. Drop to subdivision level 1 in ZB and look at the model. It should have all the form of the high-res model but none of the fine detail. If this is not the case, go to subdivision level 2 and check again. You need to find the right subdivision level to generate your maps on. If major topographic changes go away when you go to your lower subdivision level, you may need to retopologize.

  2. If your major form is there at subdivision level 1 and all you’re missing are the details, you can try skipping the displacement map altogether. The Normal maps in ZB3.5R3 are AMAZING. Use a PUV map (instead of a GUV map) and generate a Normal map with Smooth UV, Tangent and Adaptive settings turned on. Then clone the map to get it to the Texture palette, flip it vertically and export it as a PSD. Then export your object, bring it to lightwave, convert it to subpatches and apply the Normal map. You should get outstanding results and keep your poly count low.

  3. The triangles thing can be an issue, but it shouldn’t be the culprit here. ZBrush doesn’t like triangles, but it will tolerate them. And if your mesh looks good in ZBrush, you should be able to achieve the same look in LightWave.

Try the above and if that doesn’t work, post back again.

Cheers!

Steve

Thanks for the quick response.
Ive been trying to get this to work and trying different combinations. Cant quite figure out whats going on…never had this much trouble with generating maps. I tried creating both normal and displacement maps with SmoothUV turned off. Changing the UV Interpolation did seem to help somewhat.
I have tried deleting the uvs and using GUVs but I almost got worse results, so I suppose its better to bash my way through the uv’ed mesh.
Heres my results;
normal_disp_comp_help copy.jpg

Ive been going cross-eyed trying to figure out what going on. On the edges of the cloak where its all garbled; I zoomed in close and looked at the back side to see if geometry was being pulled from the back through the front but it all seems fine. Most of the sculpting I did on it I had the back face mask enabled.
If I cant get it to work out better I may try re-doing my uv’s and resculpting to see if that doesnt fix it. But Im keeping my fingers crossed! :wink: