Dear friends, I try to learn to export Disp. map from Zbrush to 3ds max.
So, I have these results(attached files)
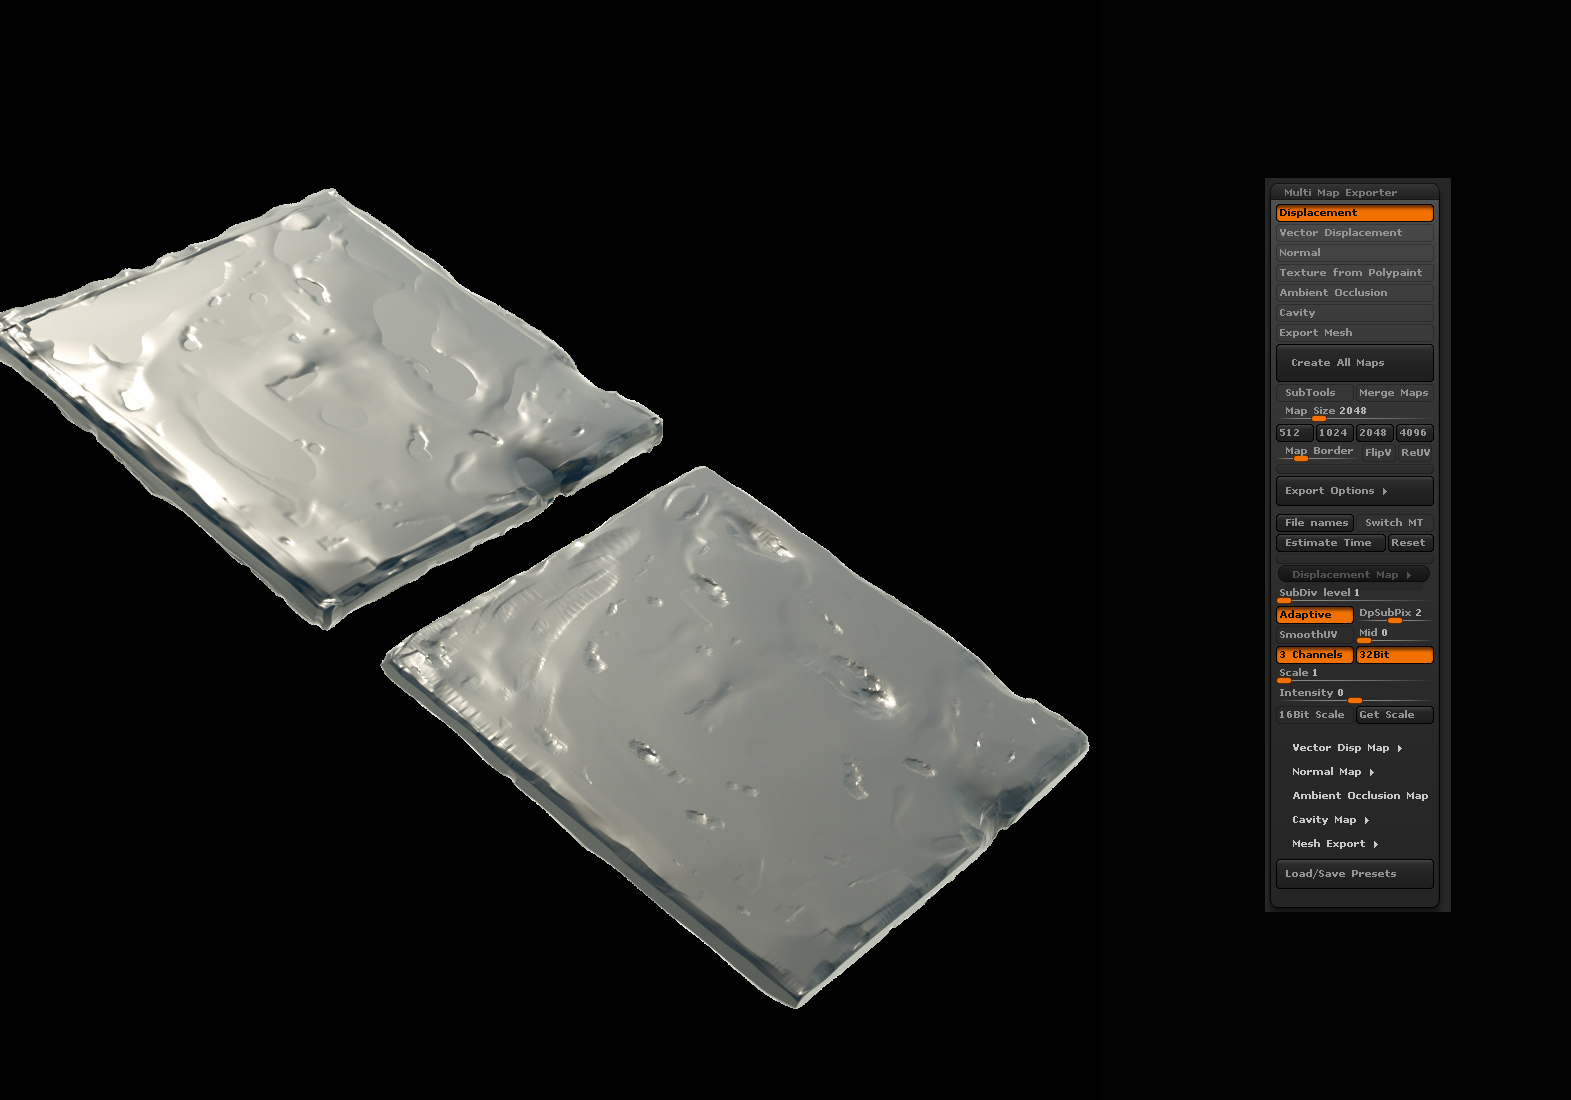
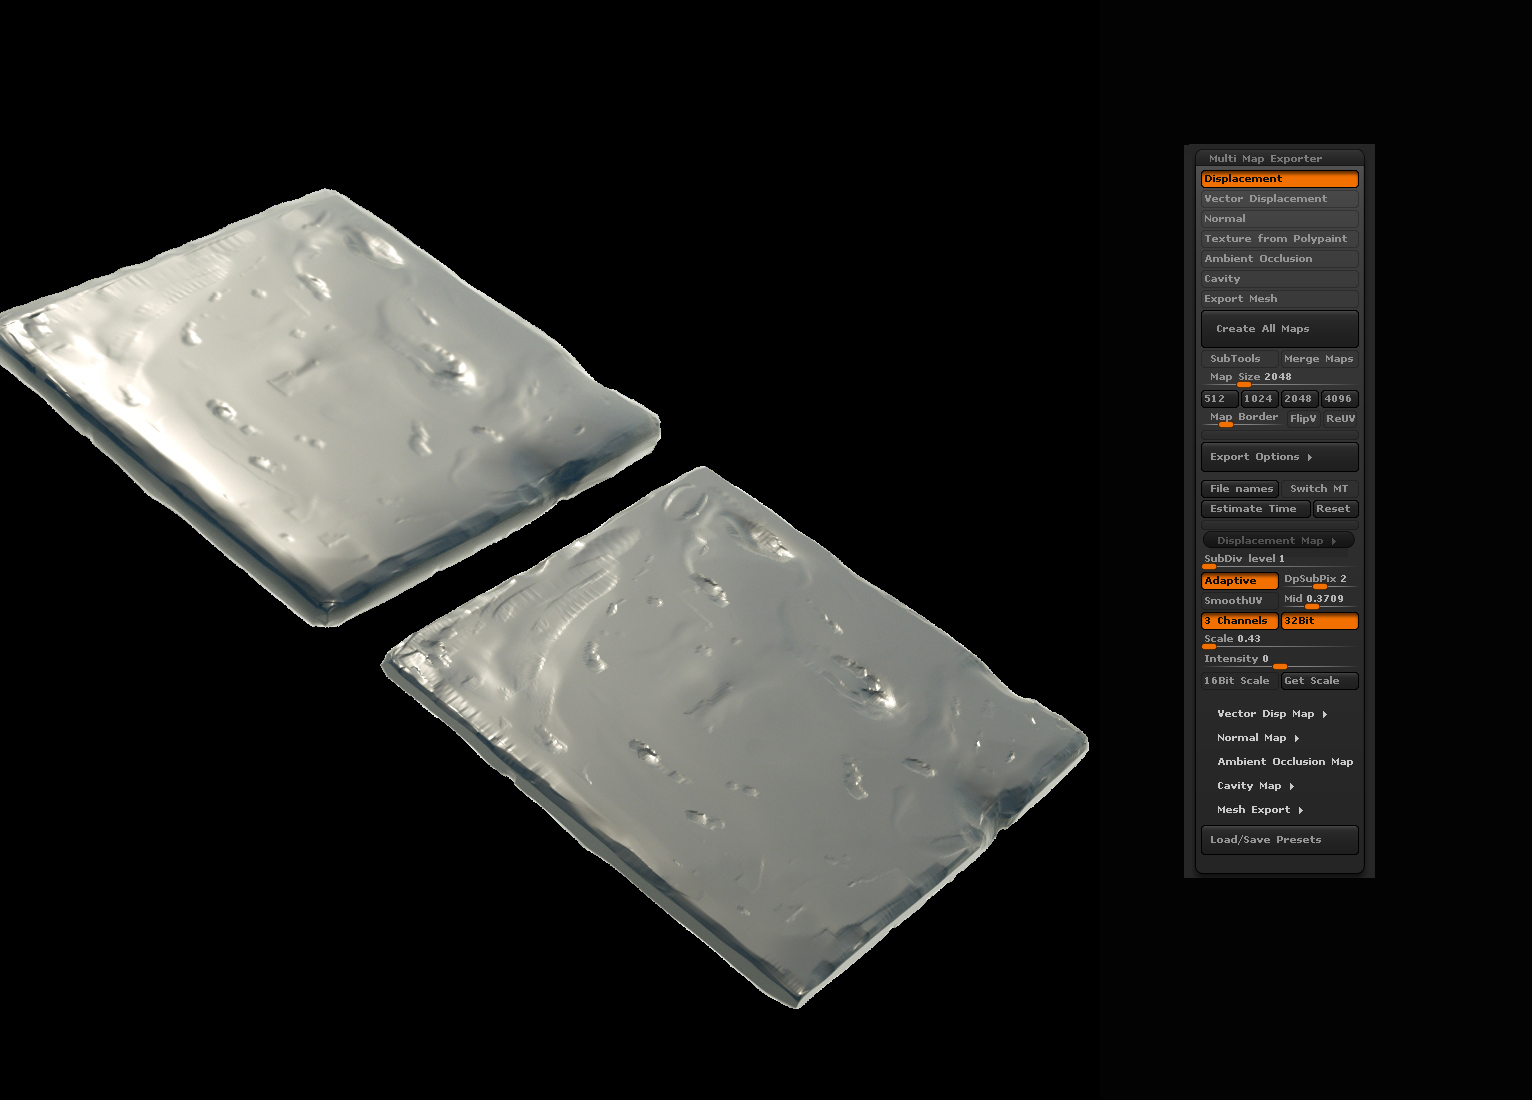
There are 2 variants of model on each image. The lower right corner - high poly mesh. The upper left - low poly mesh with applied displacement map.
This is a tile for one of my project. I didn’t need realy high detalisation, so don’t laugh please 
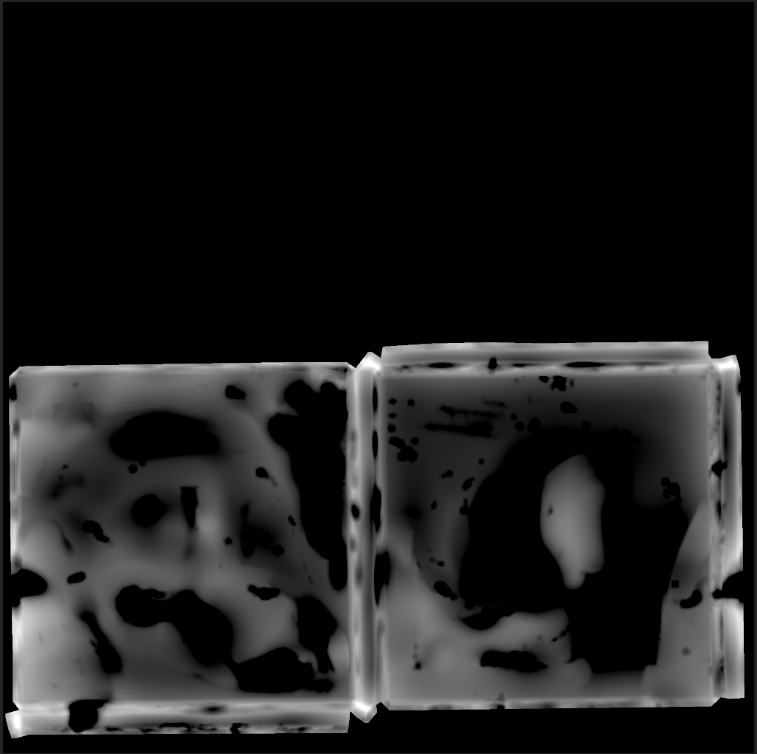
The first image: I have set tuning like it is recommended by Zbrush programm for 32 bit texture, I mean the mid and scale settings.
But as you can see, result is not like a high poly model. In this case I have not full level of depth. And corners of this model is not like needed. So I hope you now what I mean. This Disp. map turned not suitable for using.
BTW, you always can see settings of my export on the right.
This is disp map which I got:
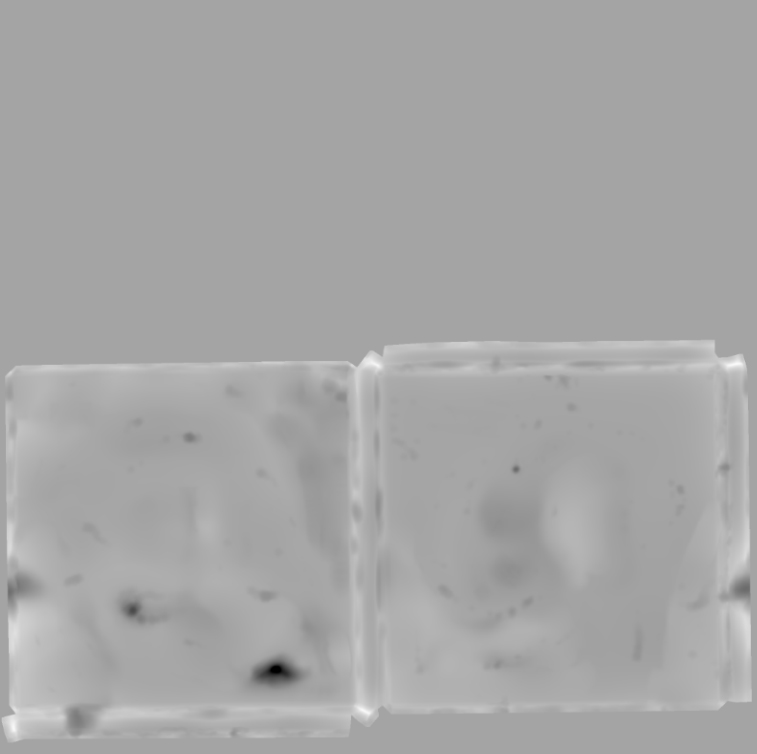
Than I have changed a few settings(mid and scale) and I have found the best option for black/white gradient on my map:
but my model still looks not good on my render, as you can see on this image. It is swollen, and not like the high poly model.
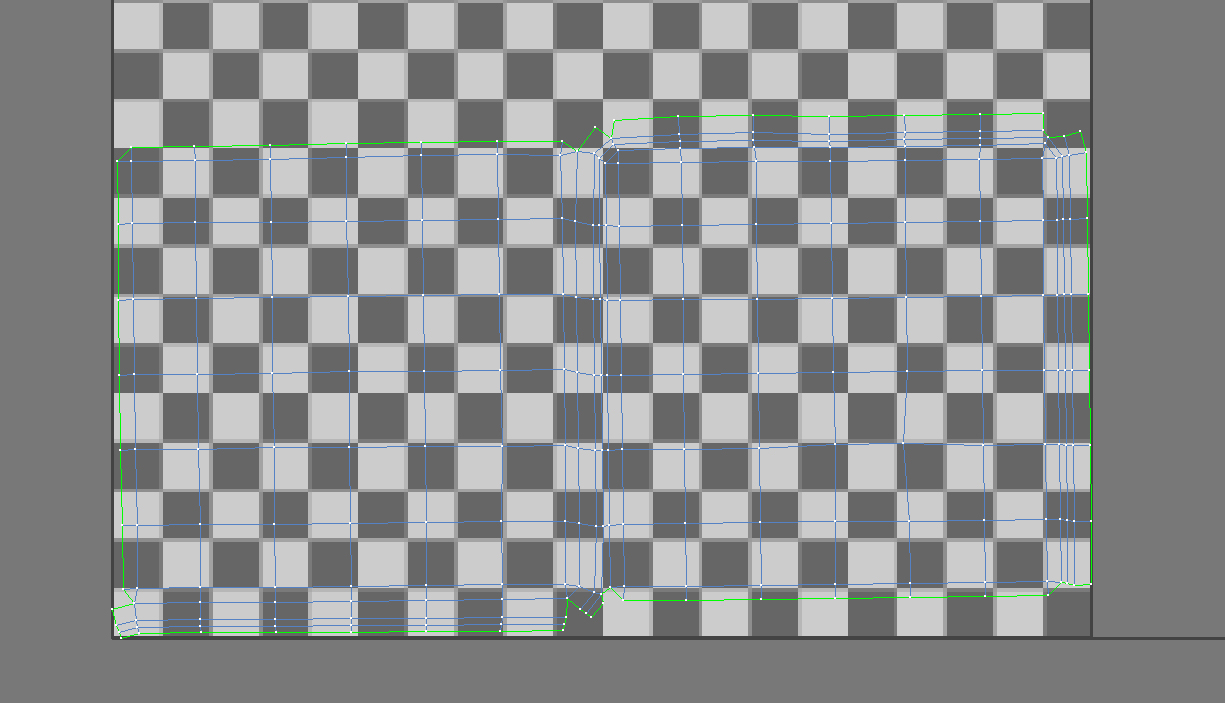
An unwrap of this model.
Guys, I just would like to say that this model is just example. And I understand, that may be I can use just normal map in this case. But I need to study the proccess of export disp. map for my other cases. For example, when I will create a character model, of course this issue will became a big problem.
Thank you in advance, I hope you will explain me this moment.
And sorry if I have mistakes in my topic, unfortunately my English yet is not perfect.
Best!
PS: Do not look at attached 4c4c4.jpg This is wrong image with wrong settings.
Attachments